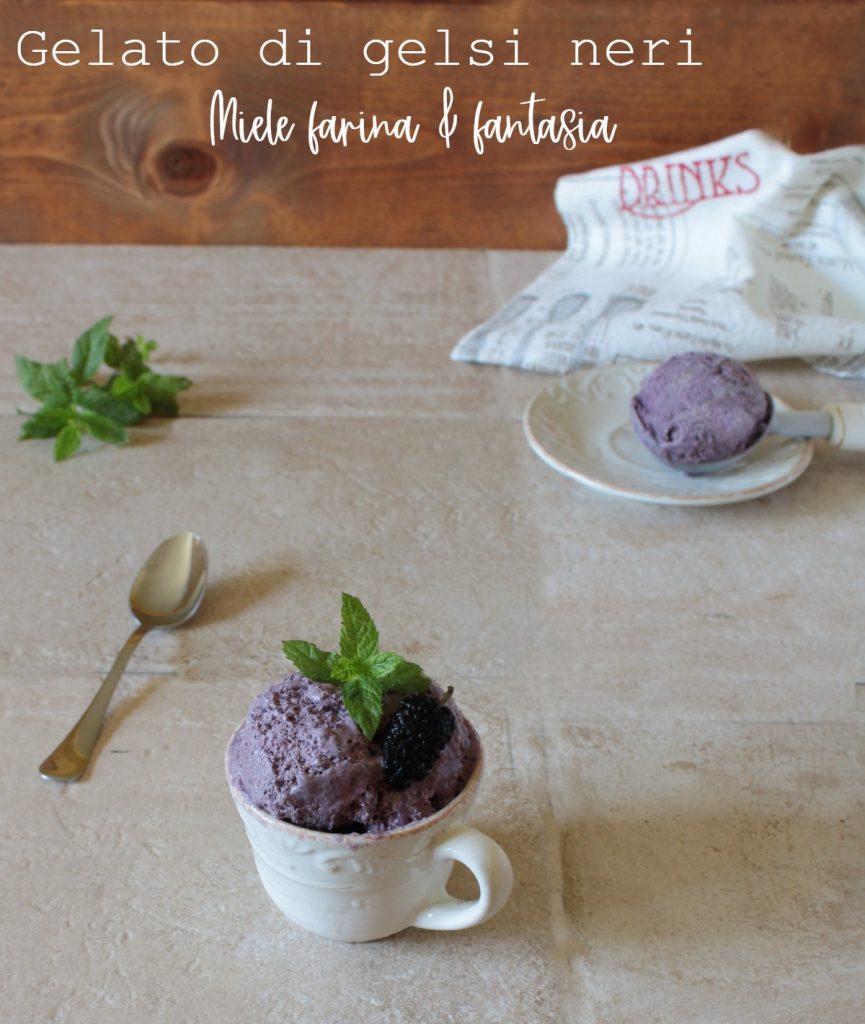
Black mulberry ice cream can be easily prepared at home without necessarily owning an ice cream maker. It is fragrant, delicious, and does not contain eggs. It’s perfect for ending a hearty meal, offering a different dessert, as a snack, or as a delicious way to beat the summer heat.
- Difficulty: Very easy
- Cost: Medium
- Rest time: 12 Hours
- Preparation time: 15 Minutes
- Portions: 1 lb of ice cream
- Cooking methods: Stove
- Cuisine: Italian
- Seasonality: Spring, Summer
Ingredients
- 10.5 oz Black mulberries
- 1 1/4 cups Whole milk
- 7 oz Sugar
- to taste Lemon zest
- 3/4 cup Heavy cream
- 1 pinch Fine salt
Preparation
First, place the ice cream container in the freezer (both steel and glass containers are fine).
In a saucepan, heat the milk with sugar, a pinch of salt, and lemon zest.
Wait for the sugar to dissolve, then turn off the heat and let it cool completely.
Do not boil the milk.
Gently wash the mulberries under running water, then let them drain. To remove the stem from the fruits, wear latex gloves (as mulberries stain), then hold the stem with one hand and pull away the flesh of the fruit with the other. Blend the mulberries completely or roughly, depending on whether you like to see and feel them in the ice cream. Pour the blended fruit into the now well-cooled milk and mix.
Whip the cold heavy cream until stiff, then gently fold it into the milk and mulberry mixture from top to bottom.
Pour the mixture into an airtight container and place it in the freezer. After 3 hours, take out the mixture, which will have started to freeze, and blend it again. Repeat this operation every 3 hours, for two more times. To best enjoy the black mulberry ice cream, I recommend letting it mature for at least 24 hours before tasting.
*Update. I tried a new method to achieve a very creamy ice cream, and since the result was amazing, I want to share it with you. I added the heavy cream to the milk and blended mulberry mixture without whipping it, meaning liquid. Then, I blended everything for about a minute with an immersion blender (a regular blender also works great) to incorporate as much air as possible. I poured the liquid mixture into the container and placed it in the freezer, without touching it again, letting it mature for 12 hours. Wonderful. Choose the method you prefer, but I highly recommend this last one, which I have also tested with other ice creams I often make.