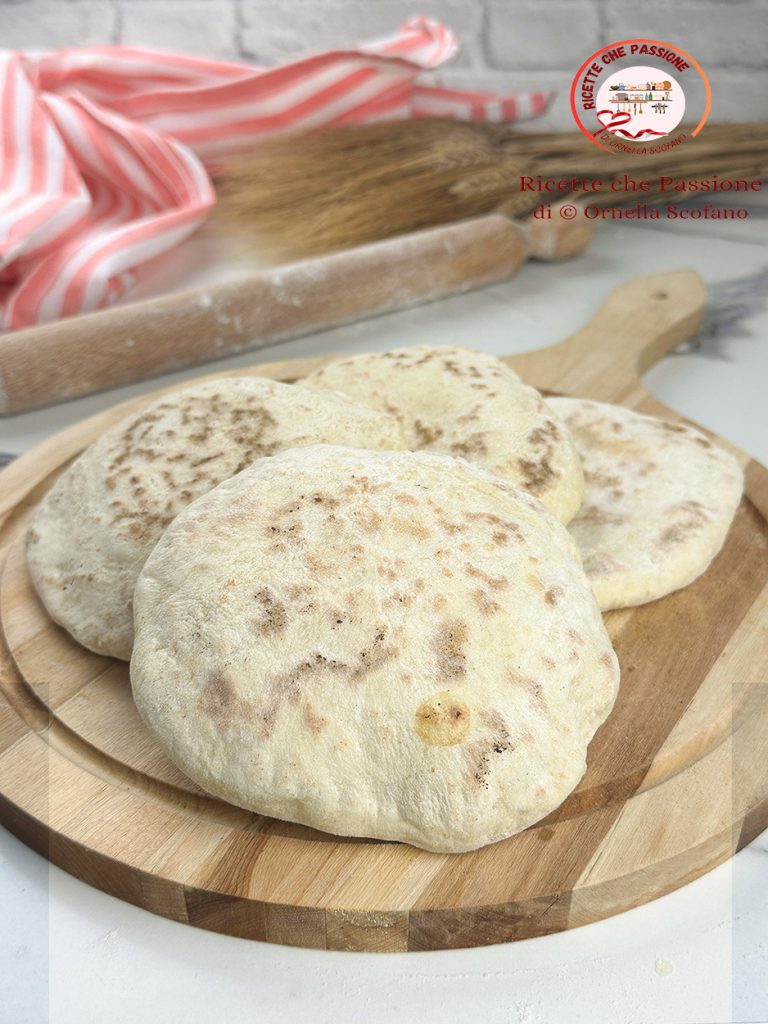
Quick non-leavened yogurt bread puffy as a balloon in a pan. A version of yogurt bread that resembles Indian naan, prepared with a dough of flour, yogurt, water, and yeast, I tried replacing regular yeast with a pinch of baking soda to make a quick bread without leavening, and the result was truly surprising. You get a very soft bread with a delicious taste, perfect to prepare when there is no bread available or when you feel like having a tasty snack. I love it for making a good kebab or pita gyros, to replace the classic Greek pita or Arabic bread. The yogurt bread replaces traditional bread but is richer in protein, and it can also be eaten stuffed, thanks to the pocket that forms during cooking. It’s great for making kebabs and anything else you like, even a Nutella sandwich. No oven is needed for this bread, it cooks quickly in a pan. You can make 8 puffy buns or 4 thicker flatbreads. For the recipe, I use homemade yogurt with my 1-liter yogurt maker, discover the “SPECIAL: Guide to the best yogurt makers”

- Difficulty: Very Easy
- Cost: Economical
- Rest time: 30 Minutes
- Preparation time: 5 Minutes
- Portions: 8
- Cooking methods: Stovetop
- Cuisine: Italian
- Seasonality: All Seasons
Yogurt Bread Ingredients
- 14 oz all-purpose flour (or whole wheat for longer rest)
- 1 1/4 cups whole milk yogurt
- 1/2 tsp baking soda
- 1 tsp salt
Tools to Prepare Yogurt Bread
- 1 Bowl
- 1 Kneading Board
- 1 Rolling Pin
- 1 Pan
- 1 Lid
Steps to Prepare Yogurt Bread in a Pan
In a large bowl, place all the ingredients: flour, yogurt (even straight from the fridge is fine), salt, and baking soda. Knead until you get a soft but not too sticky dough. No need to work it long, just enough to get a smooth dough. You can also do this on a working surface for convenience. Let it rest for half an hour, covered with plastic wrap. If you let it rest longer, even better.
Take the dough after half an hour, work on a floured surface, dividing it into 8 equal parts. Work each piece between floured hands to form a smooth ball.
Sprinkle with flour, and roll out with a rolling pin. To give our buns a perfect round shape, rotate the dough as you go. Roll out the dough to about 1/4 inch thick, with a diameter of about 6 inches.
Cook in a hot pan with a thick bottom, ideally one for text for flatbread. Place one disc at a time in the pan. As soon as you add the first one, after about 15 seconds, flip it over, and let it cook on the other side. If you flip before bubbles form, it will puff up more easily, or at the most when the first bubbles appear. Then you can flip and turn until they puff. Use the lid and adjust the flame, high at first then lower it.
Between cooking each bun, clean the bottom of the pan with a paper towel, remove the flour to prevent it from burning and sticking to the buns. As the pan becomes hotter, cooking will become easier and faster, so lower the stove to the minimum, always on the large burner.
They can be kept for a couple of days well sealed, even in the fridge although it’s ideal to eat them as soon as they are made. In fact, I rather keep the dough in the fridge, and cook them as needed within 2 days. If you want to make the flatbreads, make 3-4, don’t roll them too thin – they won’t puff but will still be delicious.
They can be kept for a couple of days well sealed, even in the fridge although it’s ideal to eat them as soon as they are made. In fact, I rather keep the dough in the fridge, and cook them as needed within 2 days. If you want to make the flatbreads, make 3-4, don’t roll them too thin – they won’t puff but will still be delicious.