Chocolate pastries made of soft milk brioche filled before baking with a cube of dark or milk chocolate about 30g each, for a soft breakfast or snack with a melted chocolate heart if enjoyed warm, or chocolate that melts in your mouth with every bite if enjoyed cold, because even cold it’s delicious, soft as if just made and with a delightful taste, and obviously depending on the type of chocolate chosen it will be even more luscious, I used crisp milk chocolate, really fantastic, an exceptional taste both warm and cold and it remains soft even when cold, every bite is pure poetry. If you want, you can also fill the pastries with jam or Nutella, you can use it cold from the fridge to shape them better. If you want neutral brioche, you can prepare them without filling, as I did for the milk rolls.

- Difficulty: Easy
- Cost: Economical
- Rest time: 5 Hours
- Preparation time: 40 Minutes
- Portions: 8
- Cooking methods: Oven
- Cuisine: Italian
- Seasonality: All seasons
Ingredients for 8 Chocolate Pastries
- 1 1/4 cups Manitoba flour
- 3/4 cup all-purpose flour
- 1 1/2 tsp fresh yeast (double dose equals yeast)
- 1/2 cup milk
- 3 tbsps sugar (4 heaping teaspoons)
- 2 tbsps butter
- 1 egg
- 1/2 tsp vanilla extract
- Grated zest of organic lemon
- 8 cubes milk chocolate for filling (or dark) (about 8.5 oz)
- Milk and egg to glaze
Tools to Prepare Chocolate Pastries
- 1 Bowl
- 1 Teaspoon
- 1 Rolling pin
- 1 Baking tray
- 1 Parchment paper
- 1 Work surface
Steps to Prepare Chocolate Pastries
In a bowl, place the yeast with milk, at room temperature or slightly warm for quick rising, cold for longer rising. Stir with a spoon to completely dissolve the yeast.
Add sugar and 1 whole egg to the milk with yeast and mix. Also, add vanilla extract and the grated zest of an organic lemon, orange is also great if you have it.
Add flour, little by little, so we can easily work the mixture with a spoon without getting too tired. During the process, take breaks so the dough gains elasticity and becomes drier and easier to work with. During this phase, also add the salt, always separated from the yeast. If you prefer, you can knead the dough with a stand mixer.
Once all the flour is added, gradually add butter, cut into pieces. Incorporate it slowly, you can work with a spoon or, better yet, by hand.
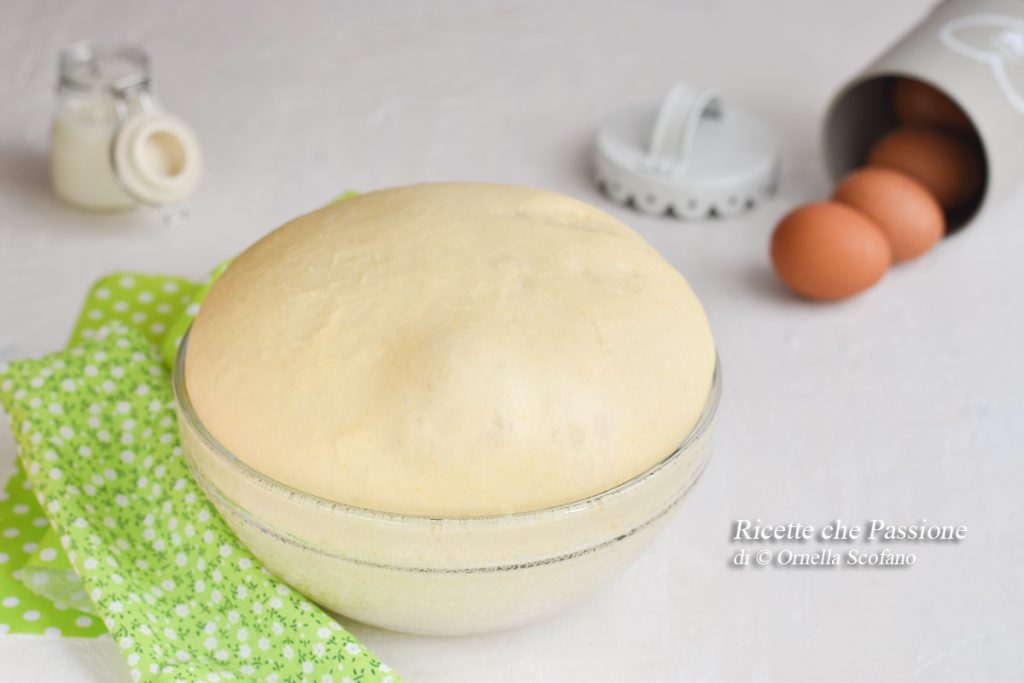
Use a little flour to work the dough on a surface and shape it into a round form, let it rise in the bowl covered with a plastic wrap in a protected corner away from drafts. Let it rise in a warm corner, away from drafts, for about 3-5 hours.

Deflate the dough and turn it onto a floured surface. Stretch it and make 2 sets of fold turns (click to read how to do them) at intervals of 5-10 minutes, this makes our brioche even softer. Shape it into a ball and let it rest for another 5 minutes.
Stretch the dough again and roll it to form a sausage shape. Divide into 8 parts about 65-70g each. Easily divide in half and then each half into halves and so on to have 8 pieces.
Using a little flour, shape into smooth balls, working the dough pieces between the palms of your hands. Let it rest for 5 minutes.
Meanwhile, prepare the tray lined with parchment paper or a silicone mat. Also prepare the chocolate to fill our pastries, I used crisp milk chocolate cubes of 30g each, if you can’t find the same, you can cut the chocolate you find into pieces, making up the weight of 30g, you can use more pieces to have the same weight, I think 30g is the perfect amount for lovely chocolate-filled brioche.
On a slightly floured surface, shape the pastries filled with chocolate. Take one dough piece at a time, stretch it to form a cord, then dust the surface with flour and use a rolling pin to roll out and widen to form a strip about 2.5-3 inches wide and 6-8 inches long. I didn’t measure exactly, but these are roughly the dimensions.
Roll out one dough piece at a time and place the chocolate cube at the base of each strip, then roll up to seal the chocolate inside. Gradually widen the dough to close it well as a sandwich.
Place the pastries on the lined baking sheet, well-distanced. I baked 4 at a time, but if you use a large baking sheet, you can fit all 8 in one batch. Let them rise in turned-off oven for a couple of hours, or even less if it’s warm.
Before baking, brush with beaten egg mixed with milk, doing it gently to avoid deflating the brioche. Bake in a preheated static oven at 350°F for about 13-15 minutes.
Remove from oven and enjoy our pastries with melted chocolate filling. If enjoyed cold, the chocolate won’t be melted but still very pleasant, it melts in the mouth and the brioche remains incredibly soft, even the next day, but if you warm them up a bit, they will be like freshly baked, with the melted chocolate being a real treat.
Chocolate pastries can be kept under a glass dome for 2-3 days. They can also be frozen and reheated as needed. To enjoy them warm, just heat them briefly in the microwave or oven.