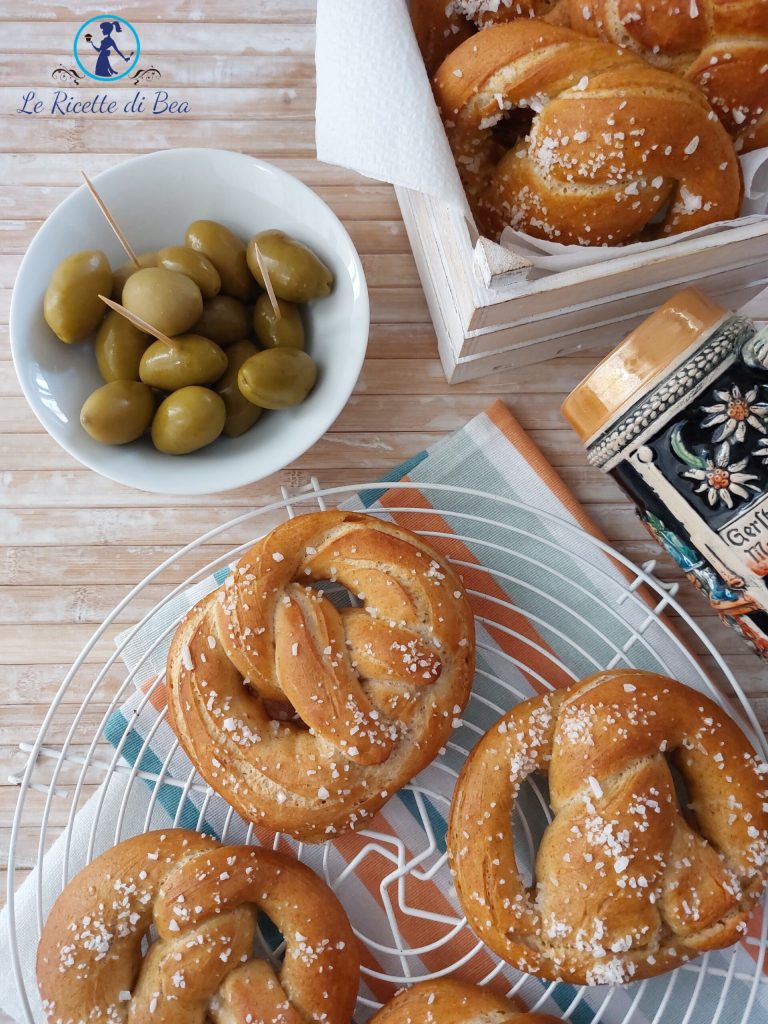
Have you ever tried Pretzels? I love them. If you want to try, here is the Homemade German Pretzel Bread Recipe! It was my first time, I read many recipes, watched several video recipes, and in the end, I did it my way as always. I lengthened the rising times, switched the fresh yeast with my beloved dry yeast, and replaced the caustic soda with baking soda for the Pretzel bath. The result is what you see in the photos and in the video recipe found on Bea’s Recipes YouTube Channel. (click here to watch and remember to subscribe so you don’t miss any new recipes!)
The Pretzel is the popular bread throughout Germany and in Trentino Alto Adige, a salty bread crunchy outside with a soft heart. Called Pretzel or Brezel they must absolutely have the typical hug shape, which is twisted. Many also associate them with the translation of “rest” meaning when you cross your arms when not working. Making homemade Pretzels is not difficult, but you need to account for the rising times. We exceed 4 hours of rising to prepare the most famous German bread in the world!
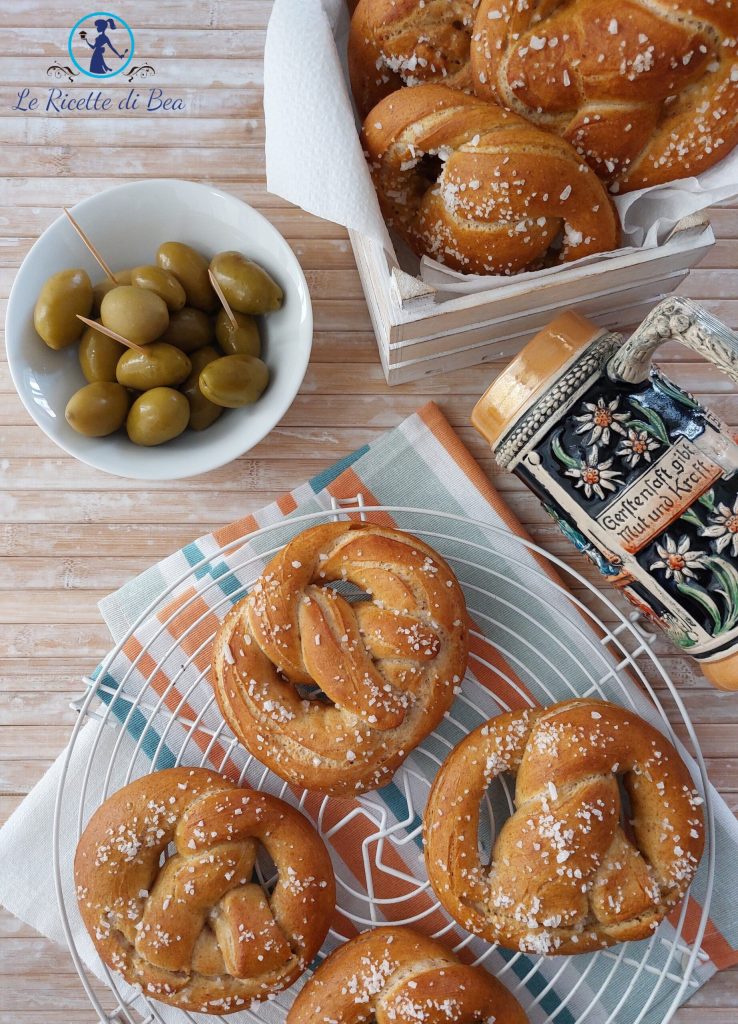
Known worldwide thanks to the Oktober Fest and the Christmas Markets, the Pretzels will win you over! I’m sure! The first time I tasted them was in Merano, of course, I was there with my mother for the Weihnachtsmärkte and we fell in love with them! Crunchy bread, to be enjoyed both warm and cold, with speck or dipped in melted butter that is served with the Knödel. What a delight and what memories just talking about it here with you! Since that day, every time I have been in the Südtirol area during the Christmas Markets, in Innsbruck during the Christmas season, and then in Germany visiting Frankfurt and Düsseldorf I have always taken advantage! Never a meal without a Pretzel!
If I’ve whetted your appetite enough and you want to try my recipe for Homemade German Pretzel Bread right away, go grab the few necessary ingredients and you’ll see you won’t regret it! For any questions, I am at your complete disposal! If you then feel like preparing an entire dinner with traditional German cuisine or Trentino cuisine you can do so thanks to other recipes you can find on the blog or by clicking on the blue links that follow. Each link will take you directly to the chosen recipe! Let’s all celebrate the Oktober Fest together! Prost!
- Difficulty: Easy
- Cost: Economical
- Rest time: 4 Hours
- Preparation time: 20 Minutes
- Portions: 16 pretzels
- Cooking methods: Oven
- Cuisine: German
- Seasonality: All Seasons
- Energy 142.77 (Kcal)
- Carbohydrates 25.06 (g) of which sugars 1.12 (g)
- Proteins 3.44 (g)
- Fat 2.93 (g) of which saturated 1.74 (g)of which unsaturated 1.08 (g)
- Fibers 0.89 (g)
- Sodium 2,790.32 (mg)
Indicative values for a portion of 100 g processed in an automated way starting from the nutritional information available on the CREA* and FoodData Central** databases. It is not food and / or nutritional advice.
* CREATES Food and Nutrition Research Center: https://www.crea.gov.it/alimenti-e-nutrizione https://www.alimentinutrizione.it ** U.S. Department of Agriculture, Agricultural Research Service. FoodData Central, 2019. https://fdc.nal.usda.gov
Ingredients for 16 German Pretzels
- 4 cups all-purpose flour (in my case, type 1 soft wheat flour)
- 1 cup water (lukewarm)
- 3.5 tbsp butter (at room temperature)
- 1 tbsp honey
- 2.5 tsp dry yeast (you can use 8 or 9 grams of fresh yeast)
- 2 tsp fine salt
- 1.1 gal water
- 4 tbsp baking soda
- to taste coarse salt (or salt flakes)
In the Original German Pretzel Recipe or the Trentino Brezel there is the presence of caustic soda for the bath, I honestly did not feel like using it. So I preferred to replace it with baking soda. The golden color is not exactly the same, even the crust is less dark, but the taste of freshly baked German bread is unique. If you feel brave, you can use the same amount of caustic soda to add to the 4 liters of water and bring it to a boil. They say that during baking it loses its acids and is no longer harmful to humans.
Tools for Homemade German Pretzels
- 1 Stand Mixer
- 1 Kneading Board
- 1 Bowl
- 1 Pot
- 1 Slotted Spoon
- 1 Oven
- 1 Scale
- 1 Refrigerator
- 4 Baking Sheets
- 4 Baking Paper
- 1 Scissors
- 1 Knife
- 4 Dishcloths
- 1 Cooling Rack
- 1 Metal Scraper
Some tips before proceeding:
– 1 – respect all the rising and working times indicated in the step-by-step procedure of the recipe. For your convenience, I will highlight the key rising steps in bold, respect them and indeed, if you’re not in a rush, extend them a bit more. All the recipes I read talked about making a maximum of 8 or 9 pretzels, and I made 16 from 100 grams each, evidently, I was right about the too-short rising times adopted by others;
– 2 – the use of the refrigerator for the final rise is very important, I paid the consequences for the last four pretzels baked, they did not come out as puffy and crunchy as the others. So it is an important phase to respect for the successful result of the pretzel recipe;
– 3 – do not listen to those who tell you to store them in plastic bags, they lie knowingly, I have four pretzels today that are deflated and damp, plastic is not a friend of Pretzels. So choose paper bags to store them best!
Steps for Homemade German Pretzel Recipe
PHASE 1 – WATER INTO THE FLOUR
This is what we’ll call this first step of the recipe. If you have a stand mixer read here.
So take the stand mixer and pour the lukewarm water into its bowl and dissolve the yeast in it, in my case dry yeast. Fresh yeast is also fine, respecting the dose indicated in the ingredient list. Then add the all-purpose flour all at once. I chose a flour with great leavening strength. You can find the power indications on the flour package. Let it rest like this, without covering or mixing, for about 15 minutes. After this time, start the stand mixer at the lowest power with the bread-kneading hook. The hook in a few words. Activate and work for about 7 minutes. I recommend, you will see that the dough will start to detach itself from the walls of the bowl and will become nice and stiff. It’s time to add the dose of salt and the butter cubes at room temperature. One at a time until fully absorbed. Once the butter is finished, turn off the stand mixer, transfer the mixture to a lightly floured wooden work surface, and shape the dough to create a nice ball. Cover with a bowl, in my case, I used a glass one. Leave it covered to rest for about 15 minutes.
If you choose to knead by hand, read here.
Take a nice wide bowl and pour the lukewarm water into it, dissolve the yeast in it. In my case dry yeast, but fresh yeast is also fine with the dose indicated in the ingredient list. Then pour the type 1 flour into the bowl. I chose soft wheat flour type 1 with great leavening strength. You can find the power indications on the flour package itself. Let it rest for about 15 minutes. After this time, start working first with your hands in the bowl and then directly on the lightly floured wooden board. Now add the salt and butter cubes, one at a time until fully absorbed. You should get a hard and slightly sticky ball of dough. I recommend not adding flour, grease your hands with butter or seed oil if necessary. Then leave the dough on the board, cover with the bowl, and let it rest for another 15 minutes.
From here on, the procedure is the same for everyone, because we will no longer need the stand mixer, so you can wash it and put it away. We will only need the wooden board with seed oil or butter to proceed.
It’s time for the FOLDS! And the first Long Rise!
Yes friends, I am not an expert in folds as you can easily guess from the video recipe above, but it’s necessary, we cannot skip this step. So with slightly greased hands, let’s make some folds in our dough. It’s easier to see in the video than to explain it in writing. Fold the dough over itself three or four times then form a ball again, place it in the glass bowl, cover with a dishcloth and place it to rest in the oven turned off but with the light on for two hours. In the majority of recipes I read, it was written an hour, I took my time. I used this time to: wash the bowl and tidy up the stand mixer, walk the dog, fold the laundry, and organize the house. So if you’re not in a hurry and want to work much better with the dough in the next steps, wait two hours like I did!
After this time, we will have a well-risen dough, watch the video to understand, I love leavened products, and this pretzel recipe gave me great satisfaction. Place the dough again on the lightly greased or buttered wooden board. Then take a kitchen scale and a dough scraper. Divide the dough into small portions of about 100 grams each. Don’t worry if some balls are 90 and others 110 grams, they are perfectly fine.
SECOND SHORT RISE!
Transform the balls into small and fat sausages of about 2 to 2.5 inches in length. Do not add flour during this step, you will harden our dough too much. In the video, you can see well how I created the sausages. Then place them on one or more wooden surfaces and cover with dishcloths. It is not necessary that they are moistened, just covering them will prevent them from being in direct contact with the air. Wait about 20 – 30 minutes.
After this time, we will stretch our sausages. We need to reach a length of about 23.5 inches. Do you know when you prepare gnocchi and stretch the dough into a snake? Here, we must do the same thing but leave a more “belly” in the center, which will then be the base of our pretzel. This step is also shown very well in the video of the homemade German bread recipe. Take the baking sheets and cover the bottom with parchment paper. I chose the simpler sheets to handle with greased hands.
It’s finally time to create our Pretzels!!! Plus third rise!
From our snakes, create the Pretzels with two simple steps. Take the two ends and cross them, cross again, and fold towards you making the two ends adhere to the belly we left on each snake. I also recommend watching this step well in the video, it is easier to show you than to explain it in words! Place all the pretzels on the baking sheets and let rise on the kitchen counter or table, uncovered, for another 30 minutes.
What to do in the meantime? Prepare the refrigerator to accommodate our pretzels for the fourth and final rise needed for this recipe! We’re almost there, it’s almost done, hang in there!!!

Fourth and Final Rise in the Refrigerator for Homemade German Pretzels Recipe!
Yes, we will need a lot of space in the fridge, I learned at my own expense that this step is as fundamental as all the others for the successful result of this Trentino bread recipe. If you don’t have enough space, ring the neighbor’s door, call your mother, your grandmother, or a friend who has some space in the refrigerator! Better the neighbor/or because it’s quicker and you won’t have to take the pretzels around half the city. Then place the baking sheets with the pretzels in the refrigerator for another 30 minutes, without covering. We are almost there, the countdown has started that will take us straight to the bath for the bow-shaped salty bread!
Almost at the end of this fourth and final rise turn on the oven. In my case, I chose the static mode (since we are dealing with a leavened product) and brought it to 410°F. The correct temperature for German pretzels baking ranges from 392°F to 428°F. I settled in the middle. Let’s now focus on the last step.
Prepare the water for the pretzel bath. So take a pot with high sides, pour 4 liters of water and 4 heaping tablespoons of baking soda into it. Bring to a boil. Take one baking sheet at a time from the refrigerator. In my case, there were two Pretzels for each baking sheet. Cut the parchment paper with scissors. Now you have a pretzel positioned in the center of each square. With a non-serrated knife cut the belly of each single pretzel, the classic cut that characterizes them. Do not apply too much pressure and do not break it.
Take a slotted spoon and let’s begin this last and crucial step before baking. Again, I recommend watching the video recipe of the pretzels very carefully. Few and simple gestures but very important. We must flip one pretzel at a time into the boiling water. 20 seconds per side, drain them, and place them back on the parchment paper. Sprinkle with coarse salt, as in my case, or with salt flakes. Bake each single baking sheet, one at a time and placed in the middle of the oven, for about 20 to a maximum of 22 minutes. You will see the surface of the pretzels puff up first and then brown. Remove from the oven and place the pretzels on a cooling rack, removing the parchment paper.
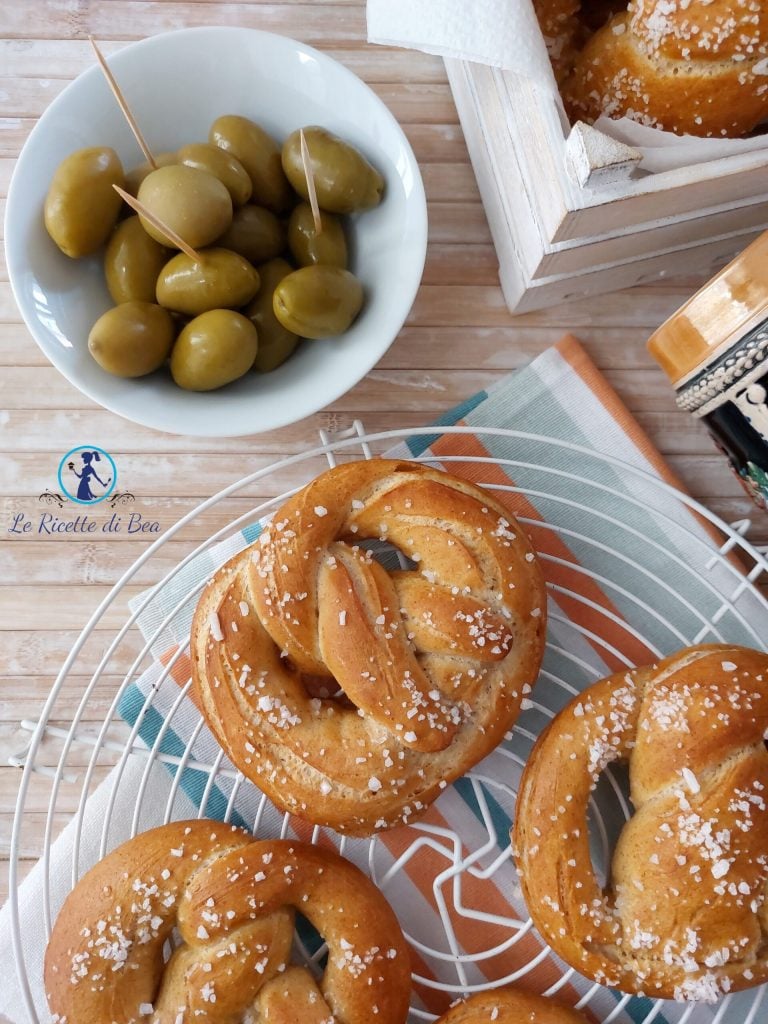
Proceed this way with each single baking sheet, taking it from the fridge, cutting the belly, bathing, sprinkling with salt, and into the oven. Don’t you think they are gorgeous? And the scent in your kitchen? Eaten warm and super crunchy are out of this world! My word and my colleague Samantha who helped me with the final video and the construction of the photo set of the Homemade German Pretzel Recipe! I just have to remind you that I’m waiting for you here in my kitchen with many other easy, quick, economical, and delicious recipes! I wish you bon appétit!!!
If you have questions or anything else, you can write them in the comments here on the blog or on social channels! You can find all the links below.
Preserving Pretzels:
To best preserve our delicious Pretzels you should first let them cool completely on a cooling rack, then you can close them in paper bags, the classic bread bags. They will remain nice and crunchy for a few days. But you’ll see they will be gone before then, they are irresistible!