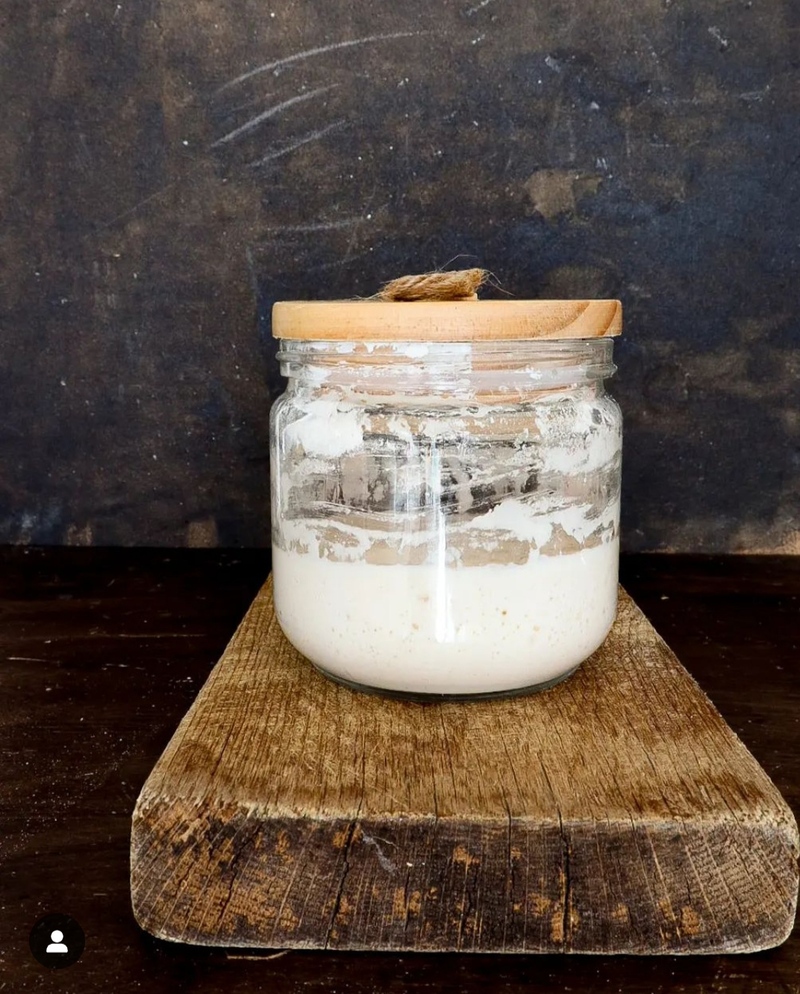
HOMEMADE SOURDOUGH STARTER WITHOUT WASTE
The method to obtain a liquid sourdough starter at home without initial starters and without throwing anything away.
Hello everyone, friends, I finally managed to carve out some real time to dedicate to this project: I want to clarify that I didn’t invent anything, I learned about this method from an English teacher JADE LIM with her profile SHEBAKESOURDOUGH.
I tried to create with gluten-free flour and it worked right away, I called it quartino because it’s like a fourth child 😉
Then on Instagram I got some requests and managed to make a video even though the quality is really bad, but I could show that the method is valid and above all simple: it exploits the microorganisms present in our natural climate, so as not to have to do refreshments, etc., WITHOUT THROWING AWAY ANYTHING.
You will only need a graduated jug, an elastic band, spatula, and scale 😉
“Don’t know which mixer to choose? here you can find a useful guide—>
PLANETARY MIXER, WHICH TO CHOOSE?”
For any doubts, I am here, but you can easily contact me through various social media.
EMIMETTOAIFORNELLI recommends:
- Difficulty: Medium
- Cost: Very economical
- Rest time: 8 Days
- Preparation time: 8 Days
- Portions: 1
- Cooking methods: No cooking
- Cuisine: Italian
- Seasonality: All seasons
Ingredients
- 0.7 oz water
- 0.7 oz type 0 flour (w 280)
Tools
- Spatula
- String elastic
- Pitcher graduated
Steps
It is very important to start the refreshments by writing the exact time and then proceed within the set time.
I recommend starting in the morning around 9 AM.
Start the first day by pouring 0.7 oz of flour (I suggest a strong type 0, ideal for sourdough starter, later you can transform it into cereal sourdough, semi-wholemeal, etc., but now we need strength, gluten, and proteins!)
and 0.7 oz of water into the pitcher, mix with a spatula, and put the elastic band around.
Then close with some cellophane and I also put a bag around.
You shouldn’t pierce anything 😉
The next day, at the same time, ADD another 0.7+0.7 oz and mix.
Always mark with an elastic band and close. If you notice lots of bubbles, it’s very normal!
Make sure, if you start with one type of flour, always continue with that 😉
Between the second and third day, you will notice a strong smell, similar to cheese: don’t worry, these are the organisms inside, always continue by adding 0.7+0.7 oz
From the fourth day, the refreshments go from 1 every 24 hours to 1 every 12 hours, always keeping the initial time (in our case 9 AM)
At 9 AM, always add 0.7+0.7 oz, mix, put the elastic band, cellophane, and close.
At 9 PM, do the same as in the morning: add, mix, and close.
At this point, you will already notice a small growth above the elastic band, your starter is doing great.
N.B. If the sour smell continues and gets stronger, I recommend starting over from the beginning; it can happen that it doesn’t “take right away on the first attempt
Don’t get discouraged, I’m sure it will go better the second time.
I always recommend taking a look at my highlighted stories on Instagram, where I talk about the waste-free sourdough –> INSTAGRAM
Continue with the refreshments every 12 hours until the 7th day.
You will notice that the starter now doubles easily in 12 hours at room temperature 🙂
Your starter is ready to be tested: divide it in half, one part will be your SOURDOUGH STARTER to store in the fridge, the other will be used in the doughs.
The half that will be your sourdough starter should now be weighed and refreshed with a 1:1:1 ratio
if the starter weighs 1.76 oz, add 1.76 oz of water and 1.76 oz of flour, mix, put the elastic band, and wait about two hours, then let it rest in the refrigerator until the next use.
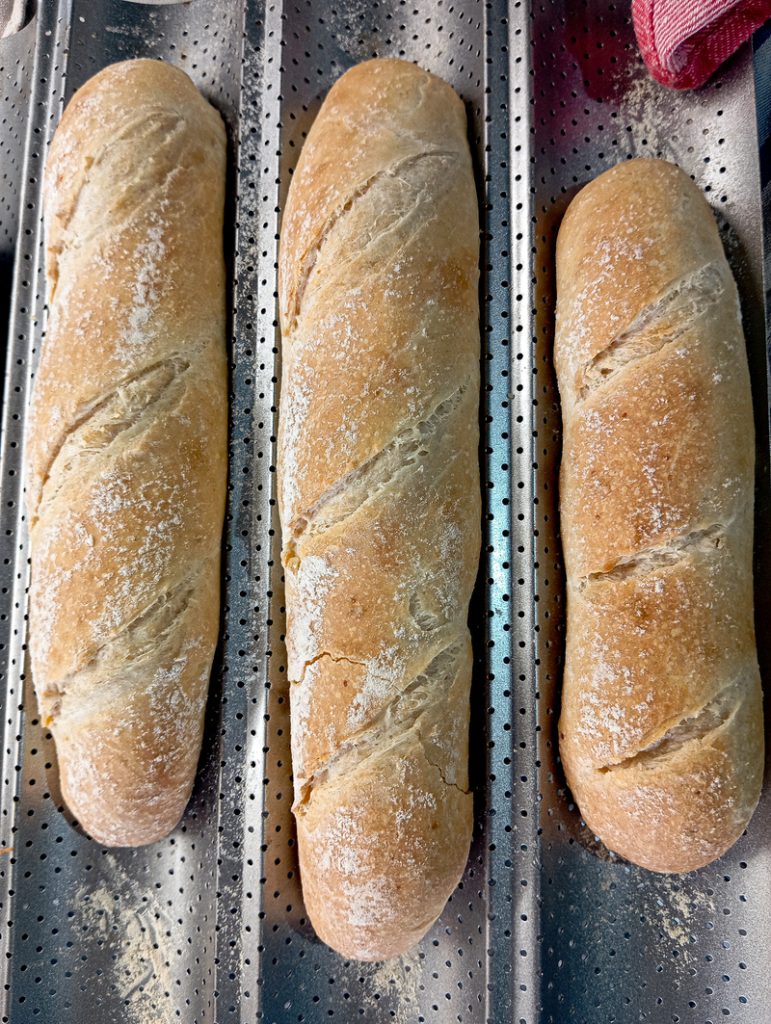
The other half you will use in various doughs, I recommend starting with simple LOAVES.
Storage
I always advise keeping the starter in the refrigerator after it has been activated because at room temperature it would need to be refreshed every 12 hours.
For a good bread you will have to wait at least a couple of weeks where you have refreshed the starter at least 3 times a week. You need to be patient because your starter is like a newborn baby, it needs to build strength 😉
For PANETTONES and PANDORO it will need to be at least 6 months old and very active.
For PANETTONES and PANDORO it will need to be at least 6 months old and very active.