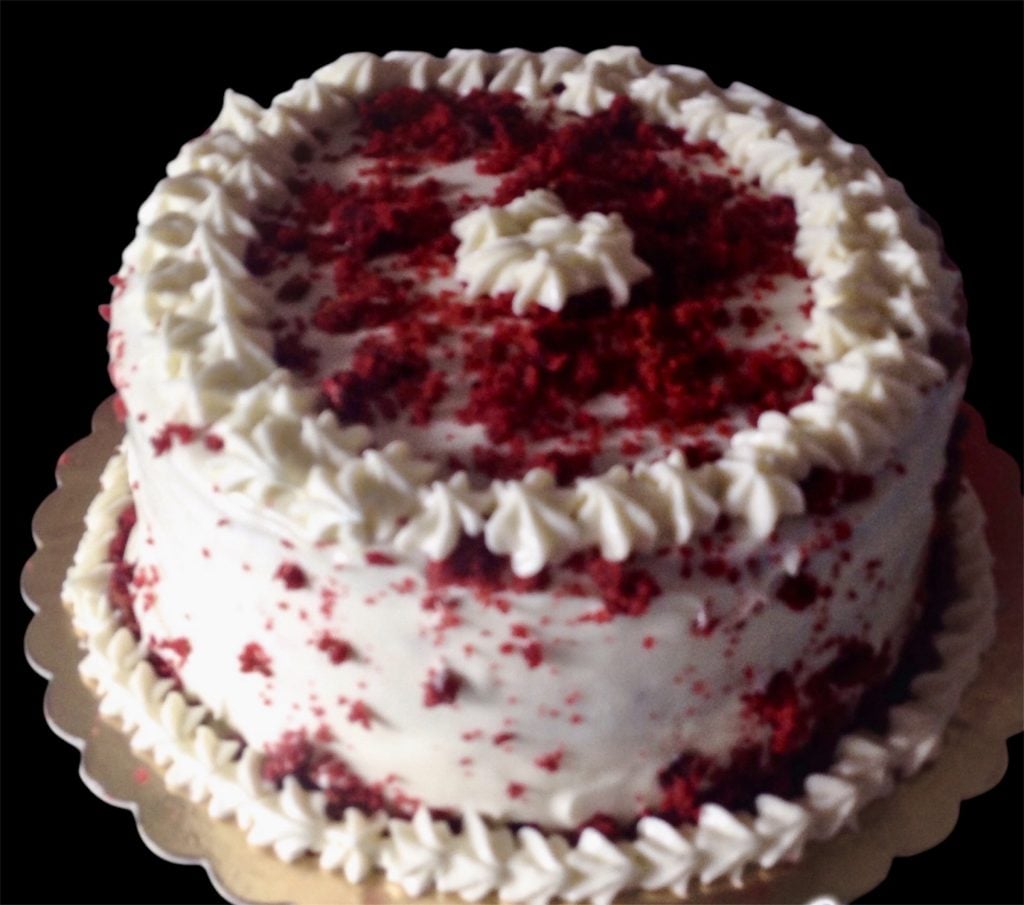
The Red Velvet is one of the most fascinating cakes I know, thanks to its unmistakable red color that makes it truly spectacular, especially when contrasted with the white filling. Initially, I was a bit hesitant to try it, convinced it was too far from my tastes, but I must admit my skepticism still lingers a bit. Those who, like me, love classic Italian cakes based on sponge cake or similar, soft and well “soaked” with traditional creamy spoon desserts, might not appreciate this cake. However, I realize that my opinion is not so widespread: those who have tasted it have given me many compliments, and the Red Velvet is certainly a cake much loved by children.
In the traditional recipe, buttermilk is used, but I could never find it and, when I tried to make it myself (following various recipes found on the web), I was never satisfied. So, thanks to my friend from the blog Se pasticciando, from whom I took the recipe, I decided to replace it with kefir milk, now easily available in any supermarket.
Before moving on to my recipe, here are other recipes
- Difficulty: Easy
- Cost: Medium
- Preparation time: 20 Minutes
- Portions: 12
- Cooking methods: Electric Oven, Oven
- Cuisine: Italian
- Energy 722.78 (Kcal)
- Carbohydrates 65.69 (g) of which sugars 43.35 (g)
- Proteins 7.83 (g)
- Fat 50.27 (g) of which saturated 9.43 (g)of which unsaturated 23.47 (g)
- Fibers 1.06 (g)
- Sodium 250.30 (mg)
Indicative values for a portion of 188 g processed in an automated way starting from the nutritional information available on the CREA* and FoodData Central** databases. It is not food and / or nutritional advice.
* CREATES Food and Nutrition Research Center: https://www.crea.gov.it/alimenti-e-nutrizione https://www.alimentinutrizione.it ** U.S. Department of Agriculture, Agricultural Research Service. FoodData Central, 2019. https://fdc.nal.usda.gov
Ingredients
- 2 3/4 cups all-purpose flour
- 1 1/2 cups sugar
- 1 teaspoon baking soda
- 2 teaspoons unsweetened cocoa powder
- 2 eggs
- 1 cup buttermilk (or kefir)
- 1 1/2 cups vegetable oil
- to taste red food coloring
- 1 teaspoon vinegar (white)
- 9 oz mascarpone
- 9 oz cream cheese
- 3/4 cup whipping cream
- 1 1/2 cups powdered sugar
- to taste vanilla flavor
Tools
- 2 Pans
- 1 Electric Whisk
- 1 Piping Bag
Preparation
The process is really simple: you’ll find that it takes more time to read the ingredients than to mix them! For convenience, it is advisable to gather all the powders, like flour, sugar, baking soda, and cocoa, in a bowl and mix them well.
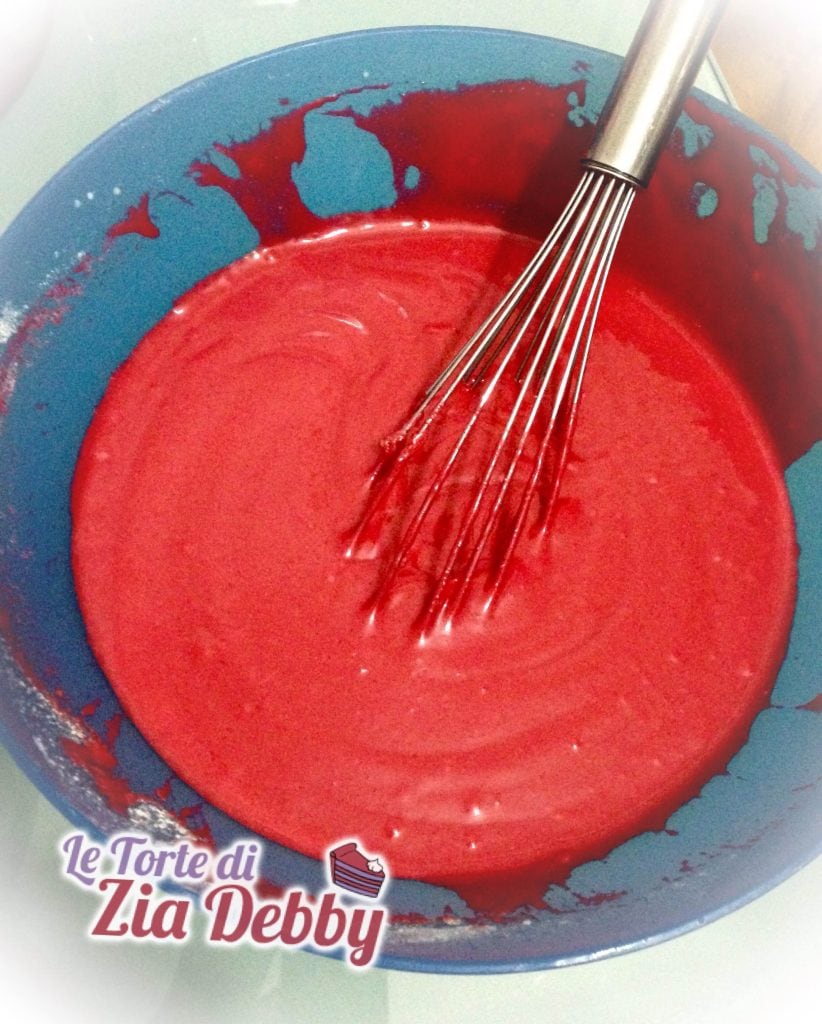
In another bowl, beat the eggs with the buttermilk, using a whisk. Then add the vegetable oil, food coloring, and finally, the vinegar. The final color should be a nice bright red; if it is too dull, you risk losing the characteristic red slice typical of the Red Velvet, especially during baking and the addition of powders.At this point, add the powders and mix everything well. Divide the batter into two pans of the same size; for this amount, I recommend two 9.5-inch diameter pans. This step is really crucial, as the Red Velvet has a batter that tends to crumble easily, so it’s better to cut it at most into two parts. This way, you’ll get four layers of base, to be filled with three layers of frosting. Bake the pans for about 30 minutes in a preheated oven at 350°F.
Before cutting the cake, I advise you to let it cool well. Some people even prefer to leave it in the fridge for 24 hours before cutting it. Once the cake has cooled completely, you can cut the two discs in half, using a sharp knife to make a precise and clean cut.
In a bowl, gather all the ingredients: mascarpone, cream cheese, liquid cream, powdered sugar, and vanilla, and start mixing with an electric whisk. At first, the mixture may seem to fall apart, but keep whisking, and you’ll see it gain consistency. Continue whisking until the whisks form well-defined circles that do not collapse. This way, you’ll obtain a frosting that holds but remains soft and pleasant to the palate, without being too heavy.
Finally, fill your cake and decorate the outside with the frosting, using also the crumbs that inevitably form when cutting it.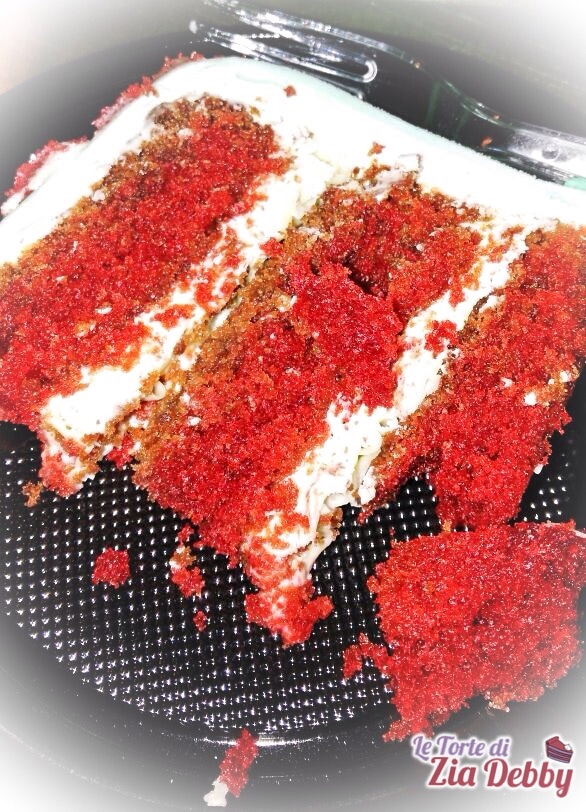
FAQ
Where should it be stored?
The red velvet, like all decorated cakes, should be stored in the refrigerator and keeps well for 2 or 3 days
What should the consistency of the frosting be?
The consistency of the frosting should be similar to that of custard, dense and silky, but stable enough not to collapse when you use it to cover or decorate the cake. It should not be too liquid or too thick; it should be soft but with a consistency that allows it to be spread easily, maintaining its shape.