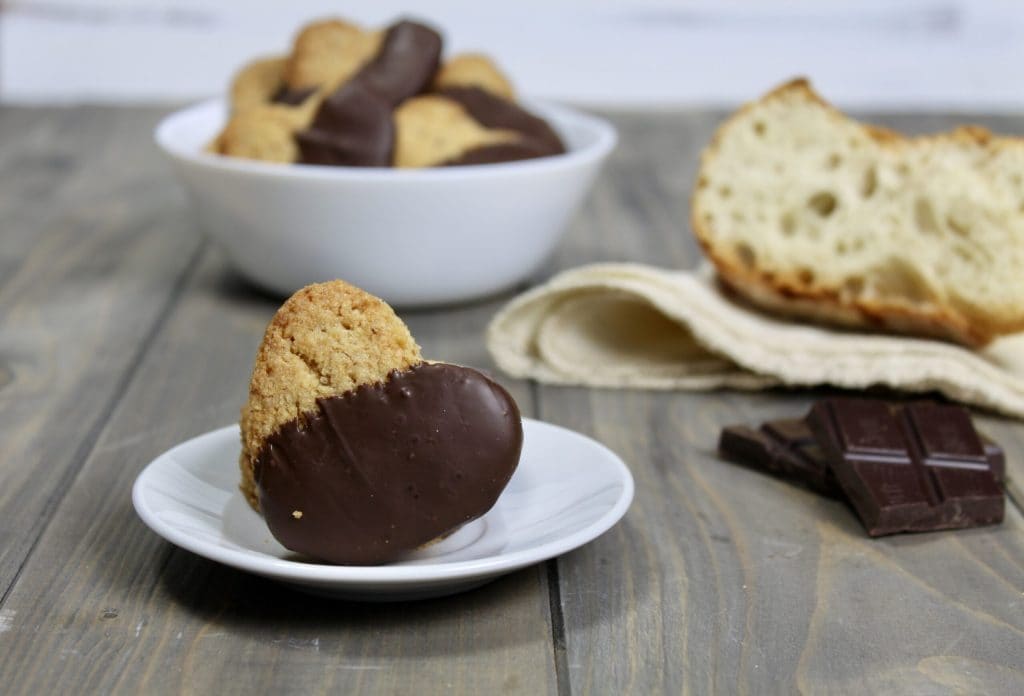
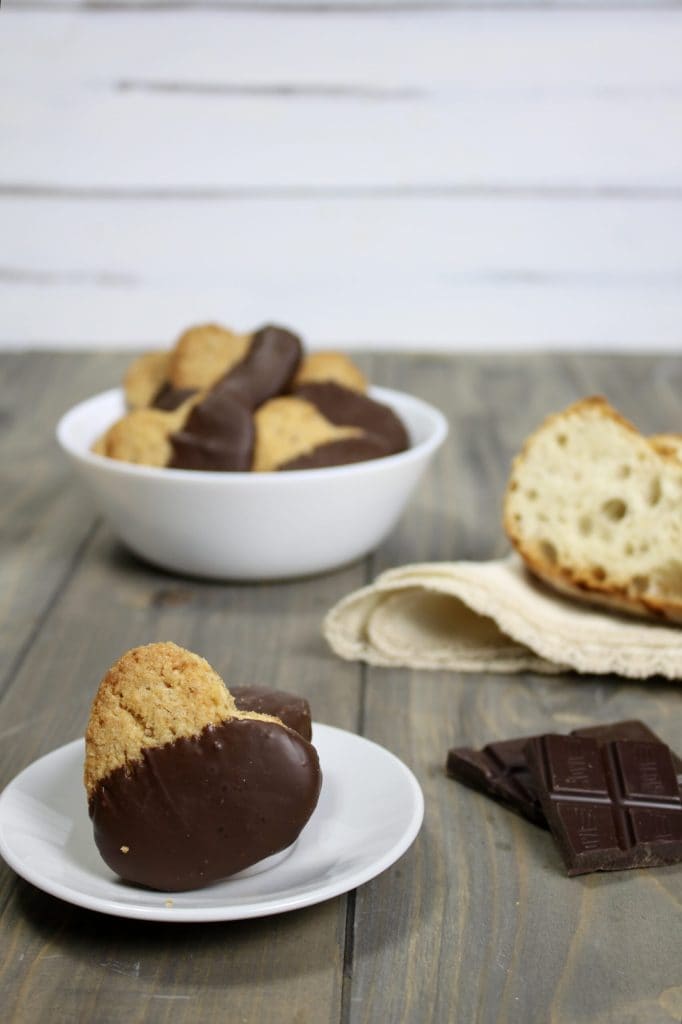
The bread cookies are made using stale bread instead of flour, an excellent way to use up leftover bread at home and offer an original and always different dessert on our tables. Their taste is reminiscent of shortbread, with a slightly crunchier texture, but still perfect to be enjoyed on their own or dipped in a cup of milk or hot tea.
After preparing the bread shortcrust pastry, I had fun rolling it out on a lightly floured work surface with cornstarch. I cut out sweet hearts with a cookie cutter and, once cooked, I covered part of each heart with delicious dark chocolate to enrich the flavor of the cookie. Besides looking very nice, these cookies are also a perfect gift idea for our guests, as they keep for a long time while maintaining their freshness, if stored in cookie tins or food pouches.
For those who love baking cookies at home, I also want to remind you of other delicious recipes to try.
- Difficulty: Easy
- Cost: Economical
- Preparation time: 20 Minutes
- Portions: 30 cookies
- Cooking methods: Oven, Electric Oven
- Cuisine: Italian
- Energy 94.80 (Kcal)
- Carbohydrates 9.74 (g) of which sugars 4.87 (g)
- Proteins 1.47 (g)
- Fat 5.65 (g) of which saturated 3.40 (g)of which unsaturated 2.08 (g)
- Fibers 0.83 (g)
- Sodium 49.48 (mg)
Indicative values for a portion of 20 g processed in an automated way starting from the nutritional information available on the CREA* and FoodData Central** databases. It is not food and / or nutritional advice.
* CREATES Food and Nutrition Research Center: https://www.crea.gov.it/alimenti-e-nutrizione https://www.alimentinutrizione.it ** U.S. Department of Agriculture, Agricultural Research Service. FoodData Central, 2019. https://fdc.nal.usda.gov
Ingredients
- 2 cups bread (stale)
- 3/4 cup sugar
- 1 egg
- 1/2 cup butter (at room temperature)
- 1/2 lemon zest (grated)
- 1/4 teaspoon baking powder
- 3.5 oz dark chocolate (for coating)
Tools
- 1 Food Processor
- 1 Stand Mixer
- 1 Cookie Cutter
Preparation
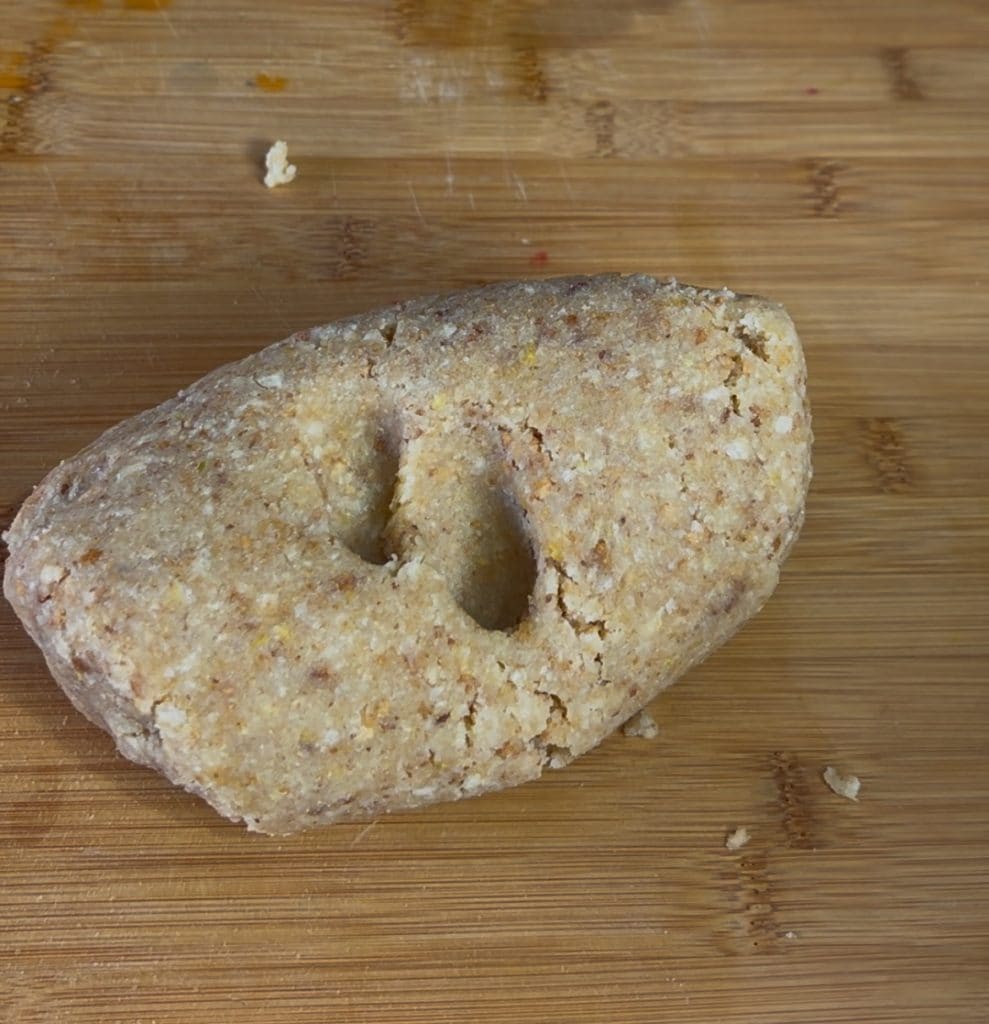
To prepare the bread shortcrust pastry, start by cutting the stale bread and chopping it well in the food processor. To make this process easier, I recommend adding the sugar provided in the recipe to the food processor along with the bread. Once you have a flour-like mixture, transfer it to the stand mixer bowl, adding the other ingredients, except for the dark chocolate, which will be used to decorate the cookies. Start the stand mixer at low speed and let it mix until you get a compact dough. At this point, work the dough on a work surface to form a dough ball. If you follow the video above, you will see that preparing the bread shortcrust is really simple.
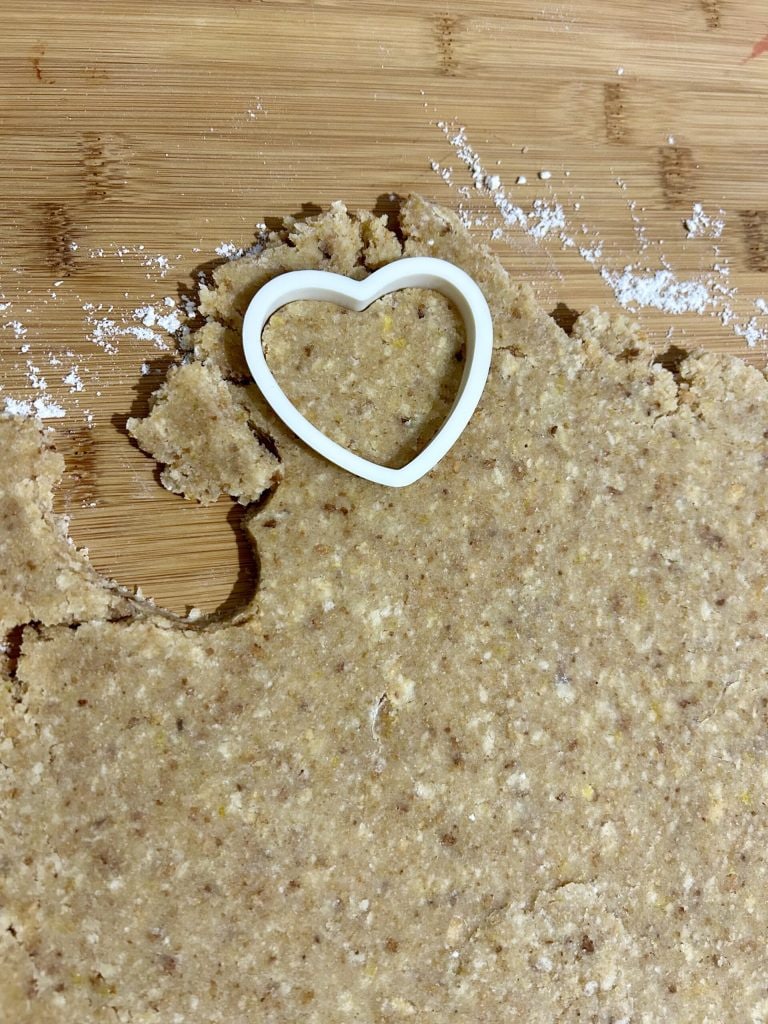
The shortcrust pastry just prepared can be used immediately, without needing resting times. It works easily and we can roll it out with the help of a rolling pin on a sheet of parchment paper or on a work surface lightly floured with cornstarch. Roll out the dough to a thickness of about 1/5 inch and cut the cookies with a heart-shaped cookie cutter or any shape you prefer. Place the cookies on a baking tray lined with parchment paper and bake in a preheated oven at 356°F for about 18 minutes, or until they are nicely golden.
Once the cookies are ready, let them cool slightly. Meanwhile, take the dark chocolate and chop it into fairly uniform pieces with a good smooth-blade knife. Put the chocolate in a bowl and melt it in a double boiler or in the microwave. Personally, I prefer the latter method, which is simple, quick, and not very messy. Put the glass bowl in the microwave and heat it at intervals of about 30 seconds. Each time, stir with a knife the chocolate that, in the meantime, will have melted. Stirring is important to achieve a uniform melt and to prevent the chocolate from burning.
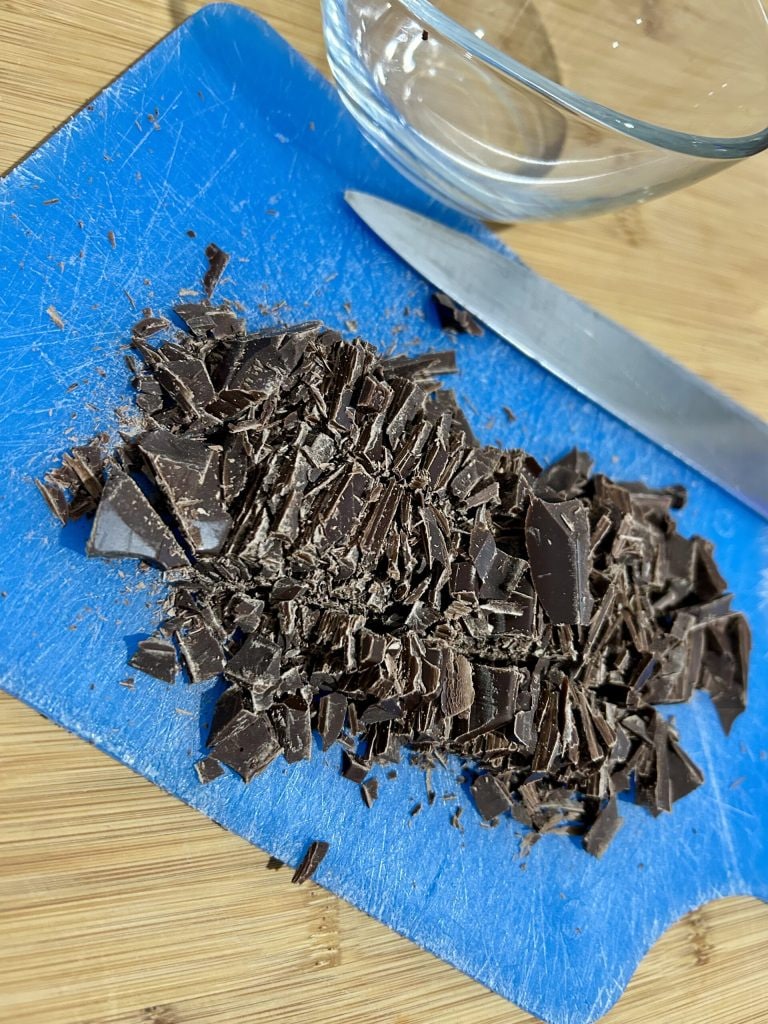
When the chocolate is completely melted, stir it well with the tip of a knife to allow it to cool slightly. It will be ready when you see it nice and shiny, like in the picture; this will help the chocolate set well once applied to the cookies. We can say that this is a sort of “homemade” chocolate tempering. If you want to be more precise, you can use a thermometer to check that the temperature is around 86°F. Now all that’s left is to dip each cookie in the melted chocolate and reposition them on the parchment paper, where you had baked them, until the chocolate is completely cooled.
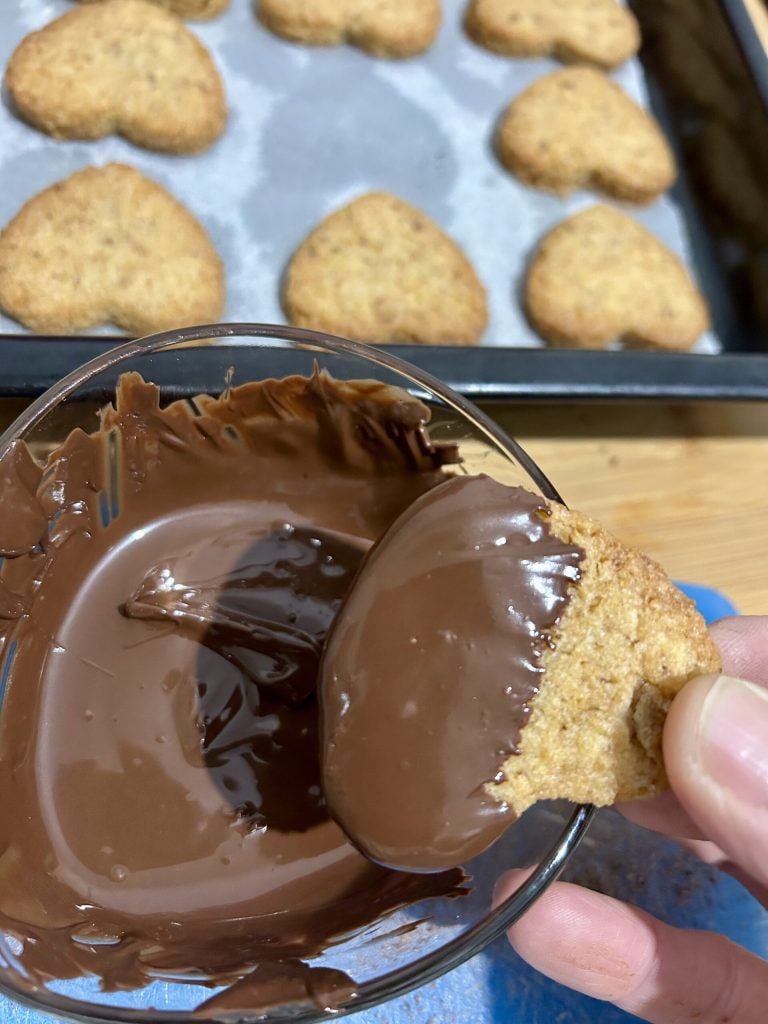
To coat the cookies as I did, just dip only part of the cookie, covering just the surface and leaving the rest natural. Once the chocolate has completely cooled, you will see that it is nice and crunchy and will not stick, so you can package your cookies or store them in tins with a lid. They will stay fresh for several days.