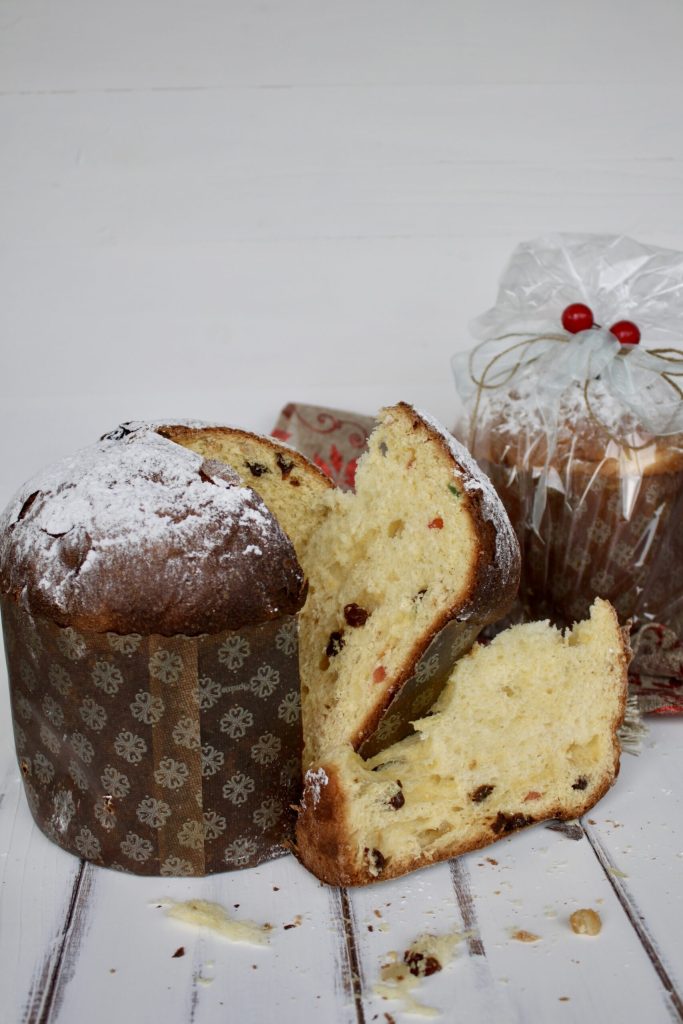
Panettone prepared with sourdough starter, recipe from the famous Simili sisters, expert bakers! This is an excellent recipe to create a delicious homemade artisanal panettone. Although it is a long process that requires some patience, it is not at all complicated, and the final result will be well worth the time spent. For all homemade Christmas sweets enthusiasts, I recommend trying it!
- Difficulty: Medium
- Cost: Medium
- Rest time: 2 Days
- Preparation time: 30 Minutes
- Portions: 3 panettones
- Cooking methods: No cooking
- Cuisine: Italian
Ingredients
For convenience, let’s divide the ingredients between the first and second dough
- 225 g sourdough starter (of the third refreshment)
- 550 g Manitoba flour
- 140 g butter (softened)
- 1 cup cups water (lukewarm)
- 6 egg yolks
- 2/3 cup cups sugar
- 270 g Manitoba flour
- 1/2 cup cups sugar
- 35 g water roux
- 25 ml milk
- 2 teaspoons salt (level)
- 1 teaspoon barley malt
- 3 teaspoons orange aroma (for panettone flavor)
- 1 teaspoon honey
- 6 egg yolks
- 140 g butter (softened)
- 125 g candied citron
- 1 3/4 cups cups raisins
- 125 g candied orange
Tools
We need tools for kneading but also panettone molds for baking
- Kitchen twine
- 1 Stand mixer howork
- 3 Baking molds
- 1 Metal scraper
Steps
The three main steps are essential: starting with the preparation of the sourdough starter; then, the first dough; and finally, the second dough. It is crucial to pay attention to the leavening in each phase because it makes no sense to proceed if the leavening of the previous step has not occurred optimally.
It is important to keep the sourdough starter active and follow the refreshment, as indicated in the recipe, for two days before using it in the panettone dough.
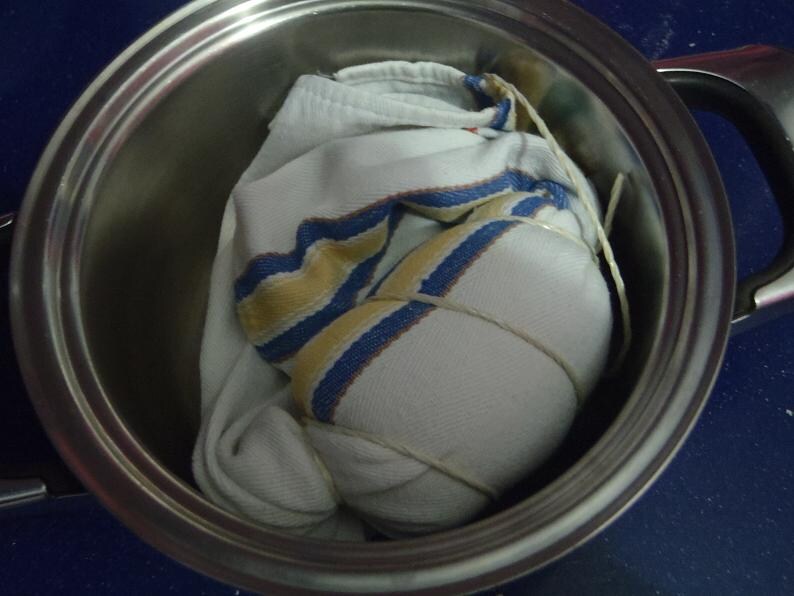
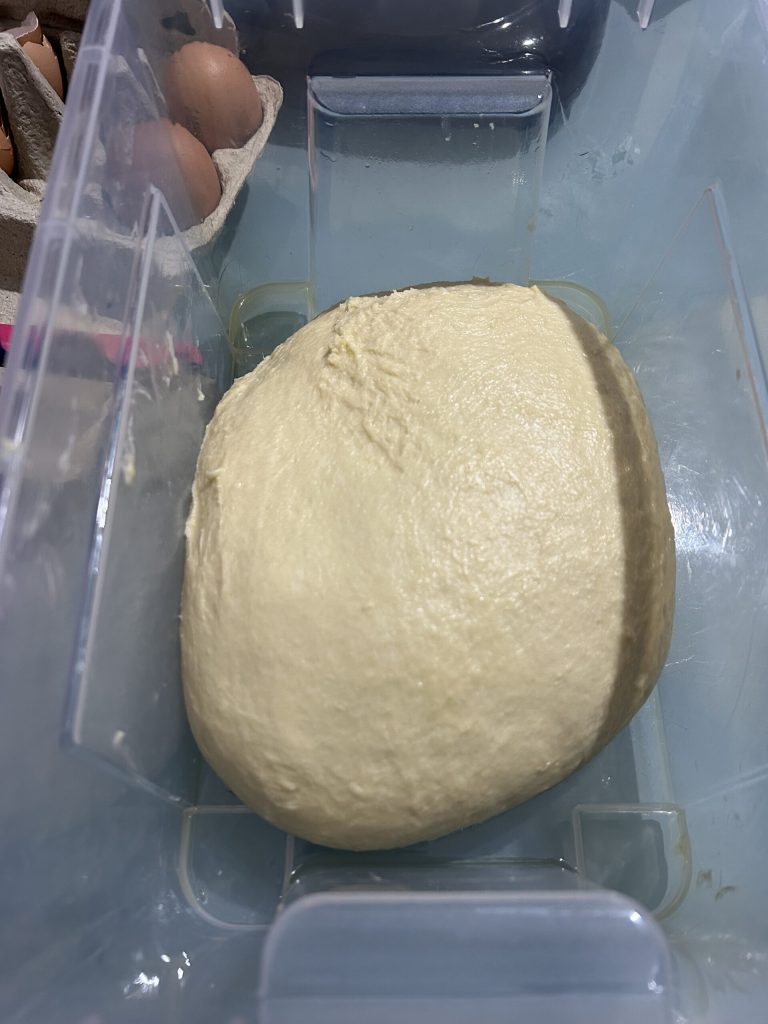
To prepare the panettone in time, it is necessary to refresh the sourdough starter on Friday around 5:30 PM. In the evening, around 9:00 PM, proceed with the binding: perform a new refreshment using 100 g of already refreshed sourdough starter, 100 g of Manitoba flour, and 50 g of lukewarm water. As shown in the photo, the sourdough starter should be wrapped in a cloth and tightly tied, like a salami, with kitchen twine. Then, place it in a small saucepan that fits it well (it should not be too large) and let it rest overnight.
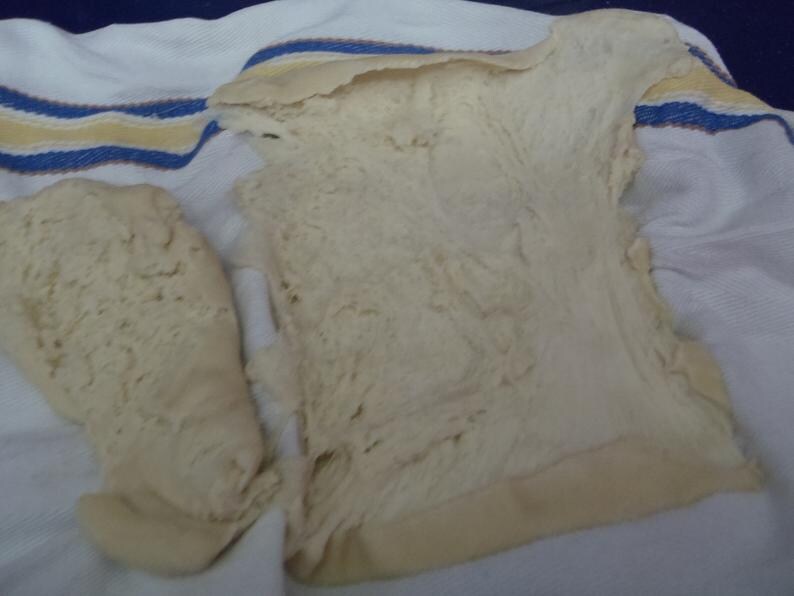
In the morning, when you cut the twine, you will hear a slight pop: it will be your sourdough starter that has worked wonderfully! The inside should be well aerated, as you can see in the last photo.
Now, let’s start with the necessary refreshment for the dough. Take 50 g of sourdough starter (the one that has risen well) and add 100 g of Manitoba flour and 50 g of lukewarm water. Mix to create a refreshment and let it rest for 3 hours in a warm place and then for 1 hour at room temperature. It should double in volume.

For the second refreshment, use 100 g of the sourdough starter you prepared earlier, add 100 g of Manitoba flour, and 50 g of lukewarm water. Again, let it rest for 3 hours in a warm environment and 1 hour at room temperature.

Remember, the dough must always double in volume!

Proceed to the third refreshment with the same quantities and procedure as the second

After 4 hours of leavening, the sourdough starter should appear swollen and well aerated; now, with this wonderful active starter, you can move on to the first actual dough.
Cut the sourdough starter from the third refreshment and put it in the stand mixer, then gradually add all the ingredients of the first dough, except for the room temperature butter, which you need to add last, once the dough has started to come together. Start with the flour, adding the ingredients one at a time, and incorporate the egg yolks little by little, ensuring each ingredient is well absorbed by the dough and allowing it to bind properly.
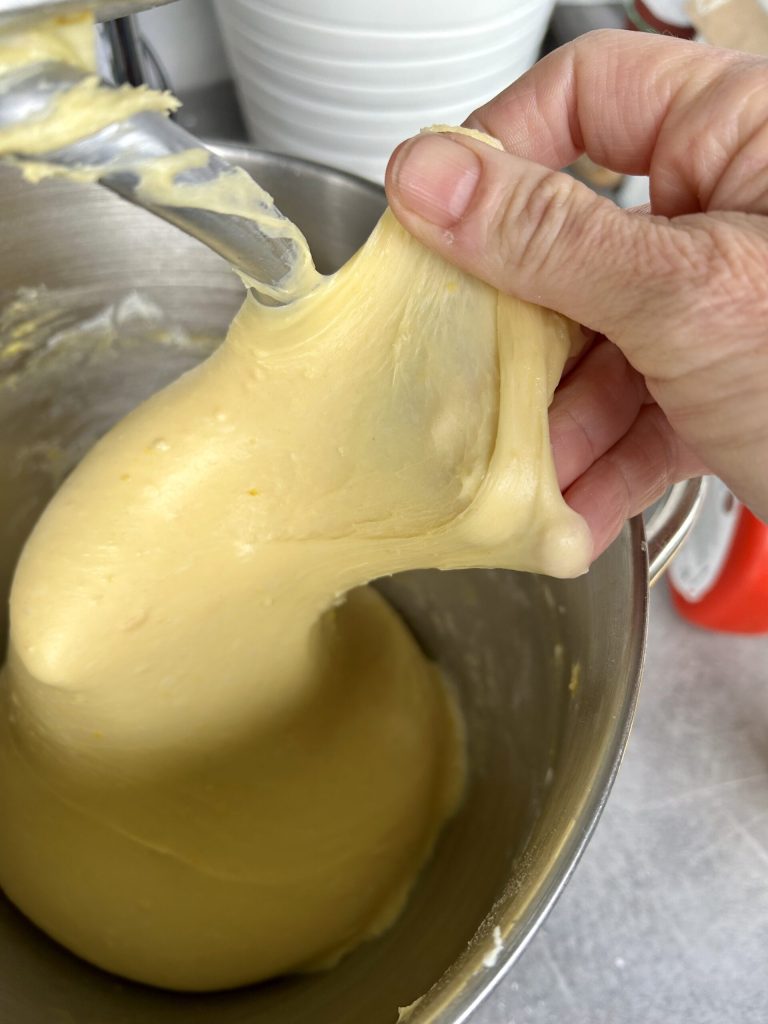
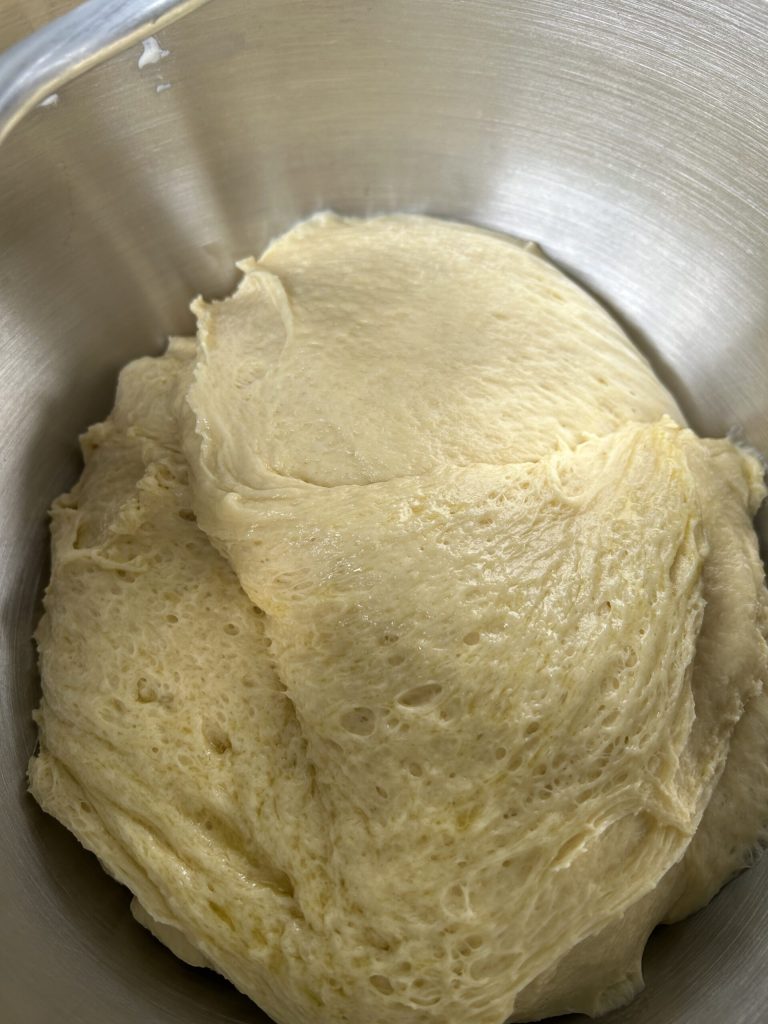
The butter should also be added in small pieces, letting it be fully absorbed. Finally, the dough must be well bound! “Binding” means that if you pull a piece of dough between your fingers, it should not break immediately but form a sort of web. Only when the dough is well bound, form a ball and transfer it to a bowl.
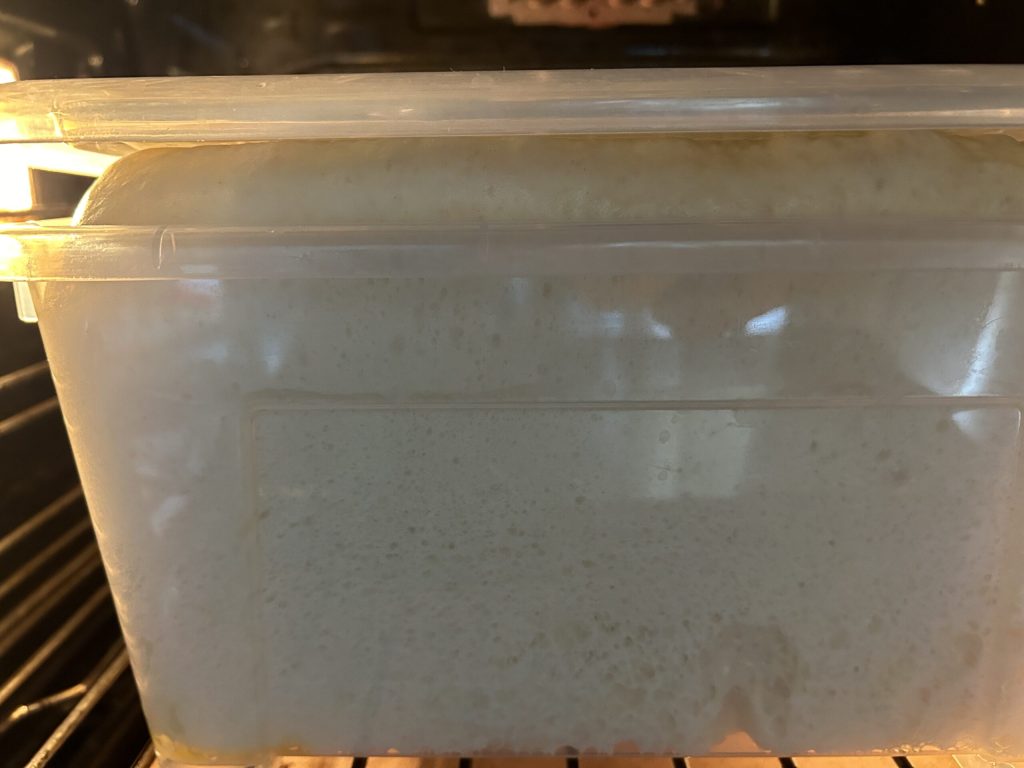
Cover the dough and let it rest in the turned-off oven (to avoid drafts) until the morning. It is crucial that the dough triples in volume; otherwise, you cannot proceed with the second dough. Rising times can vary from house to house, depending on temperature and humidity. In the morning, I found it exactly as you see it in the second photo.
Place the first dough in the stand mixer’s bowl and, following the order, add the flour and then all the other ingredients for the second dough. Remember to add one ingredient at a time, ensuring it is fully absorbed. Gradually add the egg yolks, then the butter in pieces one at a time. Remember that the dough must be well bound. It will take about 20 minutes for a good dough that forms a web between your fingers when you stretch it.
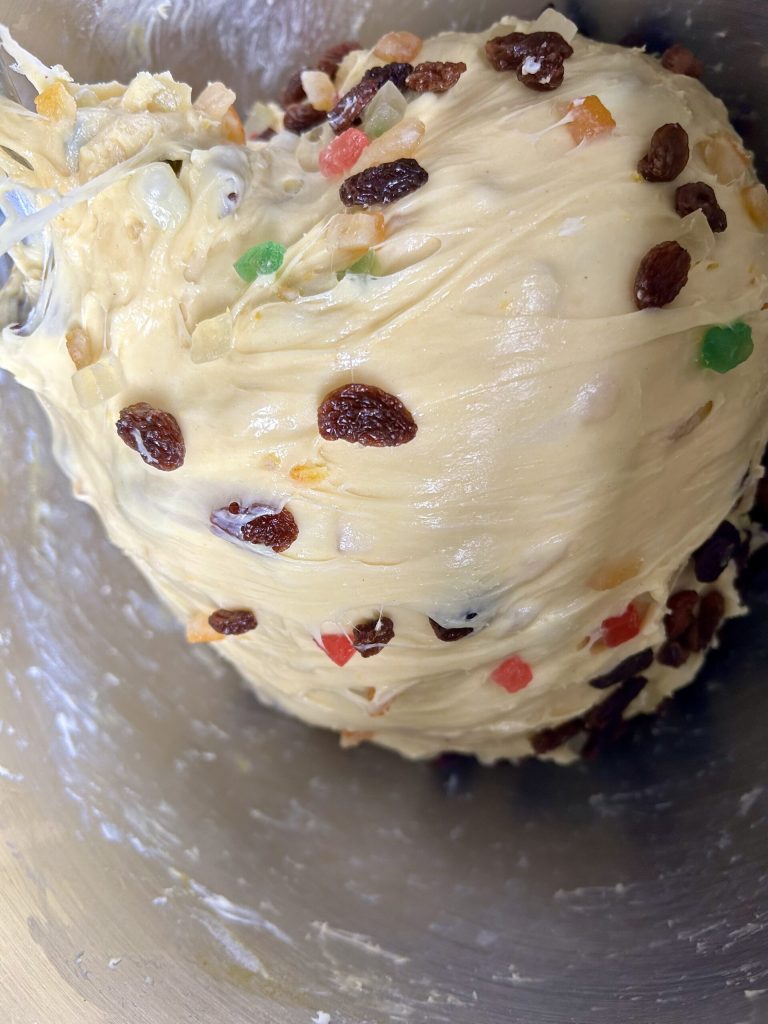
Finally, gently mix to avoid ruining the binding and incorporate the orange and citron. The dough should not spin too much with the candied fruits to avoid losing the binding.
Transfer the dough onto a work surface, and using a spatula and well-buttered hands, divide it into three portions of the same size. Cover them with a cloth and let them rest for about 20 minutes
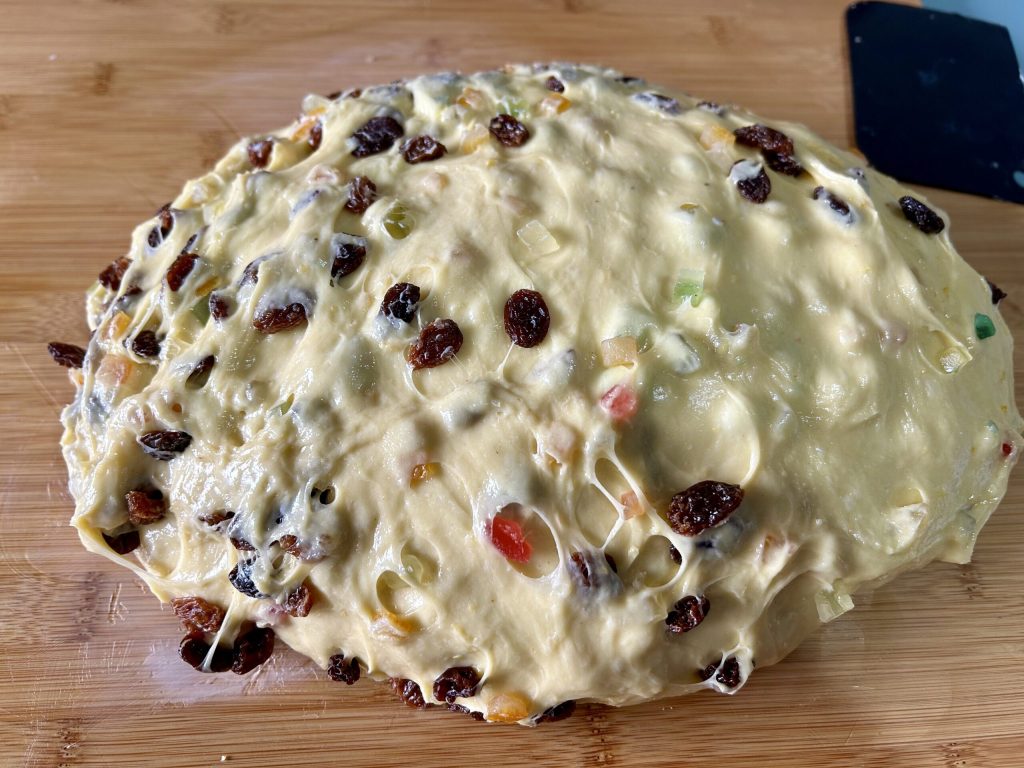
These are your panettone pieces, which need to be rounded before being placed in the molds.

Use three 750 g or 1 kg paper panettone molds. Take each ball of dough and, with circular downward movements, round your panettones well and put them in the molds. Follow the video it’s a very easy operation.
Place the molds covered with a plastic cloth or film to rise in a draft-free place like the turned-off oven. The panettones must reach the edge of the mold before being baked.
Bake in a preheated oven at 356°F for about 35 minutes. You can check that your panettone is well baked with a kitchen thermometer; the center of the panettone should reach 198°F.
If you notice that the top is darkening too much towards the end of baking, cover it with a sheet of aluminum foil.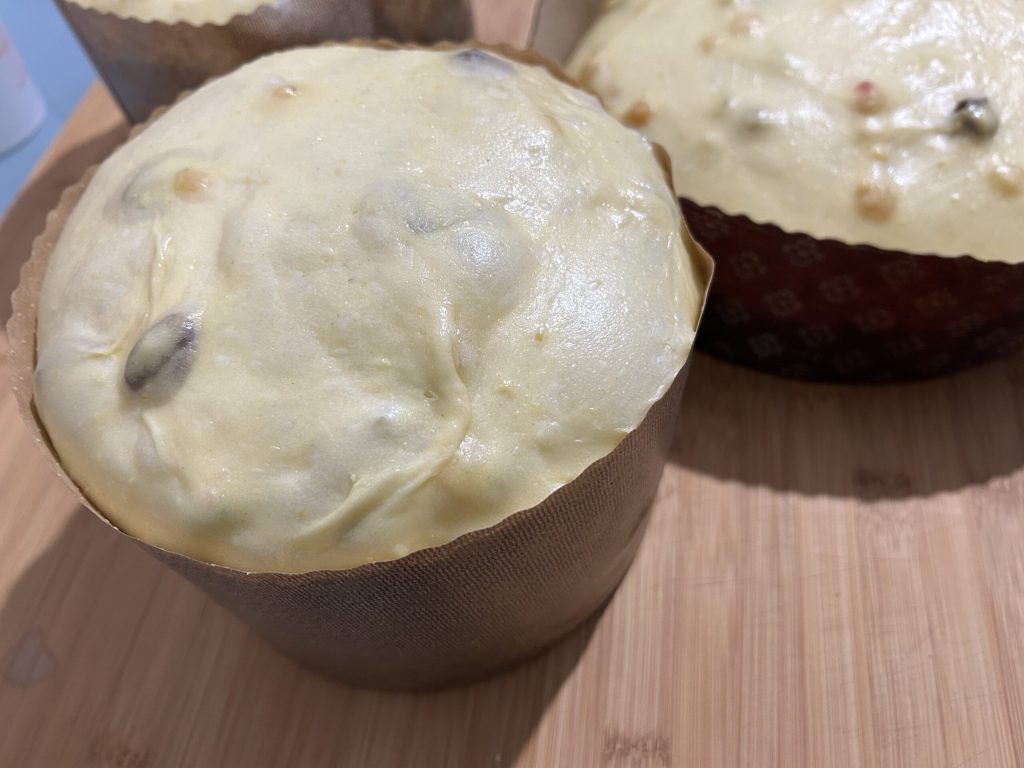
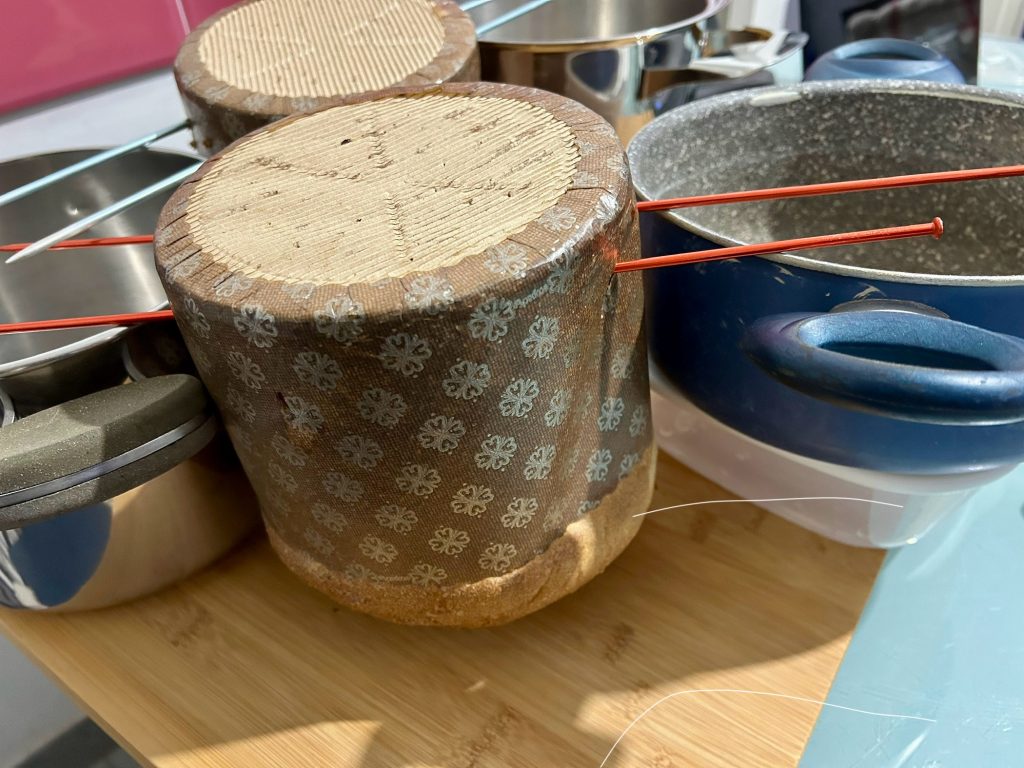
Once removed from the oven, the panettones must cool upside down. To facilitate this operation, I pierce them with two knitting needles and turn them, helping to hold them up with high-edged pots, as you see in the photo.
NOTES
If you have correctly followed all the steps, now your home will be filled with an irresistible aroma.
To get the most out of the panettone, it is advisable to wait a few days before consuming it. Once completely cooled, store it in food bags and, if possible, in tin or cardboard boxes to keep it fresh longer. However, I am sure you won’t be able to resist and will open at least one right away! So, HAPPY EATING to all of you who follow me!
If you liked the recipe or have questions, don’t hesitate to comment here or on social Facebook, Pinterest, Instagram and X.
FAQ (Questions and Answers)
Can we replace the candied fruits and raisins?
Of course, you can fill your panettones with chocolate chips and nuts simply by substituting them in the final step. If you want to fill them with creams instead, I recommend using a pastry syringe but only after they have completely cooled down.
Of course, you can fill your panettones with chocolate chips and nuts simply by substituting them in the final step. If you want to fill them with creams instead, I recommend using a pastry syringe but only after they have completely cooled down.