Crispy Apple Chips Baked and in Air Fryer: The Healthy Snack Without Oil
There’s a universal problem: the irresistible urge to munch on something crunchy, sweet, but guilt-free.
For me, Homemade Apple Chips have been the perfect solution, becoming my hunger-saving snack on endless workdays locked in the office. A true comfort food that combines taste and lightness.
The magic lies in transforming a simple apple into a golden wafer, but I know well that many of you, trying this preparation, ended up with chewy and somewhat sad slices.
I, too, initially faced the challenge of apple moisture and the difficult art of achieving that perfect crunch. But after years of trials and adjustments, I finally found the key!
My secret, honed from direct kitchen experience, is a combination of two crucial details that completely change the final outcome.
First, the strategic use of the Mandolin to obtain slices of exactly 1/16 inch — this thinness is key for water evaporation.
And second, the meticulous calibration of temperatures and cooking times, ensuring professional crispiness both in the Oven and in the ultra-fast convenience of the Air Fryer.
I promise that by following my perfected method, you will no longer end up with soggy and disappointing chips.
This recipe is the fruit of my passion and always guarantees maximum success.
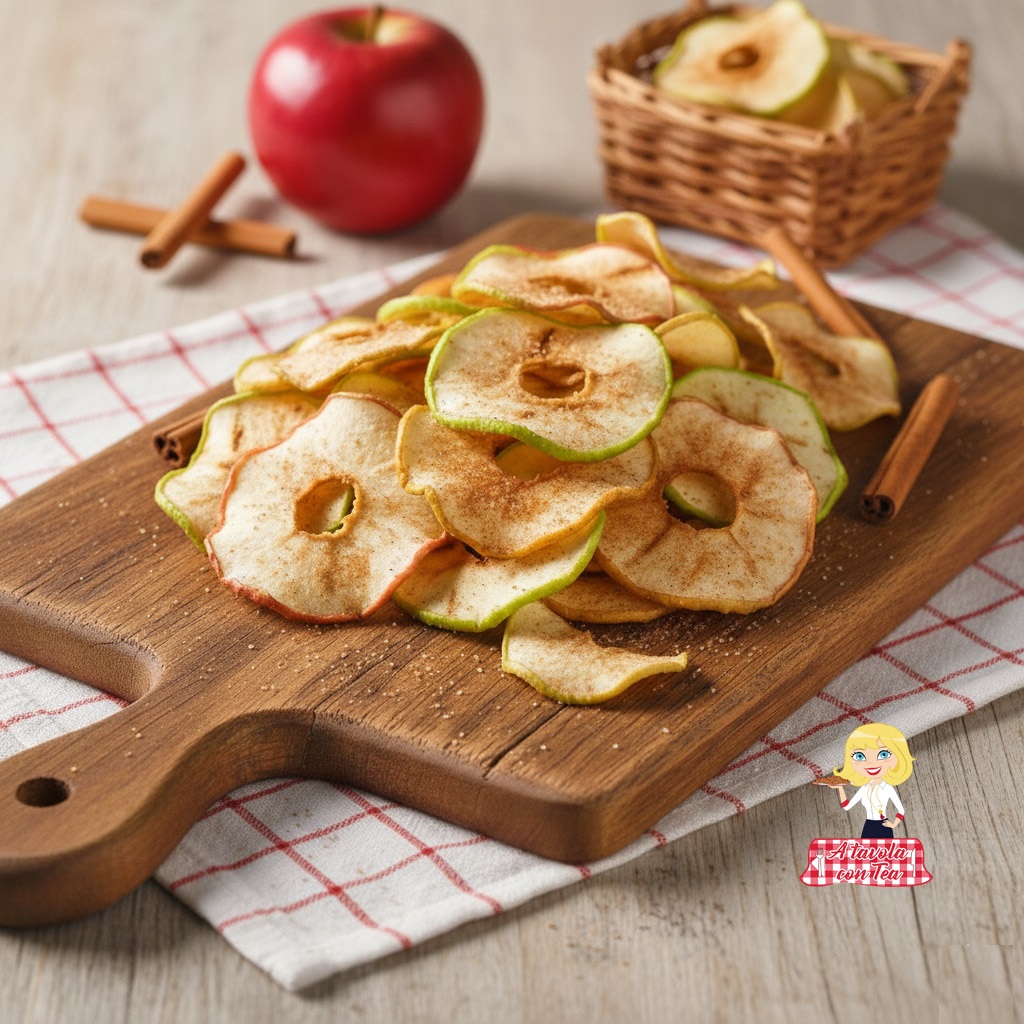
The result? Once ready, these chips fill the house with a warm apple and cinnamon scent. At first bite, you’ll hear the fragrant and satisfying CRACK, followed by natural sweetness.
It’s simplicity made perfect, your new favorite snack! Shall we begin?
- Difficulty: Very easy
- Cost: Very inexpensive
- Preparation time: 10 Minutes
- Portions: 4
- Cooking methods: Oven, Air Fryer
- Cuisine: Italian
Ingredients (Servings for 4)
- 2 apples (Gala, Fuji or Golden)
- 2 teaspoons granulated sugar (Or erythritol/stevia for the zero-sugar version)
- 1/2 teaspoon ground cinnamon
Tools
- Kitchen Scale
- Mandolin Slicer
- Oven
- Baking Tray
Procedure for CRISPY APPLE CHIPS IN THE OVEN
Slicing: Wash and thoroughly dry the apples. Slice them very thinly, ideally about 1/8 inch (2-3 mm). The thinner they are, the crispier they will be. You can use a mandolin for uniform slicing.
Coating: In a large bowl, toss the apple slices with the sugar and cinnamon until well-coated.Preheating: Preheat the oven to 210°F (static oven) or 390°F as indicated in the recipe for a quicker result, adjusting the temperature according to your oven.
Arrangement: Place a rack inside a baking tray (the rack helps air circulation). Grease with cooking spray or line with parchment paper.
Slow Cooking: Arrange the apple slices on the rack, spacing them so they do not overlap. Bake in the oven for 2-3 hours, flipping the apples halfway through (after about 1.5 hours), until they are dry but still flexible.
Cooling: Remove and let cool completely. The chips will become crispy only once cooled.Arrangement: Working in batches, arrange the apples in a single layer in the air fryer basket. (It’s acceptable for them to overlap slightly, but a single layer is ideal for maximum crispiness). Quick Cooking: Cook at 350°F (175°C) for about 12 minutes total.
Turning: Turn the apples every 4 minutes to ensure even browning and crispness on both sides.
Check and Cooling: The chips are ready when they appear dry, although they may still seem a bit soft. Transfer them and let them cool completely in the air: they will become super crispy!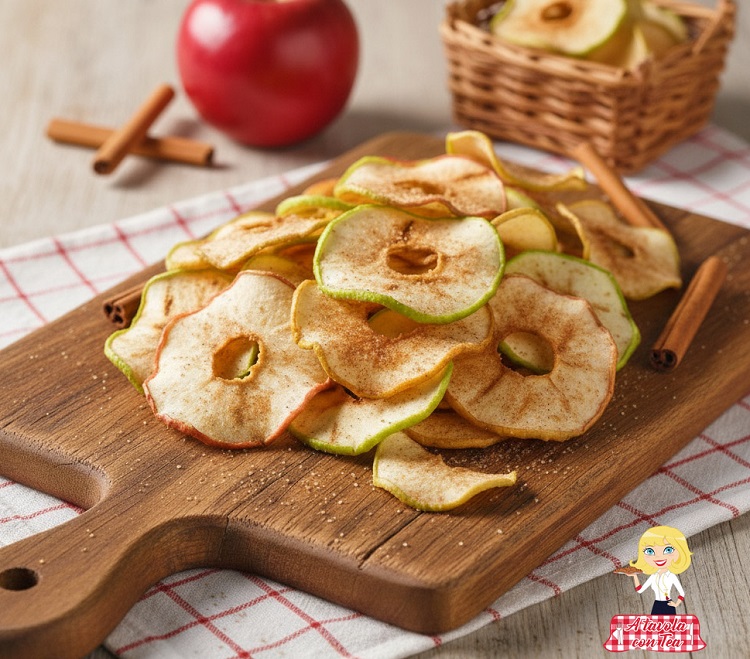
Notes on Ingredients and Substitutions
Type of Apples: Choose firm and less watery apples (Gala, Fuji, Golden, Pink Lady). Avoid Granny Smith if you don’t like tart flavors.
Sugar: It can be omitted for a completely zero-sugar version, or replaced with a pinch of erythritol or stevia to maintain sweetness without calories.
Cinnamon: If you don’t like cinnamon, you can replace it with ginger powder for a spicy touch, or a pinch of nutmeg for a warmer aroma.
Slicing the Apples: Even slicing is the key to success! Use a mandolin for perfect slices.
Storage
Apple chips are perfect if stored correctly, maintaining their crispiness:
Room Temperature: Store the chips in an airtight container at room temperature for up to 3-4 days.
Against Moisture: Make sure the chips are completely cool before sealing the container. A small trick is to add a piece of kitchen paper inside the container to absorb any residual moisture.
Not in the Fridge: Avoid storing them in the refrigerator, as moisture would make them chewy.
Delicious Alternatives and Variants
1 – Citrus and Salty Chips: Eliminate the sugar and cinnamon. Toss the apple slices with a pinch of fine salt and the grated zest of 1 lemon or 1 orange.
2 – Spicy Chili Chips: Add a pinch of chili powder or smoked paprika (about 1/4 teaspoon) to the sugar and cinnamon mix for a sweet-spicy contrast.
3 – Apple and Coconut Chips: Add 1 teaspoon of unsweetened dried coconut flakes to the seasoning mix before baking.
Perfect Uses and Pairings
Apple chips are an extremely versatile snack:
Healthy Snack: Perfect for munching instead of cookies or potato chips.
Topping for Yogurt and Porridge: Use them to add crunch to your breakfast.
Crispy Side Dish: They replace bread or croutons in autumn salads made of kale, goat cheese, and walnuts.
Pairing: They pair well with a hot spiced black tea (like Chai) or a ginger-lemon herbal tea for a relaxing afternoon.
Origins and History of the Recipe
The idea of drying fruit is as old as agriculture itself, a fundamental preservation method for our ancestors. However, Fruit Chips as we know them today, baked for a crispy texture, became popular with the advent of modern wellness culture and the search for healthy alternatives to fried snacks. This recipe celebrates the rediscovery of simple techniques (drying) applied to the apple, a fruit symbolizing simplicity and rural tradition, here transformed into a crunchy and modern pleasure.
Additional Paragraph: The Trick for Super Crispy (and Not Chewy!) Chips
The number one enemy of Apple Chips is moisture! The secret to achieving textbook crispiness is slow and complete cooling. As soon as the chips come out of the oven or Air Fryer, it’s normal for them to still be a bit soft. Turn off the oven/fryer, slightly open the door, and let them cool directly on the rack for a while. Once cool, transfer them to a plate: if they aren’t crispy enough, put them back in the oven at 210°F for another 15-20 minutes. Patience in this phase is the key to success!
FAQ (Questions and Answers)
1. What is the ideal cut for apple slices?
The ideal cut is very thin, about 1/16 inch. If the slices are too thick, they will take much longer to cook and may end up chewy. I recommend using a mandolin to ensure uniform thickness, essential for even cooking.
2. Why did my chips become chewy after cooking?
There are two reasons: either you undercooked them, or you didn’t let them cool completely in the air. Crispiness develops only during cooling. If they’re chewy, put them back in the oven at 210°F for another 15-20 minutes, then let them cool completely.
3. Is it necessary to add sugar?
No, it is not strictly necessary if your apples are already very sweet, but sugar (or a sweetener like erythritol) helps the apple to caramelize slightly on the surface, enhancing the flavor and contributing to the drying process. If you omit it, the result will be excellent but less sweet.