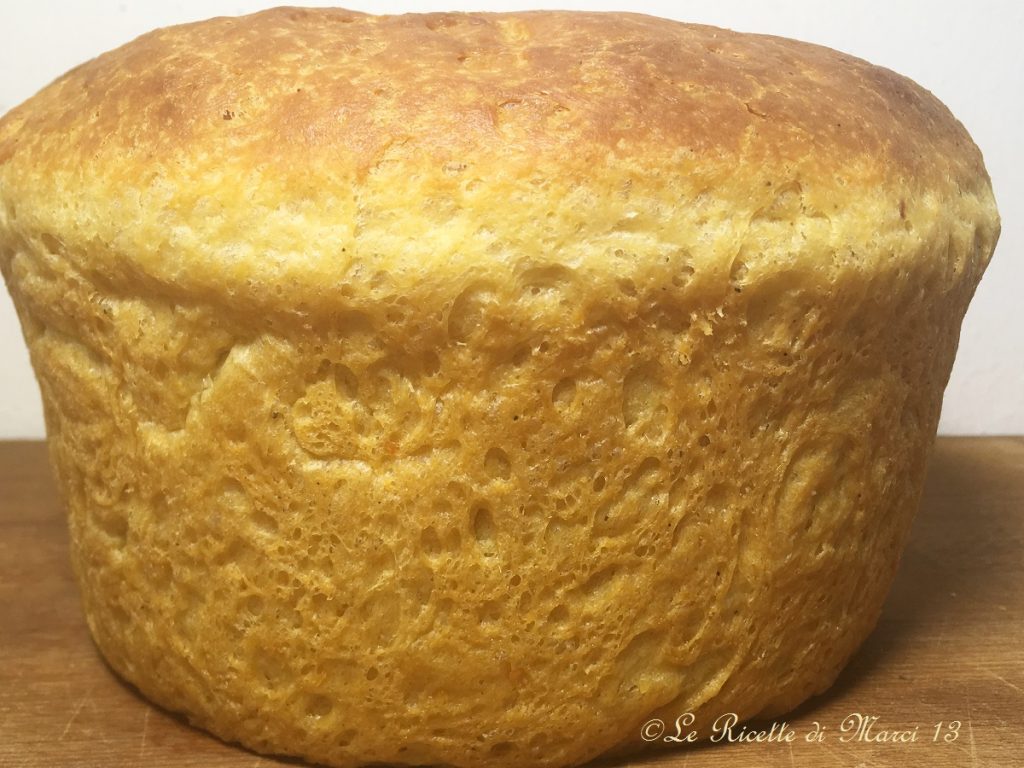
Easter Cheese Pizza
This Easter Cheese Pizza reminds me of the many Easters spent with my maternal grandmother, who, being of Umbrian origin, prepared it every year. It is truly tasty and very soft.
An old rustic pizza, fragrant and delicious, which pairs well with salted ricotta, cured meats, and boiled eggs, and is consumed either as a starter for the Easter lunch or during picnics and outings on Easter Monday.
It’s a recipe I prepare every year because it brings me so much satisfaction, so super tried and true and infallible. Just follow my step-by-step procedure, you can’t go wrong, success is guaranteed.
I’ll tell you right away, that the cheese pizza should be eaten at least 1 day after you’ve prepared it, as the flavors need to blend well. So plan carefully the day you want to prepare it.
If you want to enrich the Easter menu with other sweet and/or savory recipes, I recommend checking out my “Easter Menu Special“.
You might also be interested in:
- Difficulty: Medium
- Cost: Medium
- Rest time: 4 Hours
- Preparation time: 1 Hour
- Portions: 8 people
- Cooking methods: Oven
- Cuisine: Italian
- Seasonality: All seasons, Easter
Ingredients
- 5 Eggs
- 2 1/2 cups all-purpose flour (I use Caputo Classica blue)
- 1 2/3 cups Manitoba flour (I use Manitoba Oro Caputo W over 350)
- 0.7 oz Fresh yeast
- 1 teaspoon Sugar (about 10 g)
- 1 1/4 teaspoon Salt
- 1 teaspoon Pepper
- 1/2 cup Water
- 5 2/3 oz Pecorino romano (aged, finely grated)
- 3 1/4 oz Parmigiano reggiano (aged, finely grated)
- 1.8 oz Lard
- 5 2/3 oz Extra virgin olive oil (of good quality)
Tools
- Bowl
- Stand Mixer Kenwood with 1400 W of power, illuminated bowl
- Mold truncated cone 8 inches in diameter
Preparation for Easter Cheese Pizza
Prepare a mixture with 5 whole eggs, 5 2/3 oz of pecorino romano, 3 1/4 oz Parmigiano (proportions between cheeses can vary according to your taste) salt, pepper, 5 2/3 oz of good quality extra virgin olive oil. Let this mixture rest for at least 4 hours, so the flavors blend well.
In the meantime, prepare a pre-ferment with: 0.7 oz of fresh yeast, 1 teaspoon of sugar, and 1/2 cup of lukewarm water (about 100°F) and let it ferment in a glass, preferably plastic, for 5-6 minutes.
Combine the dissolved yeast with a little flour, form a small dough and let it ferment, covered with flour, for 40-50 minutes.
When the dough is all cracked, gradually incorporate (not all at once) the egg and cheese mixture and knead with the remaining flour.
I used the stand mixer and the paddle attachment and kneaded well for about 20 minutes, then I added the lard (little by little, NOT all together!) and worked for the last 10 minutes with the dough hook.
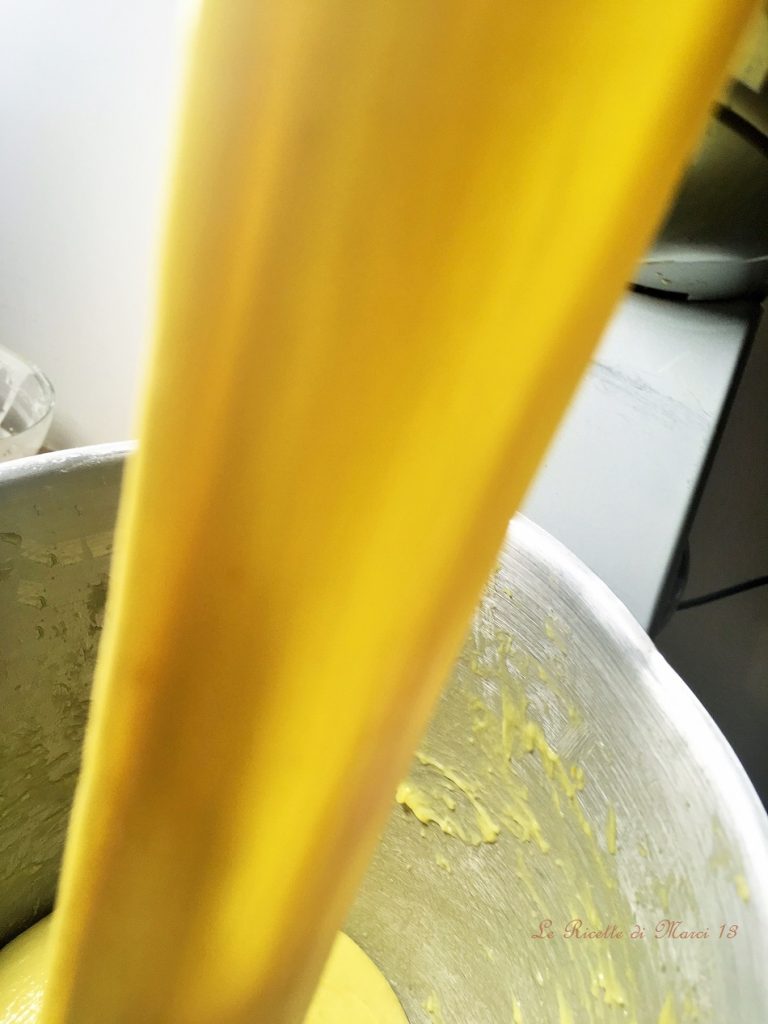
The dough is soft and elastic and should be well bound, meaning it should detach from the walls and when lifted should fall in one piece without tearing (see photo above). Let the dough rest at room temperature for about 50-60 minutes, covered.
Before putting the dough in the mold, make the second type of folds (see here, starting from where Adriano Continisio writes: “There’s also a tight folding system that greatly strengthens the gluten and tightens the alveolation. It’s used to obtain fine and regular alveolation combined with significant vertical development of the product“) and lightly shape the dough into a ball by closing it and place it gently into the mold, giving it a round shape.
The mold must necessarily be conical, tall, narrow, and flared, like the one used for panettone (8 inches diameter, height 4.7 inches, lower base 6.3 inches, upper base 8.3 inches) well greased with lard (NOT floured) as shown in the photo (see Shopping Tips below).
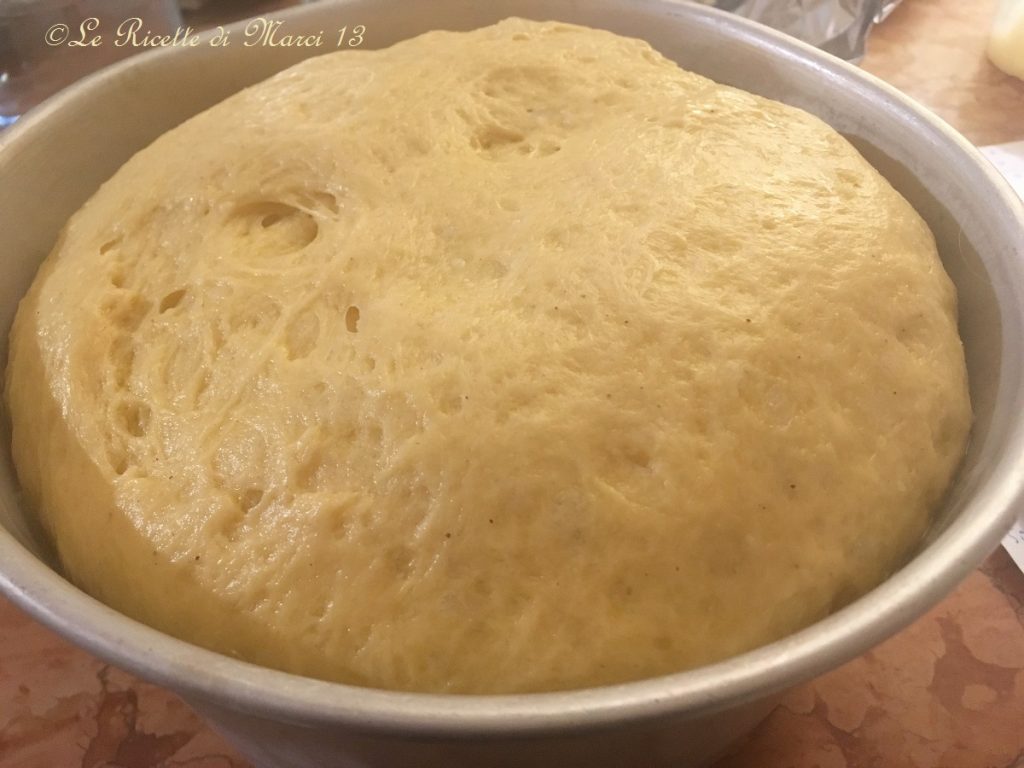
Let the dough rise again, covered and away from drafts, until it reaches the edge of the mold (about an hour).
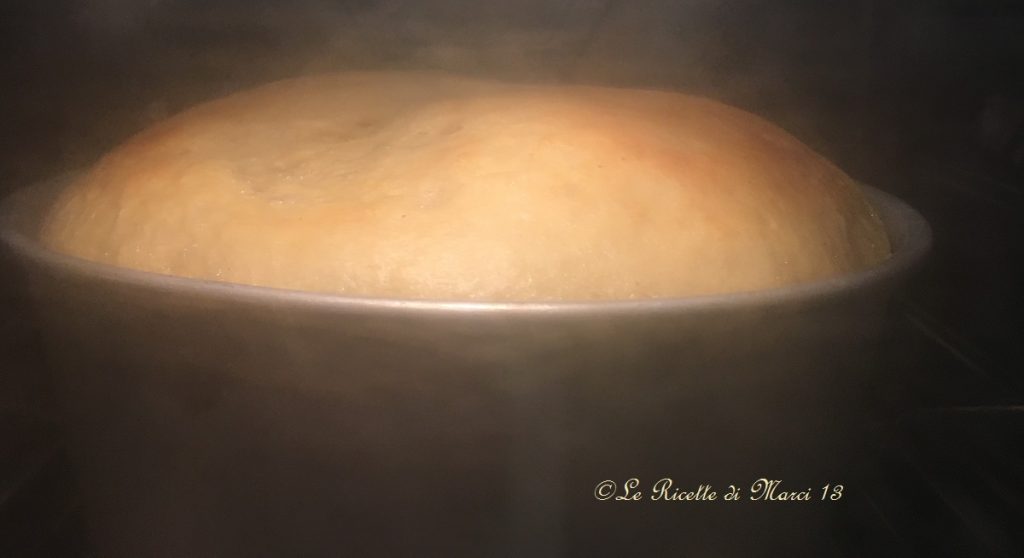
This cheese pizza should initially be baked slowly, so place it in the oven slightly warmed to 122°F, this way the cake won’t crust immediately and will develop more in height. To achieve this, pour about a glass of water on the BOTTOM of the oven itself (or in a suitable oven pot), to create steam, and then immediately raise the temperature to 392°F. After the first 20 minutes, lower the oven to 356°F.
This Easter rustic should bake for about 40-45 minutes, after 40 minutes check with a toothpick.
The cheese pizza should be eaten after at least 1 day from baking (but even better after 3 or 4 days) otherwise it won’t acquire its typical flavor.
Serve this Easter cheese pizza accompanied by salami, capocollo, and boiled eggs.
Store the pizza in a plastic bag (or wrapped in cling film) it keeps well for 7-10 days.
Notes and Tips
Of course, if you don’t have the specific pan, a round aluminum one about 8 inches in diameter will work just fine.
The cheese pizza should not darken too much, as the cheeses can acquire a bad taste. If well worked, the cake will bake becoming slightly golden.
The recipe comes from the legendary Cucina Italiana forum and is from Paola Lazzari, who already in 2007 described this cheese pizza on the Cucina Italiana forum like this: “… I guarantee it’s easy and delicious. Make it because it will give you great satisfaction and it is MUCH better than the ones on the market or from various bakeries…” and I fully agree with her, it is by far the recipe that closest resembles the one my maternal grandmother used to make.
Try to give the dough a round shape before placing it in the pan. Proceed as if you were shaping Panettone. There are more than explanatory videos on YouTube. This way you will have a nice dome after baking! Choose well-aged cheeses, both Pecorino Romano and Parmigiano Reggiano. The cake will taste better and keep longer without developing mold. Pepper is not used to make the Cake spicy, but to give it its particular aroma. Don’t skimp on it! The cheeses should be finely grated: if using an electric grater, try to make the cheese even finer by rubbing it between your hands. This way the cake crumb will be soft and compact. Work the dough a lot. It will be ready when you can stretch a small piece of dough to form a thin layer without it tearing (see photo above). Cook the cake well so it is fully dry inside. If the dough is well worked and risen, the cake will cook in a short time (40-45 min) and the crumb will be as soft as Panettone’s. Otherwise, if the dough hasn’t been worked correctly, the crumb will be moist and it will take longer to cook, darkening the top crust. With the proposed dose listed above, you get a cake about 2.6 lbs. Let’s say it’s the minimum quantity for a cheese cake, making them smaller means losing a lot in terms of taste. I’ve seen very cute muffin-sized ones. Again, very intriguing and maybe even practical to serve, but I assure you that the size greatly penalizes the taste.
Shopping Tips!!!
To knead to perfection and with ease the various types of dough, I use my Kenwood Titanium Chef Patissier XL stand mixer with illuminated 7L bowl, integrated scale, and blender, with a powerful 1400 W, a faithful ally in the kitchen for: kneading, weighing, whipping, melting chocolate, pasteurizing eggs.
If instead, you are looking for a more economical and smaller stand mixer, you can safely choose to purchase the Kenwood Titanium Chef Baker stand mixer, with double bowls of 5L and 3.5L, 1200W power.
You can find both mixers on Amazon, at a special price.
To bake the cheese pizza a truncated conical mold of 8 inches in diameter is necessary, I found it on Amazon
How is Cheese Pizza stored?
Cheese Pizza (crescia or cheese cake) can be stored for 3-4 days well wrapped in food-grade plastic wrap, can be reheated and even frozen.
Difference between Umbrian cheese pizza and Marche cheese pie?
Generally, the Umbrian version is more compact, made with bread dough + yeast. The Marche version has a coarser alveolation with cheese eyes, as it usually also has cheese cubes inside.