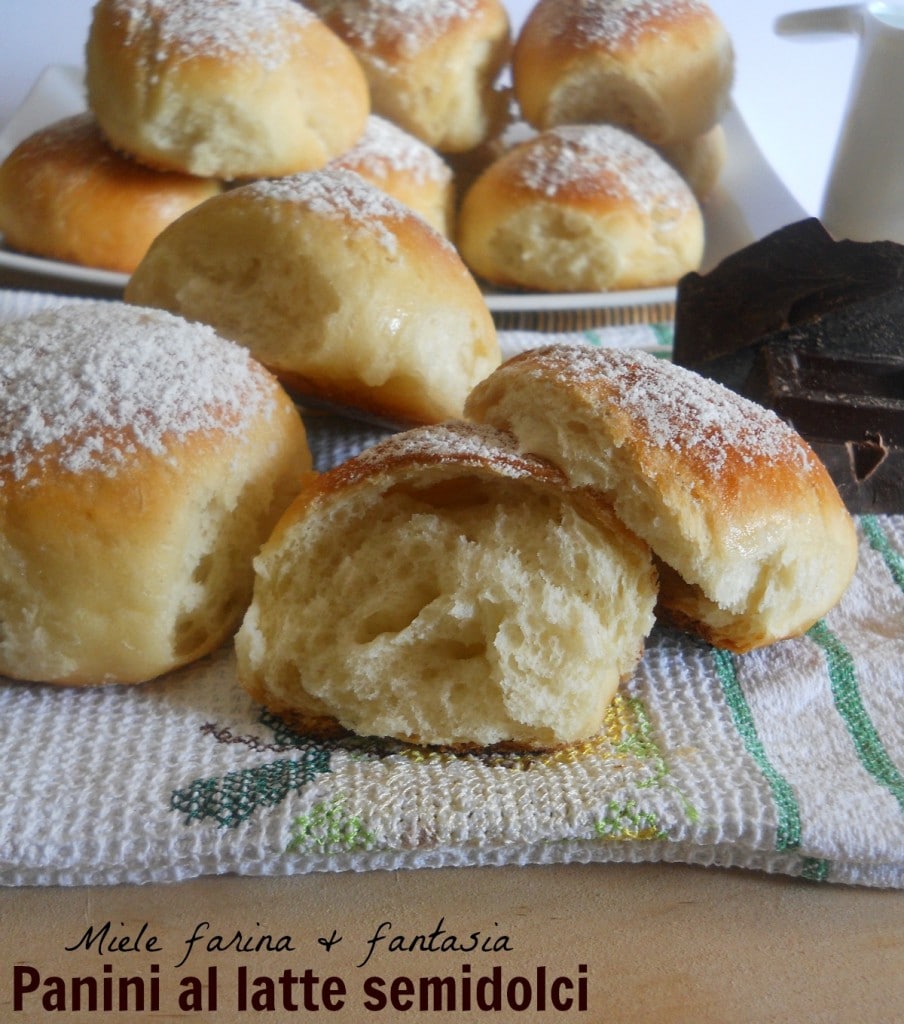
I had been trying to reproduce rolls that were as soft as brioches but without containing too much fat or eggs for a long time. Well, I succeeded! These semi-sweet rolls are great for kids and beyond. We can make them for breakfast, snack time, leisure, buffets, etc… The procedure to make these delicious semi-sweet milk rolls at home is very simple and easy. In case the rolls are not consumed within the day, they can be stored in the freezer, in a food bag, so as to always have them on hand.
- Difficulty: Very Easy
- Cost: Very Cheap
- Preparation time: 30 Minutes
- Portions: 15
- Cooking methods: Oven
- Cuisine: Italian
- Seasonality: All Seasons
Ingredients
- 3.5 oz all-purpose flour
- 0.18 oz fresh yeast
- 1/4 cup water (at room temperature)
- 1/4 teaspoon honey (to taste)
- 14 oz all-purpose flour
- 7/8 cup milk at room temperature (also lactose-free)
- 0.035 oz fine salt
- 1 tablespoon granulated sugar (alternatively 1/2 tablespoon of honey)
- to taste aromas to taste (grated citrus zest, cinnamon, vanilla, etc…)
- to taste milk (for brushing)
- to taste powdered sugar (for dusting the rolls before baking)
- doubled starter dough
Steps
Let’s start by preparing the starter dough.
In a large bowl, dissolve the fresh yeast in 2 tablespoons of water (taken from the 65 milliliters) at room temperature, add the sifted flour, the rest of the water, honey (or a pinch of sugar, necessary only in winter to help leavening). Mix until a soft mixture is obtained, seal the bowl with plastic wrap and let it rise until doubled.
Prepare the dough for the semi-sweet rolls.
When the starter dough has doubled in volume (1* photo from the left), transfer it to the bowl of a stand mixer or a large bowl.
Add half of the flour, that is 200 grams, half of the milk (i.e., 100 milliliters) and the sugar and start to mix roughly so that the starter dough begins to combine with the ingredients.
Complete by adding the remaining 200 grams of flour, the rest of the milk (I recommend adding it always little by little, because the liquid absorption capacity varies from flour to flour; if necessary, you can add a few more tablespoons of milk) and the salt last.
It might be necessary to add or reduce, by at least a tablespoon, the amount of milk, depending on the ambient humidity or the flour. Today, for example, I had to add 30 milliliters more milk to the dough, as the day is very dry, despite always using the same type of flour from the same brand. So, if you realize that the flour cannot be absorbed and the dough remains crumbled and hard, add a teaspoon of milk at a time, continuing to knead, until all the flour has been absorbed.
Knead until all the ingredients are perfectly combined with each other and until you get a dough that is smooth and soft, easily workable but not mushy or, on the contrary, too hard.
At this point, we can proceed in two ways.
1) If we are in a hurry, let the dough rest covered (wrapped in plastic wrap, closed in a container or under a container) for 30 minutes.
Then, take it and divide it into balls of about 50 grams (or according to the desired size) which we will roll on themselves with our hands to obtain a small sphere.
Put the balls to rise directly on the baking tray (3* photo from the left), already covered with parchment paper, spacing them about 1.5 inches apart from each other.
When the volume has doubled (4* photo), gently brush them with milk (not cold from the fridge, please), sprinkle them with plenty of powdered sugar and bake them at 180°C (356°F) in a preheated oven, middle rack, for about 20 minutes (check them because cooking times vary from oven to oven), until the base of the milk rolls is golden. Once baked, take them out immediately and sprinkle them with more powdered sugar, if desired or according to needs.
2) If, on the other hand, we are not in a hurry, let the dough rise until doubled (2* photo from the left); then divide it into balls of 50 grams or more and, proceeding as described in point 1, transfer them onto the baking tray lined with parchment paper, let them rise and bake them, always as described in point 1.
Between the two methods, I prefer the second, because the triple rising (starter dough = dough = rolls) gives our milk rolls greater softness, taste, and fragrance, which are maintained over time.
Some of the rolls, once cool, I froze this way: I placed them on a tray covered with parchment paper that I then inserted inside a food bag, closed with a clip (or a tie) “bag closer”.
This way, I always have them ready when needed, because they take just a few seconds in the microwave to defrost or about 30-45 minutes at room temperature, depending on the season.
Often, for defrosting, I take advantage of the residual heat of the oven, after using it; obviously, the heat must not be excessive, because it could spoil the external and internal texture, in general and of our rolls in particular.