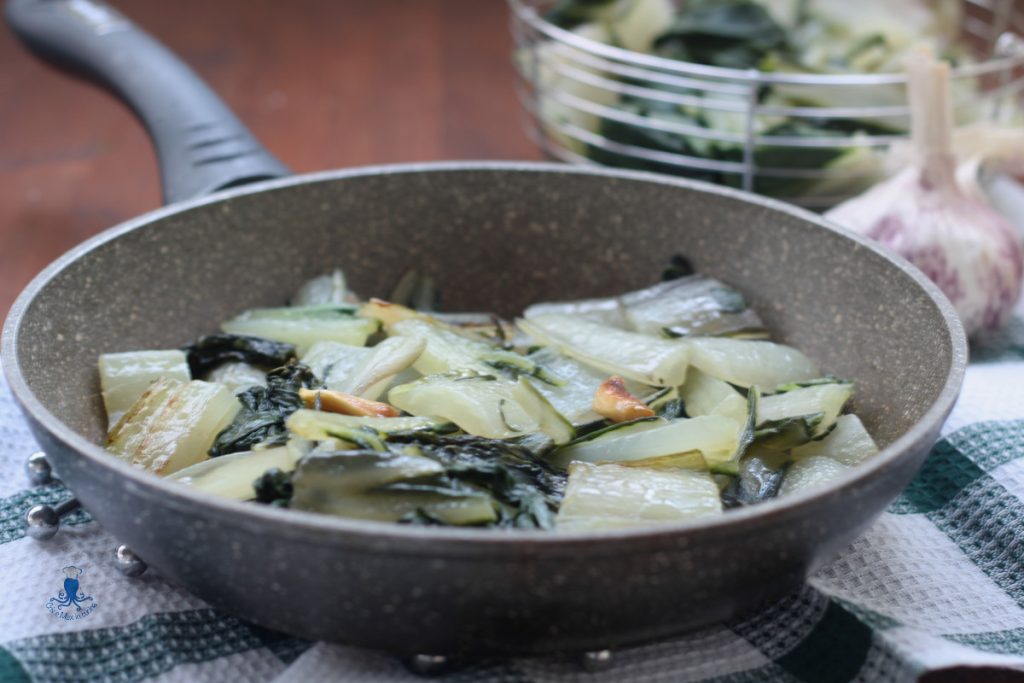
Sautéed chard is one of those simple side dishes that smell of home, wholesome cooking, and traditional recipes passed down by word of mouth, without the need to measure or weigh anything. This version stems from the idea of starting with chard already steamed in a pressure cooker or multicooker to save time and preserve color, flavor, and texture, avoiding the risk of them becoming too watery or mushy during cooking. Moreover, it is a practical solution for those who love cooking in advance or organizing weekly meals, as steamed chard keeps well and is suitable for many preparations.
Once steamed, just transfer them to a pan with extra virgin olive oil, garlic, and a light hint of pepper to get a simple yet tasty side dish, perfect with any main course: meat, fish, legumes, or eggs. If desired, you can also add a pinch of chili pepper to give it an extra character or to transform it into a more rustic and flavorful preparation. The texture remains soft yet firm, ideal even for those who do not like vegetables that are too mushy or stringy.
- Difficulty: Very easy
- Cost: Very cheap
- Preparation time: 10 Minutes
- Portions: 2 people
- Cooking methods: Stovetop
- Cuisine: Italian
- Seasonality: Autumn, Winter
Ingredients for sautéed chard:
- 14 oz steamed chard
- 2 tbsps extra virgin olive oil
- 2 cloves garlic
- to taste fine salt
- to taste black pepper
- to taste fresh or powdered chili pepper (optional)
Tools for sautéed chard:
- 1 Pan nonstick
Steps for preparing and cooking sautéed chard:
First, make sure you already have steamed chard. If not, you can cook them in different ways: with a multicooker or pressure cooker or with simple stovetop steaming. Once cooked, let them cool and keep them handy.
If you need to steam them traditionally, start by thoroughly washing the chard and separating the leaves and stems. Cut the stems into small pieces and the leaves into slightly larger parts. Fill a pot with a small amount of water, place a basket or metal colander that does not touch the water level, and bring to a boil. At this point, place the stems in the lower part of the basket and the leaves on top, cover with a lid, and let cook for about eight to ten minutes, checking the texture: they should be soft but still firm. Once ready, drain well and let them cool for a few minutes. Remember to salt them only after cooking or directly during the recipe.When the chard is ready, prepare the seasoning. In a pan, pour a drizzle of extra virgin olive oil and add the garlic cloves, deciding whether to leave them whole for a milder aroma or chopped for a stronger flavor. Turn the heat to low and allow the garlic to release its aroma without burning. As soon as the oil is hot and aromatic, add the chard and start stirring gently.
At this point, you can season with salt, pepper, and, if you like, a touch of chili pepper, adjusting to your taste. Continue cooking for 3/4 minutes, just enough to let them absorb the flavors without drying out too much. When they look glossy, tender, and fragrant, they are ready to be served at the table or used as a base for other preparations.
FAQ (Questions and Answers)
Can I use freshly boiled chard instead of steamed ones?
Yes, but it’s important to drain them very well to prevent them from releasing too much water in the pan and becoming watery.
Should I salt them before or after cooking in the pan?
It’s better to salt them directly in the pan while they are absorbing the flavors, or at the end of cooking. If you are steaming them, don’t salt them beforehand.
Can I substitute the garlic?
Yes, you can use shallot, onion, leek, or simply flavor with herbs such as parsley, mint, marjoram, or thyme.
How long can I keep them?
In the fridge for up to two days, stored in an airtight container. They can also be quickly reheated in a pan or microwave.
How to boil chard?
Bring salted water to a boil, cook the stems (cut into pieces of about 0.5-0.75 inches) for 4–5 minutes, then add the leaves (cut into pieces of about 1 inch) and continue for another 5–6 minutes (total time about 10–11 minutes). Drain well, and if they are needed for other recipes, dry or gently squeeze them.