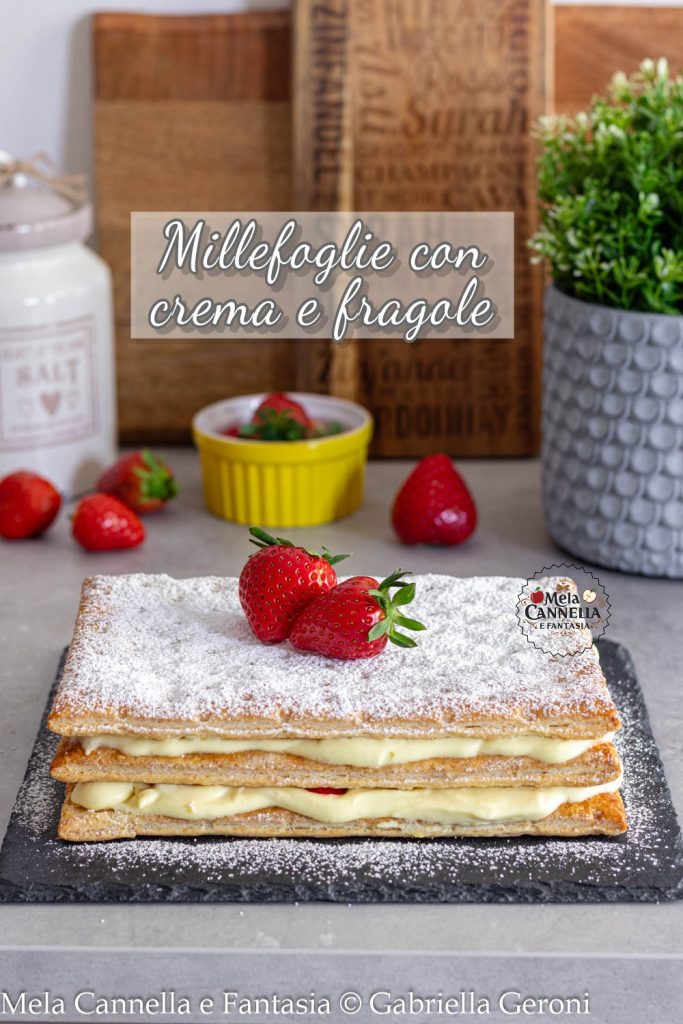
Today we’ll make a dessert that is a favorite for everyone in my home! A beautiful and delicious quick and easy Millefeuille, filled with smooth diplomatic cream and fresh strawberries.
The Millefeuille with ready base is undoubtedly a stroke of genius and deliciousness without complications! The perfect dessert for those who want to impress with few simple moves!
Therefore, if you’re craving an elegant and delicious dessert but have little time available, you’re in the right place! The solution is at hand with this last-minute Millefeuille!
I chose to use ready-made millefeuille bases so you only need to focus on the cream. Just 10 minutes to prepare it, and then, once it’s cooled, you only need to assemble the dessert.
The ready-made base will save you precious time in the kitchen, yet you can still use fresh puff pastry rolls to bake separately (read below).
The millefeuille cake is perfect for any occasion such as Christmas, Easter, Sunday lunch or a special birthday! Great for a romantic dinner (in this case we can prepare it in single portions) or to celebrate our beloved mother.
It’s easier to make than to explain! However, I will tell you exactly how and provide you with all the useful tips to prepare a perfect millefeuille cake with cream and strawberries, super delicious and fresh.
But first, I’d like to briefly talk to you about this famous dessert!
When and how was the Millefeuille created?
The origins of this elegant dessert are uncertain, getting lost in the history of pastry! Some sources trace it back all the way to the 17th century in France.
The first written record is from 1651, when it appeared in the French cookbook “Le Cuisinier François” by François Pierre de La Varenne. However, the version described might be different from the one we know today.
The recipe was later perfected in the 18th Century by Marie-Antoine Carême, a famous French chef and pastry chef. The version with three layers of puff pastry and two of pastry cream is often attributed to him.
In the 19th Century, this dessert gained fame. Many pastry chefs claim it was presented as a specialty in 1867, by the famous pastry chef Adolphe Seugnot in Paris.
Regardless of the exact birth date, the millefeuille has become an icon of French pastry, eventually spreading worldwide with various variations and names.
The classic version is characterized by a simple yet elegant filling. The heart of the traditional millefeuille is made up of two generous layers of smooth and velvety pastry cream. This cream is usually flavored with vanilla or lemon zest or other delicate aromas.
Sometimes a small amount of whipped cream can be added to the pastry cream, creating a diplomatic cream. However, in its most “classic” form, the filling consists only of pastry cream.
As for the decoration of the surface, it is usually covered with a sugar glaze but, over the years, it has been accompanied by a simple layer of powdered sugar.
The variant I propose today, with cream and strawberries, is a fresh and delicious reinterpretation of this great classic, perfect for celebrating the beautiful season!
But isn’t the millefeuille the same as the diplomatic cake?
No! Although both are composed of layers of puff pastry and cream, the classic diplomatic cake is distinguished by the addition of sponge cake soaked.
Ready to prepare a quick and easy Millefeuille together? Guaranteed goodness with minimal effort!!
But first, here are some other delicious ideas to try:
- Cost: Medium
- Preparation time: 30 Minutes
- Portions: 6 People
- Cooking methods: Stovetop
- Cuisine: Italian
- Seasonality: All seasons
Ingredients
- 2 cups cups whole milk (fresh)
- 3 egg yolks
- 1/2 cup cup sugar
- 1/3 cup cup cornstarch (or flour if you prefer)
- lemon zest (or vanilla bean or vanilla extract or cinnamon)
- 3/4 cup cup fresh whipping cream (minimum 35% fat. Or vegetable cream)
- puff pastry (3 ready-made millefeuille bases or 3 rolls of fresh puff pastry to bake for a total of 9-11 oz)
- 1 package strawberries (about 9 oz)
- to taste powdered sugar (for the surface)
Tools
- Bowls
- Cutting Board
- Casserole
- Grater
- Spatula
- Whisk
- Mixer
- Sieve
Steps
First, let’s take care of the cream which will need to chill for about 4 hours.
Wash a preferably organic lemon well under water and grate all the zest, half will go into the milk and half into the eggs.
To make my cream even more fragrant with a strong lemon flavor, I use the grated zest directly instead of the peel.
If you prefer, you can use the whole peel (to add to the milk) and remove it before the cream thickens.
Place a non-stick saucepan on the heat, pour the fresh whole milk in and add half of the grated lemon zest.
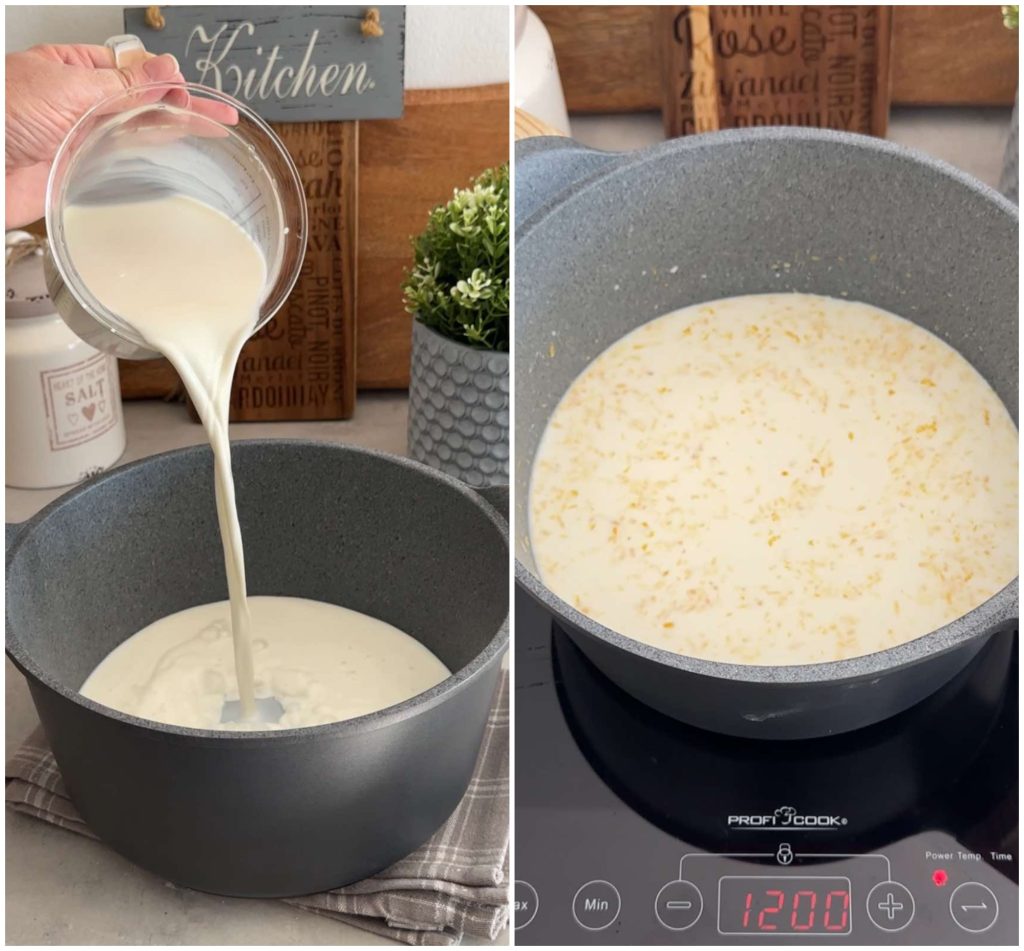
Turn the heat to the lowest setting and let it be. In a bowl, combine the yolks of medium eggs.
N.B.
In the photos below you see 6 yolks because I made a double batch of cream. I used the other half to fill a tart. So don’t worry, everything is correct. The quantities indicated above are correct! 😉❤️
Add the sugar and beat vigorously with a hand whisk or, if you prefer, with an electric mixer.
Add the other half of the grated zest and mix until you achieve a nice light and creamy mixture.
Now add the cornstarch, gluten-free for intolerant (or all-purpose flour for those who prefer it) and mix very well.
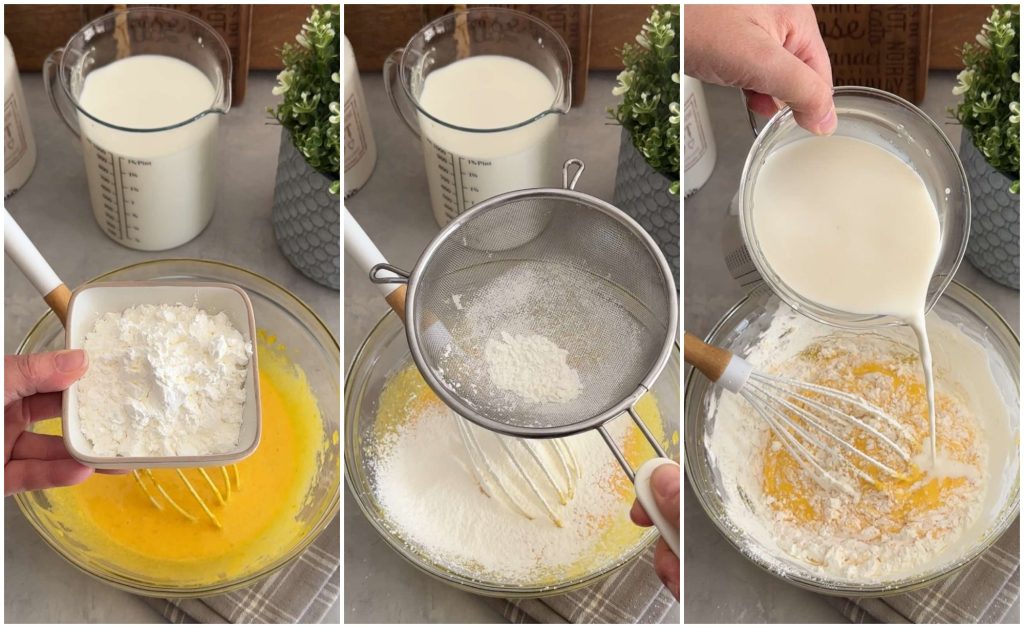
Temper with a ladle of milk (not boiling) taken directly from the saucepan and stir quickly with the whisk.
Then pour all the rest of the milk over the egg mixture, stir and then pour it back into the saucepan.

Reposition the saucepan on the heat and cook the mixture for about 10 minutes until the cream thickens, stirring CONTINUOUSLY.

As soon as the cream nears boiling (starts puffing like a volcano), turn off the heat and pour it into a glass or ceramic container, preferably NOT plastic.
Give it a quick stir with a hand whisk and then cover it with cling film in contact, making sure not to leave air bubbles.
Completely cool the cream (I added more grated lemon zest once cooled but it’s not essential).
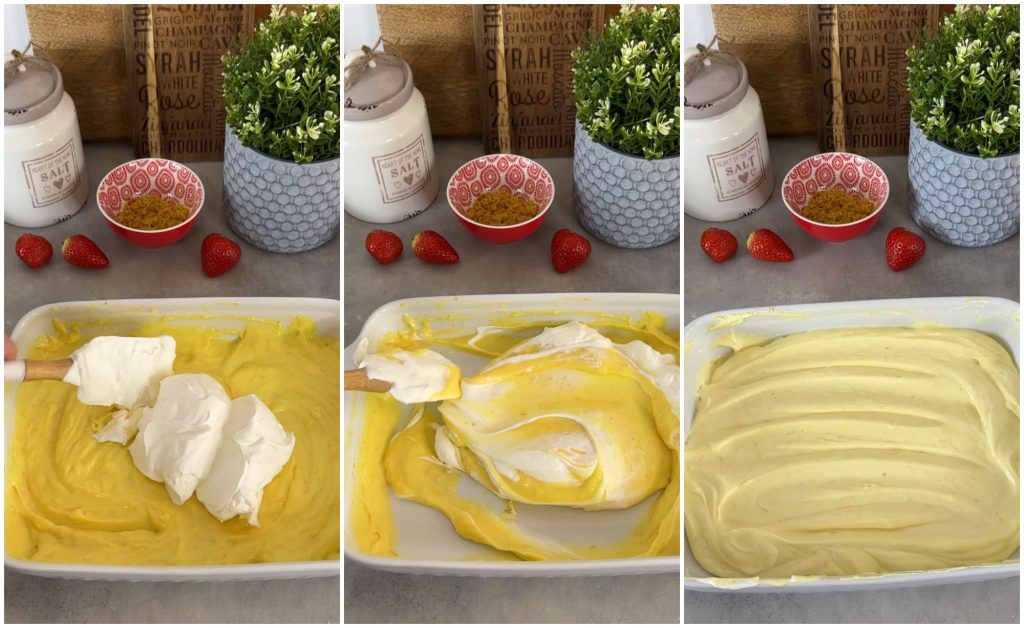
Pour the fresh cream (cold from the fridge, mind you) into a container, add a tablespoon of sugar and whip with an electric mixer.
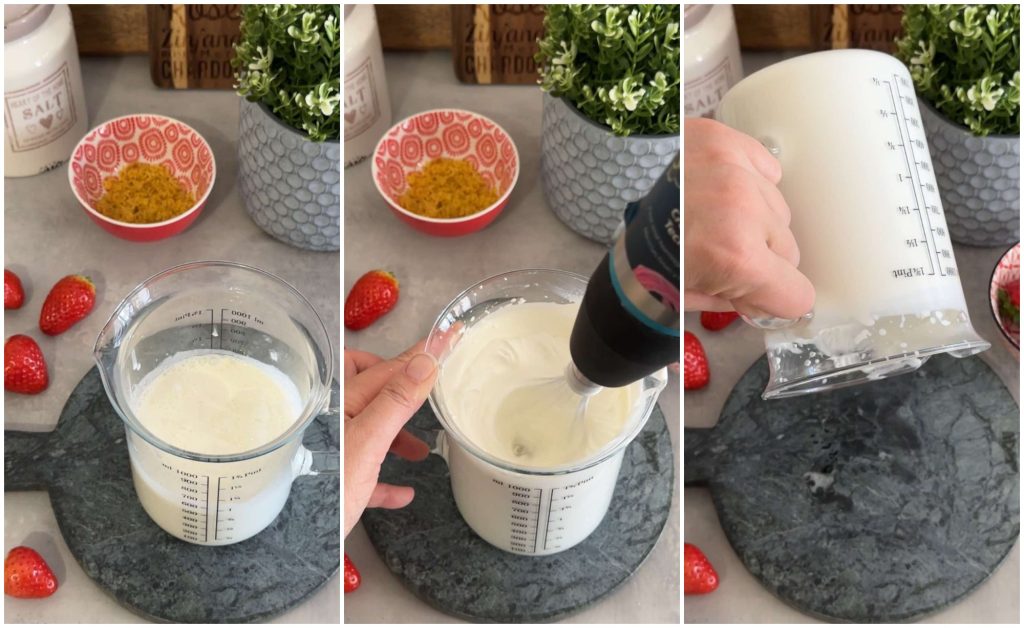
Gently fold the cream into the pastry cream using a spatula.
We just have to define the final details before assembling our cake.
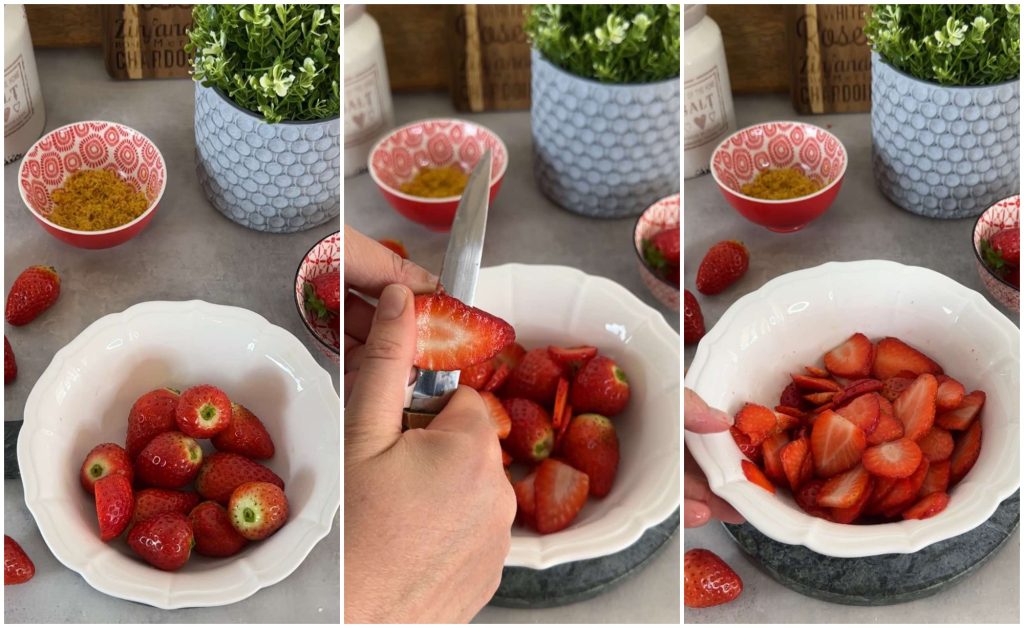
Wash the strawberries under water and then dab them well with paper towels. Cut into thin slices leaving a couple whole for the final decoration.
Place the first ready-made puff pastry on a serving plate.
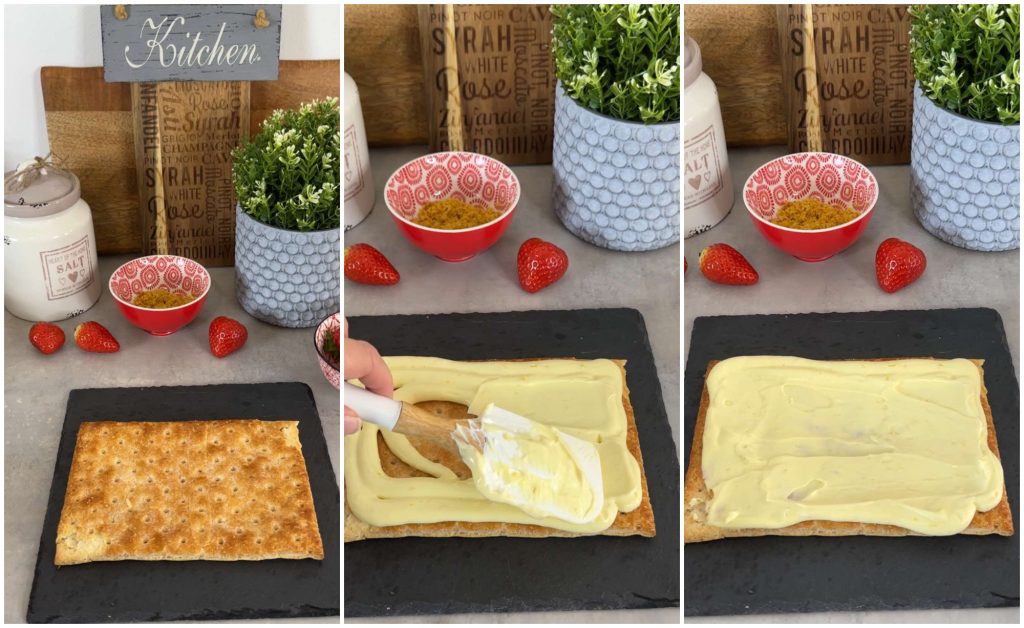
Make the first layer of Diplomatic Cream and place the sliced strawberries on top.
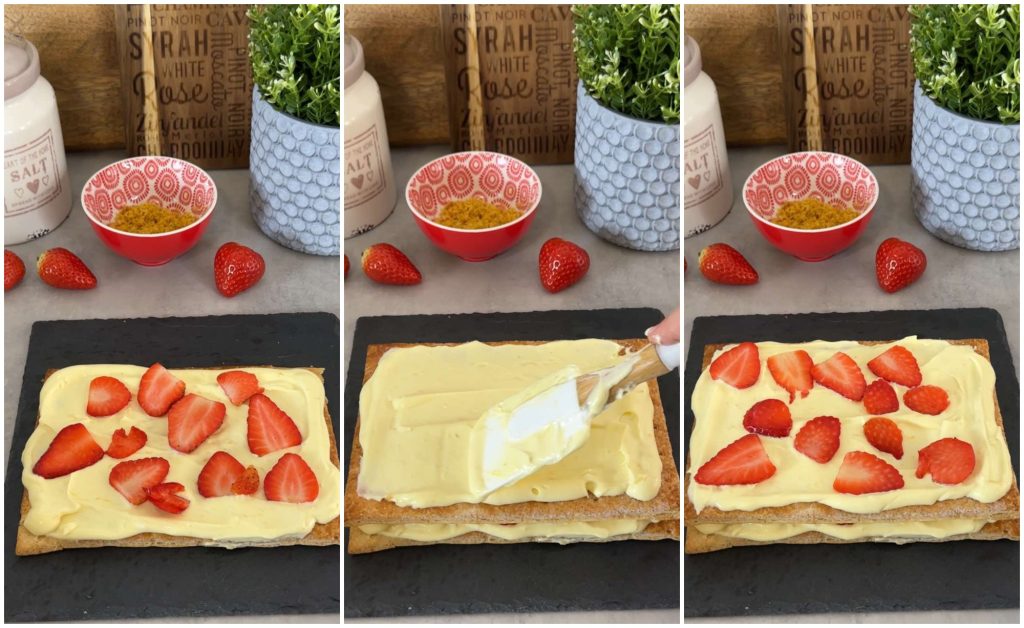
Overlap the second layer of pre-cooked puff pastry and fill with the last layer of pastry cream and then strawberry slices.
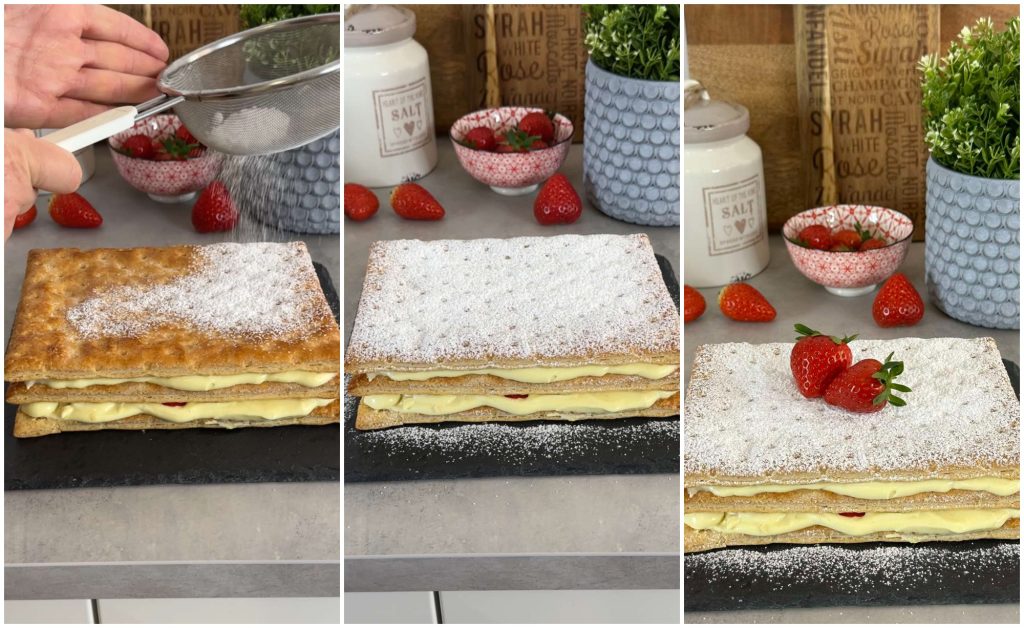
Close with the third and final layer of puff pastry and sprinkle the entire surface with plenty of powdered sugar.
Place two whole strawberries in the center and your Strawberry and Cream Millefeuille is ready to impress everyone!
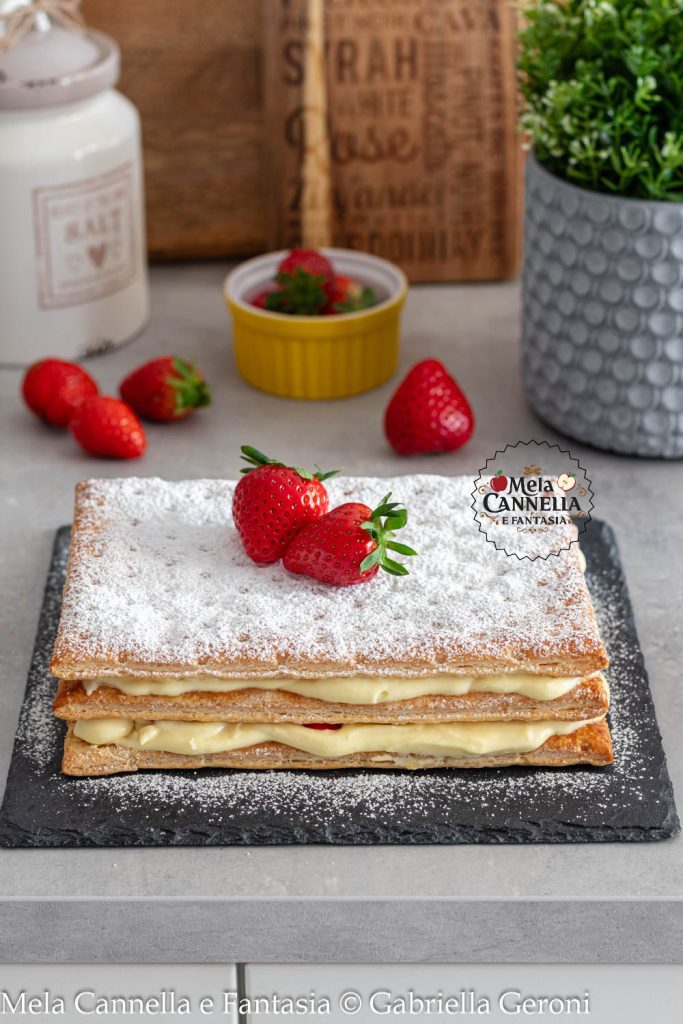
And here it is, the quick and easy millefeuille with a ready-made base, filled with diplomatic cream and fresh strawberries. A triumph of beauty and deliciousness!
I hope you’re inspired to try making this dessert as easy as it is delicious! Let me know in the comments what you think and come back soon!
© Copyright protected article – Gabriella Geroni © All Rights Reserved
1) Lactose-Free Variant:
To make the millefeuille suitable for those lactose intolerant, you can replace lactose-containing ingredients with their lactose-free alternatives:
Puff Pastry: there are several lactose-free brands on the market made with vegetable oils. It’s essential to carefully read the ingredient label to ensure that it does not contain dairy derivatives. Alternatively, you can make homemade puff pastry using lactose-free margarine.
Lactose-Free Pastry Cream:
Simply replace cow’s milk with vegetable drinks like soy milk, almond milk, oat milk, or rice milk (preferably unsweetened).
Follow the traditional recipe for pastry cream, substituting the milk.
Lactose-Free Whipped Cream:
Use lactose-free whipping cream made from soy, rice, or coconut. Make sure it’s specifically intended for whipping, as some vegetable creams remain liquid.
You can sweeten it with powdered sugar as you would with dairy cream.
Filling and Decoration: If instead of strawberries, you want to use chocolate, ensure it is certified “lactose-free“.
Recommendation: all ingredients used must be certified “lactose-free” to guarantee the safety of lactose-intolerant individuals.
Recommendation: all ingredients used must be certified “lactose-free” to guarantee the safety of lactose-intolerant individuals.
2) Gluten-Free Variant:
Making a completely gluten-free millefeuille requires more attention, but it’s possible with the right substitutions:
Gluten-Free Puff Pastry:
There are some brands of frozen gluten-free puff pastry available on the market. The quality can vary, so it might be necessary to try several to find one with the best consistency.
Gluten-Free Pastry Cream:
In the traditional recipe for pastry cream, the all-purpose flour can easily be replaced with cornstarch (cornflour) or potato starch. These ingredients have excellent thickening power and are naturally gluten-free. Ensure you only use these thickeners.
Whipped Cream and Strawberries: Both dairy and lactose-free whipped cream and fresh strawberries are naturally gluten-free and can be used without any issues.
Decoration: Ensure any additional decorations (like chocolate or sprinkles) are certified “gluten-free”.
Additional Advice: When preparing the gluten-free version, pay particular attention to cross-contamination. Use clean utensils and separate work surfaces to avoid contact with gluten-containing foods.
Additional Advice: When preparing the gluten-free version, pay particular attention to cross-contamination. Use clean utensils and separate work surfaces to avoid contact with gluten-containing foods.
Tips for a Perfect Millefeuille:
Even when using a ready-made base, choose a good quality puff pastry. Handle it carefully to avoid breaking.
Stable Whipped Cream:
Use well-chilled fresh liquid cream (from the refrigerator). If you want more stable whipped cream, you can add a pinch of cornstarch or a teaspoon of gelatin sheets (previously softened and melted) before whipping.
Do not overwhip the cream, or it might “curdle” and become grainy.
Fresh and Dry Fruit:
If, like I did, you enrich the cream with fresh fruit, make sure to do this.
Choose fruit that is ripe yet firm, wash it gently, and dry it well before cutting and using. Excess water could dampen the pastry.
FAQ (Questions and Answers)
How long in advance can I assemble the millefeuille?
The secret to a perfect millefeuille is assembling it just before serving. This way, the puff pastry will retain its crispness.
If you need to prepare it in advance, assemble the layers just before serving and store in the fridge. Keep in mind that the pastry tends to soften over time, so it’s preferable to enjoy it fresh.How do you cut a millefeuille without breaking it?
Use a sharp serrated knife to cut the millefeuille. Apply gentle pressure and proceed with a delicate “sawing” motion to avoid crushing the layers.
For more precise individual portions, you can cut the pastry base into rectangles or squares before filling it.What can I use instead of strawberries?
If you want to experiment, you can add other types of fresh seasonal fruit (raspberries, blueberries, mixed berries). For an extra touch of deliciousness, you can add dark chocolate flakes between the layers, or if you don’t like it with fruit, use chocolate only, and maybe alternate between dark, milk, or white chocolate.
If I want to use fresh puff pastry, how many minutes should it bake in the oven?
The ideal temperature for baking fresh puff pastry is usually high, around 180-200°C (static oven) or 170-190°C (fan oven). A hot oven helps the puff pastry to rise quickly and create the characteristic crispy layers. It takes about 20-25 minutes.
It may take a few more minutes if the pastry is a bit thicker or if your oven tends to cook less. When the puff pastry is well risen and golden, it’s ready!Can I prepare the millefeuille in advance?
If you decide to use fresh puff pastry, you can bake it even the day before.
After baking the puff pastry, let it cool completely at room temperature on a rack. This will prevent condensation and the base from becoming damp. Store it in a cool, dry place until you are ready to fill it.
The pastry cream can also be made the night before and stored in the fridge, covered with cling film to prevent skin from forming.
The cream, however, is best whipped just before assembly for maximum softness.
Strawberries (or other chosen fruit) should be washed and cut just before use to preserve freshness.
After organizing your work, you can proceed to assemble the Millefeuille ONLY a few hours before serving, to prevent the pastry from softening.