Gluten-free loaf bread recipe makes it easy to prepare this type of bread at home starting from a ready mix of flours.
It results in a perfect shape to enjoy at any time of the day and especially you’ll notice that, after overcoming the initial difficulties you might encounter when working with these mixes, making it yourself will become a pleasant habit to maintain.
In fact, very often, those who have to exclude gluten from their diet rely on bakeries that sell the finished product and unfortunately are mostly disappointed by the type of bread offered.
Making it at home, by purchasing specific mixes, then becomes the ideal solution, but as mentioned, the task is not exactly simple.
The dough is indeed very sticky, it is difficult to detach from the hands and the work surface, and if you are not well organized, you risk making a bit of a mess everywhere, managing to bring to the baking pan very little compared to how much has been worked.
Follow the recipe with accompanying tips and images and you will see that it will simplify your work and the result will be truly good bread.
If you like my recipes, you can follow me on my FACEBOOK page and on INSTAGRAM
Thank you ❤️😘❤️
- Difficulty: Easy
- Cost: Economical
- Rest time: 1 Hour 10 Minutes
- Preparation time: 15 Minutes
- Portions: 8
- Cooking methods: Oven
- Cuisine: Italian
- Seasonality: All seasons
- Energy 260.20 (Kcal)
- Carbohydrates 46.81 (g) of which sugars 0.64 (g)
- Proteins 6.39 (g)
- Fat 7.08 (g) of which saturated 1.10 (g)of which unsaturated 0.90 (g)
- Fibers 8.26 (g)
- Sodium 487.10 (mg)
Indicative values for a portion of 81 g processed in an automated way starting from the nutritional information available on the CREA* and FoodData Central** databases. It is not food and / or nutritional advice.
* CREATES Food and Nutrition Research Center: https://www.crea.gov.it/alimenti-e-nutrizione https://www.alimentinutrizione.it ** U.S. Department of Agriculture, Agricultural Research Service. FoodData Central, 2019. https://fdc.nal.usda.gov
Ingredients
- 4 1/4 cups flour (gluten-free mix)
- 1 3/4 cups water (lukewarm)
- 3 1/2 tbsp extra virgin olive oil (or sunflower oil, or other of choice)
- 2 3/4 tsp dried yeast (for gluten-free bread or 16g of fresh yeast)
- 2 tsp fine salt
Tools
- 1 Pan for 12-inch loaf
- Spatula silicone
- 1 Bowl
- Electric Mixer with dough hooks
- 1 Brush kitchen
Steps
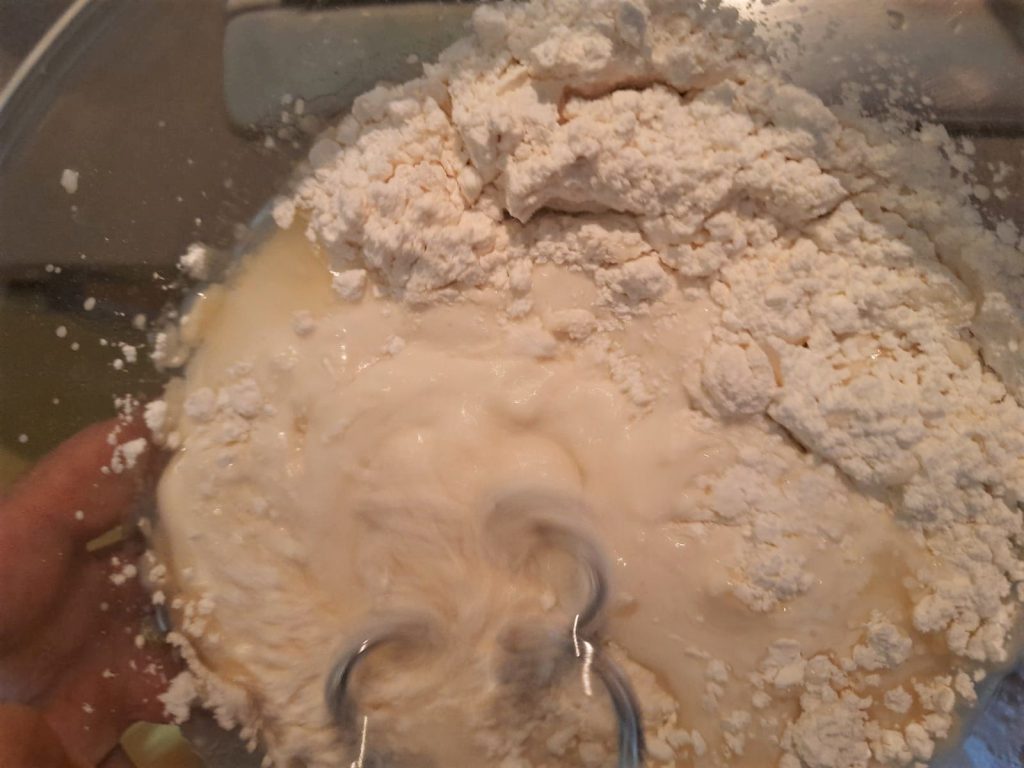
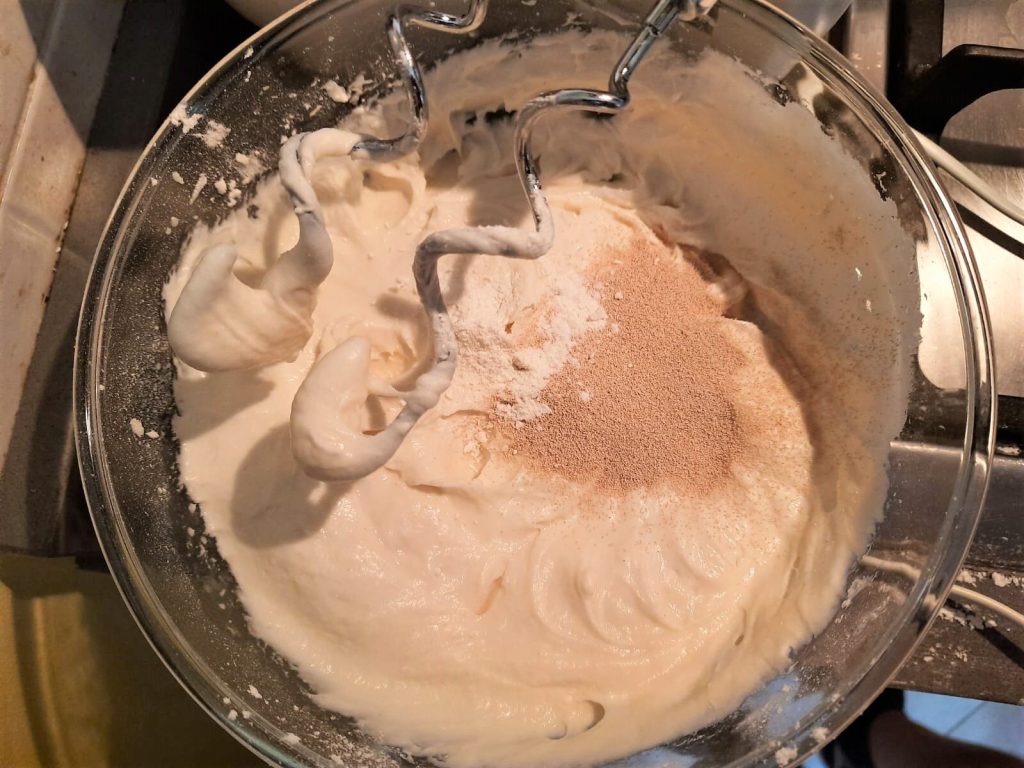
For preparing gluten-free bread, start by mixing the gluten-free flour mix with the gluten-free dry yeast in a large bowl.
Pour in the lukewarm water and oil, starting to work either with electric whisks with dough hooks or by hand for a few minutes.
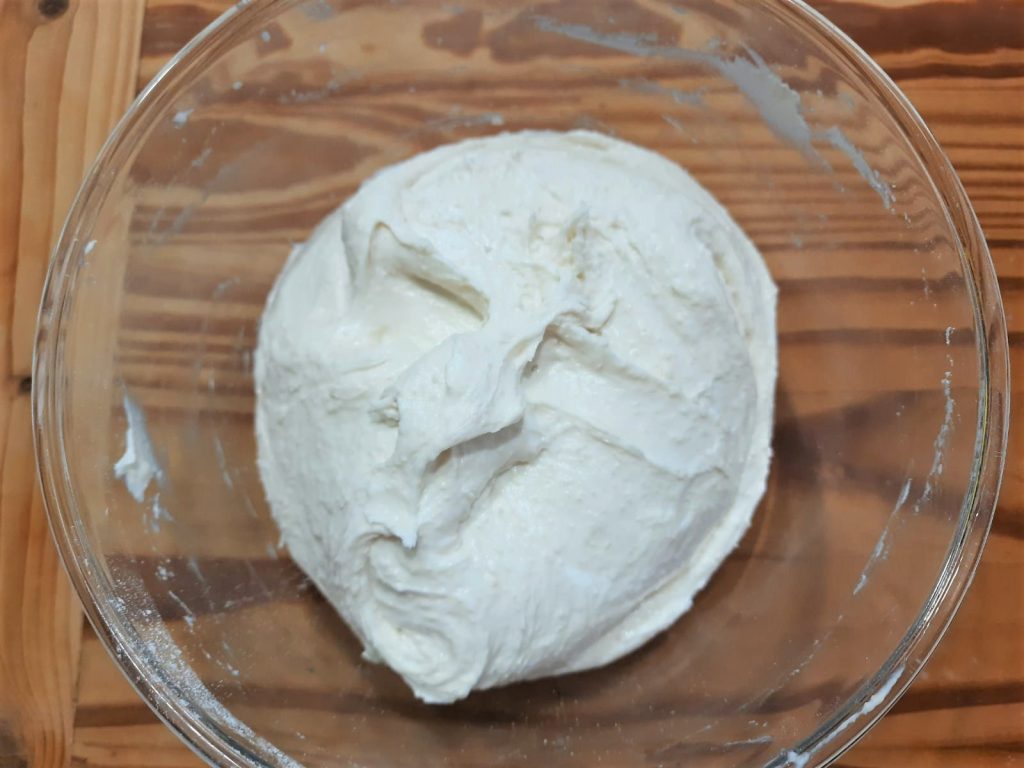
Then add the fine salt and continue for a few more minutes with the whisks, then switch to kneading by hand still in the bowl, for about 5 minutes or until you have obtained a soft and homogeneous dough.
Cover the container at this point with a damp cloth and let it rise in the oven, previously preheated to 194 degrees Fahrenheit for a few minutes and then turned off.
Let rise for about 40 minutes.
Take the dough again and spread it on a sheet of parchment paper evenly oiled. It’s important to oil your hands as well so nothing sticks to them.
If using a spatula to transfer the dough, oil it as well.
With your fingertips and without pressing too much, spread the dough into a rectangle, roll it onto itself folding the two ends underneath.
Place the obtained loaf inside the loaf pan keeping the parchment paper underneath the bread. If necessary, distribute it along the entire shape.
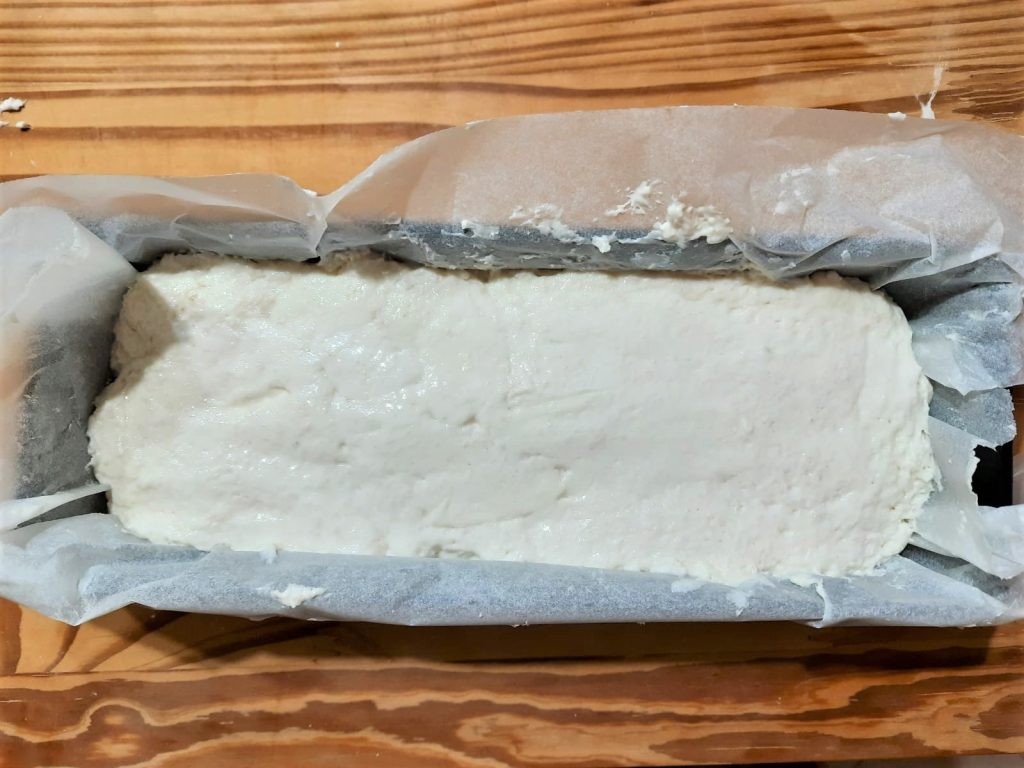
Let rise for another half an hour in the previously indicated mode or in a warm and sheltered place. Wait until a dome has formed.
Then brush its surface with oil.
Preheat the static oven to 410/428 degrees Fahrenheit and bake the bread at the medium/low level, for 40 minutes, also adding a small bowl (that can withstand high temperatures) containing water to release steam during baking.
After 40 minutes, remove the pan and parchment paper and let the bread dry better, by placing it directly on the rack and lowering the temperature to 338 degrees Fahrenheit.
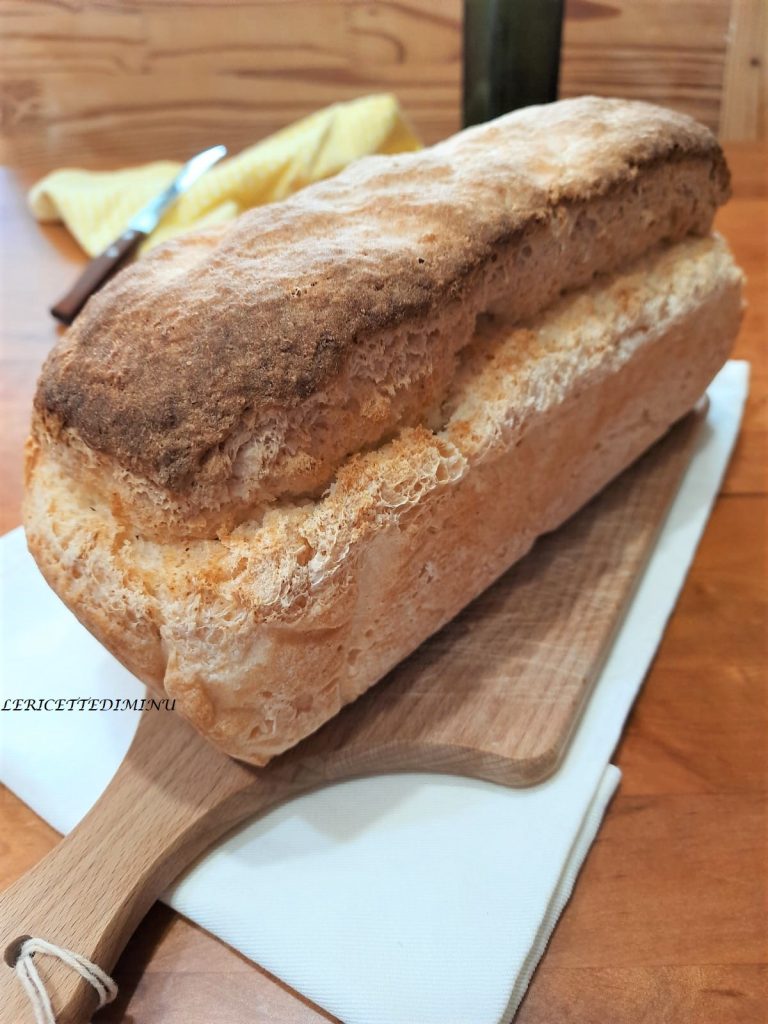
Leave it like this for another 5/10 minutes or so. Remove from oven and let cool on a cooling rack.
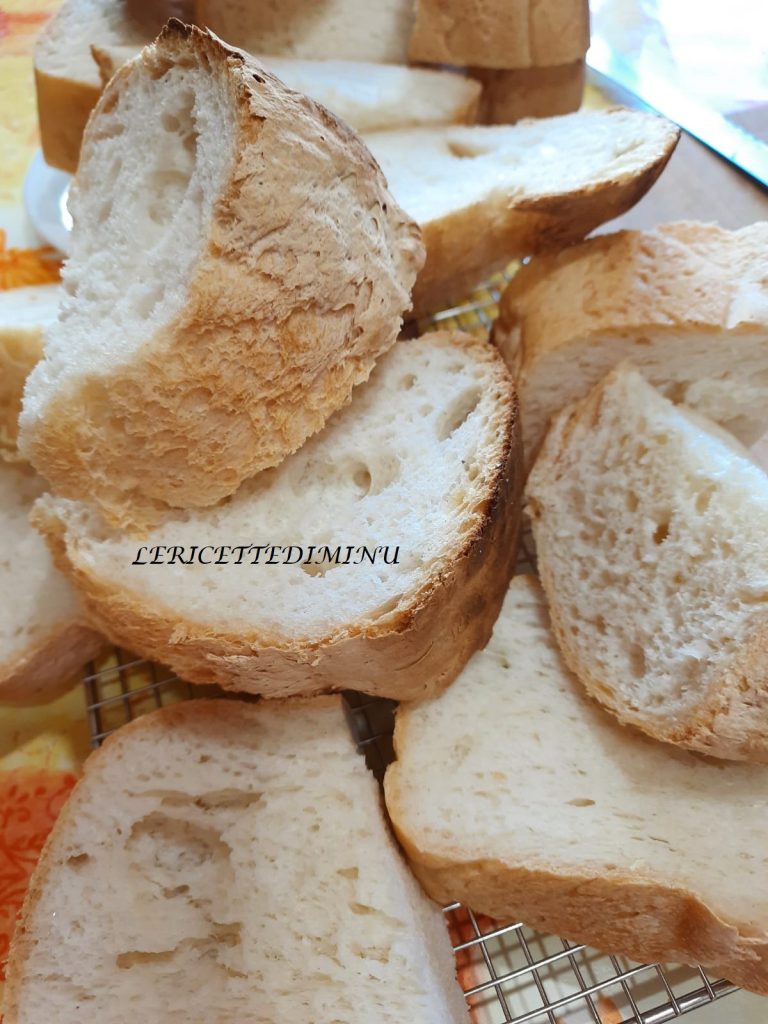
The gluten-free loaf bread is now ready.
Storage
Well sealed in a plastic bag, or in an airtight container (like for cakes), for 3 or at most 4 days. Once cooled, it can be portioned and frozen.
Well sealed in a plastic bag, or in an airtight container (like for cakes), for 3 or at most 4 days. Once cooled, it can be portioned and frozen.
Here is a selection of excellent products useful in the kitchen. Many of these have been bought and tested by myself. The list will be constantly updated.
To view the recommended products click here.
To view the recommended products click here.
