Red fruits such as strawberries, cherries, currants, raspberries, etc., as everyone knows, are typical fruits of this season, but perhaps less known is their richness in polyphenols, Vitamin C, potassium, folic acid, and fiber, making them strong antioxidants. To introduce them into your diet, you just need to consume them fresh or use them in your recipes. These ice cream bars are, for example, designed to ensure you a healthy and delicious snack without the excess of traditional ice creams! In fact, they are without added sugars and with very few saturated fats, particularly harmful to the body, because here the cream, often present in this kind of preparation, is replaced by ricotta, much richer in nutrients and with high protein content, making it an excellent option. They are really quick to prepare, and you can enjoy them whenever you crave something sweet without the risk of sugar spikes! Therefore, they are suitable for the whole family, even for your kids or anyone who needs to follow a more restrictive diet in terms of calories or intolerances.
If like me, you love to indulge yourself with healthy and genuine recipes, try these fitness-style alternatives too:
- Difficulty: Very Easy
- Cost: Medium
- Rest time: 10 Hours
- Preparation time: 15 Minutes
- Portions: 8 ice cream bars
- Cooking methods: No cooking
- Cuisine: Italian
- Seasonality: Spring, Summer
Ingredients
⚠ THIS RECIPE CONTAINS ONE OR MORE AFFILIATE LINKS. The products I recommend are the same ones I use in my recipes; purchasing them through my blog helps support me and my work, and it won’t cost you anything extra!
- 6.35 oz red fruits (I used strawberries and cherries)
- 4.23 oz cow's milk ricotta
- 2.12 oz Greek yogurt 2% fat
- 2 tsps vanilla extract
- 4.41 oz 85% dark chocolate
- 1 tsp coconut oil (or seed oil)
- as needed cherries (minced freeze-dried)
Tools
- 1 Mixer
- 1 Bowl
- 1 Knife
- 8 Silicone molds for popsicles
- 8 Sticks
- 1 Teaspoon
- 1 Saucepan
- 1 Spatula
- 1 Glass
- Paper towel
- Baking paper
Steps
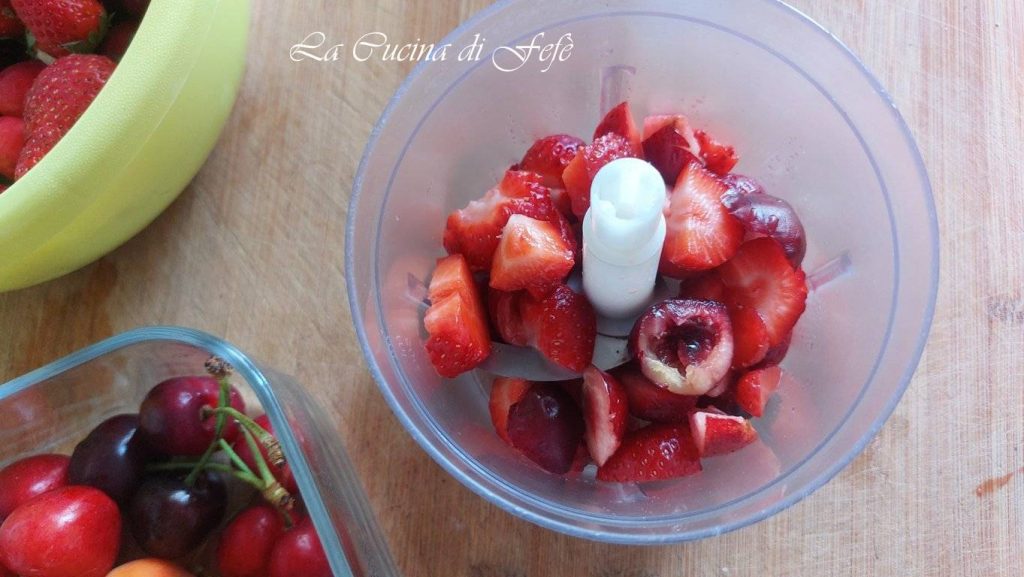
Wash and hull the strawberries and cherries, removing the stem from the first and the pit from the latter.
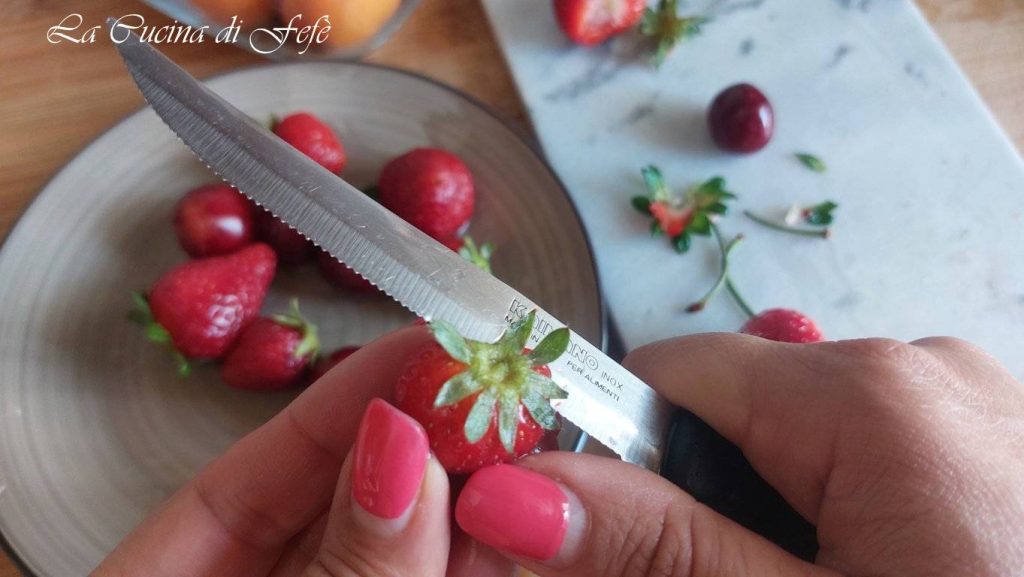
After patting them dry with a paper towel, slice the cherries in half and slice the strawberries.
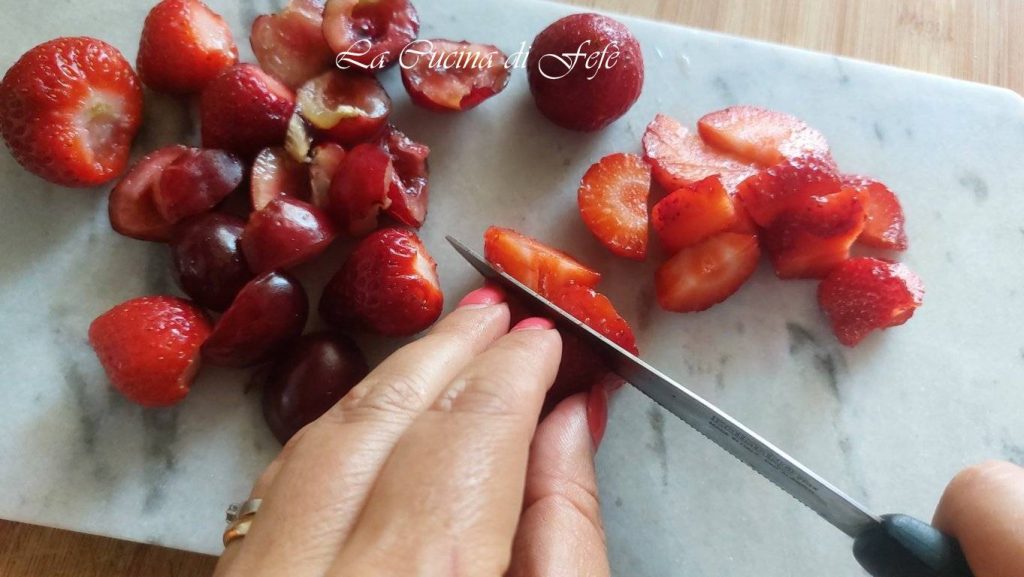
Transfer the cleaned and chopped fruit into a mixer.
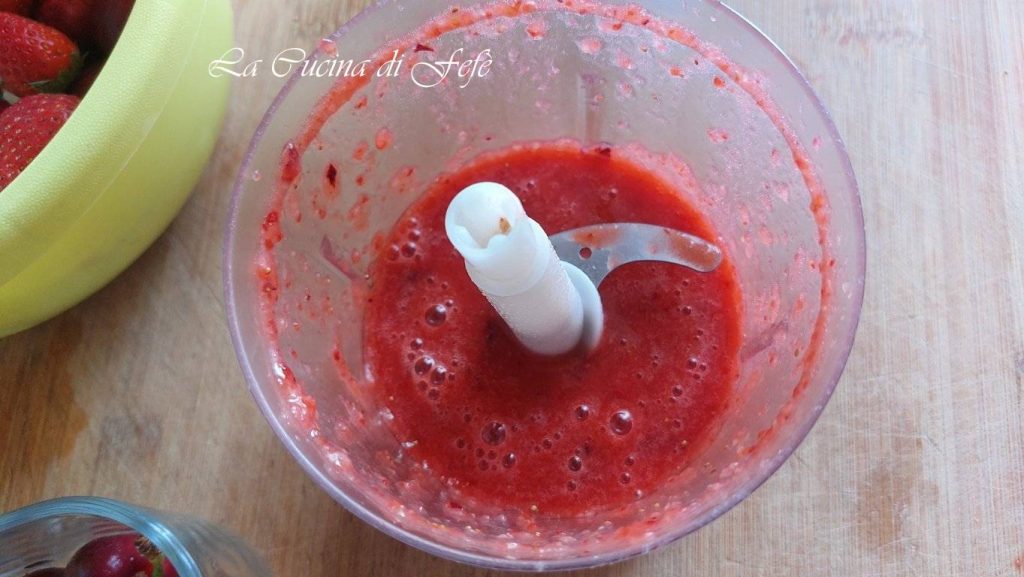
Blend for a few seconds until smooth and homogeneous, then set aside.
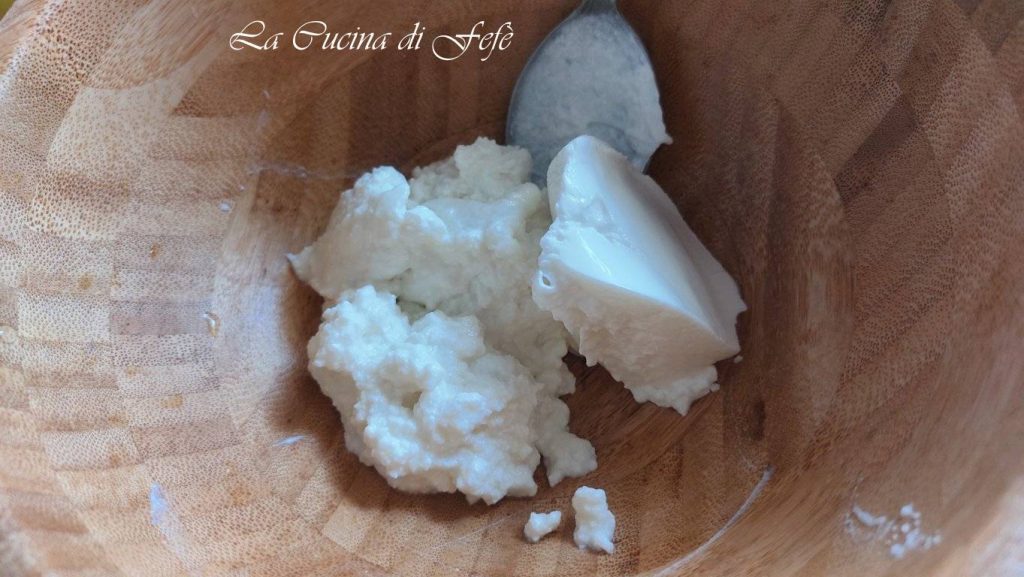
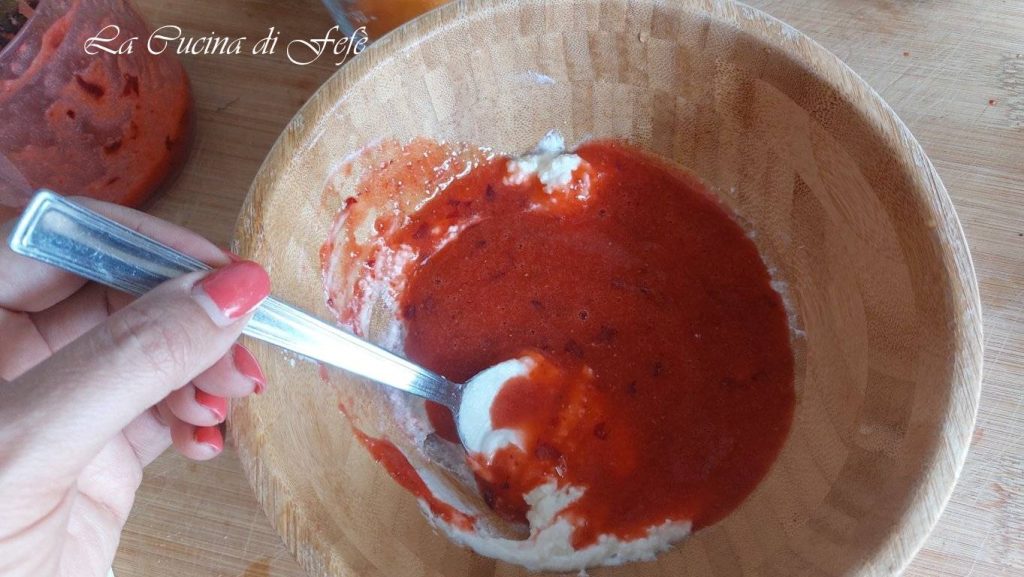
In a bowl, mix the ricotta well-drained of its whey with the yogurt.
Flavor with vanilla extract and mix the mixture again.
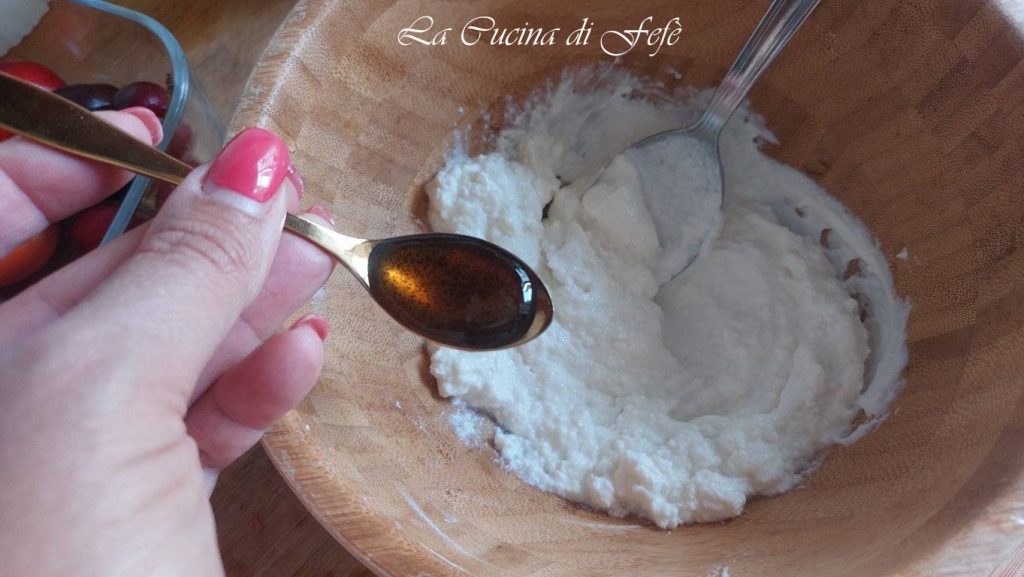
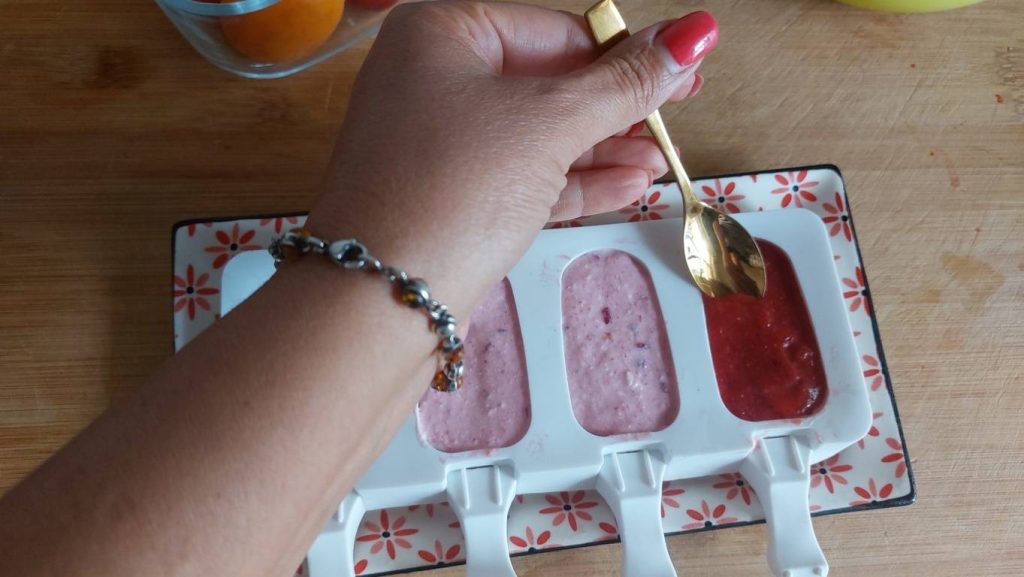
Add a little more than half of the red fruit puree and mix one last time.
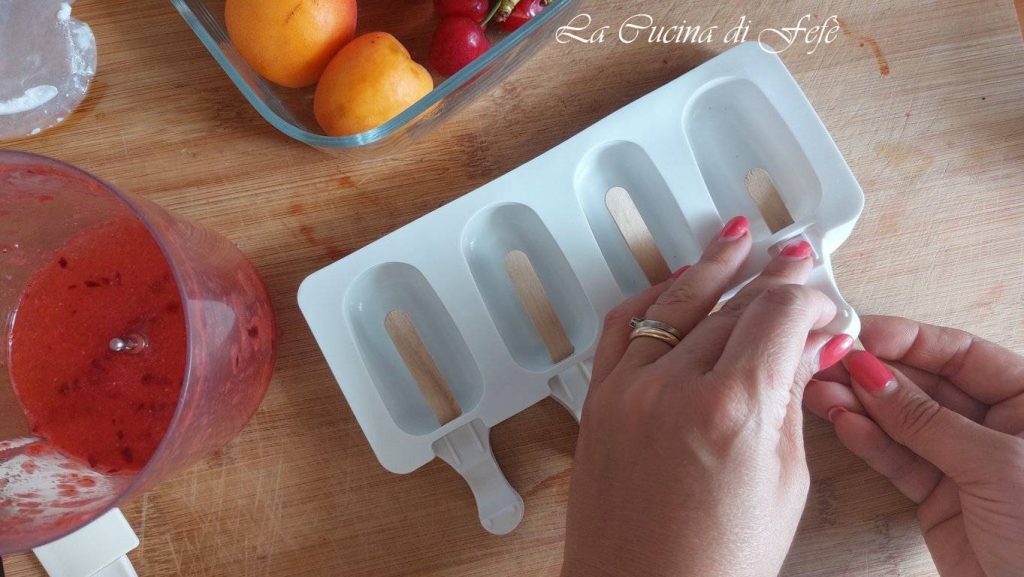
Gently insert the wooden sticks into the appropriate slot of the popsicle molds.
Transfer the mixture inside without completely filling them.
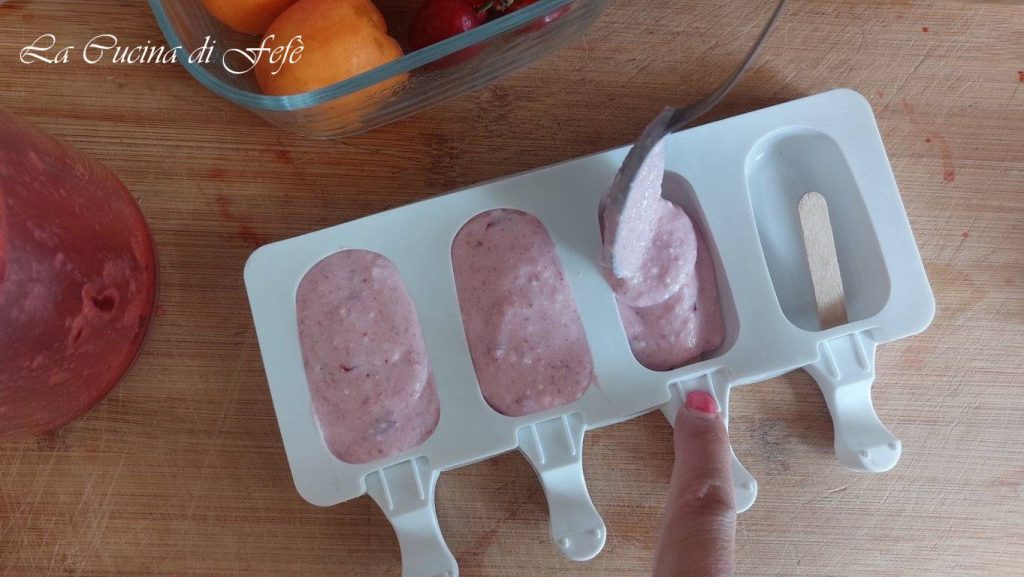
Place the molds on a tray and put them in the freezer for at least 2 hours.
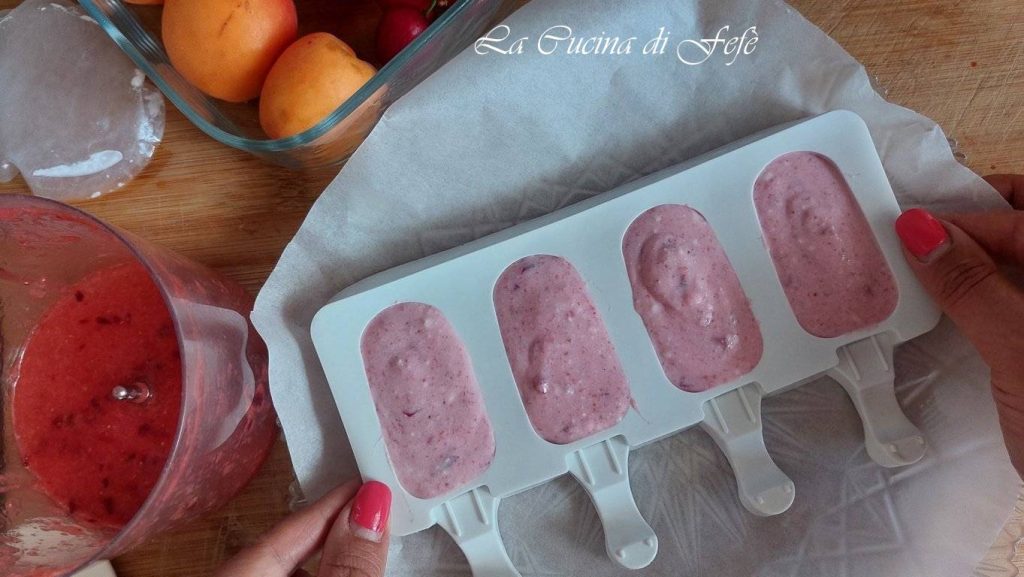
After this time, take the popsicles and complete the ice cream bars with a layer of red fruit puree set aside*.
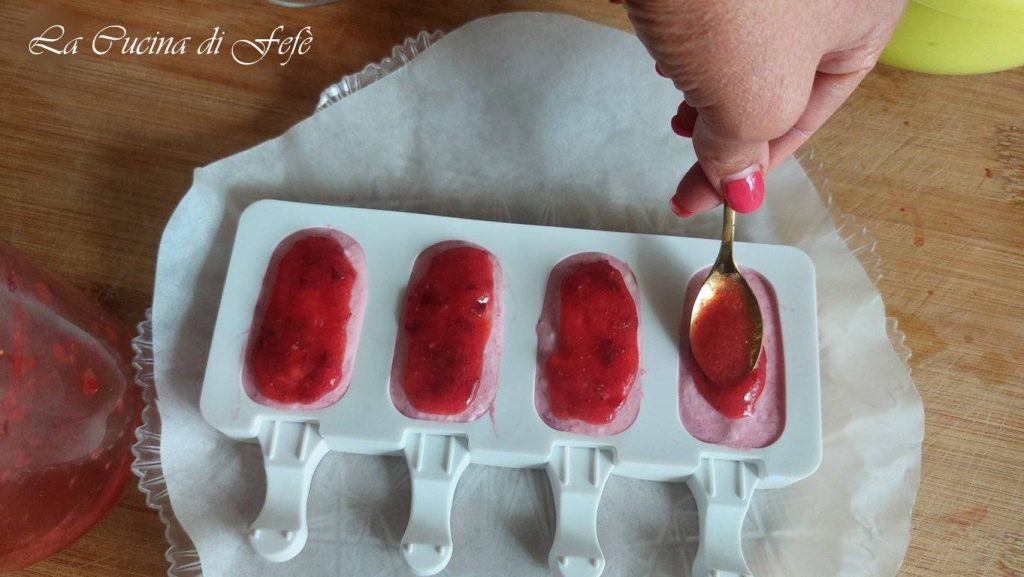
Distribute the mixture until it reaches the edge of the molds and proceed this way until all the ice cream bars are complete.
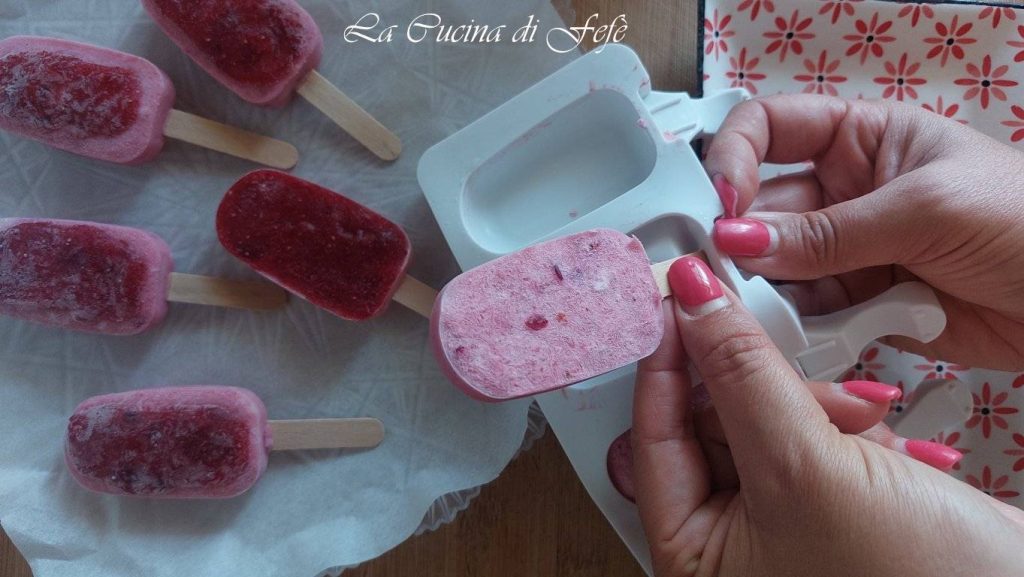
Put back in the freezer for another 4 hours before unmolding your ice creams and enjoying them.
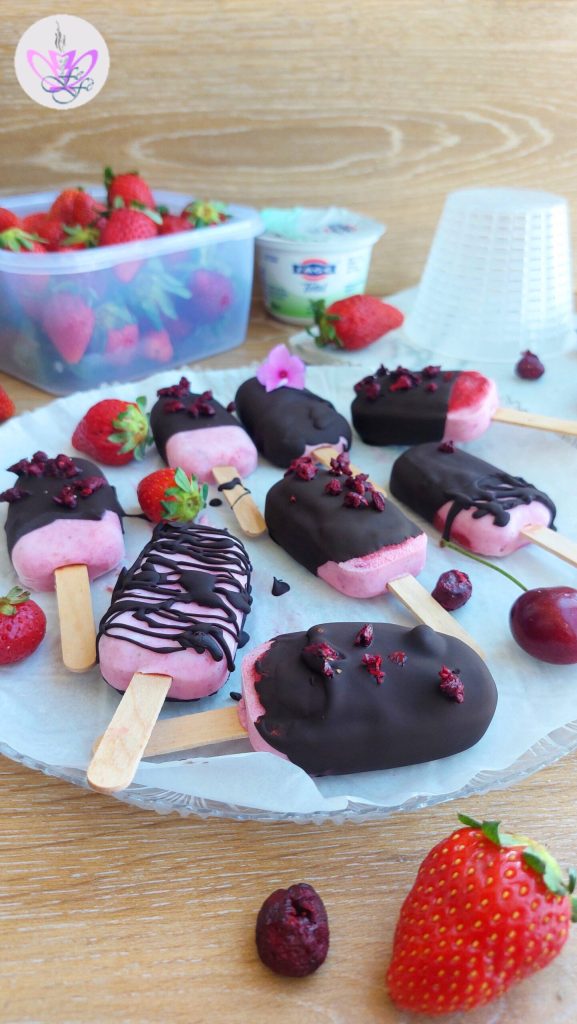
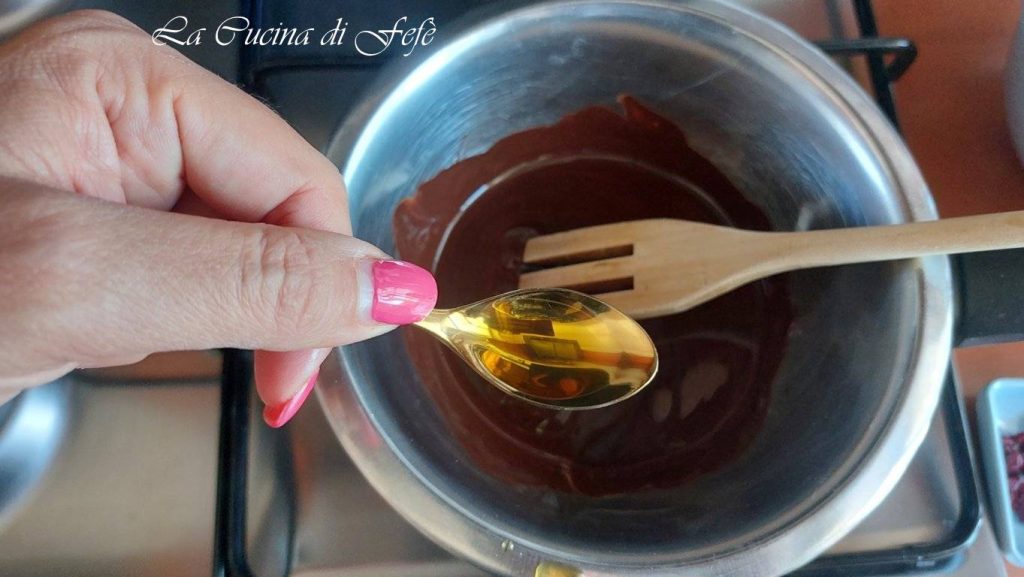
If you want to make them more indulgent, cut the chocolate into small regular pieces, fill a saucepan with hot water, and place a smaller bowl containing the chocolate on top.
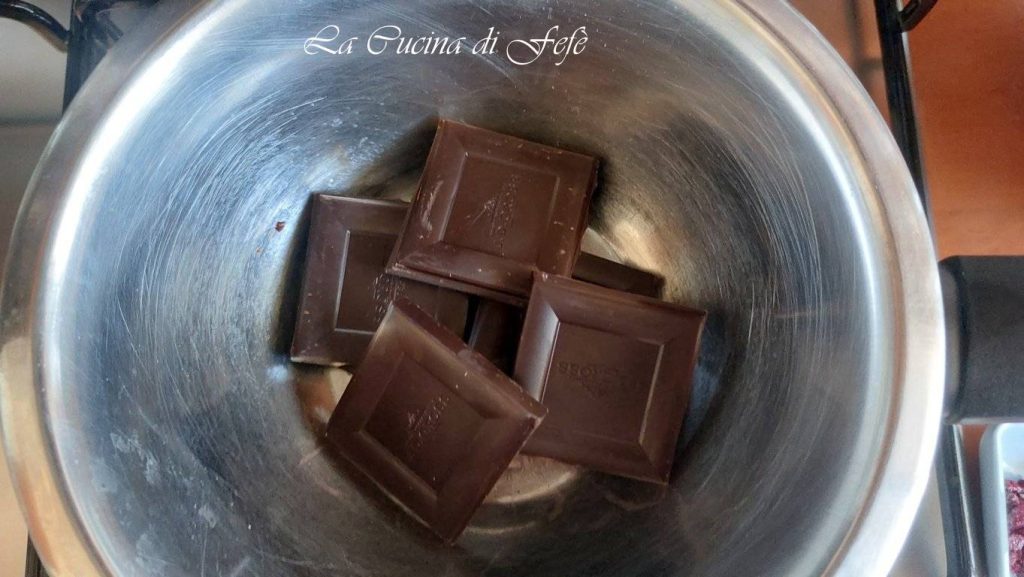
Melt over medium-low heat (no more) and start stirring constantly with a spatula or a wooden spoon until completely melted. Turn off the heat and immediately add the oil**, stirring again.
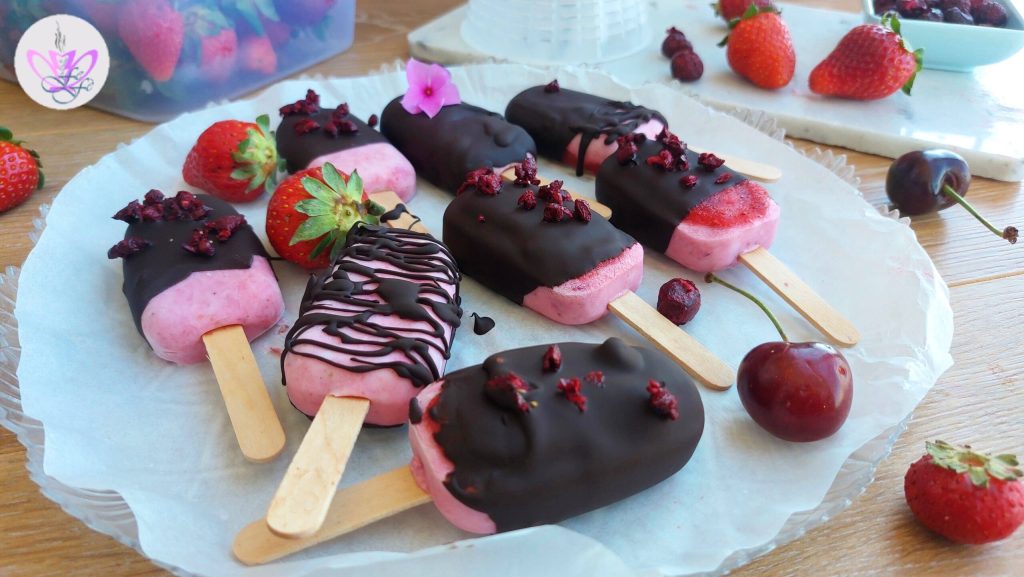
Transfer the chocolate into a tall and narrow glass (it will be more practical, trust me) and dip the ice cream bars one by one*** leaving them to drain a few seconds from excess chocolate. Be careful during this operation to be quick, to prevent the chocolate in contact with the ice cream from drying before time, especially if you want to decorate them on top.
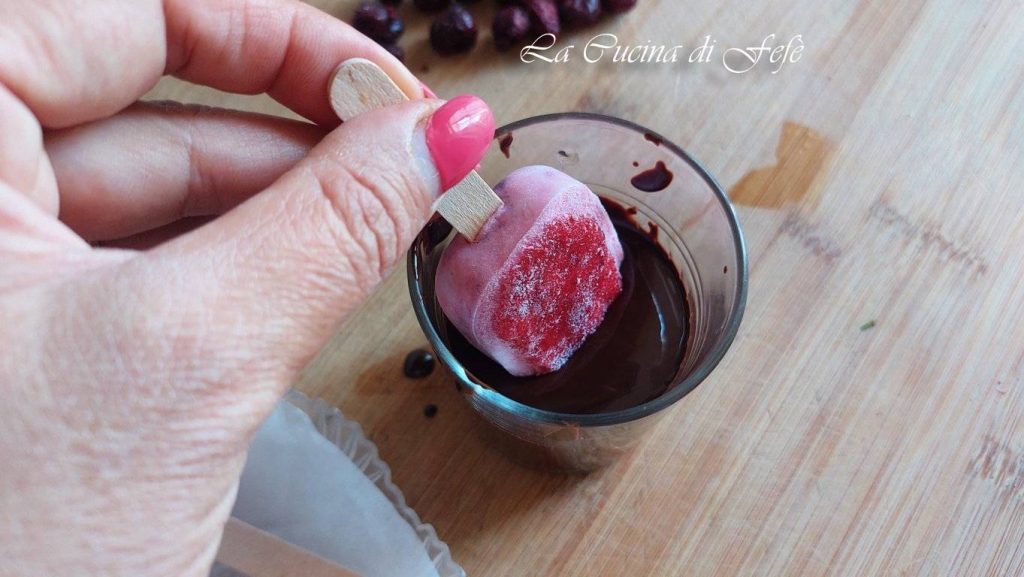
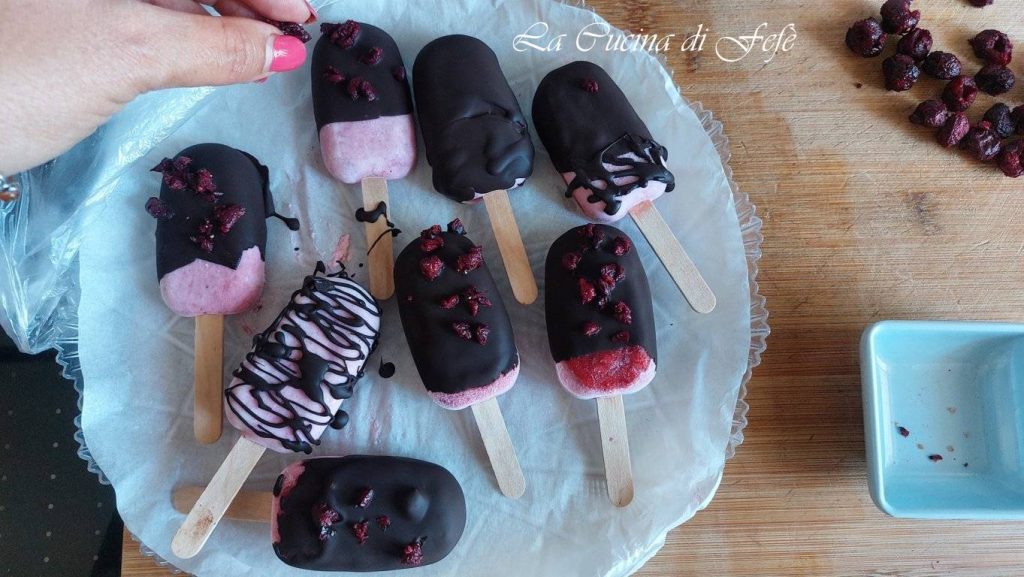
Place them on a tray covered with parchment paper and quickly add the minced freeze-dried cherries before the chocolate, in contact with the ice cream, hardens. Return to the freezer to set completely for at least another 4 hours.
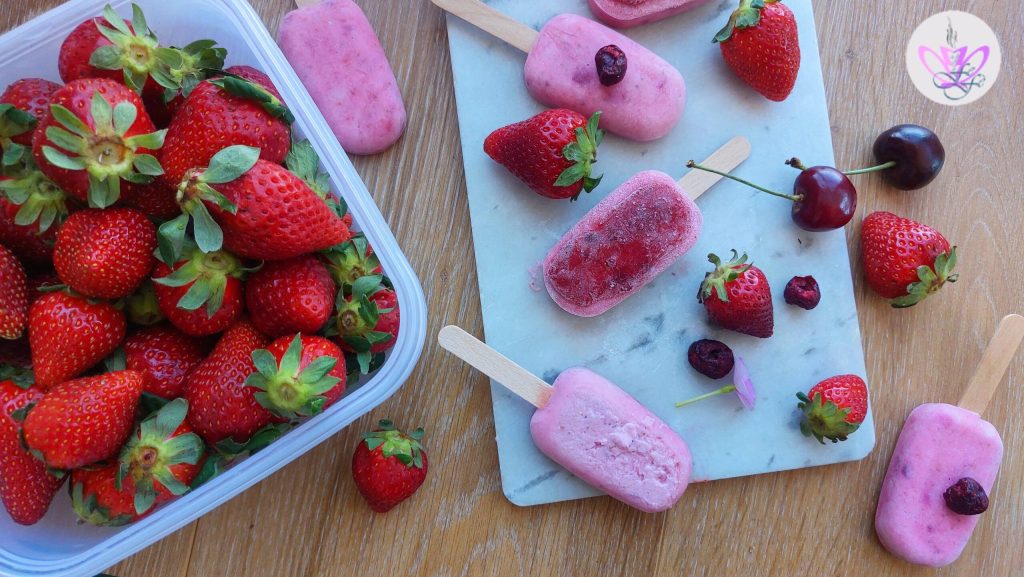
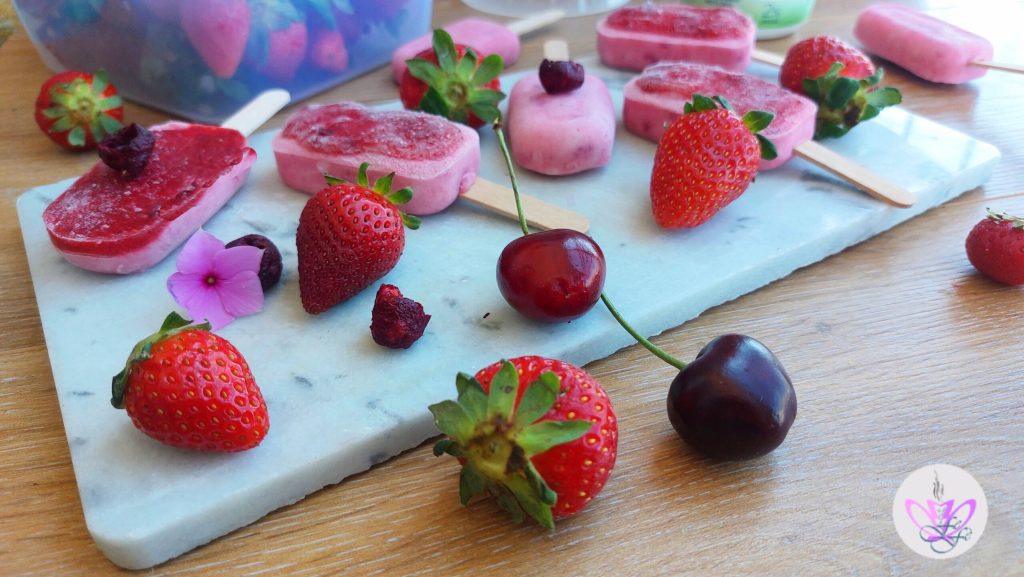
Here is the version without chocolate coating.
More indulgent version with dark coating
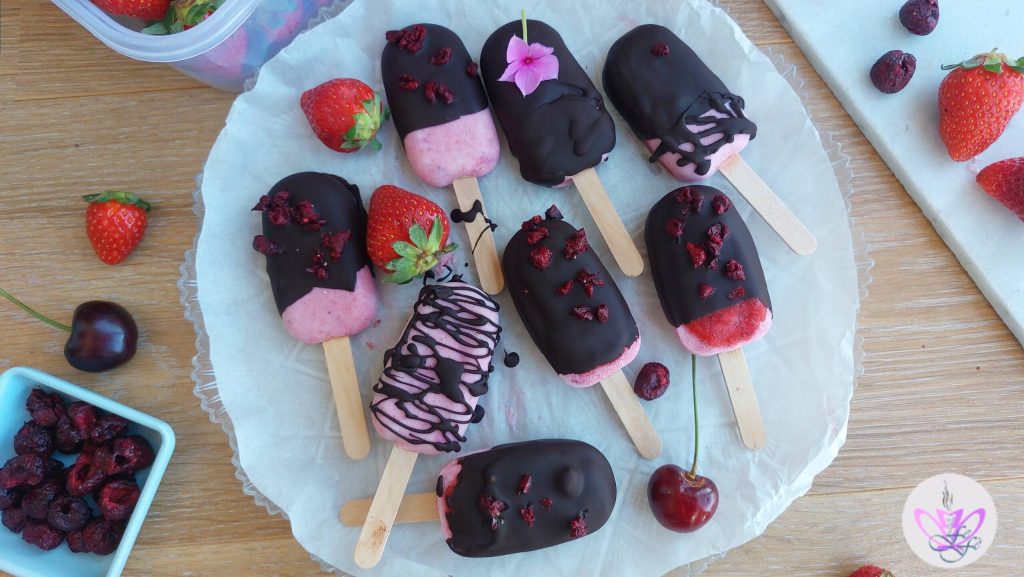
And voila… the red fruit and ricotta ice cream bars are ready to be enjoyed!
Enjoy from La Cucina di FeFè!
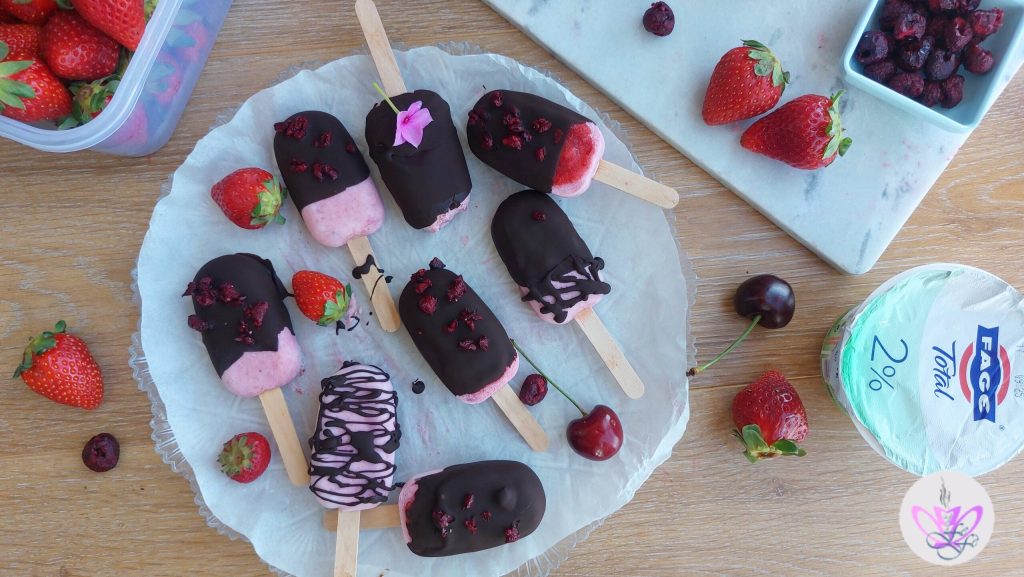
Storage
👉 Store the ice cream bars in the freezer until ready to consume and for up to 3 months covered with plastic wrap to avoid the formation of ice on the surface.
Tips, notes, variations, and suggestions
🟣* You can add the red fruit puree in 2 ways: either by distributing it only a little in the center or creating a second homogeneous layer on top of the first of ricotta and yogurt; in this case, it should be spread over the entire surface of the ice cream bars and leveled with a spatula.
🟣** Diluting the chocolate with coconut oil helps to make the glaze more fluid, resulting in a thinner and chewable coating. Indeed, the chocolate would remain too thick. If you can’t find coconut oil, which is the most suitable for this kind of preparation, you can always substitute it with peanut oil.
🟣*** I recommend dipping the ice cream bars one at a time, keeping the others in the freezer until the last minute to avoid them starting to melt during this phase.
🟣 For the base, you can opt for another mix of red fruits like currants or raspberries or combine them all if you like the idea; for the coating, you can also use white chocolate if you prefer sweeter flavors, while for decoration you can choose other dried fruits like strawberries or blueberries, or crushed nuts like almonds or pistachios.
🟣 The red fruit and ricotta ice cream bars are best enjoyed when brought to room temperature 10 minutes before consuming.
FAQ (Questions and Answers)
Can this preparation be made vegan?
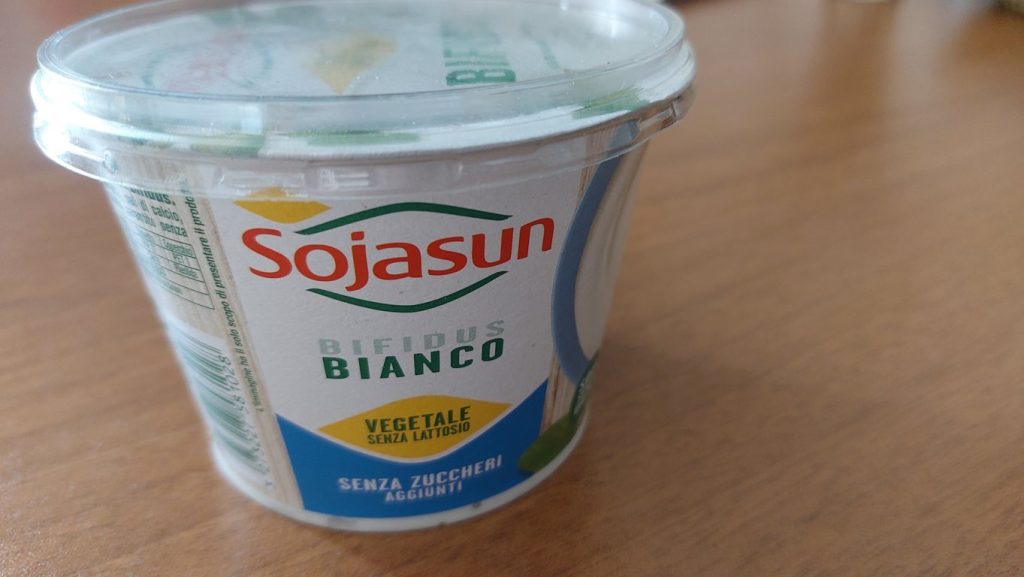
Certainly! You just need to replace the Greek or regular white yogurt with the same amount of plant-based white yogurt (like Valsoia or Sojasun) and the cow’s milk ricotta with vegan ricotta.