How many hummus have I shown you over the years? My passion for Middle Eastern cuisine has led me to create many different variations than the classic and more traditional recipe that, as you now know, serves as an appetizer, spread on croutons, bruschetta, or other baked goods. And with the arrival of spring, buying some early fresh peas immediately inspired me and made me want a new version of hummus. In this case, after freezing some for my summer and autumn supplies, I thought of using the rest naturally by blending it with chickpeas and my legendary homemade tahini, an essential element of this preparation. Adding lemon juice and zest will then give it a truly incredible fresh and citrusy note. I’ll tell you, of all those tested so far, the pea one is one of the best hummus in terms of texture and flavor! I served it alongside grilled chicken and a fresh seasonal salad. Well, we literally licked our chops, but trust me, it will also be perfect for dressing pasta, creating sandwiches, or many original and delicious finger foods!
If accompaniment sauces are your forte, try some of the alternatives I offer below, all to experiment with:

- Difficulty: Very easy
- Cost: Very cheap
- Preparation time: 10 Minutes
- Cooking methods: Boiling
- Cuisine: International
- Seasonality: All seasons
Ingredients:
- 7.05 oz peas
- 5.29 oz cooked, boiled chickpeas
- 1.06 oz tahini
- 1/4 cup extra virgin olive oil
- 1.35 fl oz lemon juice
- A few leaves mint (or basil)
- 2 cloves garlic
- 1 pinch salt
- to taste pepper
Tools:
⚠ THIS RECIPE CONTAINS ONE OR MORE AFFILIATE LINKS. The products I recommend are the ones I use in my recipes; buying them through my blog helps support me and my work, while it won’t cost you anything extra!
- 1 Pot
- 1 Slotted Spoon
- 1 Colander
- Paper Towels
- 1 Mixer
- 1 Garlic Press
- 1 Juicer
Steps:
First, blanch the peas in a pot with salted boiling water for about 2′, then drain them with a slotted spoon and set aside to cool.

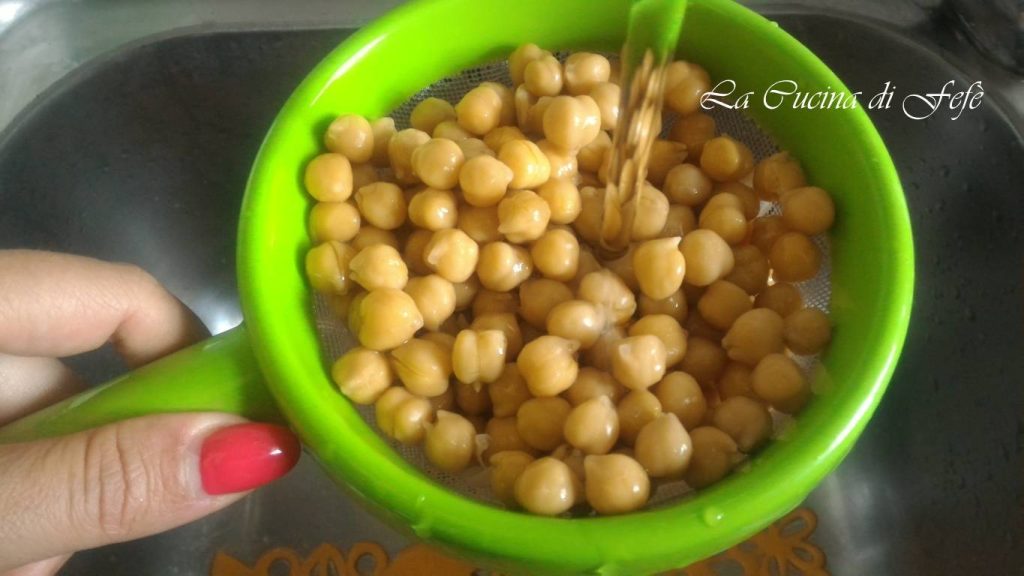
Rinse the chickpeas thoroughly under running water with the help of a colander.
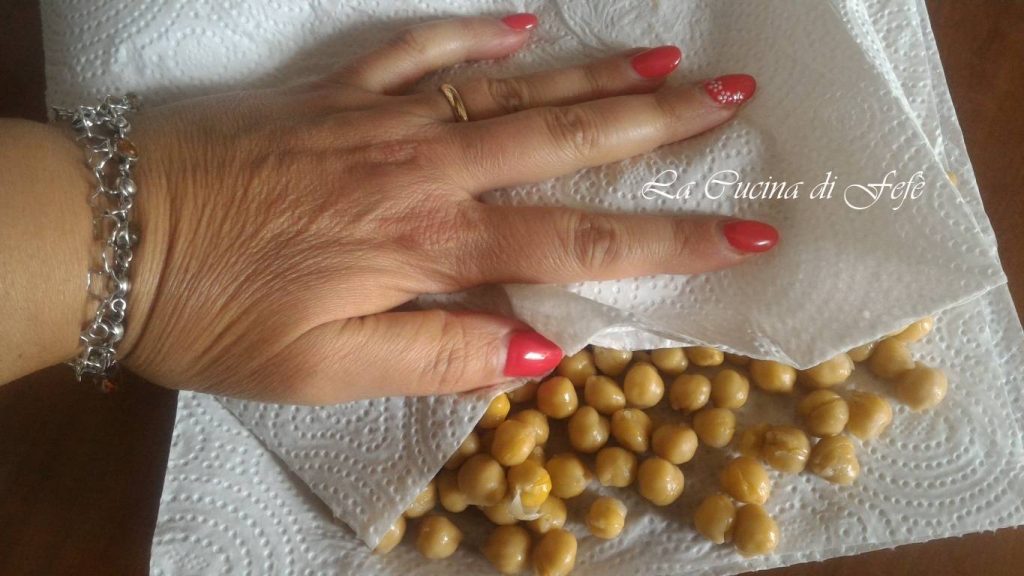
Pat them dry with kitchen paper towels, rubbing them gently.
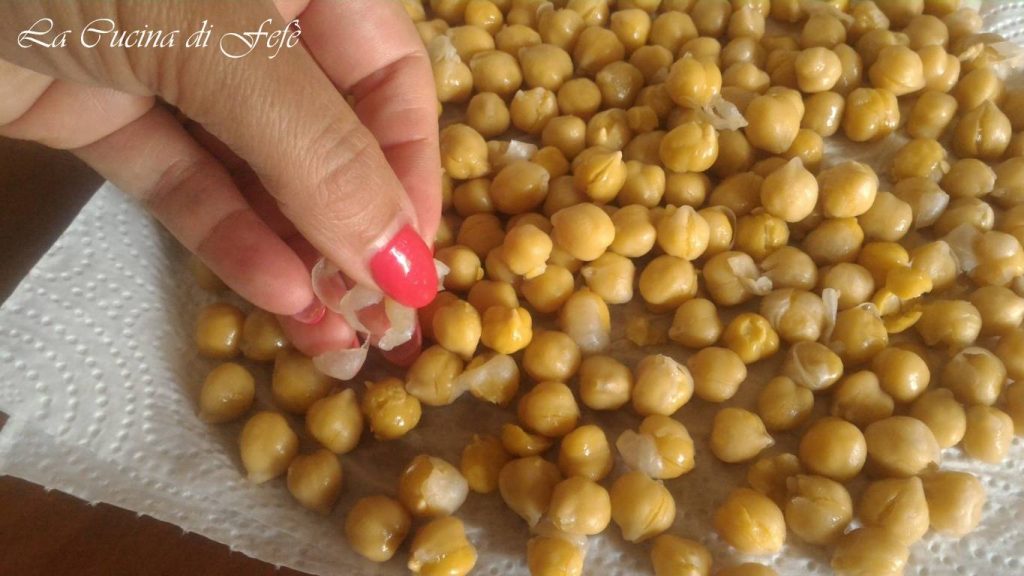
You will notice that all the outer skins come off very easily. Remove them carefully.
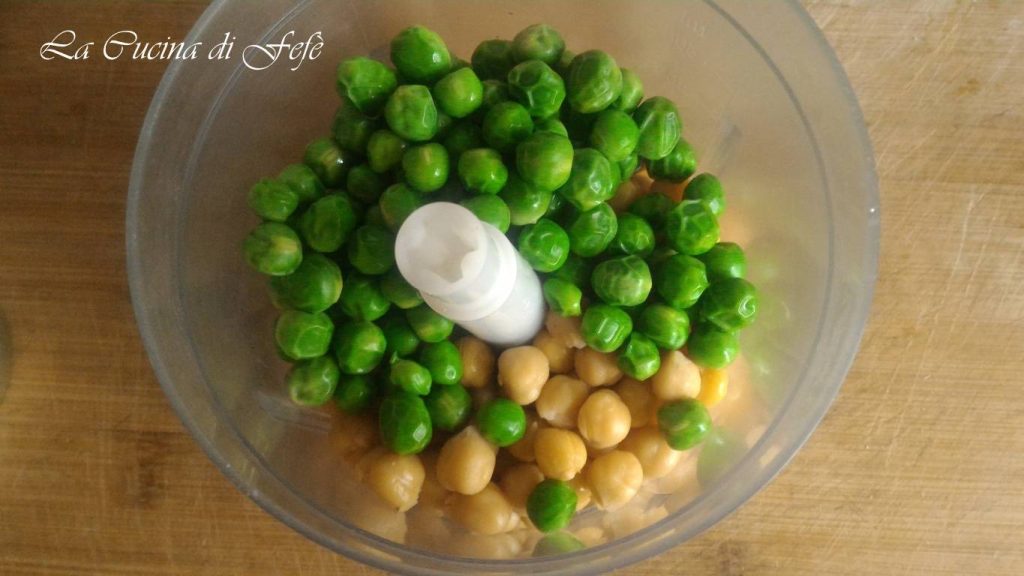
At this point, transfer them to the food processor bowl along with the prepared peas.
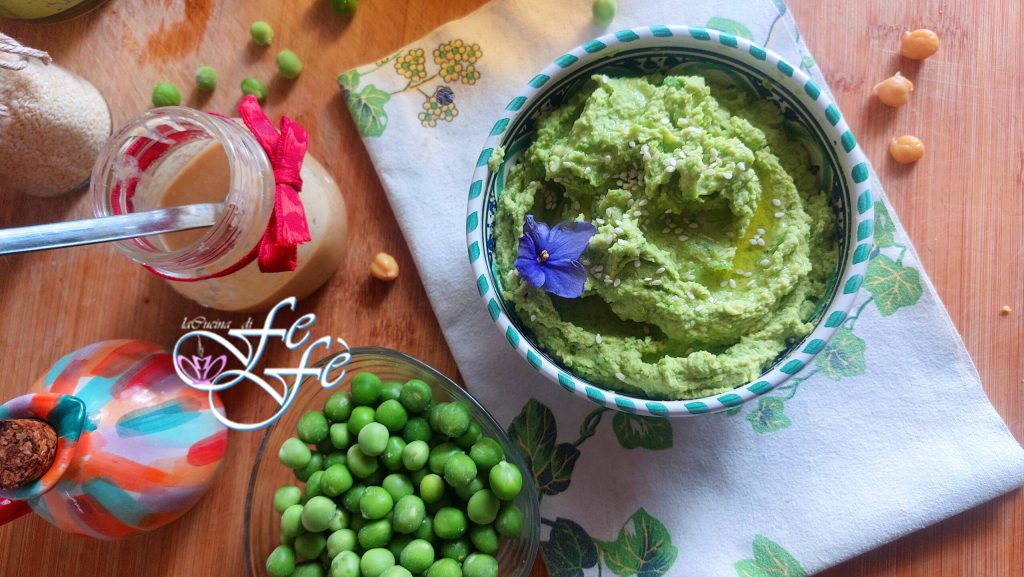
Add the tahini, in my case homemade, and the lemon zest.
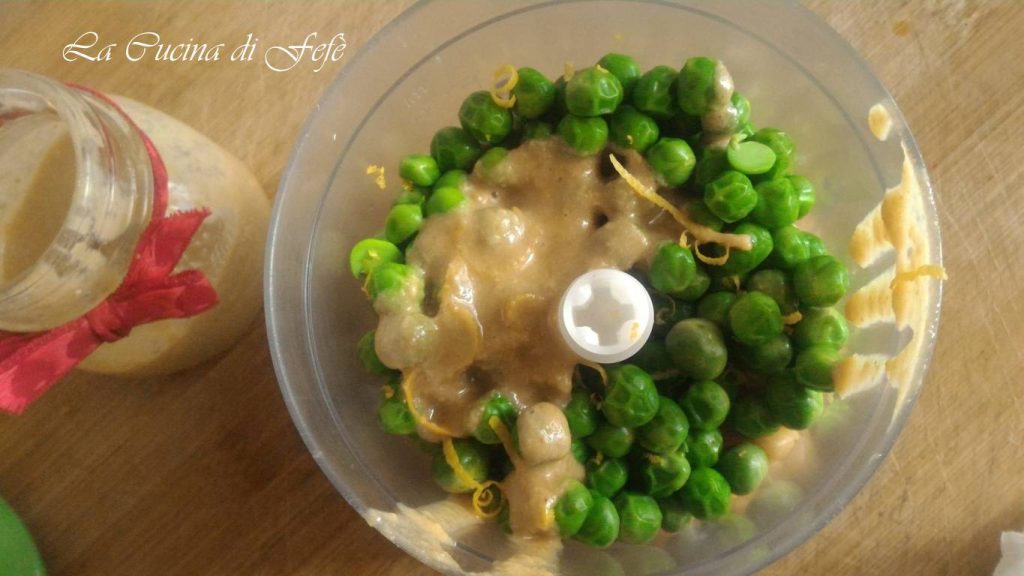
Squeeze the peeled garlic with a garlic press and add it to the other ingredients.

Adjust with salt and pepper and drizzle with the filtered lemon juice.

Finish with a drizzle of oil and mint or basil leaves.
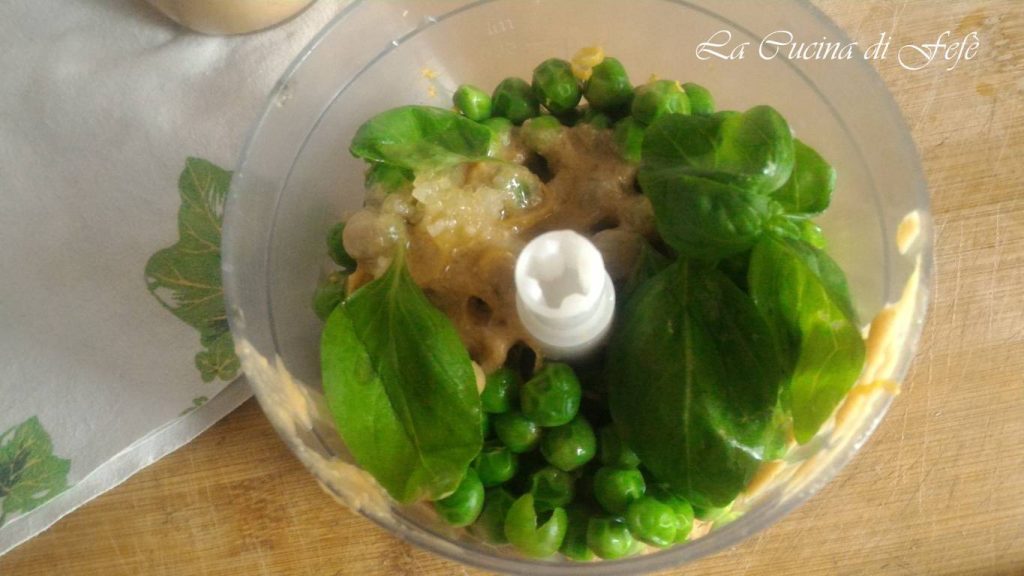
Blend everything until smooth and homogeneous.
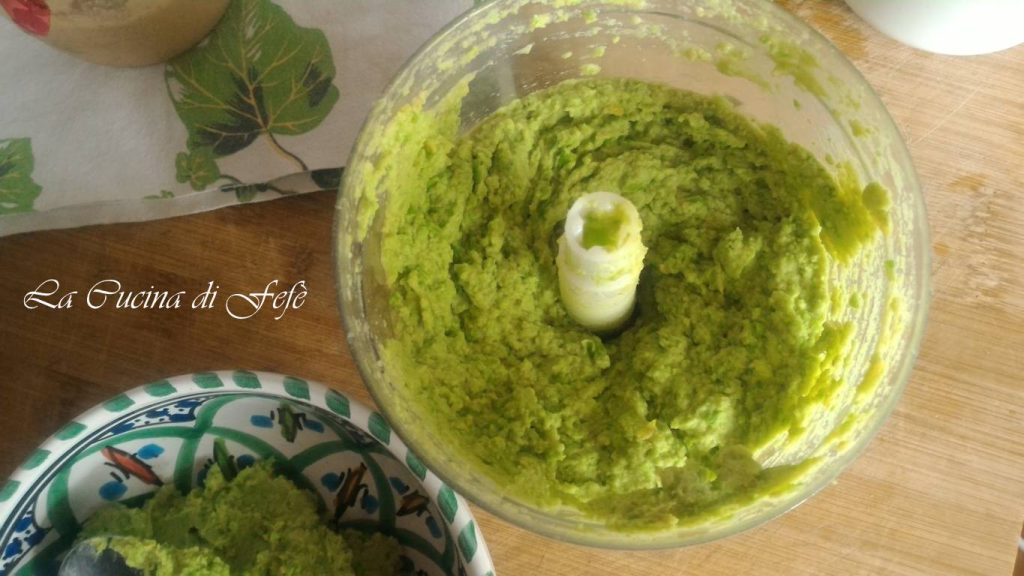
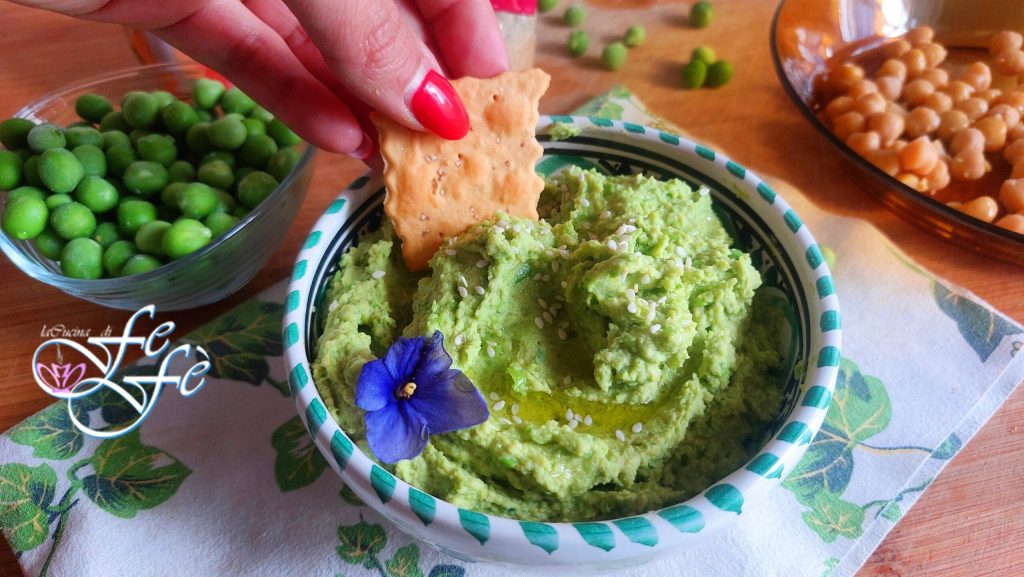
Transfer the pea hummus to a bowl, finish by adding a handful of sesame seeds and a good drizzle of raw oil and serve with some crackers or croutons of your choice.
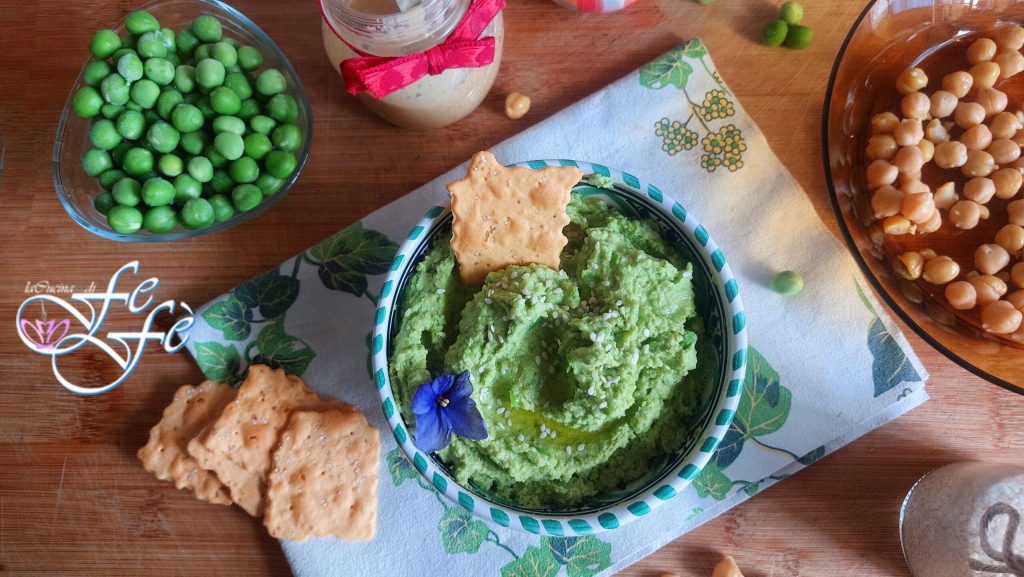
And voilà…your pea hummus is ready to be enjoyed!
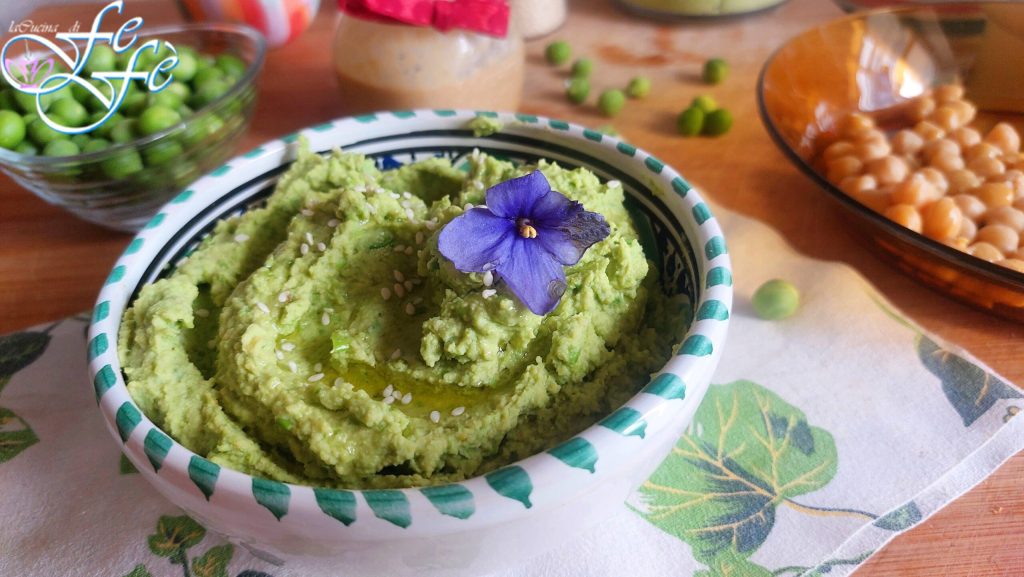
Bon Appétit from La Cucina di FeFè!
Other shots and pairing with some dried tomatoes! Delicious!
Storage
👉Pea hummus can be stored in the fridge always well drizzled with oil on the surface and covered with cling film in contact for 2-3 days at most.
Tips, notes, variations and suggestions
🟣 For those who do not like garlic, you can use garlic powder, instead of fresh, before turning on the mixer. Also, for a more aromatic version, you can also add some basil leaves, hot or sweet paprika or cumin if you like.
🟣 Extended with a few ladles of pasta cooking water it becomes a great sauce for all your hot and cold first courses.