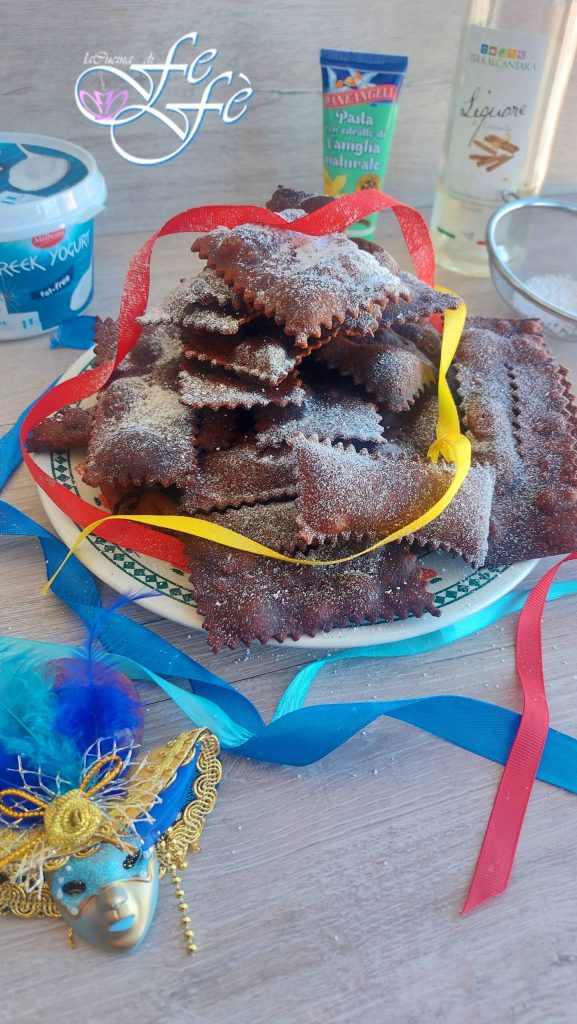
Greek Yogurt and Cocoa Chiacchiere: The Light and Crunchy Recipe That Will Surprise Everyone
After the success of my mascarpone chiacchiere, this year I wanted to outdo myself with an even faster, lighter, and more innovative version. If you’re looking for the quintessential Carnival dessert but want to avoid butter and eggs, these Greek yogurt and cocoa chiacchiere are the revelation you’ve been waiting for. Crisp, bubbly, and incredibly delicious!
Why Greek Yogurt in the Dough?
The substitution of butter and eggs with Greek yogurt is not just a health-conscious choice, but a technical one:
Lightness and Structure: The yogurt provides the necessary moisture for the dough to become elastic, allowing for a paper-thin sheet. Less Fat, More Bubbles: When fried, this particular composition reacts to create a myriad of golden bubbles, typical of the best artisanal tradition. Dark Touch: The addition of unsweetened cocoa turns a classic into a temptation for chocolate lovers and addicts, making these chiacchiere irresistible for both young and old.
Fried or Baked? The Choice is Yours!
To honor Carnival in its “purest form”, I chose frying: the yogurt makes them so light that the fried result is dry and not greasy. However, the dough’s versatility also makes them perfect for baking or in the modern air fryer, for a guilt-free version.
CURIOSITY: Did you know that the origin of these little sweets is very ancient? The fried chiacchiere actually date back to the time of the ancient Romans. Back then, sweets called frictilia were prepared during the Saturnalia festivals, celebrations we can compare to today’s Carnival. The simplicity of preparation allowed for large quantities to be made, so as to serve all the participants in the festivities.
If at Carnival dessert is a must, try these ideas as well, always with a focus on genuineness:
- Difficulty: Easy
- Cost: Cheap
- Rest time: 10 Minutes
- Preparation time: 20 Minutes
- Portions: 4-6 people
- Cooking methods: Frying
- Cuisine: Italian
- Seasonality: Carnival
Ingredients
⚠ THIS RECIPE CONTAINS ONE OR MORE AFFILIATE LINKS. The products I recommend are the same ones I use in my recipes; purchasing them through my blog helps support me and my work, while it won’t cost you anything extra!
- 1.6 cups all-purpose flour
- 0.88 oz unsweetened cocoa powder
- 2/3 cup Greek yogurt
- 4 tsp cinnamon liqueur (or other liqueur of choice, see notes)
- 1/4 cup powdered sugar
- as needed seed oil (for frying)
- as needed powdered sugar
Tools
- 1 Bowl
- 1 Spatula
- 1 Scraper
- 1 Rolling Pin
- 1 Plastic Wrap
- 1 Pasta Machine
- 1 Ravioli Cutter
- 1 Frying Pan
- 1 Slotted Spoon
- Paper Towels
Steps
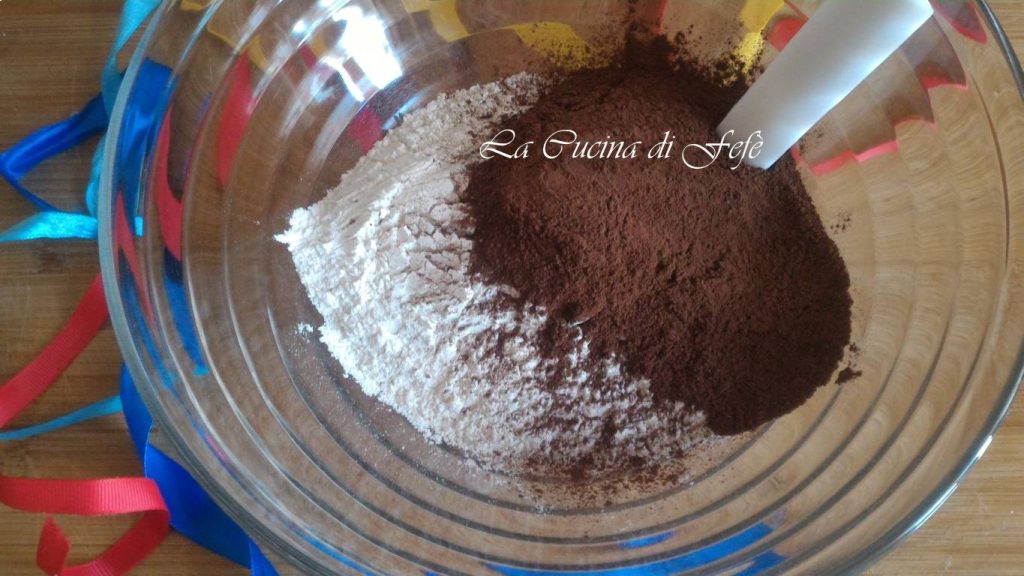
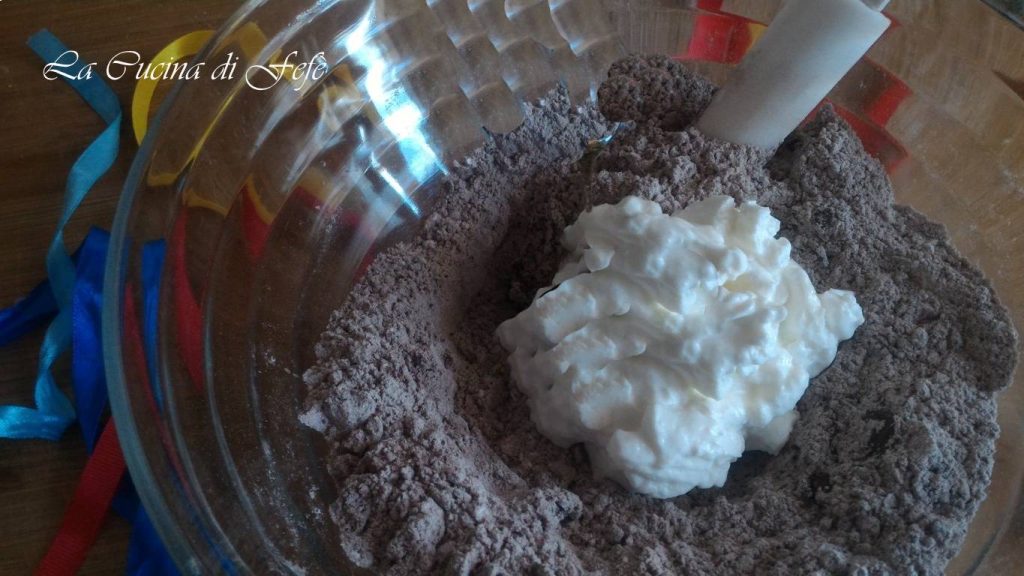
In a large bowl, sift the flour and cocoa powder and mix them together with the help of a spatula.
Add the sifted powdered sugar and mix.
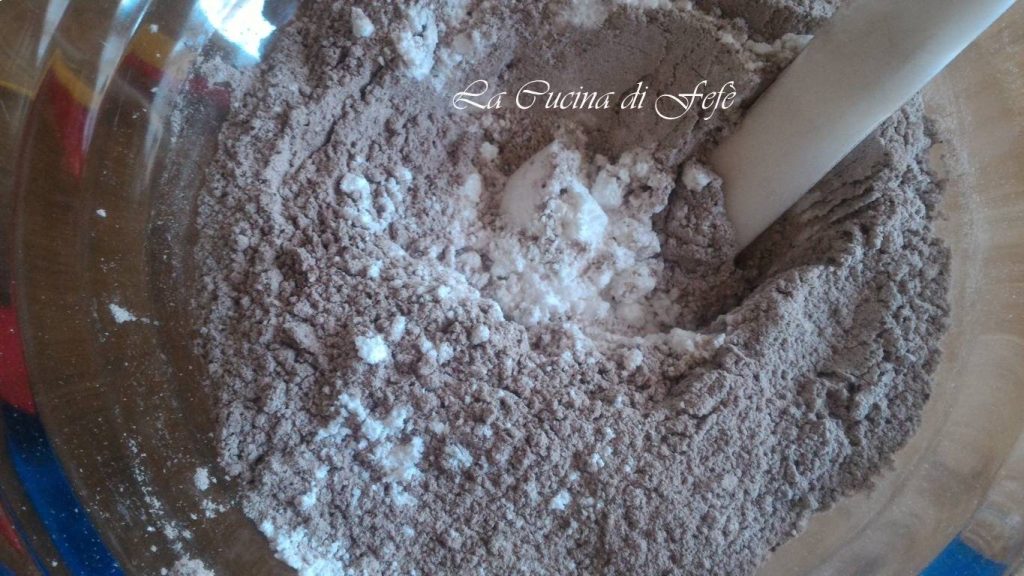
Create a well in the center and add the liqueur.
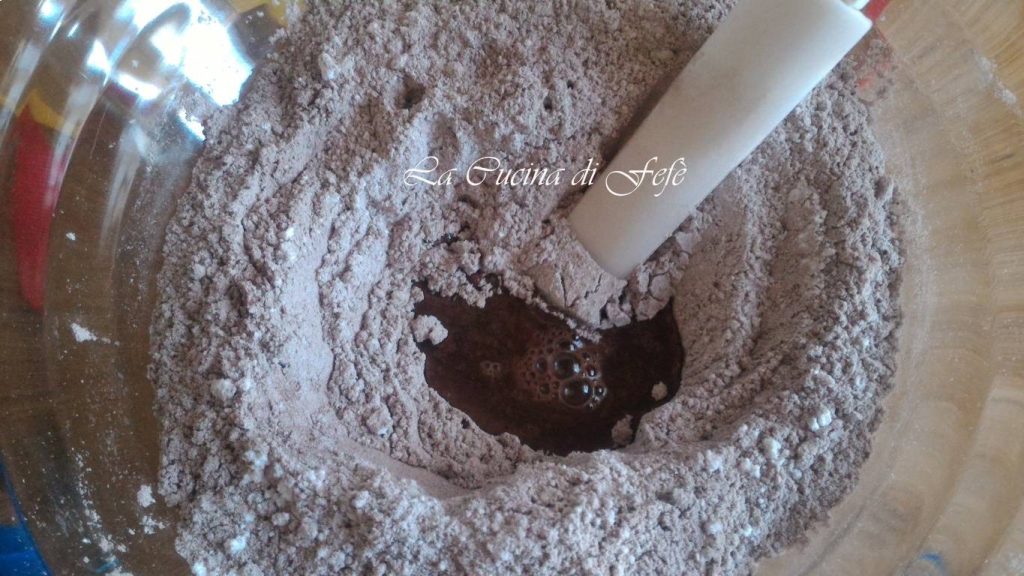
Add the Greek yogurt and mix initially with the spatula.
When the dough becomes consistent, continue kneading with your hands in the bowl.
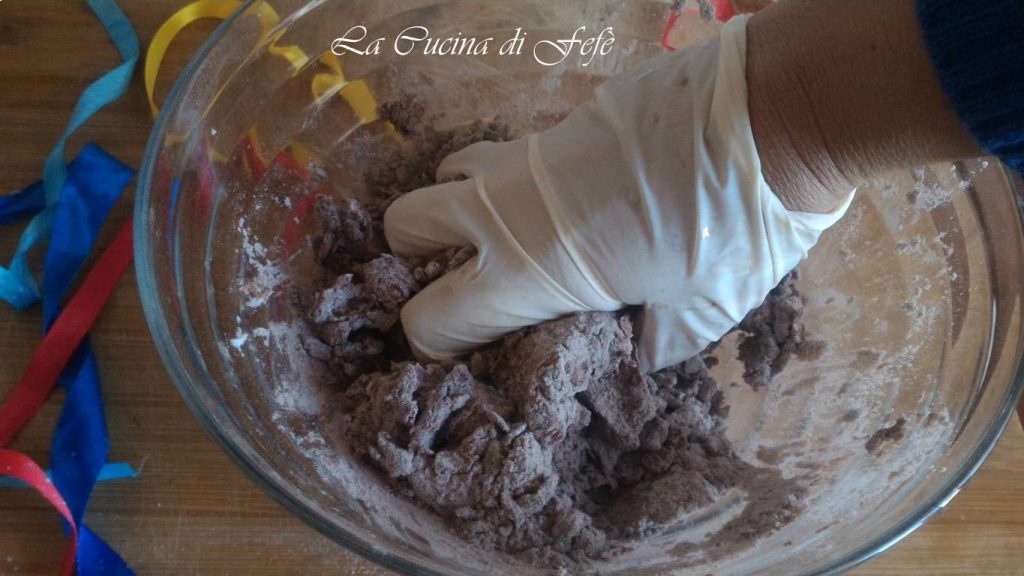
Then transfer the still rough dough to a work surface along with the remaining flour from the bowl.
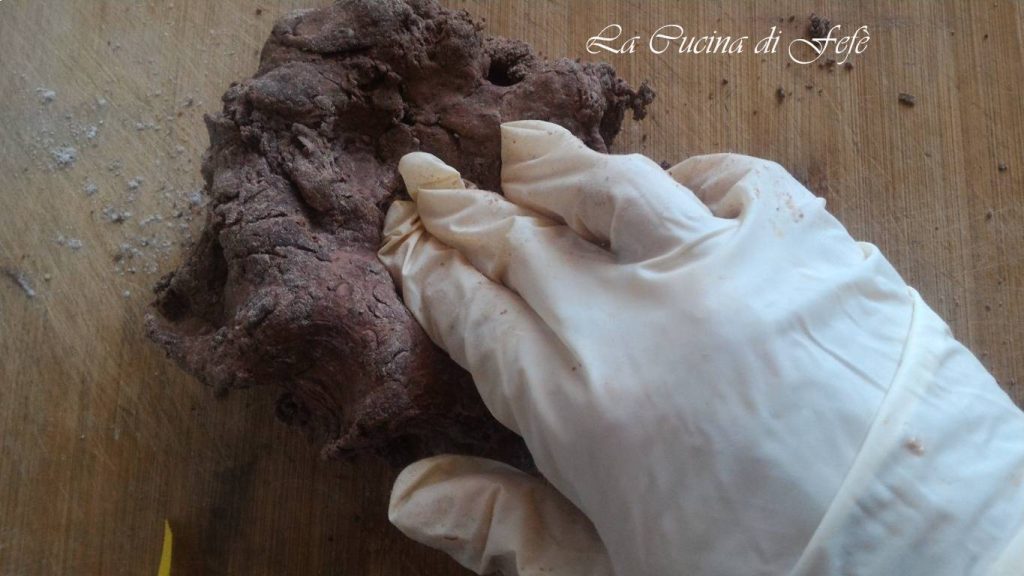
Knead for a few more minutes.
You should obtain a smooth and non-sticky dough that you’ll let rest for at least 10 minutes at room temperature, covered with plastic wrap or a clean, dry cloth.
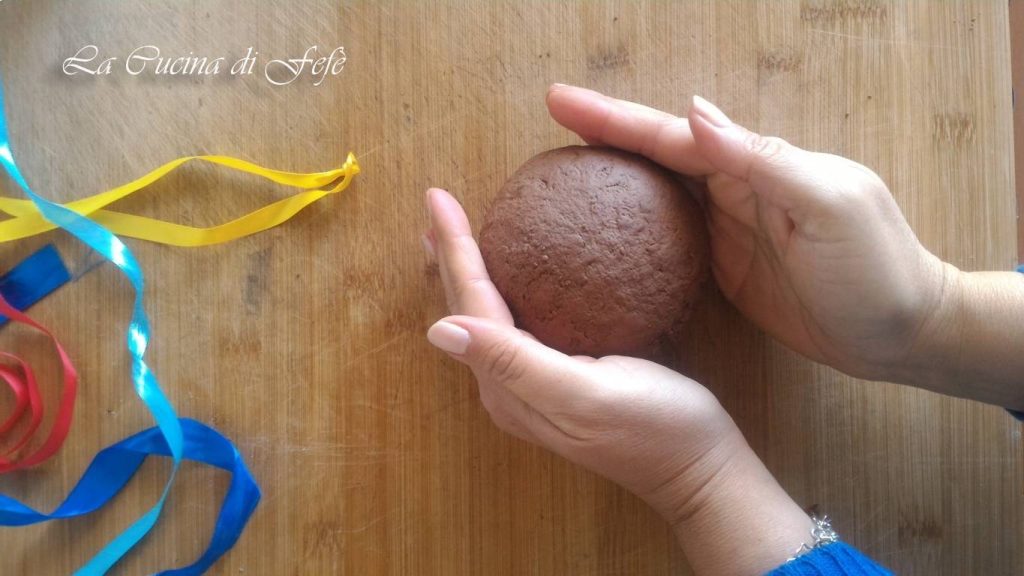
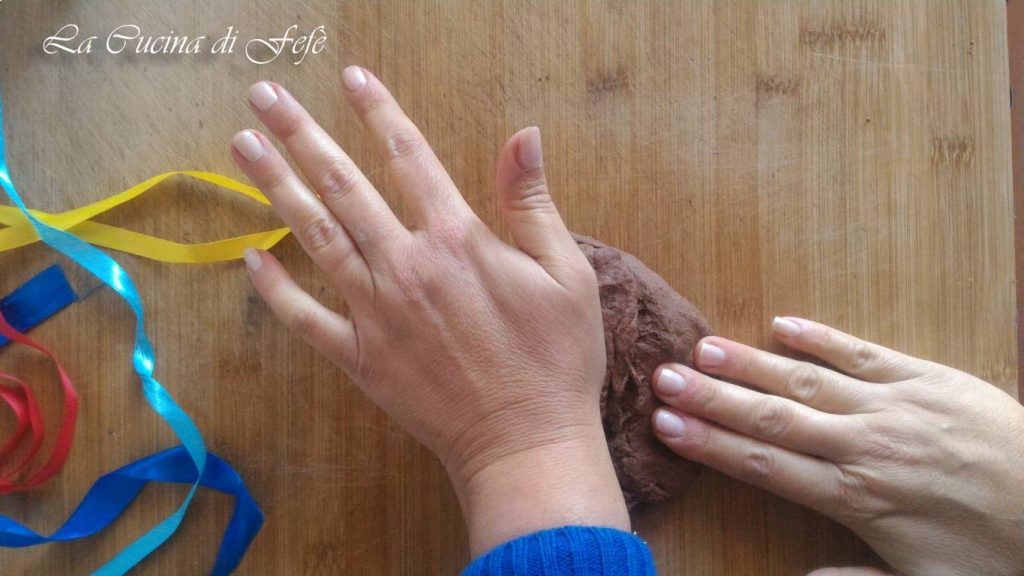
Then divide it in half using a scraper, leaving the rest still wrapped in plastic wrap.

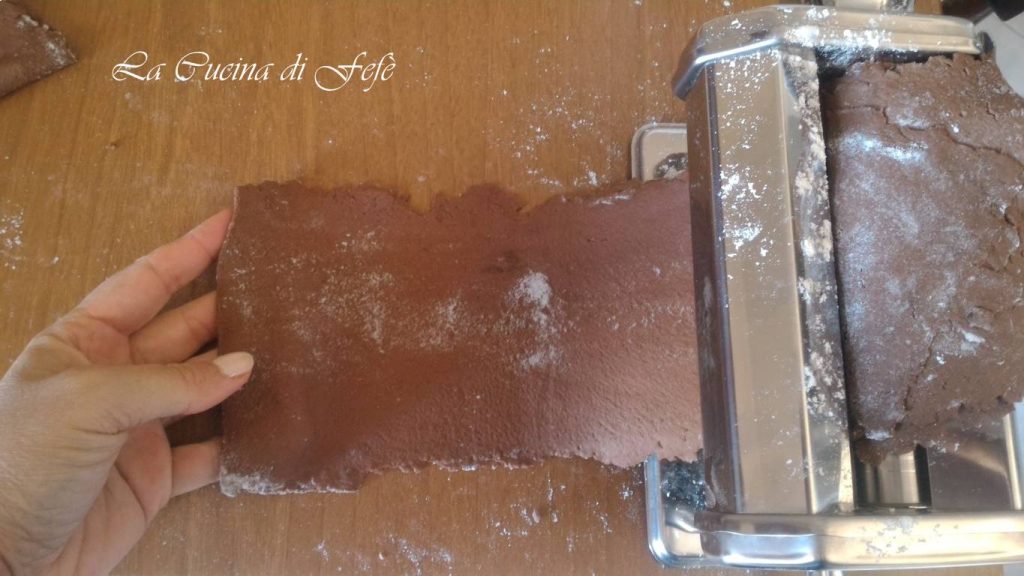
Start flattening the first portion slightly with the palm of your hand and then with a rolling pin, lightly floured if needed.

Insert the rolled-out piece of dough into the lightly floured pasta machine, set initially to a medium thickness, and pull the first sheet. It will initially appear rather rough, delicate, and sticky, which is normal! Re-flour the sheet, fold it in half, and pass it through the machine at a 2 mm thickness, until you achieve an almost veiled, uniform, and smooth sheet.
Delineate the lateral edges of your sheet with a ravioli cutter and cut the sheet to obtain medium-large rectangles of about 2×4 inches.
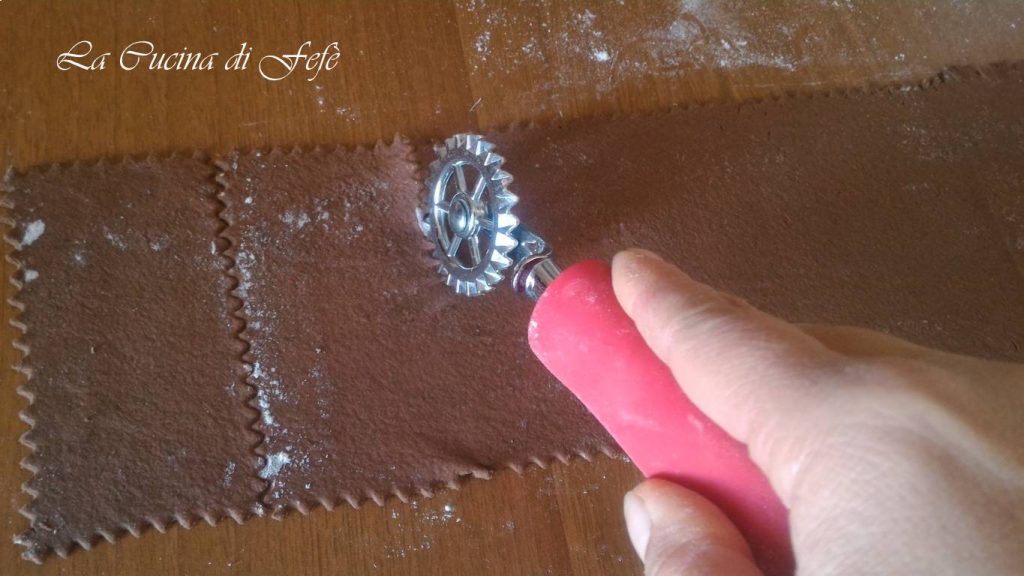
Make a central cut on each and arrange the rectangles separated so they don’t stick together, on lightly floured cutting boards or serving plates.
Continue this way until the dough is finished.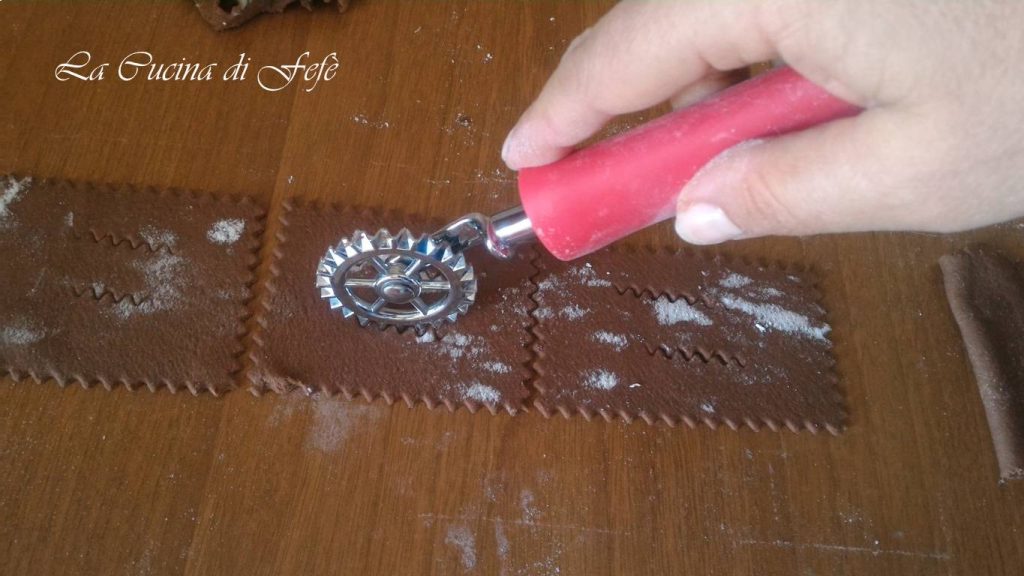
In a frying pan, bring plenty of oil* to a temperature of 320-340°F** and immerse a maximum of 2-3 dough rectangles at a time, so as not to lower the oil temperature too much. Within seconds, the chiacchiere will puff up.
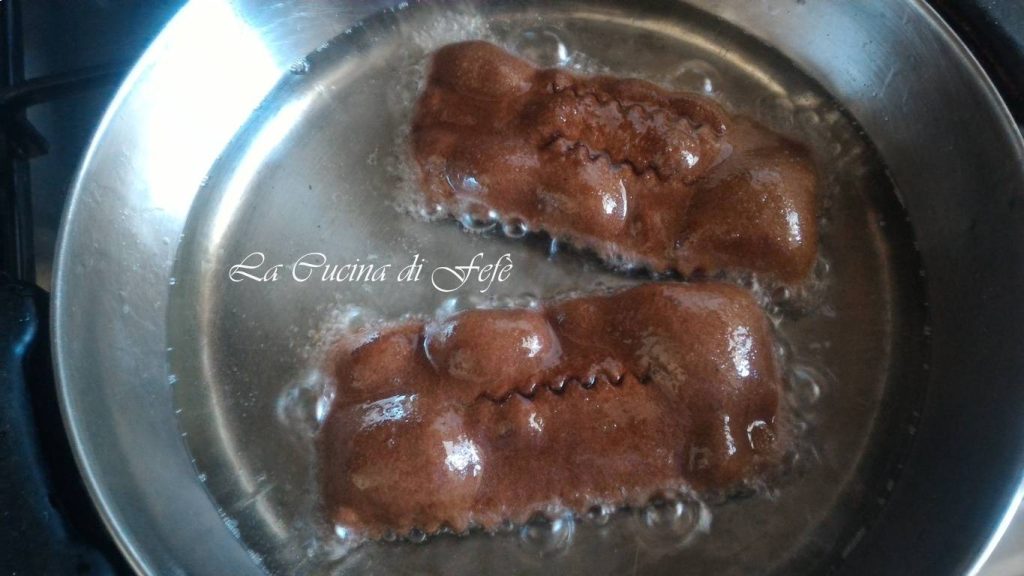
Then flip them after 3-4 seconds; bubbles will form on the other surface as well. Turn them over again, just a few more seconds until lightly golden, and drain them with a slotted spoon, placing them on paper towels, taking care not to pile them up, to ensure a good final result.

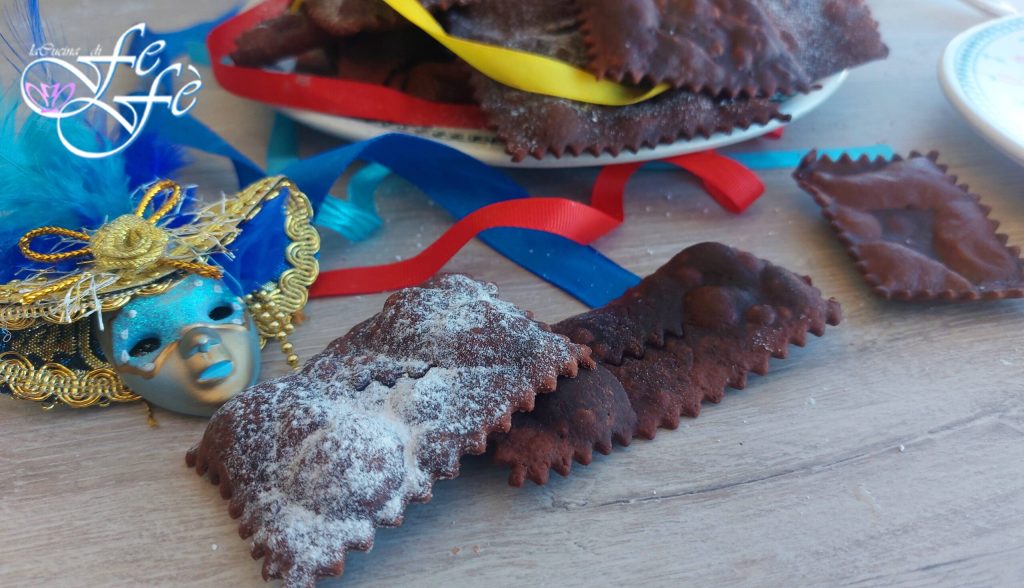
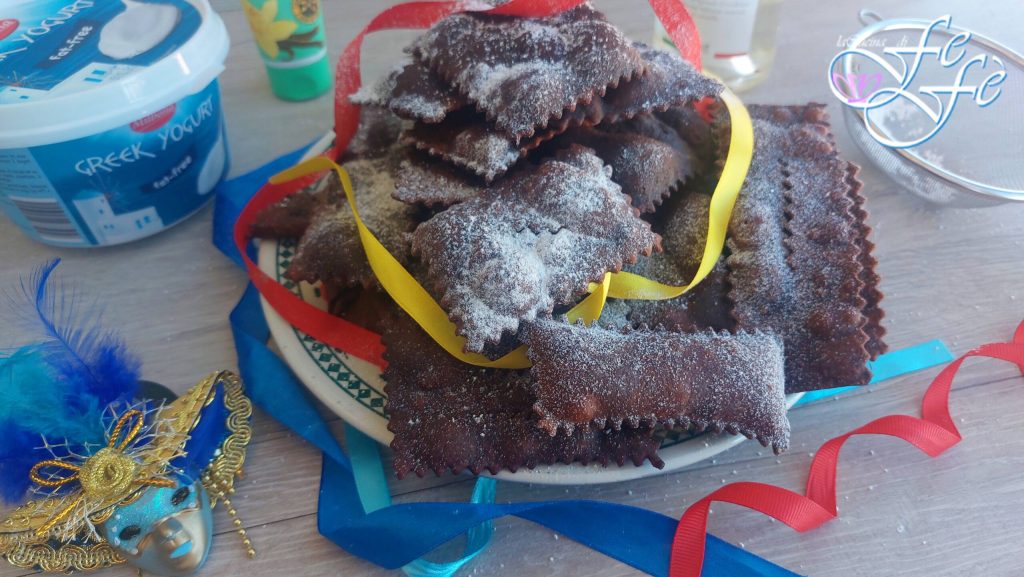
Once the cocoa and yogurt chiacchiere are well cooled, dust them with powdered sugar on both sides and arrange them on a serving plate!
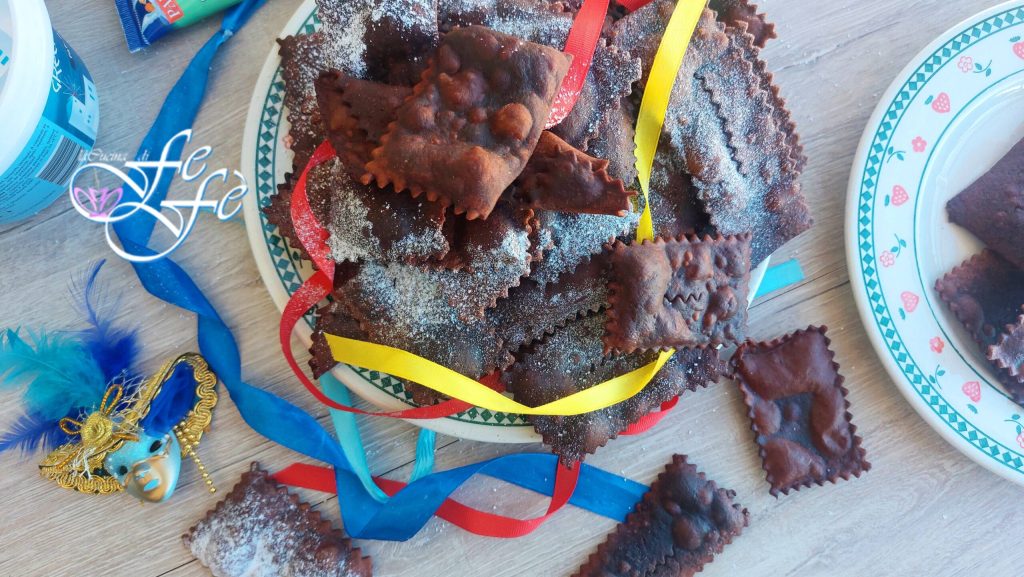
And voilà… your cocoa and yogurt chiacchiere are ready to be enjoyed!
Bon Appétit from La Cucina di FeFè!
Storage
👉The cocoa and yogurt chiacchiere, once dusted with powdered sugar, remain crispy and crumbly for 3-4 days if stored in an airtight container, preferably glass, or sealed in plastic food bags, being careful not to crush them, as they are quite fragile and could break.
Tips, Notes, Variations, and Suggestions
🟣* For optimal frying of the chiacchiere, use a narrow and tall pan with plenty of oil, so they can float and fry evenly. I always recommend peanut oil or oil specific for frying to keep the smoke point high.
🟣** If you don’t have a kitchen thermometer, to know when the oil is ready, do a test with a toothpick or a skewer stick or even a piece of dough. When in contact with oil, micro bubbles should form around it. Only then can you proceed with frying.
🟣 Substitute for cinnamon liqueur, you can use any other liqueur of your choice, like Rum, Grand Mariner, Grappa, etc. or for a non-alcoholic version suitable for children, you can replace it with the same amount of milk; if desired, you can also flavor the chiacchiere with untreated lemon or orange zest or a teaspoon of vanilla extract or a packet of vanillin; while for an even more chocolaty version, you can garnish your chiacchiere with melted chocolate and make them festive by adding colored sprinkles. The possibilities are really many, and you just have to play with flavors and combinations.
🟣 Did you know that if you use a bit of Manitoba flour in the dough, you’ll get crispier and lighter chiacchiere? Yes, indeed, by replacing part of the all-purpose flour with Manitoba type, you’ll achieve greater elasticity and resistance, and in this way, your chiacchiere will tend to break less! Moreover, Manitoba flour allows for less oil absorption during cooking, ensuring lighter and drier chiacchiere. All this provided a sufficient amount of oil and its adequate choice and temperature.
FAQ (Frequently Asked Questions)
1. Can I substitute Greek yogurt with regular yogurt?
It is not recommended. Greek yogurt is denser and has less whey; regular yogurt would make the dough too sticky, forcing you to add too much flour and compromising the final crispiness.