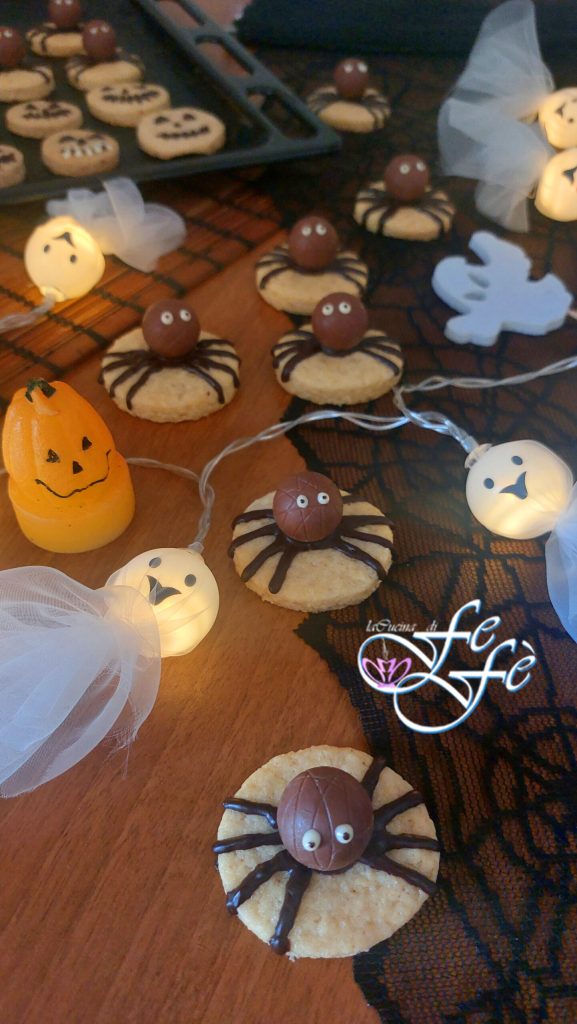
Well yes, this year I too have succumbed to the non-fascination of the Halloween party! Yes, because in reality, those who know me know that I am not a huge fan of witches, zombies, and little monsters! Instead, I am a fan of pumpkins and creative sweets that do not necessarily have to be scary or ugly as tradition requires! Therefore, a fair compromise must be found, and in my opinion, spider cookies are just that compromise, a cute and scenic proposal that will still make your children happy and I assure you even us adults!!!! They are really easy and even fun to prepare, in fact, you don’t need to have any themed mold. A round and smooth mold similar to a pastry cutter, some chocolate pralines, and a piping bag will suffice, and you’re done! The shortcrust pastry is my usual oil-based one, very light and digestible, but with these chocolate decorations, it will be enhanced and delicious. I find it perfect for this type of preparation, so that children can enjoy a few more cookies without too much worry! They are undoubtedly healthier than many pseudo delicacies I see on sale in supermarkets, full of dyes, sugars, and who knows what else! Here, instead of sugar, I added erythritol with extraordinary nutritional and organoleptic characteristics, but you can certainly replace it with cane sugar, preferably whole. I hope you liked my proposal, write to me what you think!
- Difficulty: Easy
- Cost: Cheap
- Rest time: 15 Minutes
- Preparation time: 30 Minutes
- Portions: About 32 cookies
- Cooking methods: Oven
- Cuisine: Italian
- Seasonality: Autumn
Ingredients
- 2 1/4 cups all-purpose flour
- 1/2 cup erythritol (or 1/3 cup cane sugar)
- 1/3 cup peanut oil
- 1 egg
- 1 egg yolk
- 1 teaspoon baking powder
- 1 pinch salt
- 32 chocolate pralines
- 1.8 oz dark chocolate (or milk chocolate)
- 0.35 oz white chocolate
Tools
- 1 Mixing bowl
- 1 Hand whisk
- 2 Parchment paper
- 1 Rolling pin
- 1 Cookie cutter
- 1 Baking sheet
- 1 Baking mat
- 1 Cooling rack
- 1 Small pan
- 1 Spatula
- 1 Piping bag
Steps
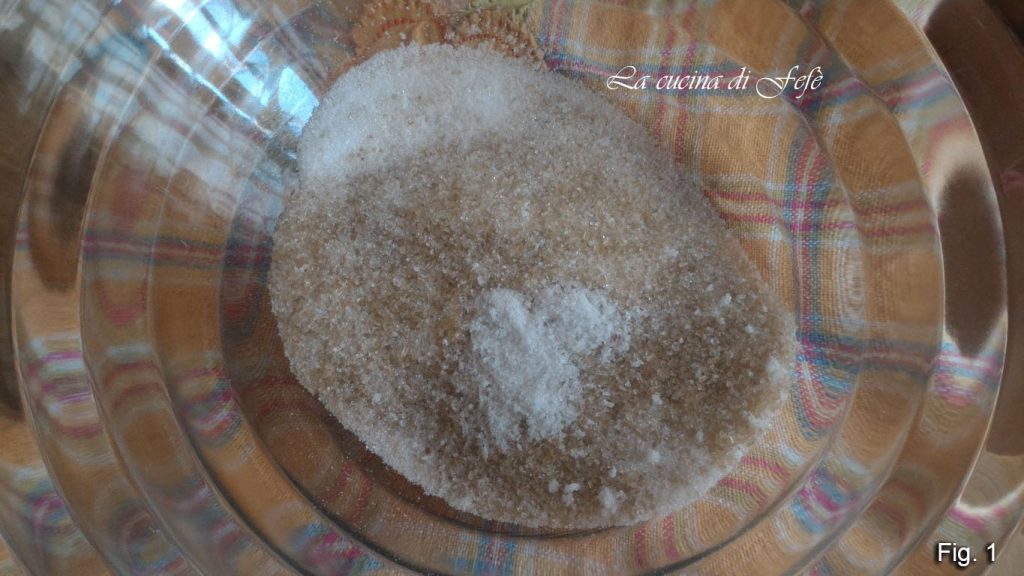
Start by preparing the oil shortcrust for the cookies. In a mixing bowl, I added half of the erythritol and half of the cane sugar with a pinch of salt, but you can use just one sweetener of your choice (fig. 1).
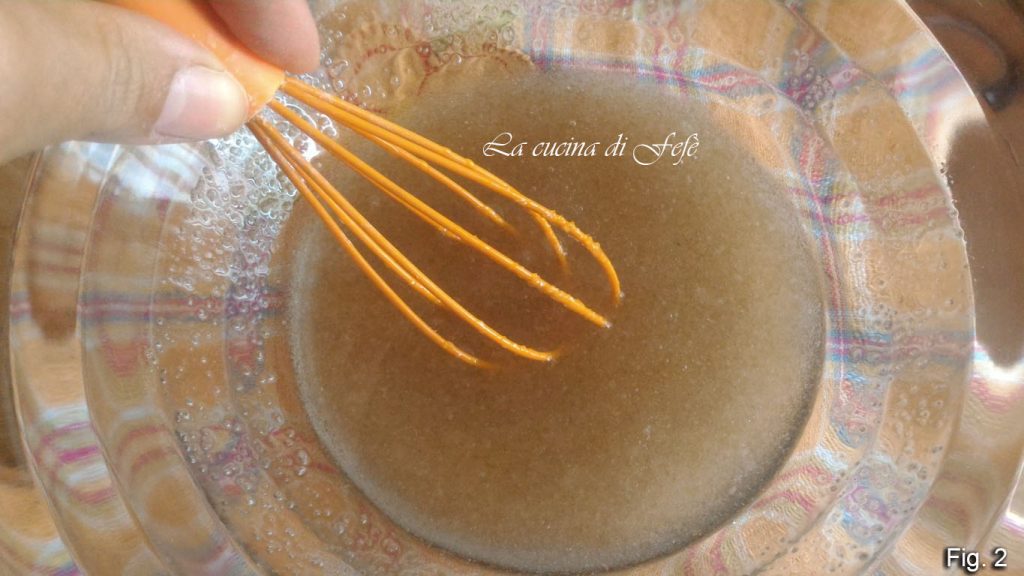
Add the oil and mix with a hand whisk (fig. 2).
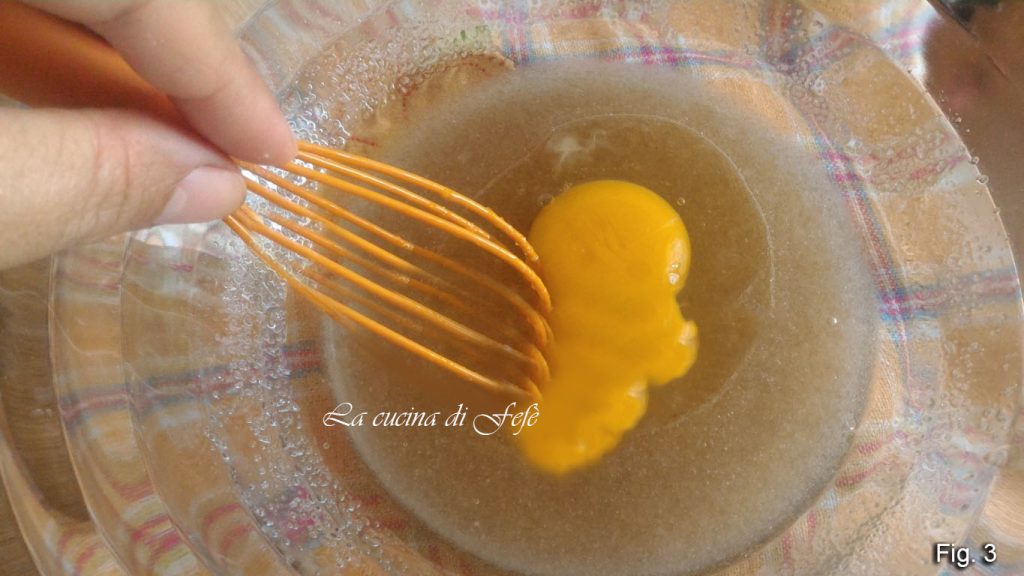
Incorporate also the egg and the egg yolk and beat vigorously (fig. 3).
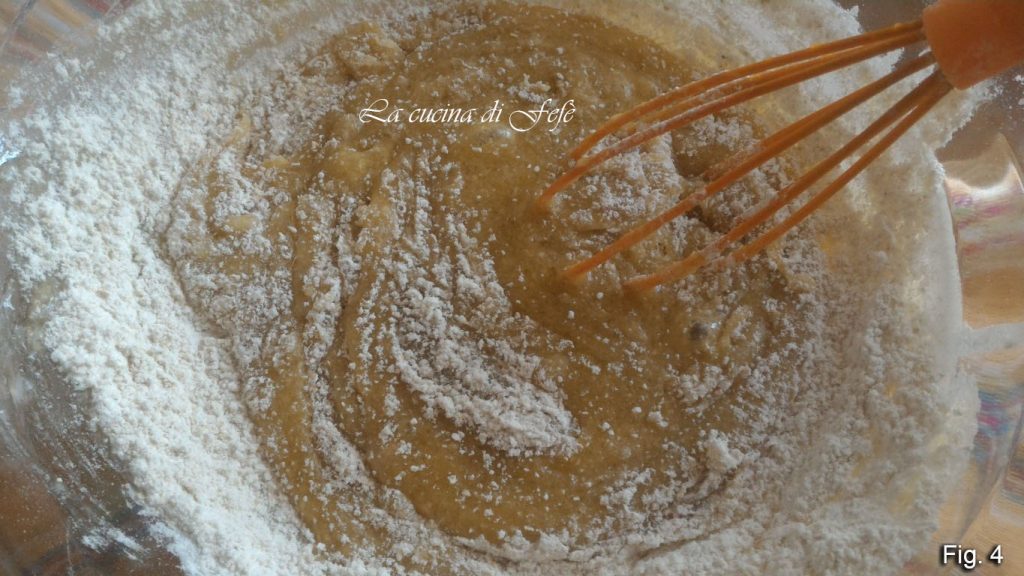
Then gradually add the flour previously sifted with the baking powder, working first with a whisk (fig. 4).
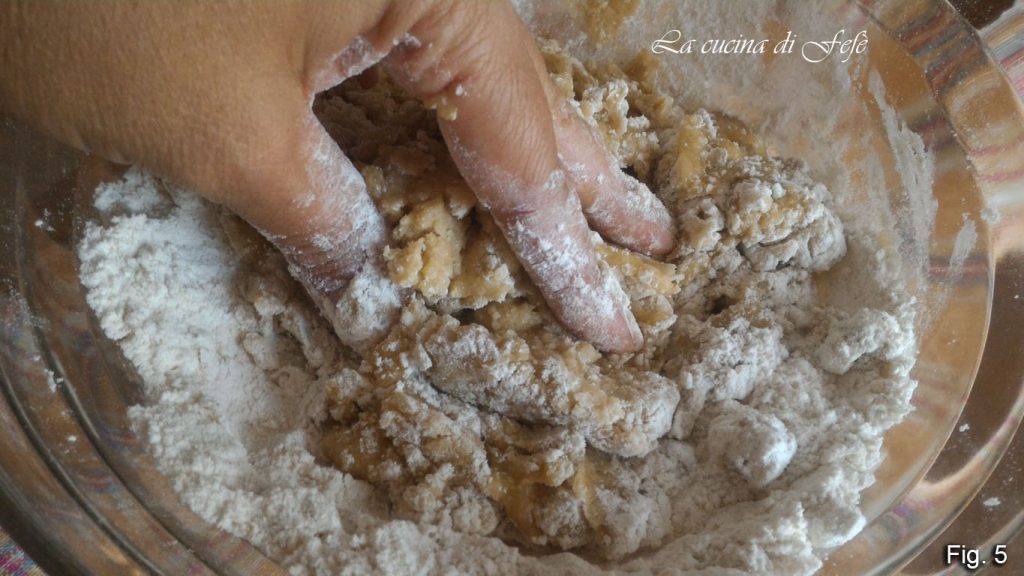
Continue to work with your hands always in the bowl (fig. 5).
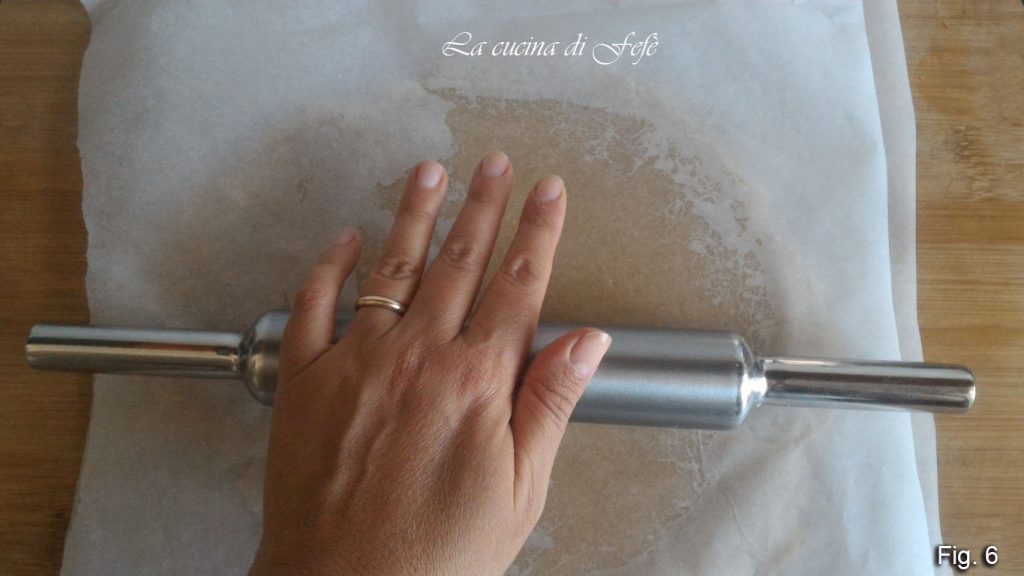
When the dough has compacted, let it rest wrapped in cling film for approximately 15′, then roll it out between two sheets of lightly floured parchment paper to a thickness of 0.2 inches (fig. 6).
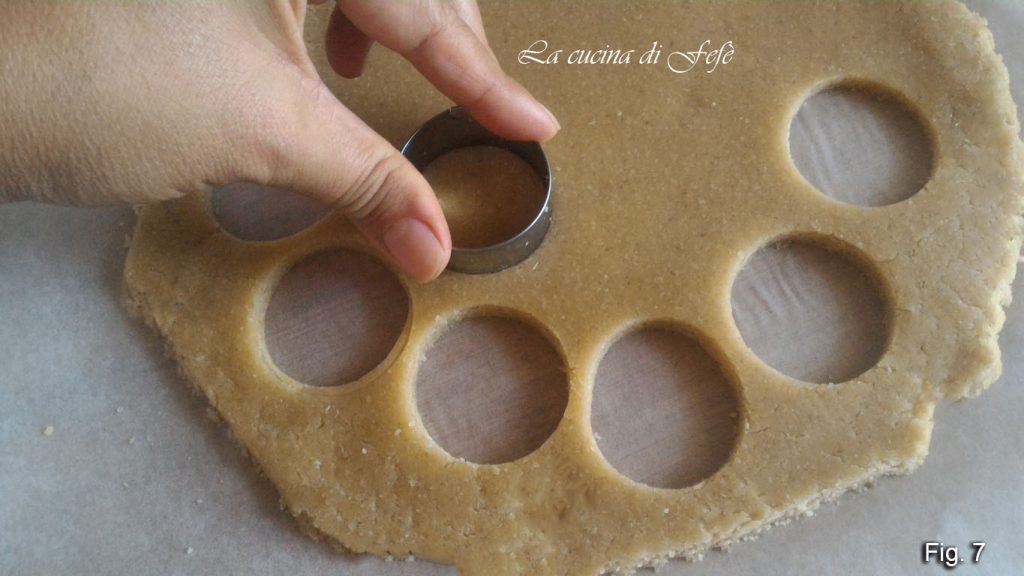
Cut out your cookies using a 5 cm diameter pastry cutter until the dough is used up (fig. 7).
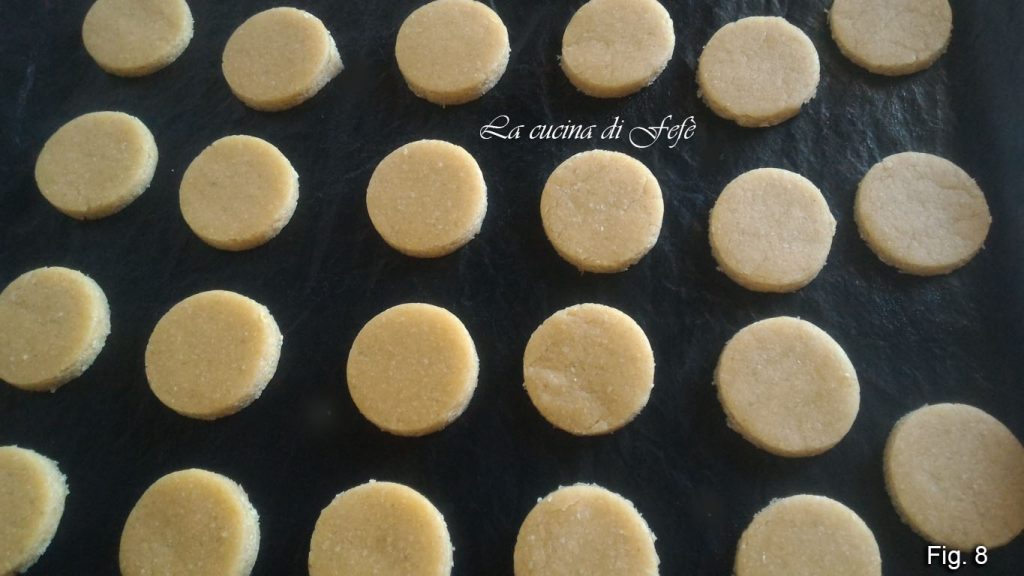
Transfer the cookies one by one onto a baking sheet lined with parchment paper or on recyclable Teflon like I did, well spaced apart and creating a slight dent in the center with your finger or with the help of a coffee spoon* (fig. 8).
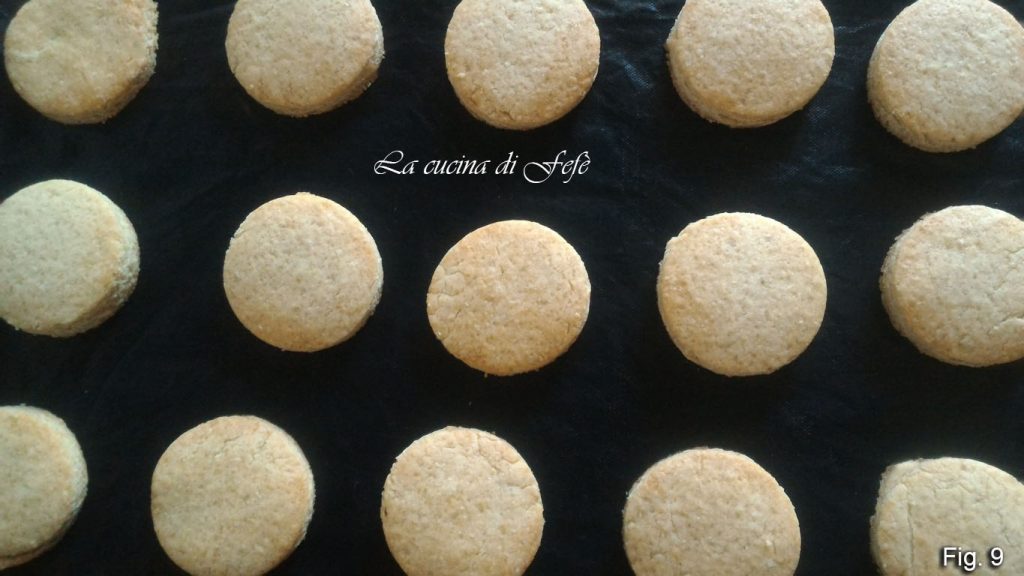
Place in a preheated oven at 350°F for 10′-11‘, be careful not to let them brown too much. Turn off and remove from the oven (fig. 9).
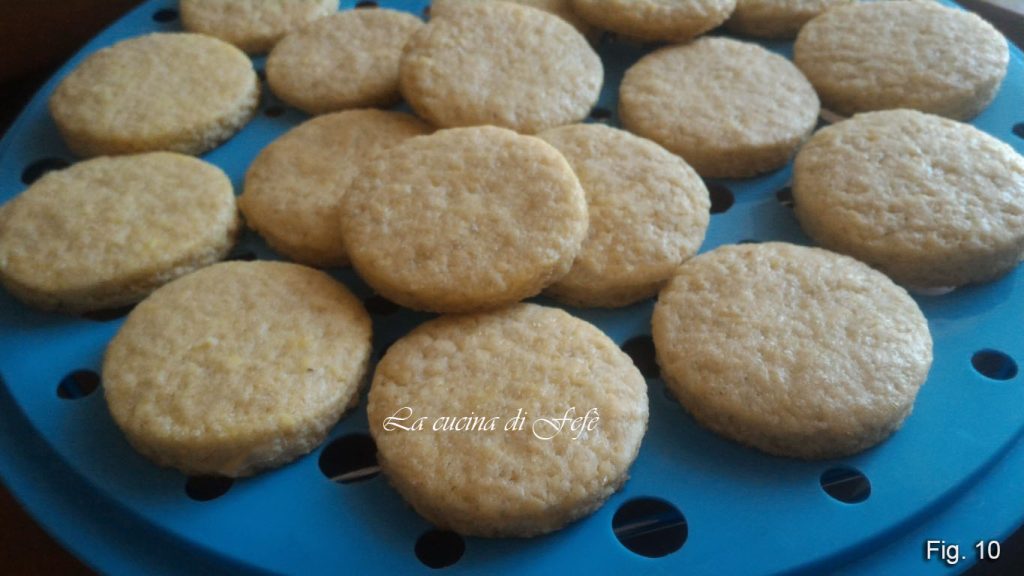
Transfer them to a cooling rack to cool completely at room temperature (fig. 10).
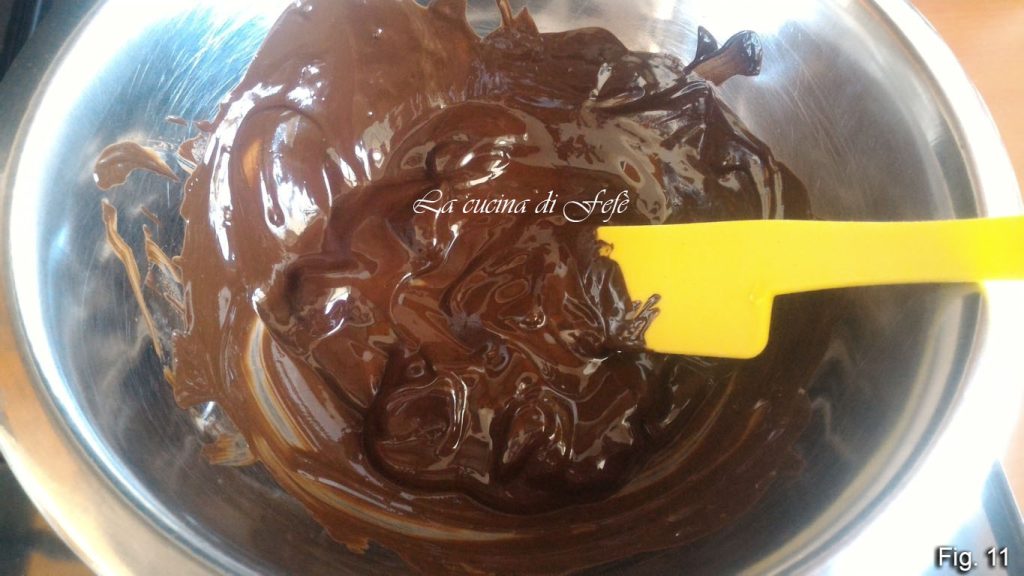
Meanwhile, melt the dark chocolate in a double boiler and let it cool slightly off the heat (fig. 11).
Transfer the cooled chocolate into a piping bag** and create the spider legs by making 4 lines on each side of the cookies and a small circle in the center to attach the praline to the cookie (fig. 12).

Then position the pralines, holding them in place for a few seconds and letting them dry for a few minutes (fig. 13).

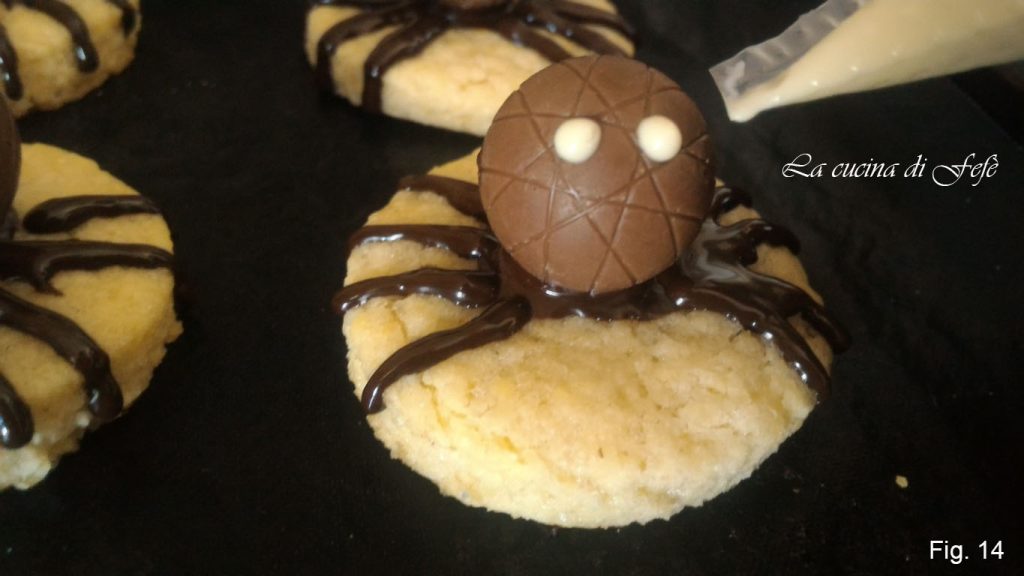
At this point, you’re ready to also melt the white chocolate in a double boiler and, with the help of a piping bag, create the eyes (fig. 14).
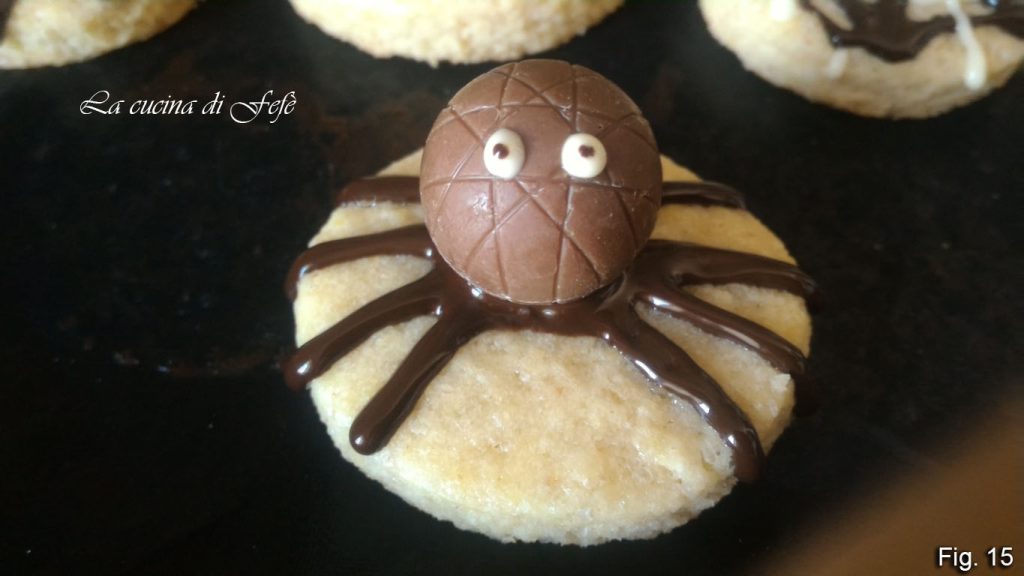
Complete by creating the pupils with a dot of dark chocolate and let all the spider cookies dry well for at least 1 hour (fig. 15).
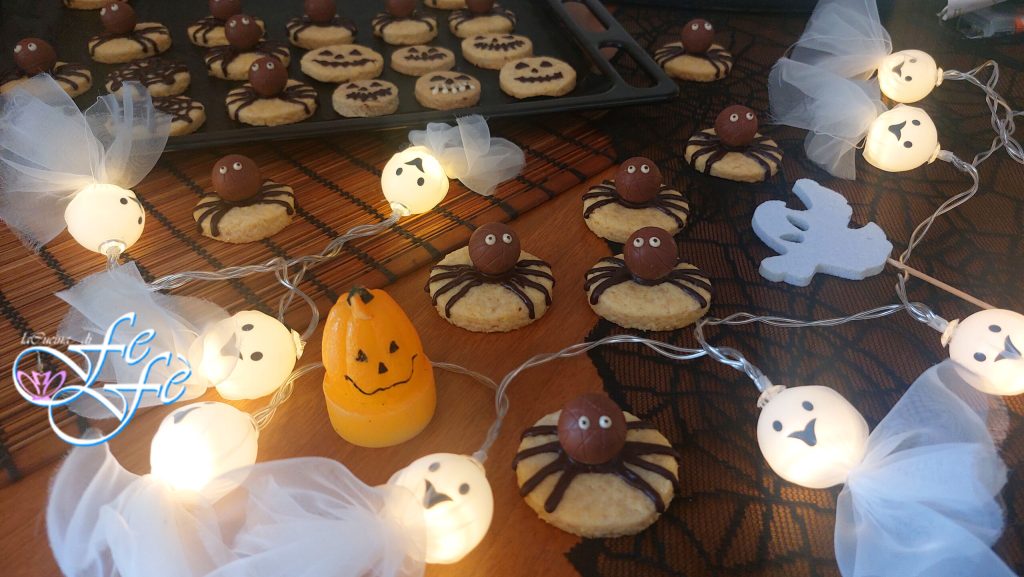
Arrange them in line, without overlapping, inside a tray with a glass dome until ready to serve.
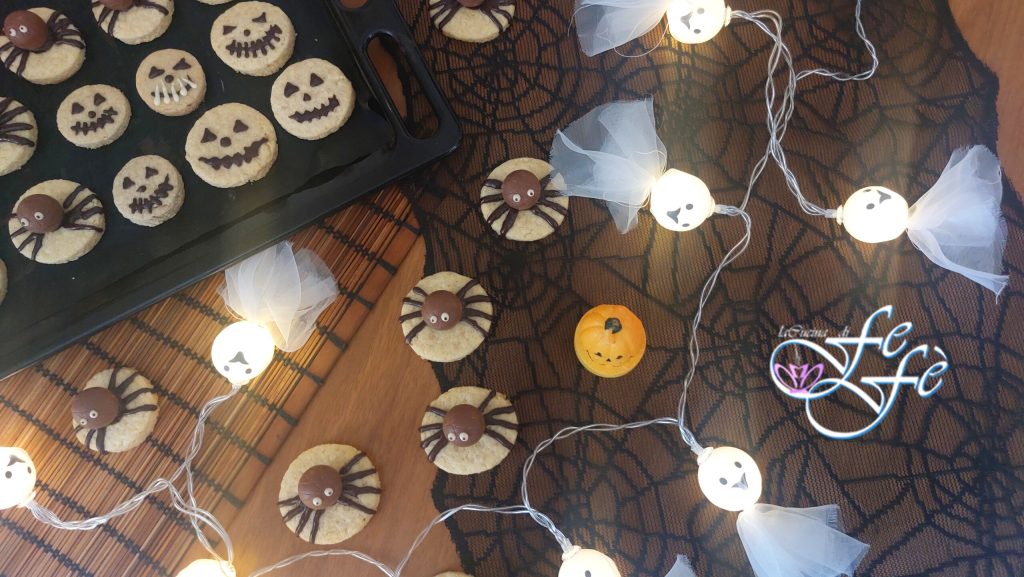
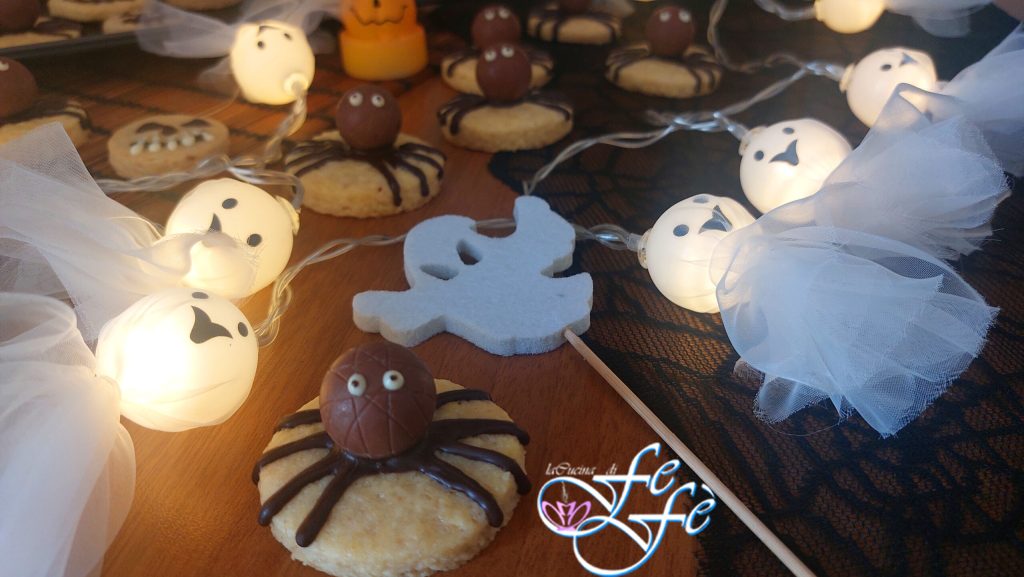
And there you have it…the Halloween spider cookies are ready to be enjoyed!
Bon Appetit from FeFè’s Kitchen!
Storage
👉 You can store the spider cookies in a container, preferably a tin one to preserve their fragrance, and keep them in a cool and dry place away from direct sunlight for up to 2 weeks.
Tips
🟣 * The dent is made to facilitate the placement of the praline in the center of the cookie, which will serve as the spider’s body, but if you forget this step as I did, I guarantee that the praline will remain securely in place with the help of the melted chocolate.
🟣** I recommend using a disposable piping bag, without a tip, simply cutting the end finely to ensure the correct flow of the chocolate, otherwise risking the final result.