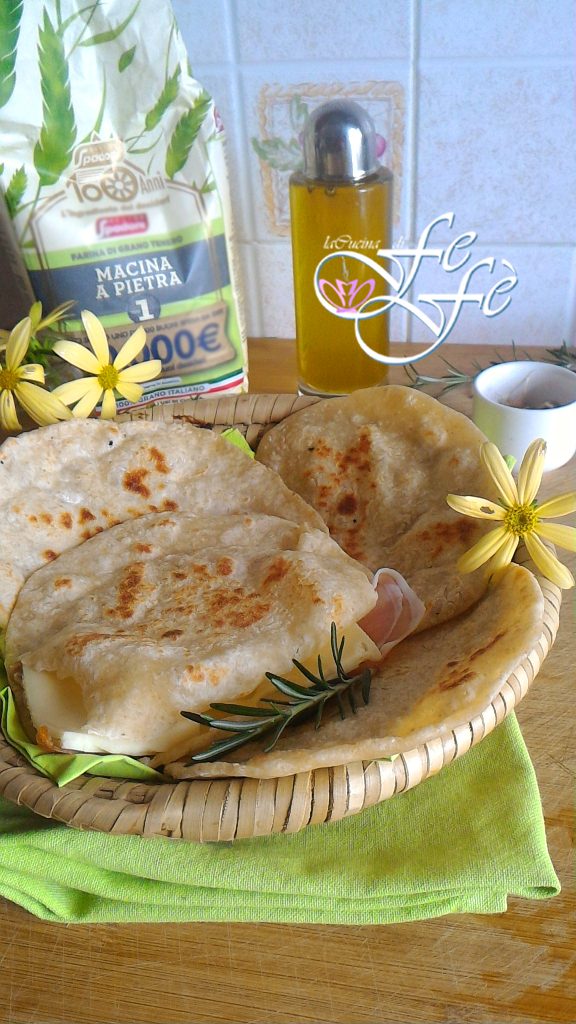
Among the best bread recipes experimented over the years, undeniably finds its place the naan bread, the typical bread of Indian origin! For those who haven’t tried it yet, I recommend experimenting with it right away, without being misled by the peculiarity of its name, but rather being enticed by the type of simple and genuine dough. In fact, original naan bread is baked in the typical inverted bell-shaped clay ovens called Tandoor, and served warm with melted butter. It’s made with flour, water, yeast, salt, and yogurt. It’s the latter ingredient that gives it that elasticity and softness that makes it so special! My version excludes water and yeast compared to the original recipe, and I must say it seemed even more delicate and digestible. It somewhat resembles Arabic bread or Greek pita, also used to accompany meats, salads, and vegetables. Besides, it’s really easy and fast to prepare. In fact, rest assured, a well-heated non-stick pan is all you need to bring a delicious and versatile bread to the table. And once you close the lid, as you cook it, it will perform an incredible magic, puffing up like a balloon. This will be the sign that your recipe has succeeded! A kind of pocket will form that you can fill as you please with cold cuts and cheeses or whatever your imagination suggests! I also brushed the surface with a dressing made of oil, garlic powder, rosemary, chives, pink pepper, tarragon, and pepper. A delight! So, what are you waiting for?
If you are interested in other types of quick or skillet bread, also take a look at these versions, some also suitable for celiacs:
- Difficulty: Very Easy
- Cost: Very Cheap
- Rest time: 30 Minutes
- Preparation time: 10 Minutes
- Cooking methods: Stovetop
- Cuisine: Indian
Ingredients
- 10 oz all-purpose flour (or type 1 flour + as needed for the work surface)
- 8.8 oz Greek yogurt 2% fat (or regular plain yogurt)
- 1/2 tsp salt (level)
- 1 pinch baking soda
- 1 drop extra virgin olive oil (for brushing)
Tools
All recipes and photographs are my creation and property, therefore protected by copyright law. The use of content from my site is permitted with prior and explicit authorization and consequent citation of the site and the related link.
- 1 Bowl
- 1 Wooden Spoon
- 1 Rolling Pin
- 1 Pan
- 1 Lid
Steps
In a large bowl, sift the flour and add a pinch of baking soda.
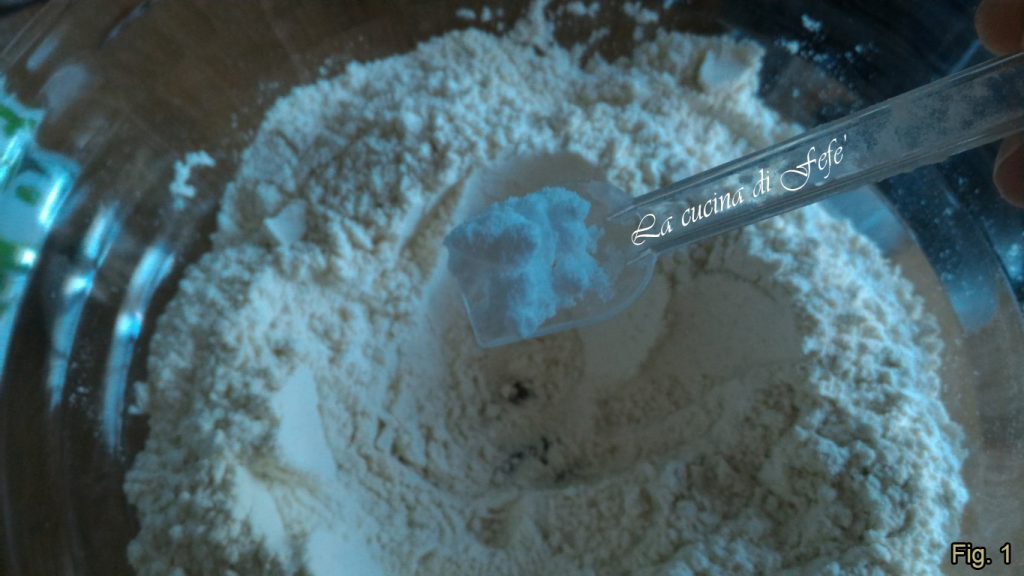
Mix and also add the pinch of salt.

Mix again, create a well in the center, and incorporate the yogurt.
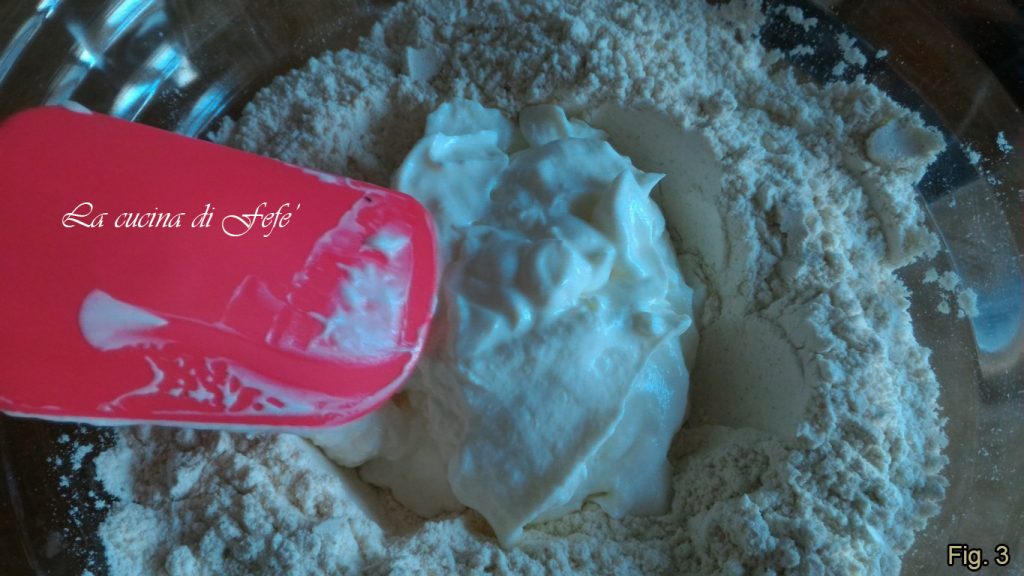
Mix first with a wooden spoon.
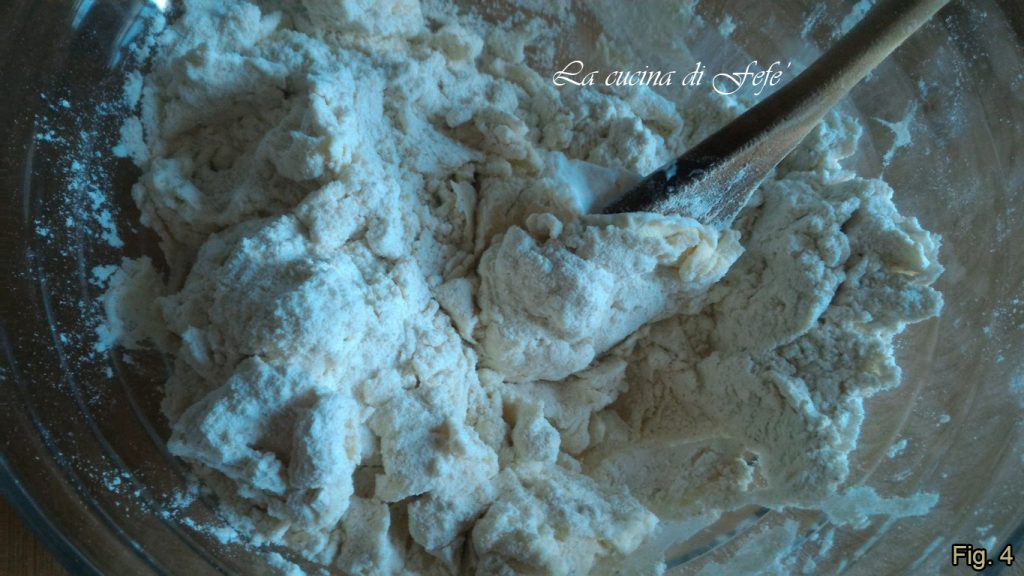
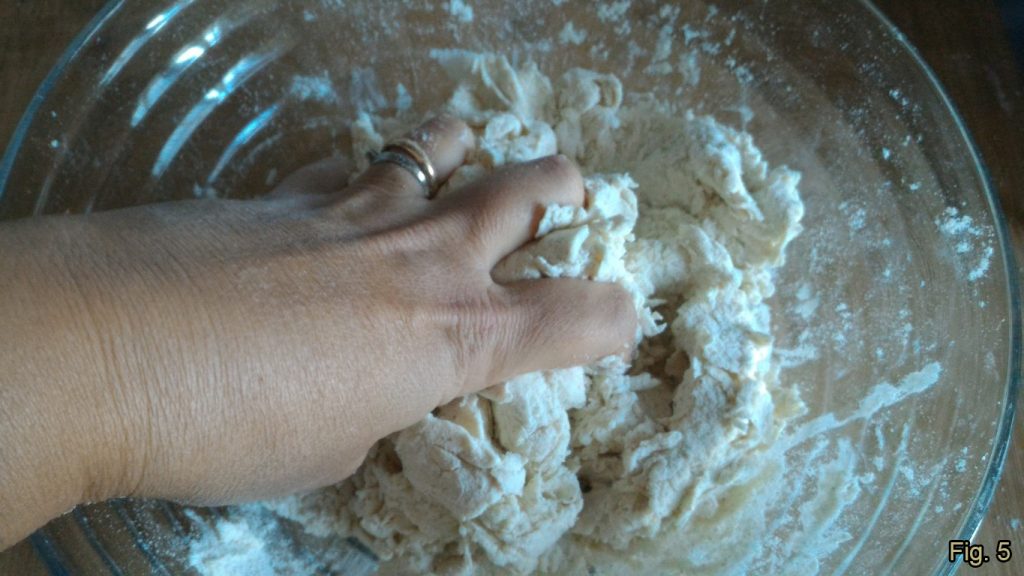
Then, when the consistency becomes firmer, knead vigorously by hand for about 5 minutes.
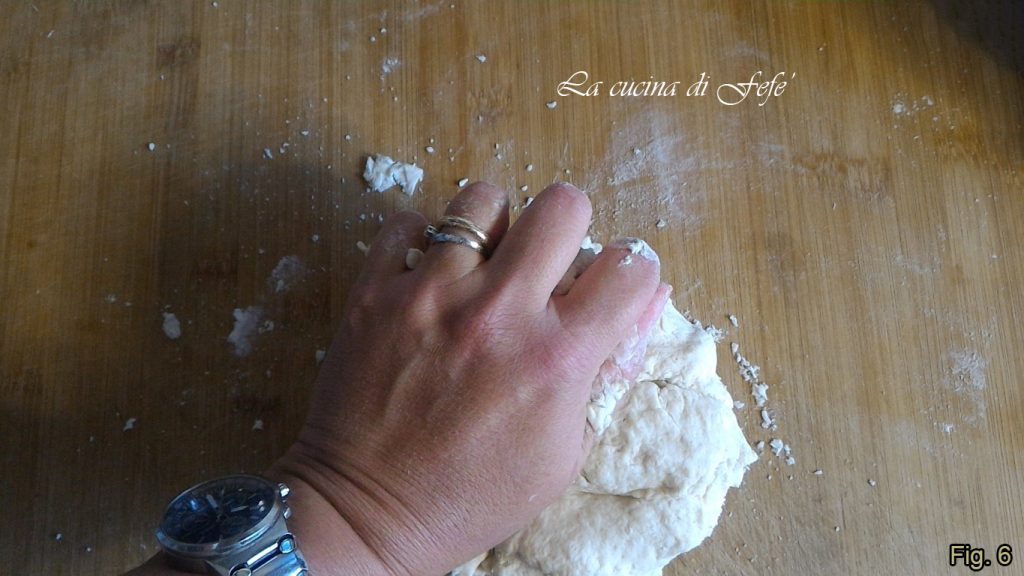
Then transfer to a work surface with the remaining flour in the bowl and continue kneading for another 5 minutes.
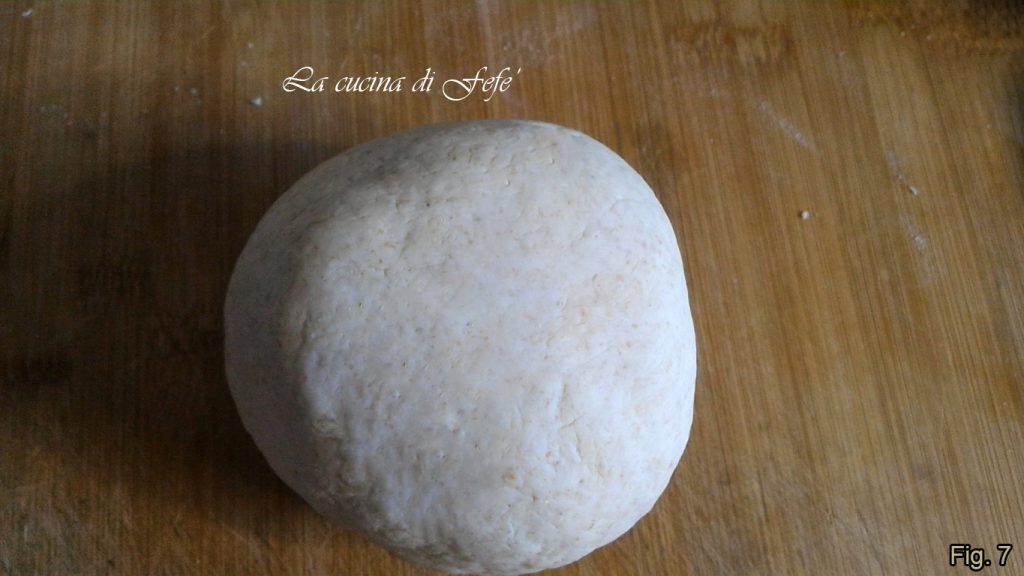
You should obtain a smooth and homogeneous dough that you will let rest for 30 minutes at room temperature, covering it with the same bowl used to work the ingredients.
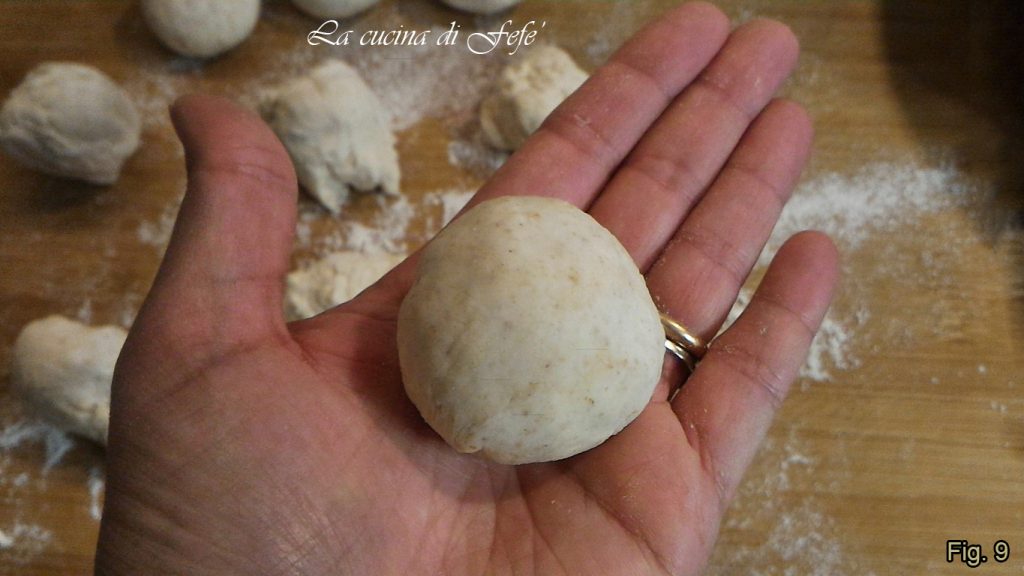
After the resting time, dust the surface with flour, divide the dough into four parts and then each part in half again to obtain 8 or 10 dough pieces of more or less equal weight and size.
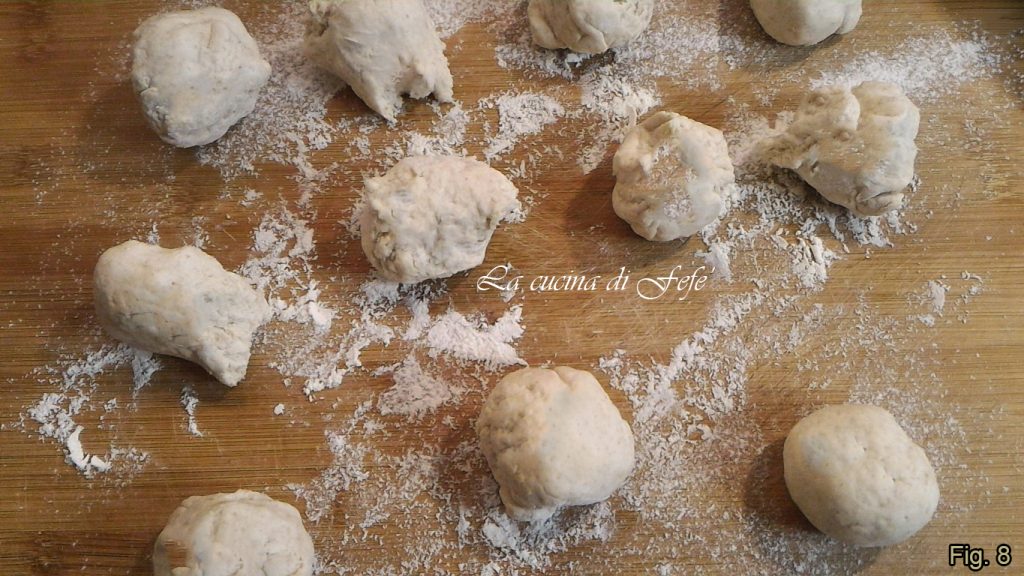
Shape them with your hands into a regularly round shape, similar to pirlatura.
Flatten each ball on the work surface first with your fingertips, then roll out and widen it with a rolling pin. It will be really easy because the dough will have become elastic.
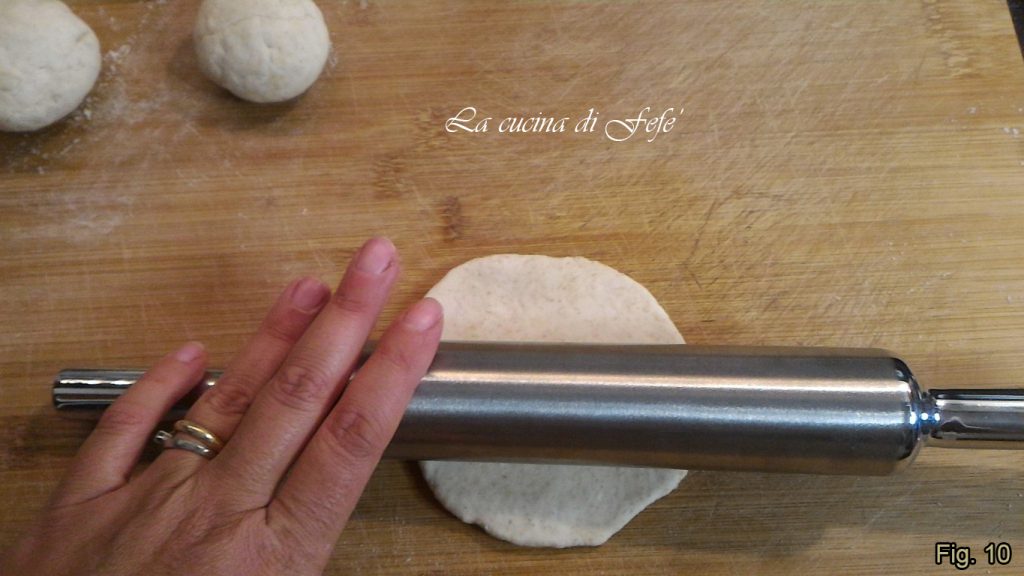
You should obtain discs of 5-6 inches in diameter**.

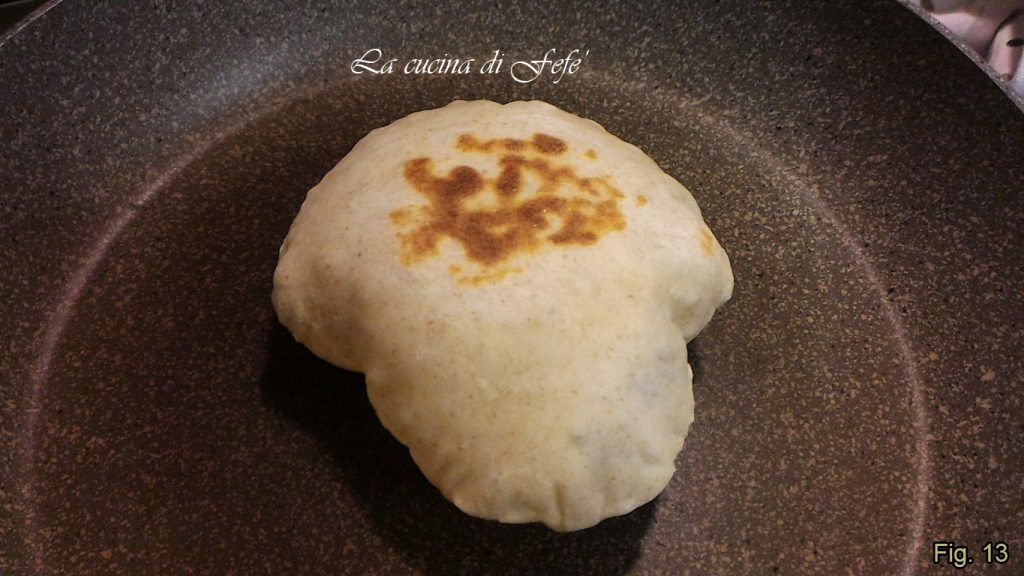
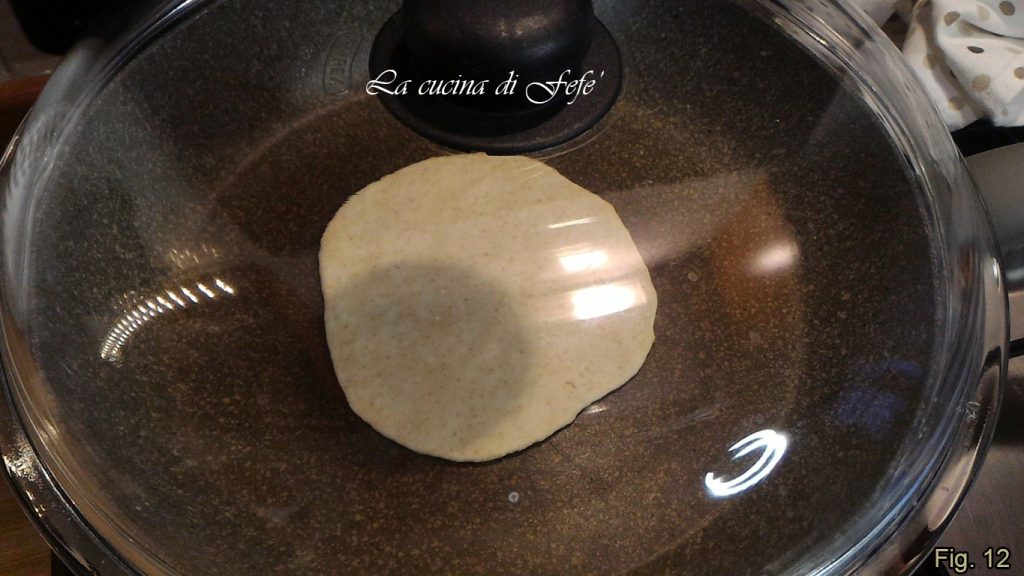
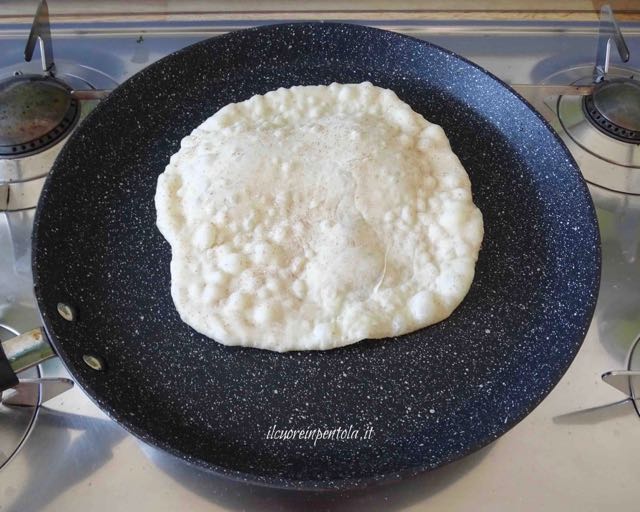
As soon as the first bubbles appear, immediately flip it and close the lid again, leaving it for another 30 seconds. At this point, you can remove the lid and flip them again until they finish cooking. You will see that as you continue to flip them, they will puff up and be perfect.
Continue like this until all the bread discs are completed, stacking each sheet on a plate or inside the bread basket itself. It is important to stack one sheet on top of the other, at the end of cooking, so that the heat they release keeps them soft and prevents them from hardening or drying out.
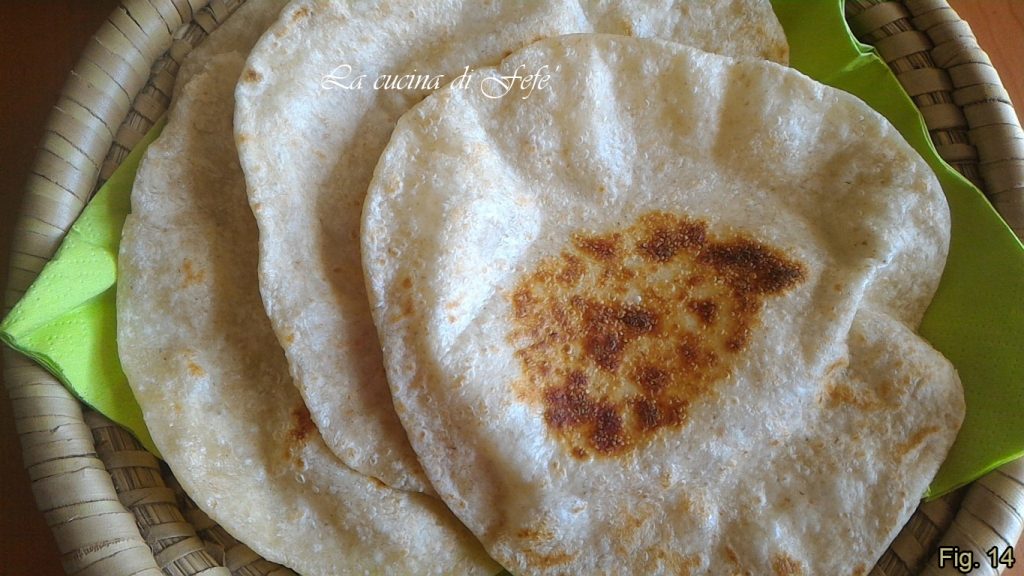
Eat the buns immediately, as soon as they are cooked and still warm, or store them once cool in a tightly sealed food bag.
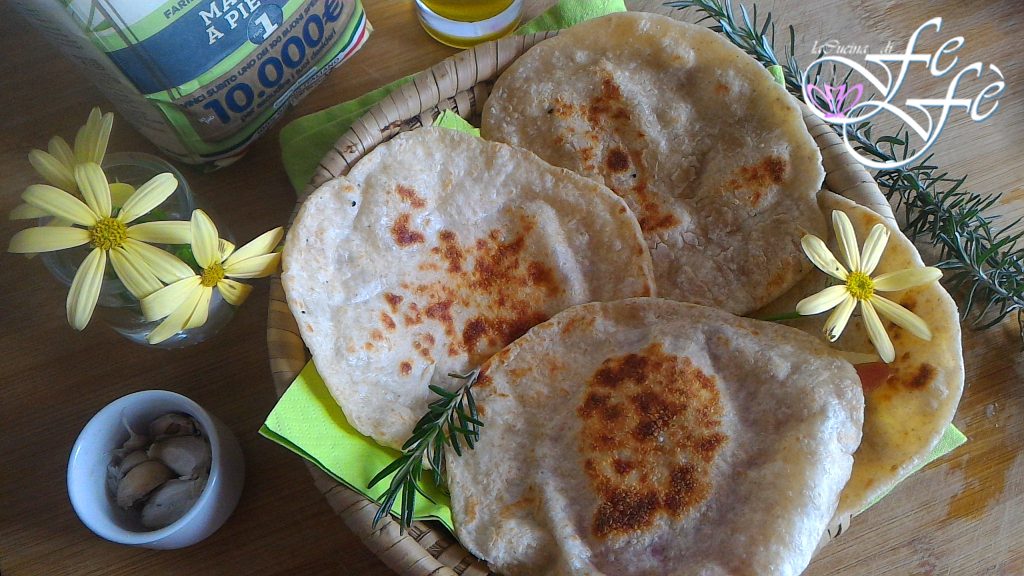
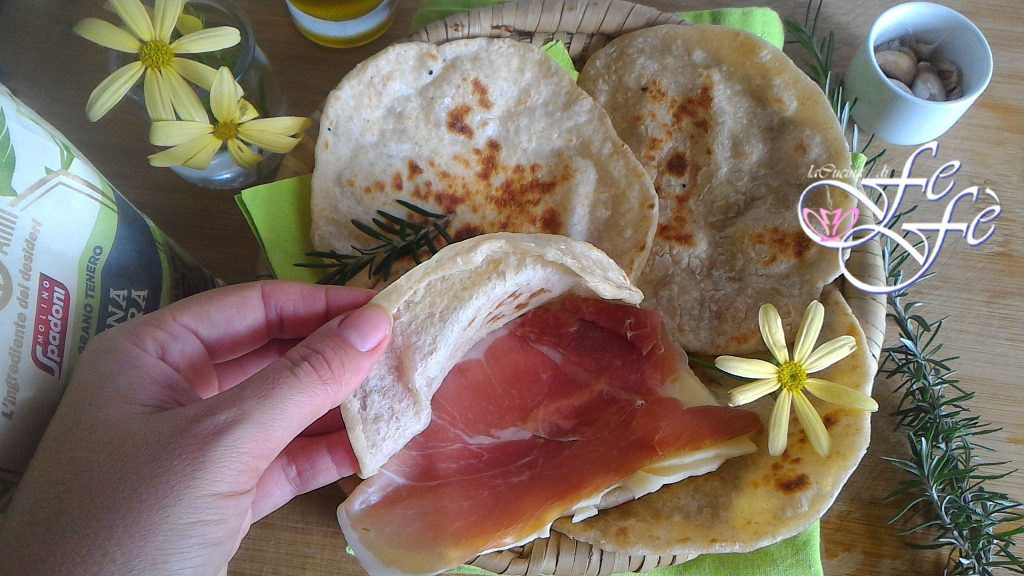
The Indian naan is excellent on its own instead of classic bread, but, thanks to the pocket that forms during cooking, it is perfect for stuffing with cold cuts and cheeses or, as used in India, to accompany chickpea hummus.
And voilà… the naan bread is ready to be enjoyed!
 Bon Appétit from La Cucina di FeFé!
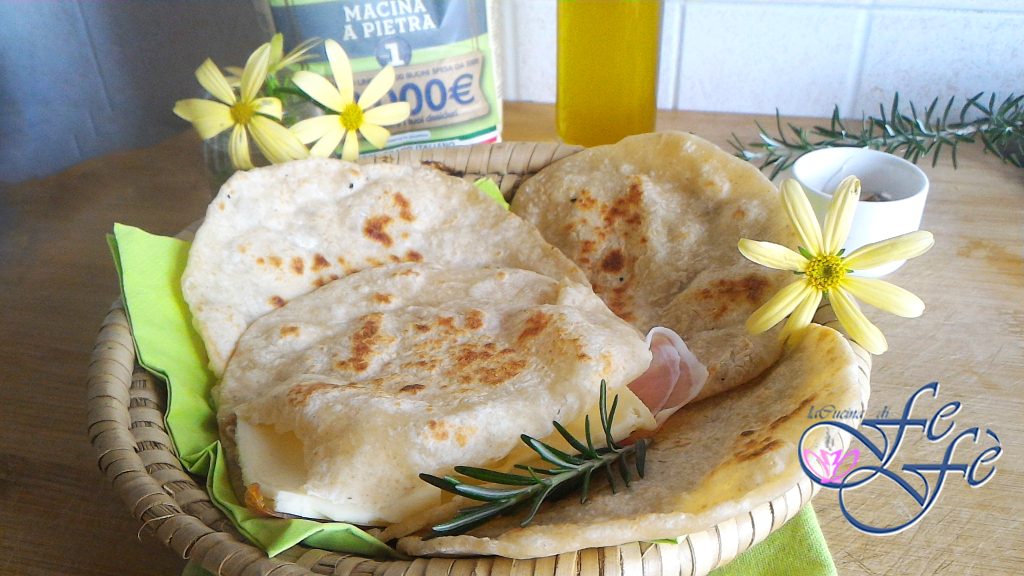
Tips, Notes, Variations, and Suggestions
🟣* Resting time ranges from a minimum of 30 minutes up to 2 or 3 hours, obviously the longer you let the dough rest, the more elastic and easily workable with the rolling pin it will become.
🟣** You can prepare all the discs together if you have enough space, or as you cook the first ones, roll out the others. Preparing them all first is better, as they have some time to rest for a minute, which will make cooking easier.
🟣*** It’s important to flip the breads a few seconds after placing them in the hot pan, at the appearance of the first bubbles, otherwise, the risk is that they won’t puff up.
Storage
👉 You can store the cooked naan bread at room temperature inside a food bag for up to two days and heat them as needed in a pan. Freezing for one month is possible or, if you have leftover dough, you can keep it in the fridge for one day covered with a damp cloth.
FAQ (Questions and Answers)
Can other types of flour be used and in what proportions?
For the original recipe, a mix of cereal flours and all-purpose flour is used, I often use half double zero with type 1 flour or you can use (always half) semolina.