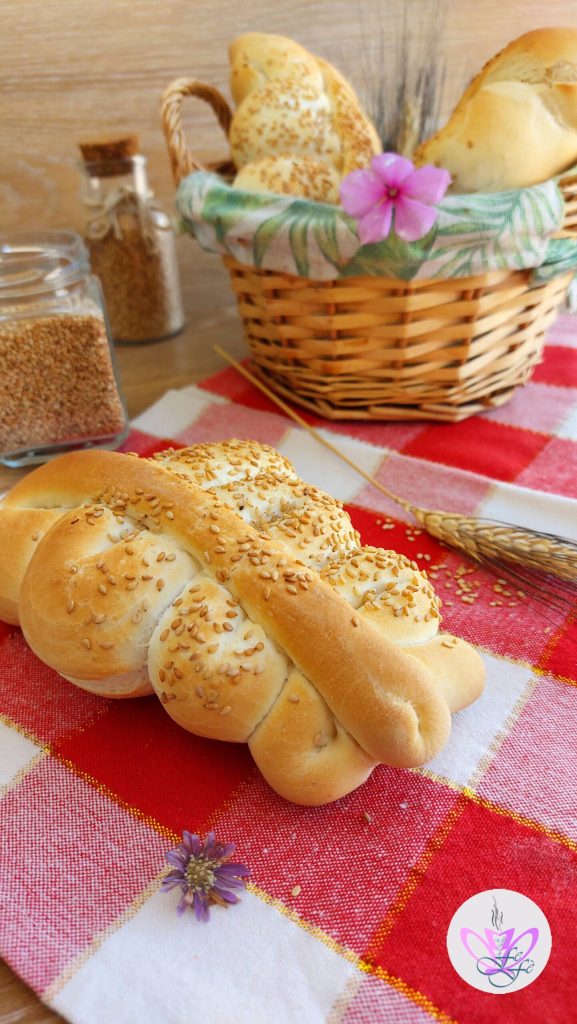
And finally, I’ve returned to kneading! With the last grocery run, I was fortunate enough to grab the last surviving block of yeast at the bottom of the fridge counter. The unusual thing is that the block was a whopping 500 grams!!! You read that right, something never seen before! Of course, once I got home, I divided it into convenient single portions of 10 and 15 grams, which I appropriately froze*, thus avoiding unnecessary waste or running out again! My first kneading gave birth to these wonderful Sicilian semolina mafalde. Those who know them know what I’m talking about. Their origins date back to the nineteenth century, still maintaining the tradition high today, so much so that they are the most known and widespread type of bread throughout Sicily. Indeed, mafalde are a true symbol! There’s no bakery that doesn’t produce them, perhaps because more than any other type of bread, they are loved for their crunchy crust and soft crumb inside. The dough, in addition to semolina, includes the use of sesame seeds to sprinkle over the entire surface, which, in addition to giving it a characteristic and pleasant flavor, will make it much more fragrant. I did even more, garnishing with black sesame seeds, for a more lively and aromatic taste and a crunchier texture compared to the more known white variety, not to mention the intentional color contrast! Moreover, the peculiar spiral shape of mafalde, similar to a little snake, makes them unique and much more appetizing. They are usually filled with classic slices of mortadella, but are perfect to enjoy hot, filled in a thousand other ways, from cheese to Nutella! Preparing them is really simple and from today, you too can do it comfortably at home!
CURIOSITY: Did you know that the mafalde has ancient origins and it seems it was invented in the nineteenth century by a master baker who later dedicated it to Mafalda of Savoy?
*TIP: Freezing yeast is a really simple and quick process. The important thing is to always ensure that the wrapping paper is not damaged or has holes that could allow air to enter, compromising its preservation. For this reason, I always recommend dividing it into practical single portions wrapped in plastic wrap, marking the expiration date and the freezing date. Once the yeast is placed in the freezer, after about an hour it will already be perfectly frozen and ready at your disposal for use as needed. It will then be enough to remove the yeast from the package that encloses it and cut it into small pieces to proceed with the preparation as if it were a fresh yeast block. Once melted, your baker’s yeast will be ready to use.
Freezing allows to preserve yeast even beyond the expiration date on the package. Generally, once frozen, it will maintain its properties for about a month, after which it would be preferable to avoid using it.
- Difficulty: Very easy
- Cost: Very economical
- Rest time: 2 Hours 30 Minutes
- Preparation time: 20 Minutes
- Portions: 4
- Cooking methods: Electric oven
- Cuisine: Italian
- Seasonality: All seasons
Ingredients
⚠ THIS RECIPE CONTAINS ONE OR MORE AFFILIATE LINKS. The products I recommend are the same ones I use in my recipes; purchasing them through my blog helps support me and my work, while it costs you nothing extra!
- 10 1/2 oz Remilled durum wheat semolina
- 7 oz Manitoba flour
- 1 1/4 cups water
- 2 tbsp extra virgin olive oil
- 0.4 oz Fresh brewer's yeast
- 1 tsp acacia honey
- 0.4 oz salt
- to taste water (for brushing)
- to taste Black sesame seeds (optional)
- to taste Sesame seeds
Tools
- 1 Stand Mixer
- 1 Strainer
- 1 Bowl
- 1 Teaspoon
- 1 Dough scraper
- 1 Brush
- 1 Dish towel
- 1 Baking tray
- 1 Parchment paper
Preparation
In a stand mixer with the dough hook or even by hand in a large bowl, pour the semolina and the well-sifted manitoba, then the oil and 1 cup of water (fig. 1).

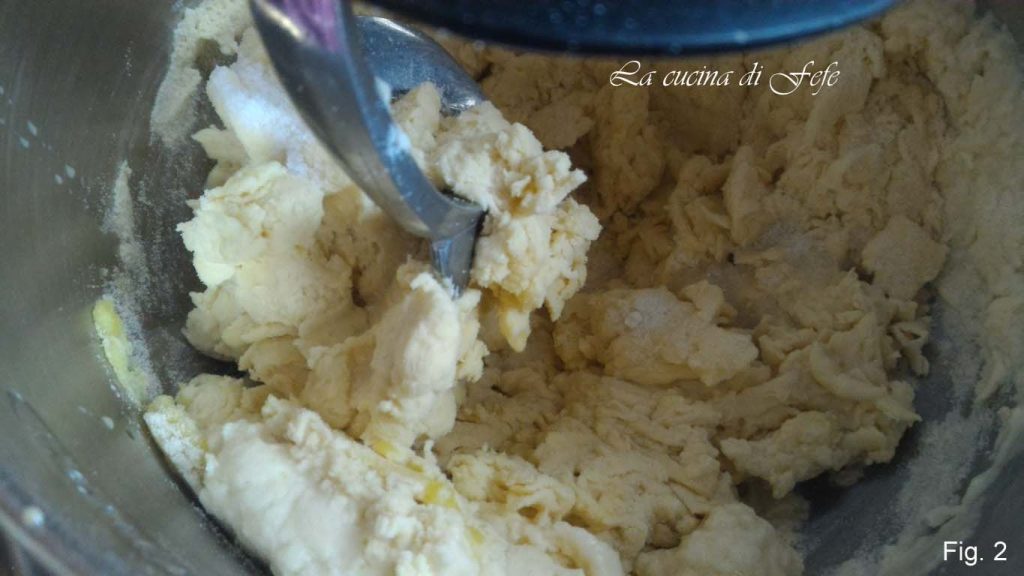
Separately, dissolve the yeast in 1/4 cup of lukewarm water together with the honey and gradually add it to the dough. Let it work for a few minutes at speed 1. Only when the dough begins to come together, add the salt with the last 1 tbsp of water (fig. 2).
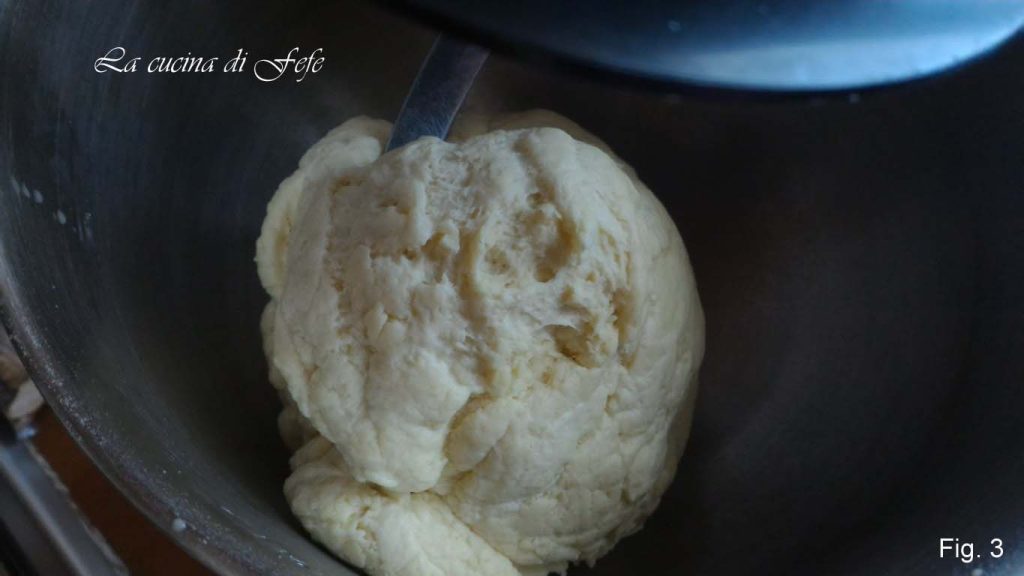
Continue kneading for a few more seconds until the dough detaches from the sides of the bowl (fig. 3).
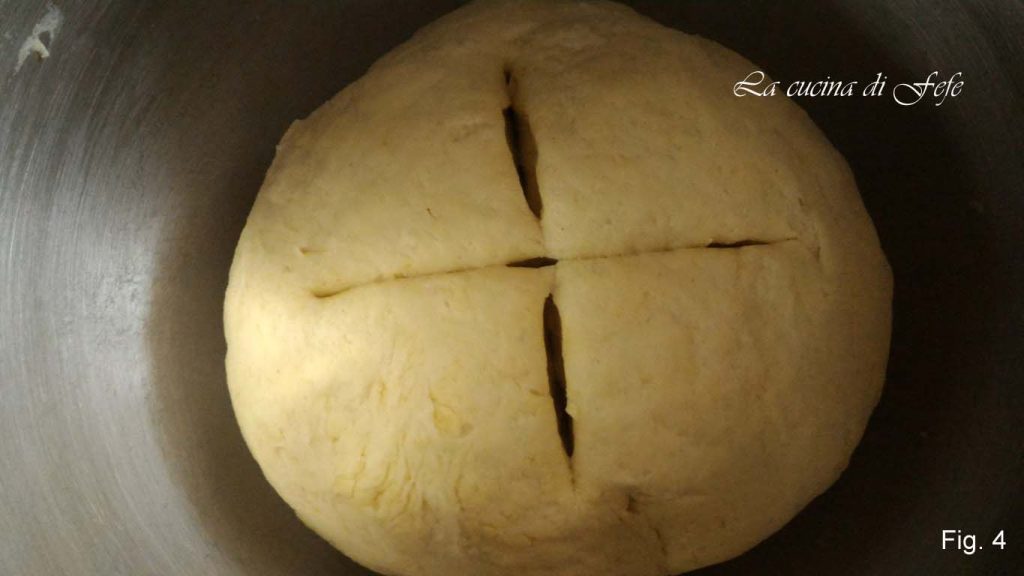
Alternatively, if you don’t have a stand mixer, you can work by hand on a well-floured work surface. Once you get a smooth and homogeneous dough, score it in a cross and cover with a clean dish towel (fig. 4).
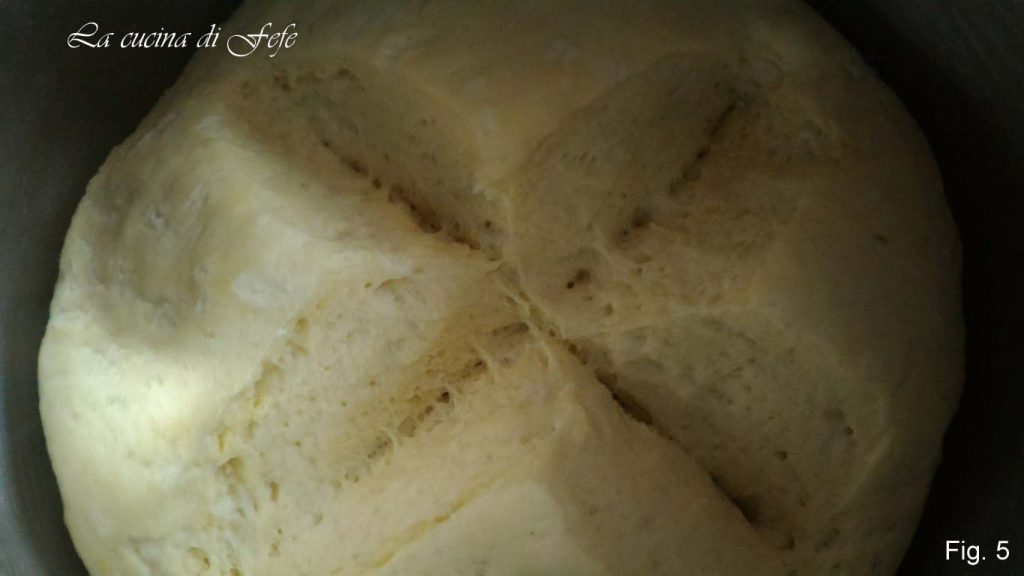
Let it rest for 1 hour away from drafts until it doubles in volume (fig. 5).
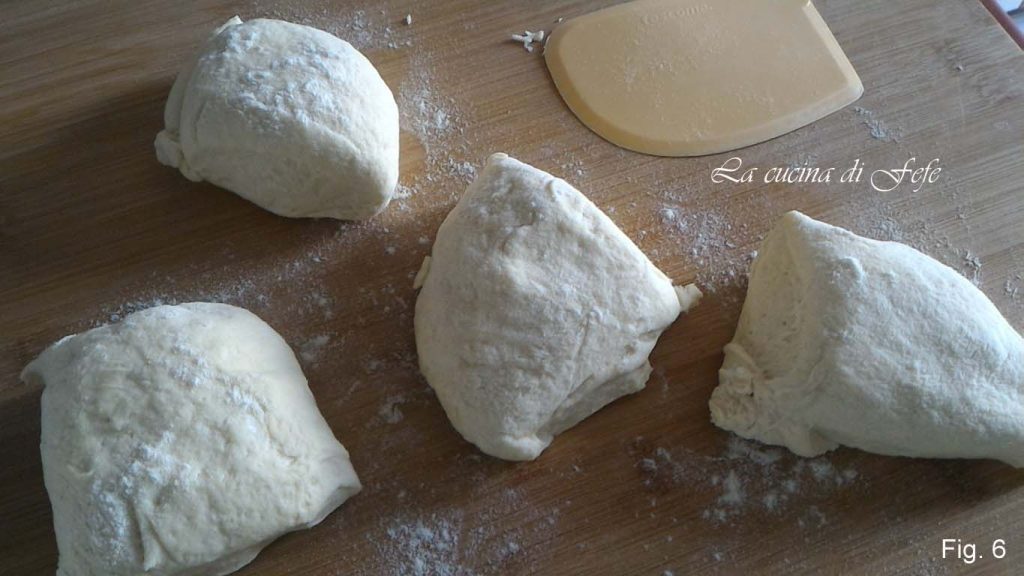
Divide it into 4 pieces weighing about 7 1/2 oz each and let them rest covered for another 30 minutes (fig. 6).
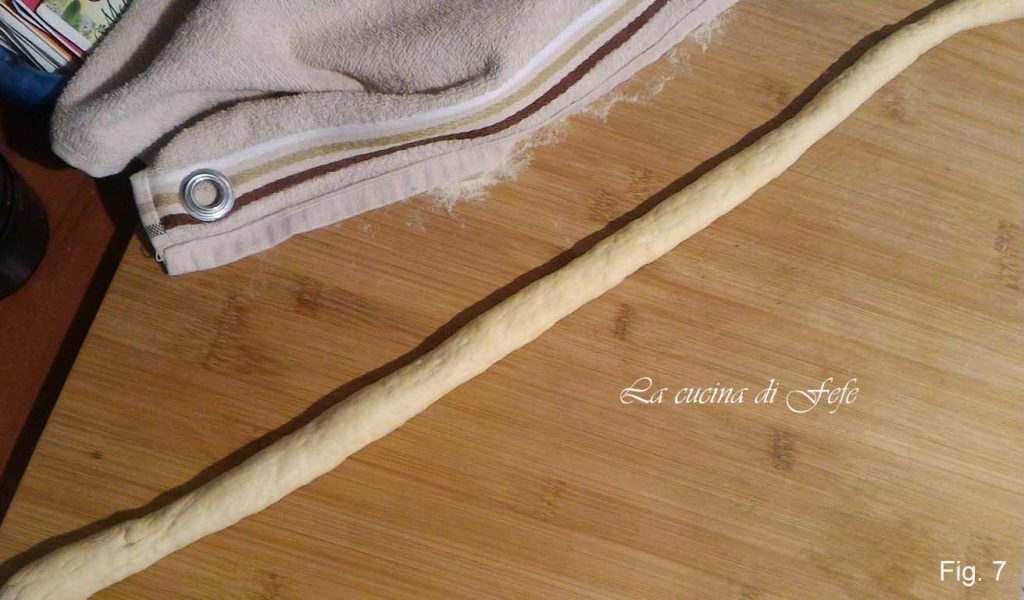
After this time, work each piece until it forms a cord, rolling them up to about 30 inches long (fig. 7).
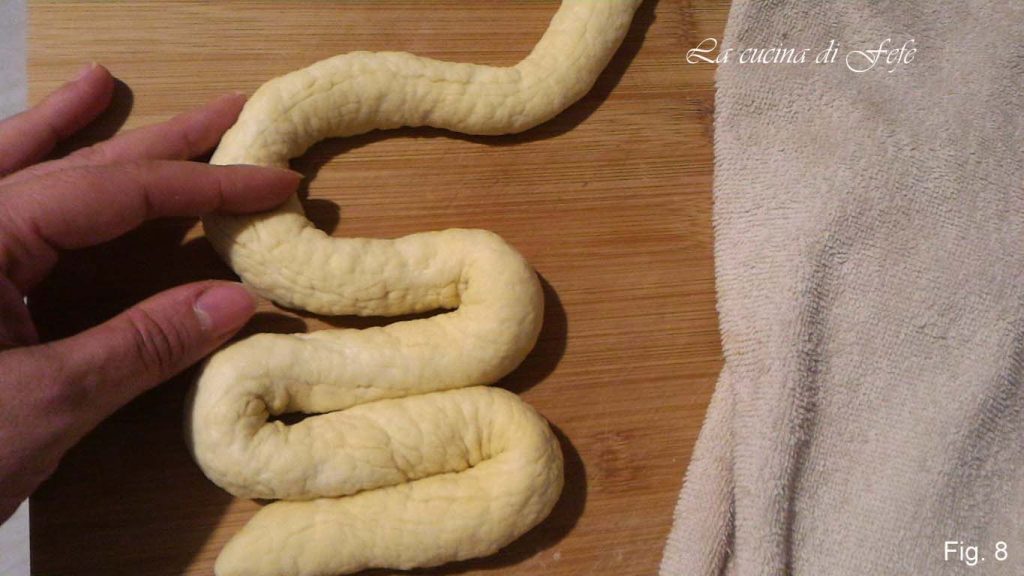
Then proceed with each cord, giving it the characteristic mafalda shape, a kind of spiral snake with the extended end slightly overlapped (fig. 8).
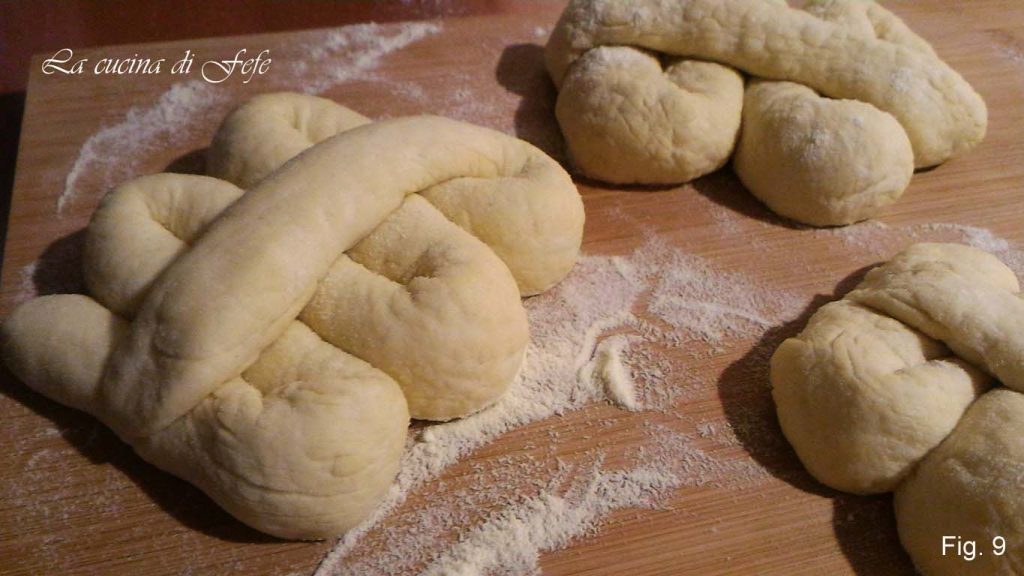
Once the mafalde are ready, let them rise covered for another 30 minutes (fig. 9).
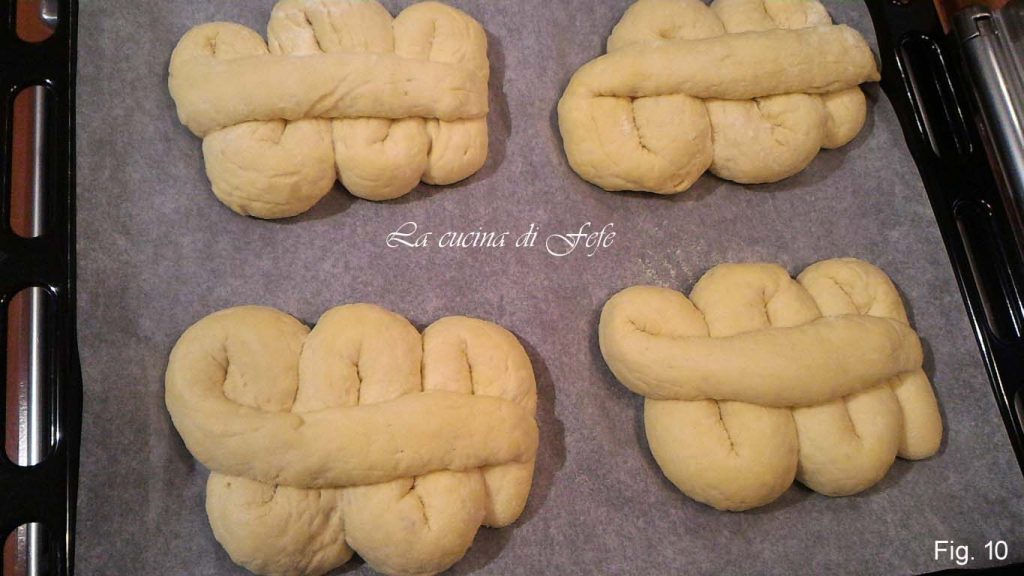
Place the mafalde on a baking tray lined with parchment paper and let them rise covered with a dish towel for another 30 minutes (fig. 10).
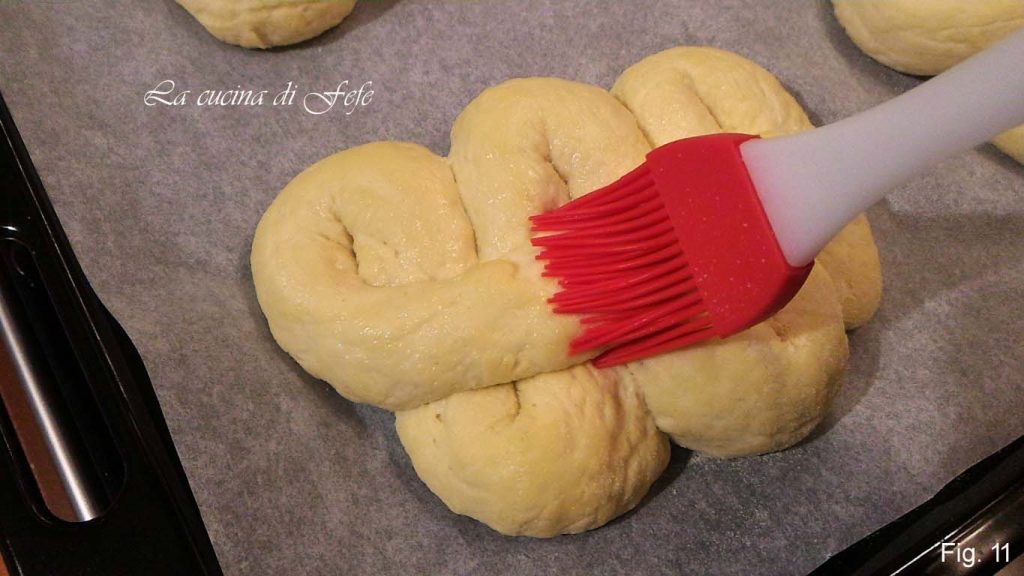
Brush the mafalde with a little water (fig. 11).
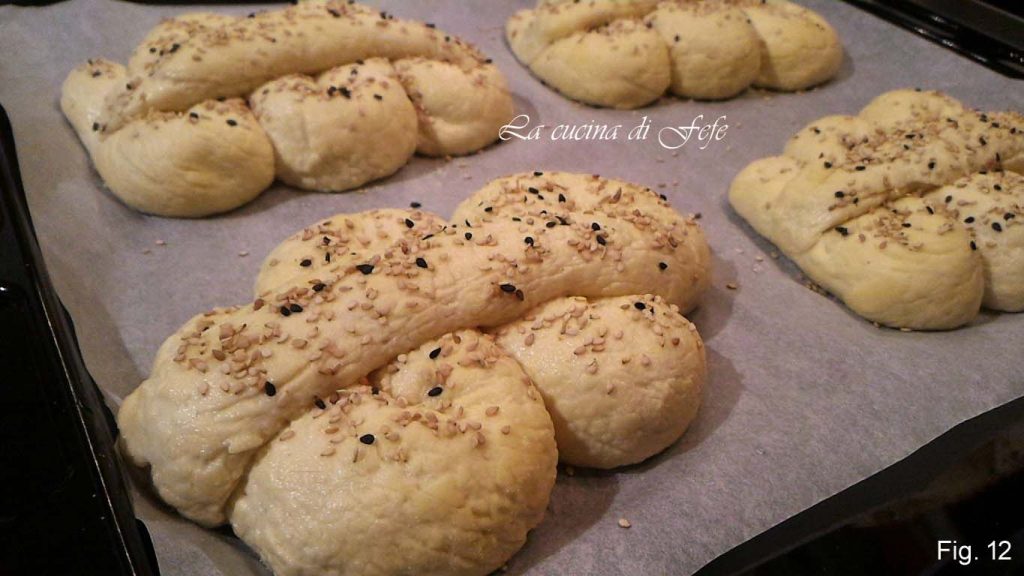
Sprinkle them with mixed sesame seeds so that they adhere more easily to the dough (fig. 12).
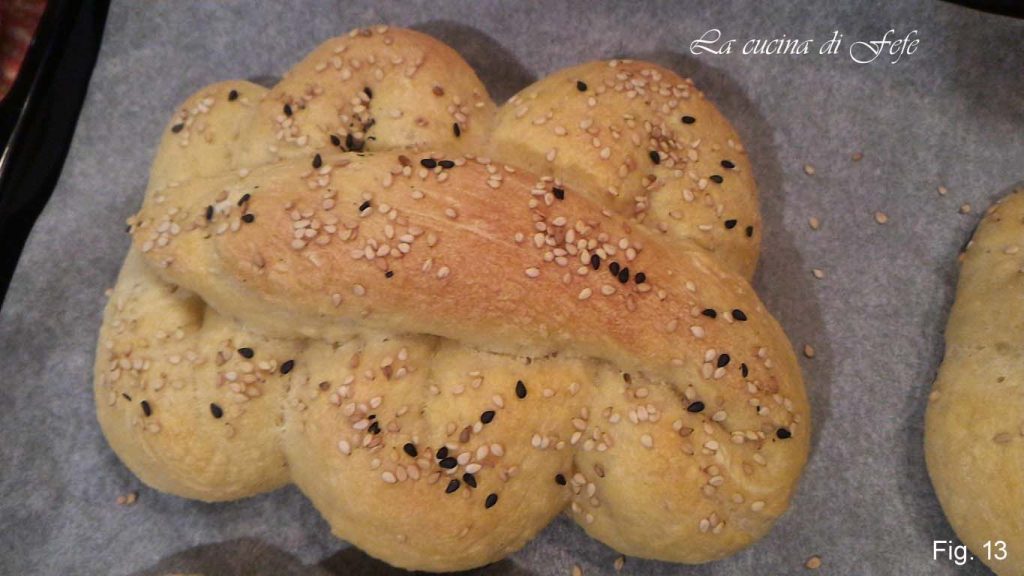
Bake in a preheated oven at 430°F for about 15 minutes, then lower the temperature to 355°F and continue baking for another 30 minutes or until the bread is golden on the surface (fig. 13).
When the bread is done, turn off the oven and let it rest for a few minutes with the door open to allow gradual cooling.
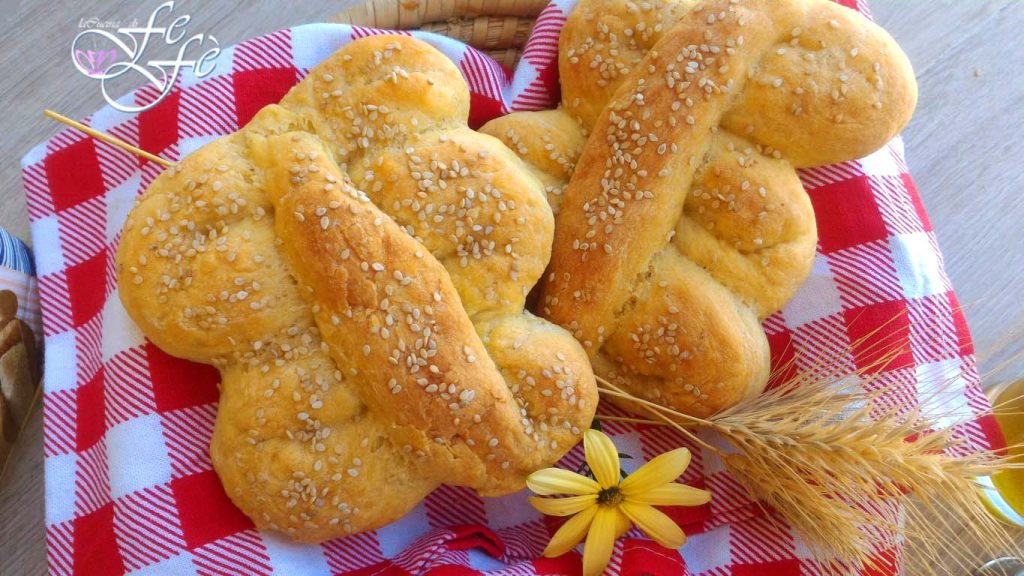
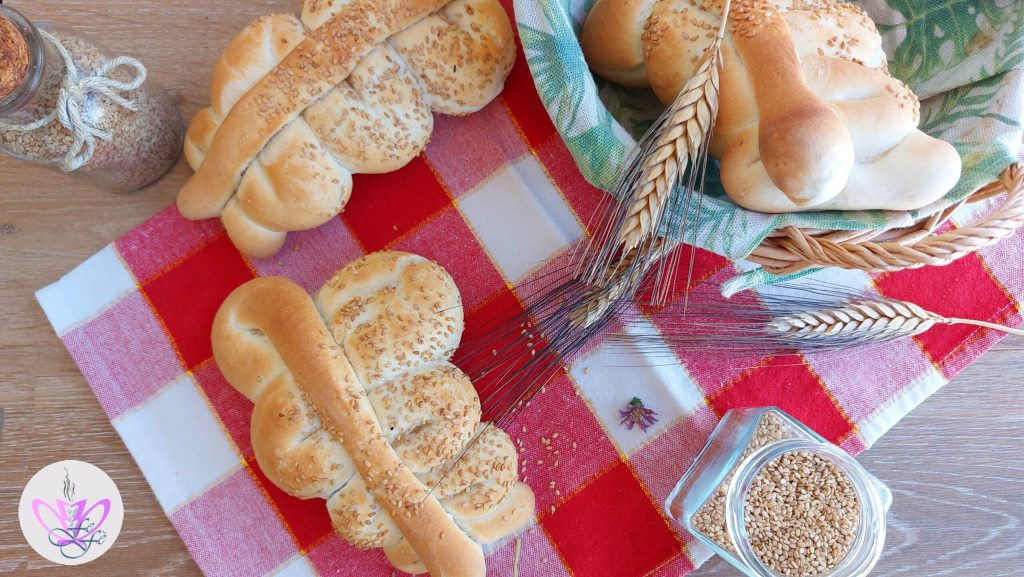
And voilà… the Sicilian mafalde with mixed sesame seeds are ready to be enjoyed!
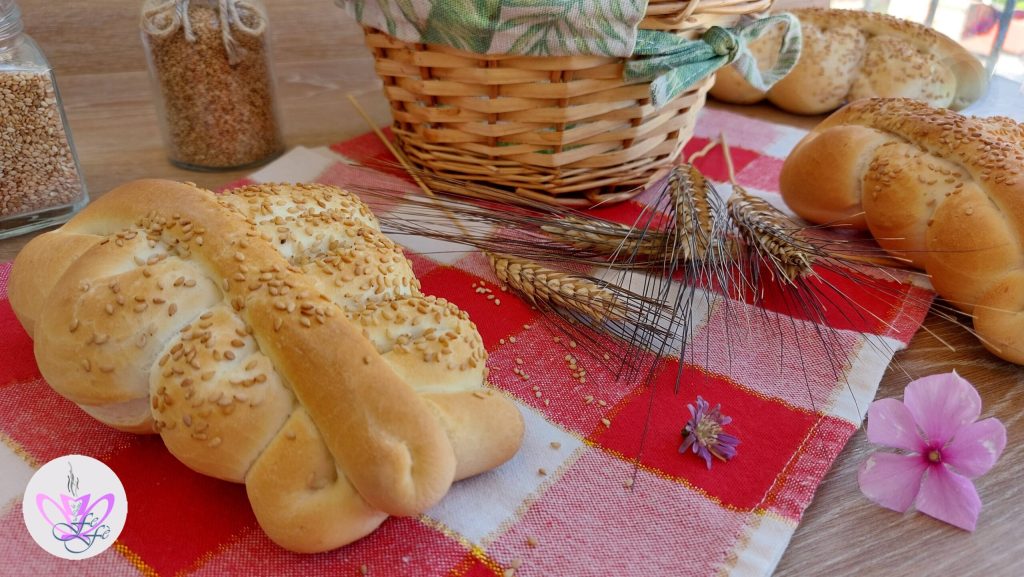
Bon Appetit from La Cucina di FeFè!
-
Storage
👉You can store the Sicilian mafalde, once cooled, inside a well-sealed paper bread bag for 1-2 days at most. You can freeze them once cooked for 1 month.
Tips, notes, variations, and suggestions
🟣If you don’t like sesame seeds you can absolutely omit them, but the true characteristic of these buns, besides the shape, is precisely the ciciulena on top, which means these beneficial seeds on the surface.