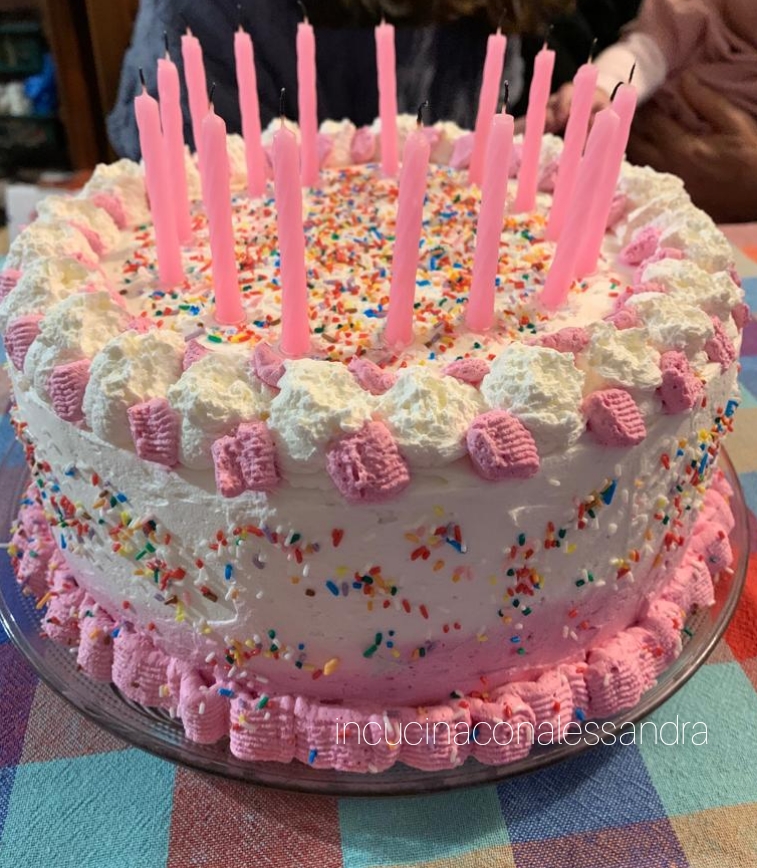
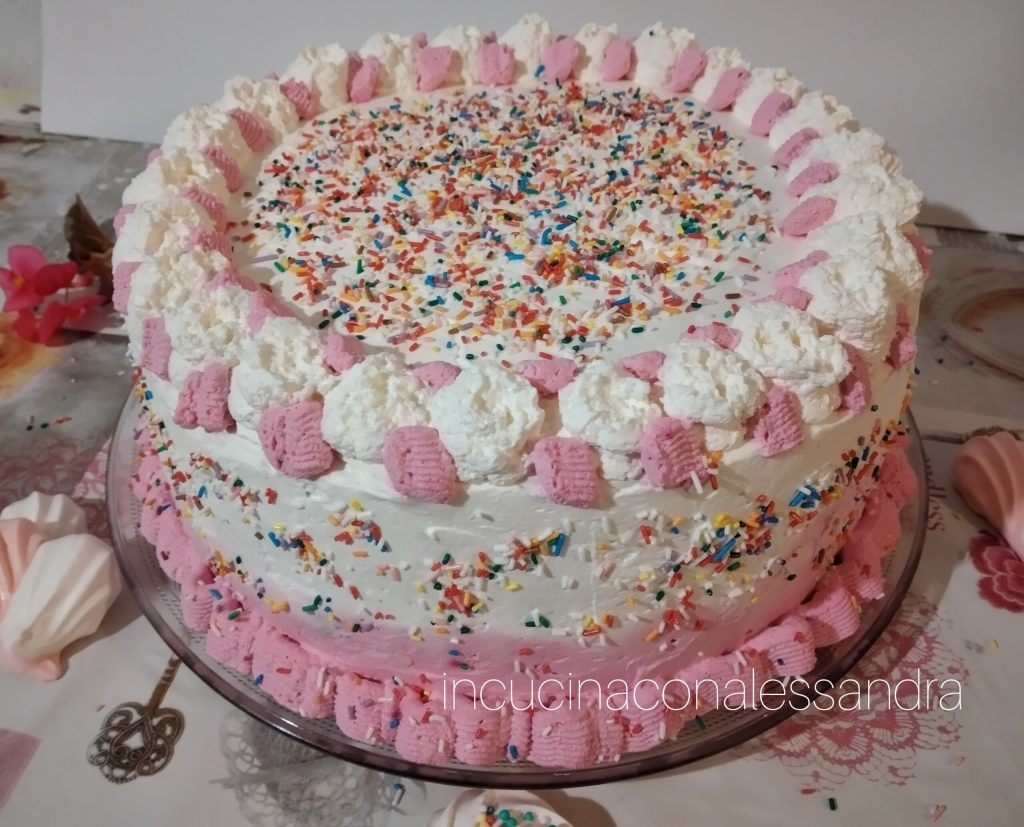
Birthday cake decorated with white and pink cream, a fabulous cake, with a super delicious filling enclosed in a very soft sponge cake. Great for birthdays or parties. I made this cake upon request from my niece for her 15th birthday, just like she wanted it.
You might also be interested in:
- Difficulty: Easy
- Cost: Economical
- Preparation time: 1 Hour 20 Minutes
- Portions: 10 People
- Cooking methods: Stovetop, Oven
- Cuisine: Italian
- Seasonality: All seasons
Ingredients for Birthday Cake decorated with white and pink cream
- 1 1/2 cups flour
- 3/4 cup sugar
- 5 eggs
- 1 pinch salt
- 1 vanilla bean (or packet of vanillin)
- 2 cups milk
- 6 egg yolks
- 2/3 cup sugar
- 1 vanilla bean
- 1/3 cup cornstarch
- 2 cups milk
- 4 egg yolks
- 2/3 cup sugar
- 1/3 cup cornstarch
- 1 3/4 oz dark chocolate
- 2 tablespoons unsweetened cocoa powder
- 1 2/3 cups sweetened vegetable cream
- to taste red food coloring
- to taste colored sugar sprinkles
- to taste milk (For soaking)
Tools
- 1 Electric whisk
- 2 Saucepans
- 1 Mold
- 1 Bowl
- 1 Plate Rotating cake stand
- 1 Spatula
Preparation of white and pink birthday cake
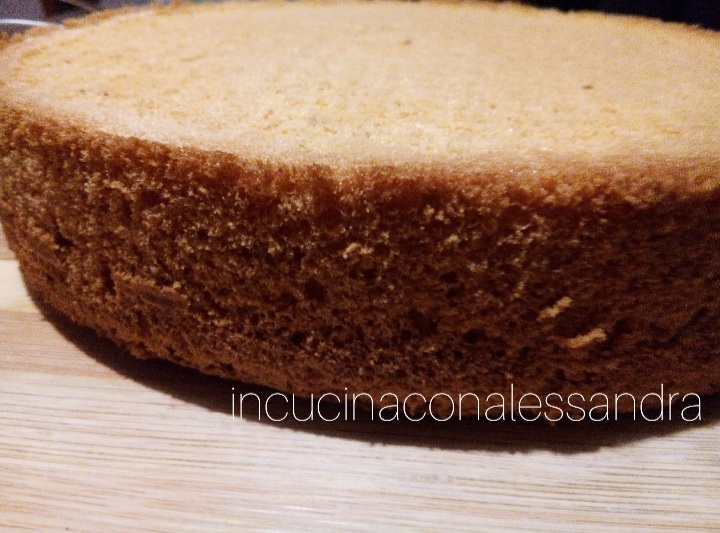
In a large bowl, put the eggs, start whipping with the electric whisks, add the sugar while continuing to whip, the eggs should become frothy and swollen, at this point gradually add the sifted flour, the vanilla bean or alternatively a packet of vanillin, and a pinch of salt, and continue blending with the whisks. Take the 9.5-inch springform pan, line the base with baking paper and butter and flour the edges, pour the prepared mixture into it, level well, and bake in the hot oven and cook at 355°F for about 40/45 minutes static oven, or 340°F for 35/40 minutes fan oven, when ready, let the sponge cake cool.
Heat the milk. In a small saucepan, beat the yolks well with the sugar, the vanilla pod, and the cornstarch, add the milk gradually while mixing well. Put the saucepan on the stove, stirring continuously with the whisk or a spoon until it thickens. When the cream is ready, cover with plastic wrap to keep it soft on the surface.

First of all, heat the milk in a saucepan. In another saucepan, beat the yolks, sugar, vanilla, cornstarch, and cocoa, then pour in the hot milk gradually, stirring well to avoid lumps, put it back on the stove on low heat, stirring continuously until it thickens, add the chocolate and stir until melted. Cover this with plastic wrap too.

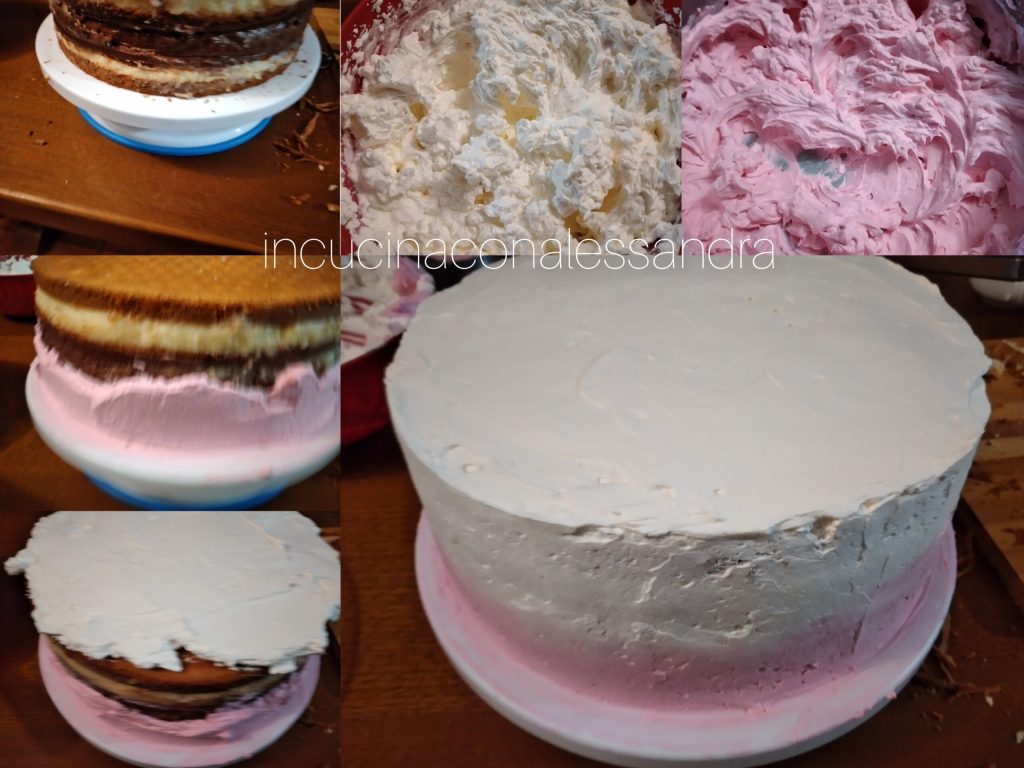
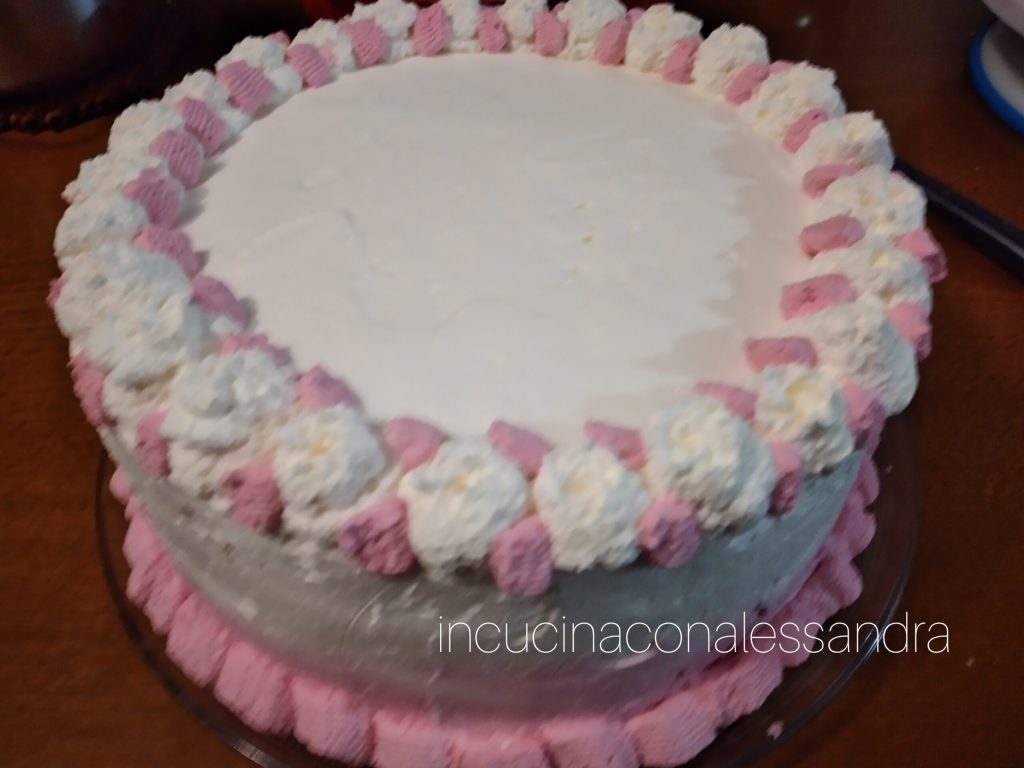
Remove the sponge cake from the mold and with a special knife cut it into 4 parts. Place the first disc on a cake stand or a serving plate and soak with the milk, cover with half of the pastry cream and level well, take the second disc and soak with the milk, fill with the chocolate cream and spread well, repeat with the third disc and fill with the pastry cream, soak the last disc with milk and cover. Whip the vegetable cream, when ready divide it into 2, in one part put some red food coloring drops, decide the shade you want to achieve and mix from bottom to top without deflating it. At this point, start covering the cake, I started with the pink cream at the bottom of the cake about 2 inches, then cover with the white cream, where the two creams meet, try to blend a little while spreading, try to smooth the cream as much as possible. Take 2 piping bags and fill one with the white cream and the other with the pink cream, use the nozzles you prefer, on the base of the cake make pink puffs. On top, with a larger nozzle, make white cream puffs, between one white cream puff and another make small ones with the pink cream. Once finished with the cream, fill the central part above with colored sugar sprinkles, put colored sprinkles on the sides too, you literally have to throw them onto the cream. Your cake is ready if you don’t cut it immediately put it in the refrigerator.
notes
Tip: use a long and sharp knife to cut the sponge cake, I use a bread knife and while cutting, rest your hand on the sponge cake to keep it steady. Always check the baking because it can vary from oven to oven. I made four discs but if you think you can’t cut it, make 3 and consequently only 2 layers of cream, the important thing is to soak the sponge cake well otherwise it will remain dry.
If you liked the recipe, share it on your social networks. I await you !!! Soon a new recipe!!! Remember that to always stay updated you can authorize push notifications from my blog (you will receive a notice every time a new recipe is published). Subscribe to my YouTube channel to see the video recipes.