Salted caramel is not just an ingredient; it’s an obsession, let’s admit it!
That velvety texture and the unexpected contrast between sweet and a pinch of salt make any dessert instantly irresistible.
But why confine it only to ice cream and pancake toppings?
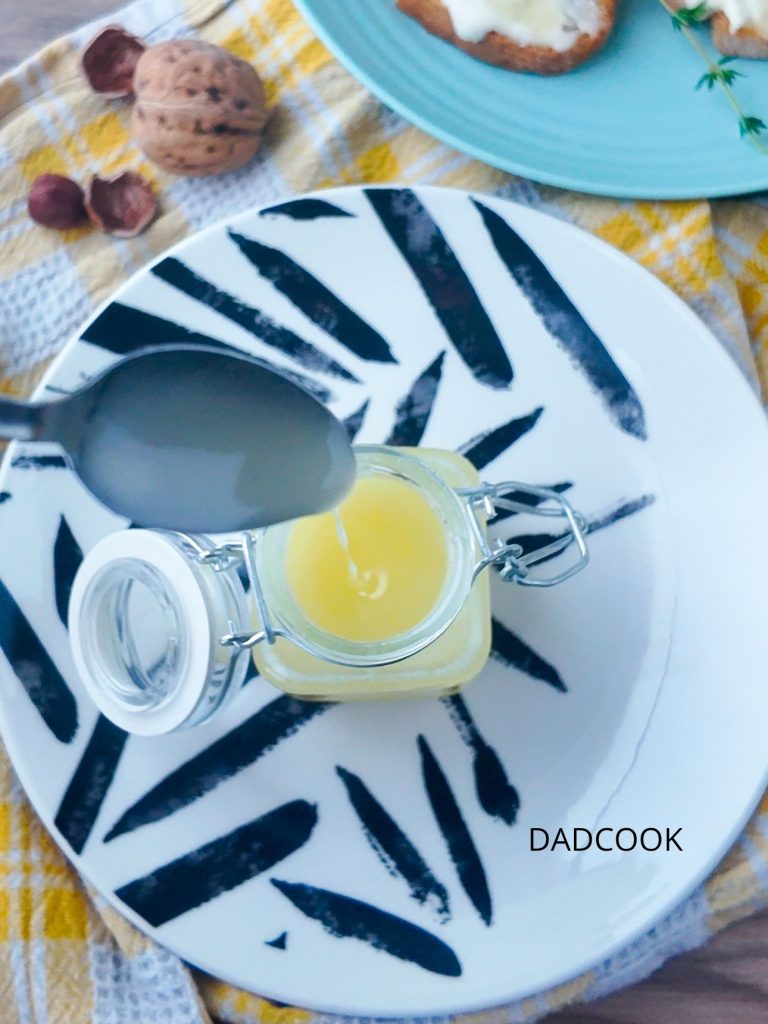
Today I’ll reveal the perfect recipe for a thick and creamy salted caramel, so good you’ll want to eat it by the spoonful.
Don’t worry if it was too runny in the past or if the sugar crystallized: follow my tricks, and you’ll get a flawless result on the first try.
And once ready, prepare to change your mind about its use.
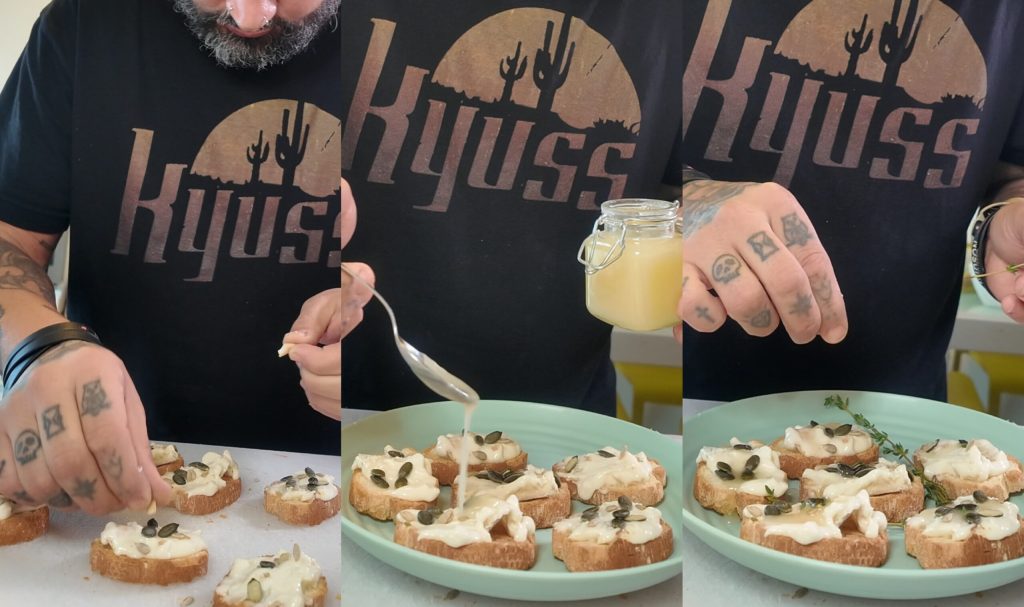
I’ll guide you beyond cakes to my favorite gourmet pairing: a warm crostini with melted Gorgonzola and a drizzle of this caramel.
A contrast that will make you fall in love!
Are you ready to create your new sweet-salty addiction?
Let’s begin!
- Difficulty: Very easy
- Cost: Very affordable
- Rest time: 2 Hours
- Preparation time: 5 Minutes
- Cooking methods: Boiling
- Cuisine: Italian
- Seasonality: All seasons
- Energy 137.89 (Kcal)
- Carbohydrates 14.91 (g) of which sugars 14.88 (g)
- Proteins 0.22 (g)
- Fat 9.00 (g) of which saturated 3.78 (g)of which unsaturated 2.05 (g)
- Fibers 0.00 (g)
- Sodium 108.80 (mg)
Indicative values for a portion of 30 g processed in an automated way starting from the nutritional information available on the CREA* and FoodData Central** databases. It is not food and / or nutritional advice.
* CREATES Food and Nutrition Research Center: https://www.crea.gov.it/alimenti-e-nutrizione https://www.alimentinutrizione.it ** U.S. Department of Agriculture, Agricultural Research Service. FoodData Central, 2019. https://fdc.nal.usda.gov
Ingredients
Yield: About 1 ¾ cups of caramel
- 1 cup sugar
- cup water
- cup heavy cream
- 7 tbsps butter
- tsp salt
Tools
- 1 Saucepan Lagostina
- 1 Thermometer Doqaus
- 1 Whisk Fackelmann
Steps
Follow these simple steps and you’ll see that the caramel will turn out wonderfully on the first try!
Crunchy Base and First Layer of Yogurt
Get the four cups you’ve chosen for your parfait. In a bowl, mix almost all of your nut and seed mix (pumpkin seeds, walnuts, cashews, and toasted sesame seeds), setting aside just enough for the final decoration. In the bottom of each cup, distribute about a heaping tablespoon of your crunchy base to create the first layer. Immediately cover this layer with a generous amount of Greek yogurt, gently leveling.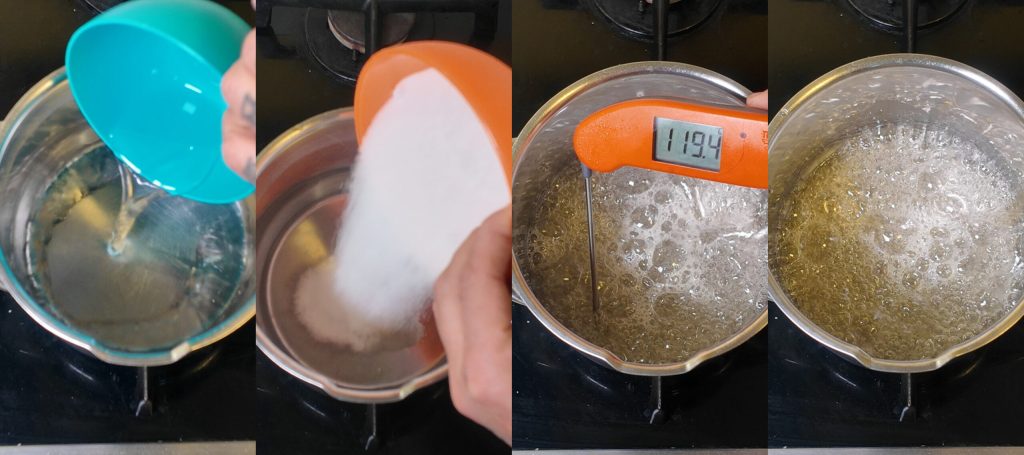
Caramel and Flavor Layering
Add the first touch of sweetness: pour a drizzle of liquid caramel over the yogurt layer in each cup. To best enjoy the contrast of textures, add another layer of the crunchy base, followed by another layer of Greek yogurt and more caramel. The goal is to alternate layers to ensure every spoonful contains all the elements.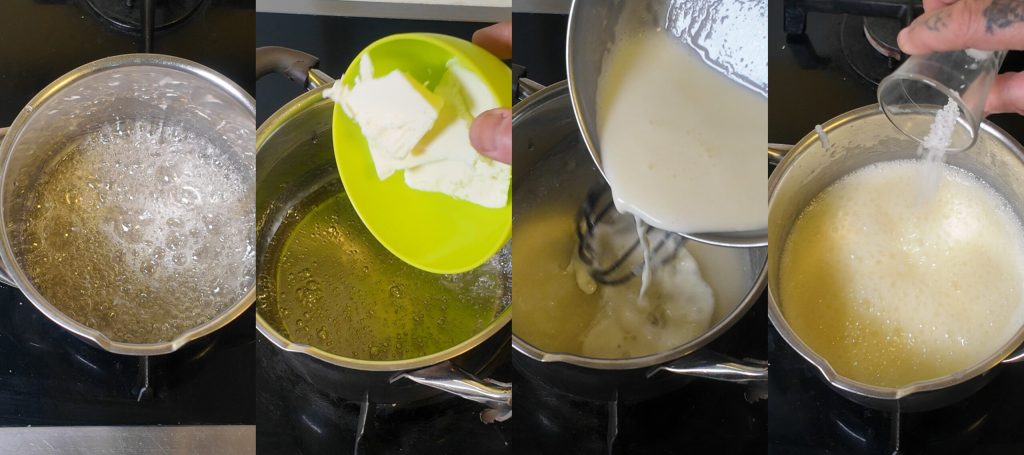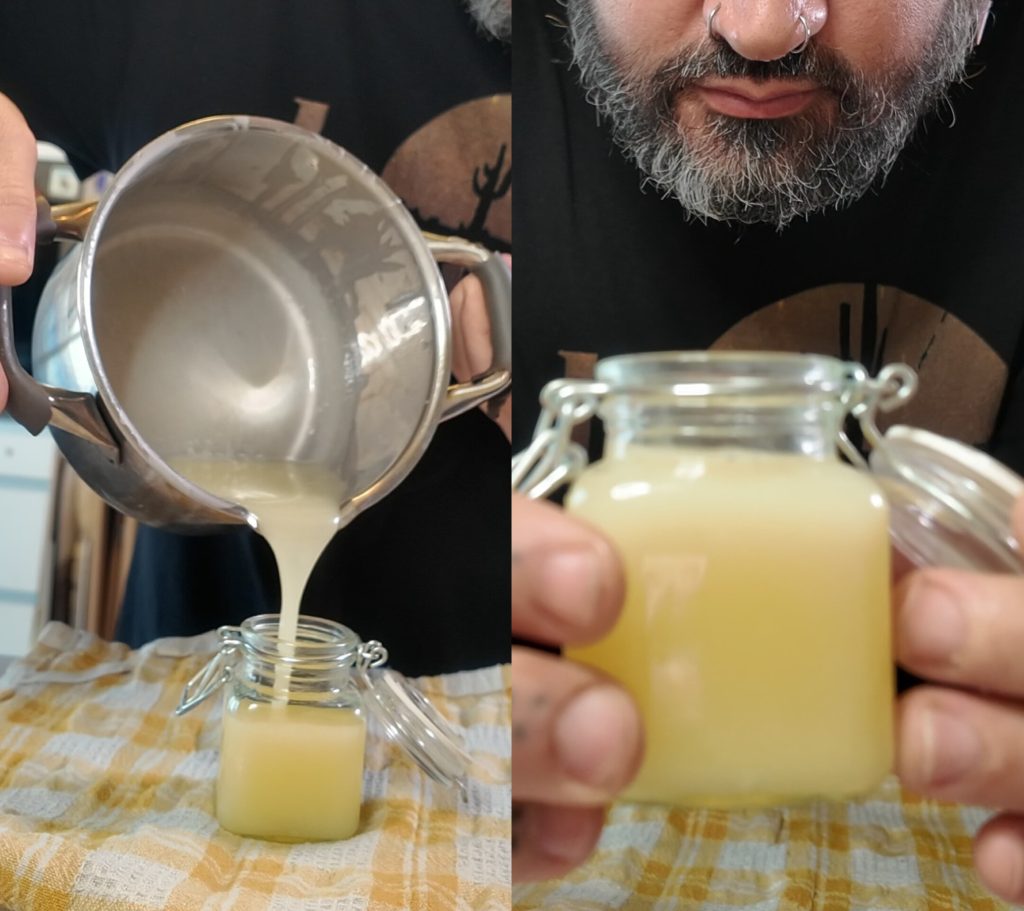
Resting Time
Leave the parfaits covered in the fridge for at least 30 minutes. If you can, leave them for an hour or even overnight. This rest is crucial: it allows the caramel to sink, the flavors to blend, and the seeds to slightly soften while maintaining a pleasant crunch.The contrast between spicy, savory, sweet, and crunchy is amazing!
Decoration and Tasting
Shortly before serving, remove the plastic wrap. Decorate the surface of each parfait with the handful of toasted sesame seeds, walnuts, and cashews you set aside for visual effect and extra crunch. Now it’s time to enjoy: your Caramelized Greek Yogurt Parfait is ready for breakfast, a healthy after-dinner dessert, or a rich snack.
Storage, Tips, and Useful Notes
Here’s how to ensure your caramel is always at its best and some tips for using it like a true chef!
Storage:
Room Temperature: If you make it and use it within 24 hours, you can store salted caramel at room temperature, covered.
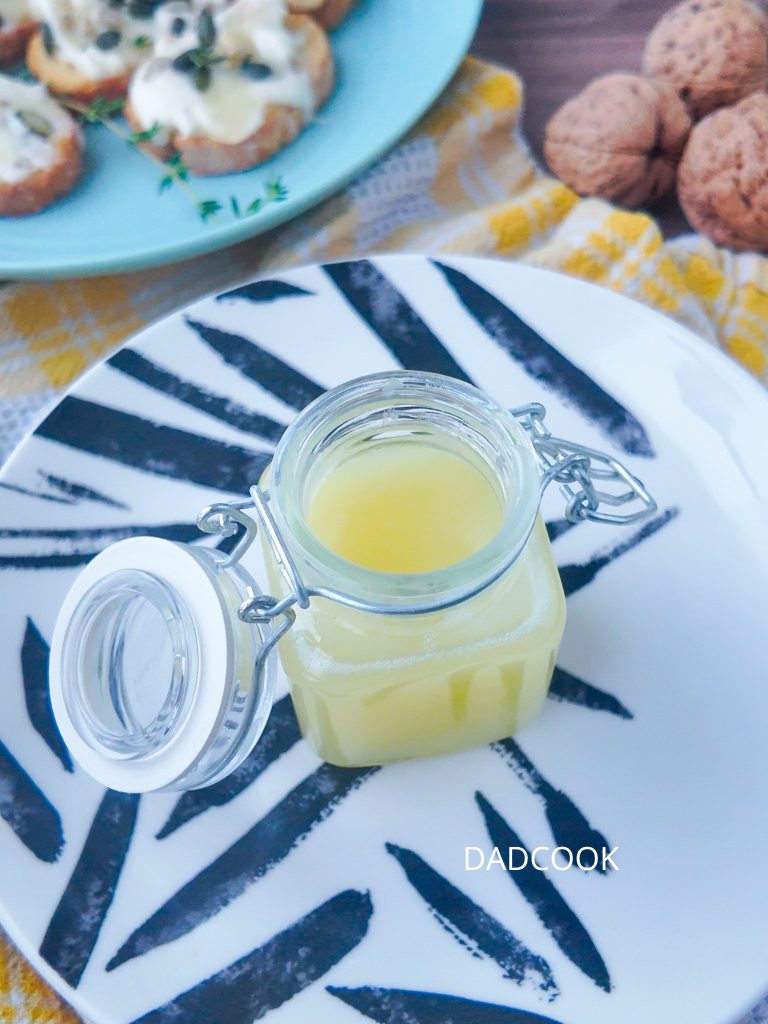
In the Fridge:
For longer storage, place the caramel in a glass jar with an airtight seal.
In the fridge, it keeps perfectly for 10-15 days.
Reheating for Use:
The caramel will harden and become very thick once cooled in the fridge.
To return to the ideal liquid consistency for topping, simply warm it slightly in a bain-marie or with a few seconds in the microwave.
Preparation Tips
Pay Attention to Temperatures: The secret is to use warm cream and butter at room temperature.
This avoids a thermal shock that could cause the sugar to harden too much during mixing.
Do Not Stir the Sugar Immediately:
When the sugar and water are on the fire, resist the temptation to stir with a spoon!
Only move the pot to distribute the heat.
Inserting spoons can crystallize the sugar.
Use the Right Saucepan:
A saucepan with a thick bottom is your best friend.
It ensures an even distribution of heat and greatly reduces the risk of the caramel burning on the edges.
Important Notes
Safety First: Always remember that molten sugar is extremely hot.
Be very careful when adding butter and especially cream, as the mixture will sizzle and may splatter.
Always keep your face and hands at a distance.
Consistency:
The final consistency of your caramel will be influenced by the cooking time.
If you cook it too long or exceed 248°F (120°C), it will become denser and similar to soft candy (toffee) once cold.
If it is too thick, add a tablespoon of warm cream to thin it.
Fine vs. Coarse Salt:
Use fine salt within the sauce.
If you want to give a gourmet final touch, use some coarse salt crystals directly on the dessert or crostini just before serving.
FAQ: Frequently Asked Questions about Salted Caramel
Why did my caramel harden or form lumps?
This almost always happens due to thermal shock.
Solution: You added butter or cream when they were too cold.
Always remember to use butter at room temperature and warm the heavy cream before pouring it.
If this happens, return the pot to very low heat and stir until the lumps dissolve and the mixture becomes smooth again.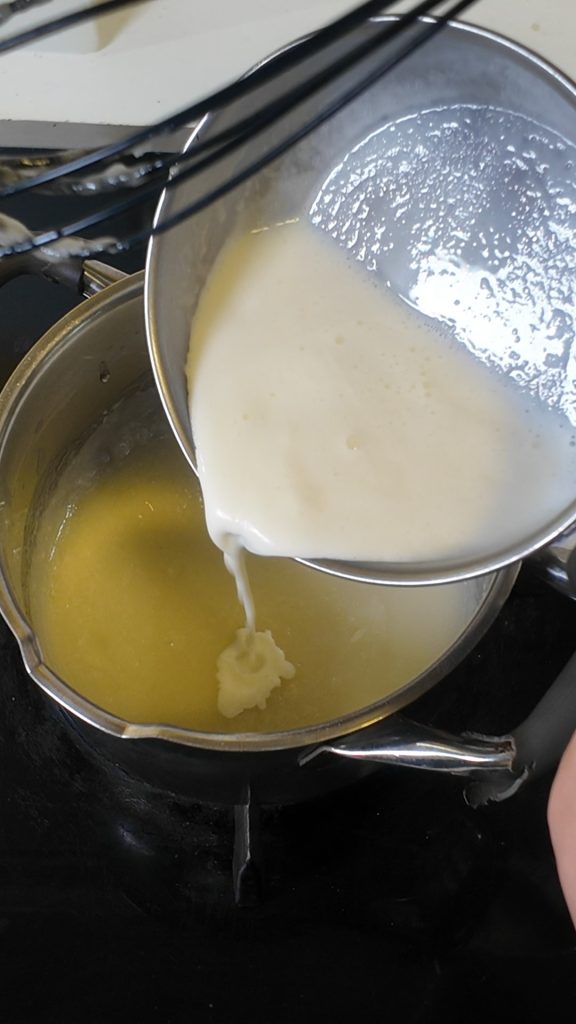
Can I use salted caramel as a filling for cream puffs or macarons?
Absolutely yes!
The caramel made with this recipe has a consistency that thickens in the refrigerator, becoming perfect for filling.
Tip: If you want a firmer filling, reheat the caramel and let it boil for one more minute compared to the base recipe, so it thickens slightly more once cooled.How long does homemade salted caramel last?
If properly stored in a sterilized and airtight glass jar, salted caramel keeps in the refrigerator for about 10-15 days.

How can I prevent the sugar from crystallizing in the beginning?
Crystallization occurs when small undissolved sugar crystals contaminate the melted caramel.
Tricks: 1) Use a little water in the sugar (as in our recipe).
2) Do not stir the sugar until it is completely melted.
3) Use a water-dampened brush to clean the sides of the pot if you see sugar grains.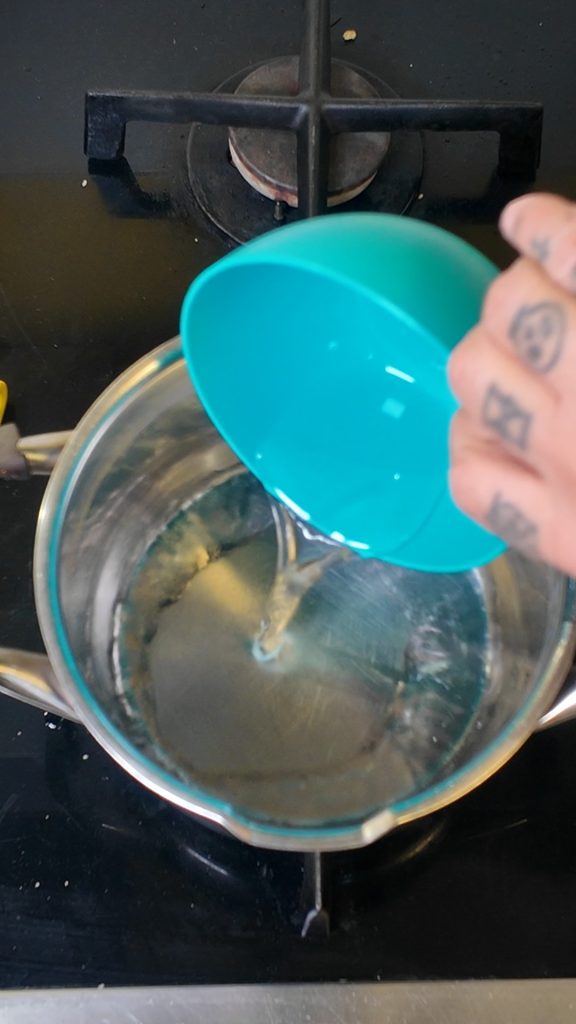
Is it necessary to use sea salt or is regular salt okay?
To achieve the distinctive “salty” flavor, fine sea salt is perfectly fine.
However, for a gourmet touch, many chefs prefer to use:Maldon Salt (or Fleur de Sel):
They have a flake texture that doesn’t completely dissolve, providing a pleasant crunchy sensation and a peak of salty flavor when you bite into the dessert.
Use it to sprinkle the surface of the finished caramel.
