Pizza dough is made by mixing flour, water, salt, and yeast. It can also be made using other types of flour, like cereal, spelt, whole wheat, or by mixing two types together. However, the most commonly used pizza dough is the classic with type 0 flour. The amount of water may vary depending on the type of dough you want to achieve, more or less hydrated, and the strength of the flour used. The amount of yeast also changes based on the rising times available and the amount of flour needed. In this recipe, I used about 50% hydration with half a block of yeast for one kilogram of flour, with 2 hours of rising in the first stage and 3 hours in the second stage. With this type of dough, you can prepare pizzas, panzerotti, or stuffed pizzas. Now I leave you with the recipe and some ideas.
- Cost: Very economical
- Rest time: 5 Hours
- Preparation time: 10 Minutes
- Portions: 8 Pieces
- Cuisine: Italian
Ingredients
- 8 cups flour
- 2 1/3 cups lukewarm water
- 0.42 oz fresh yeast
- 0.7 oz salt
Tools
- Stand Mixer
Procedure
In the bowl of the stand mixer, place the flour, dissolve the yeast in the lukewarm water and pour it in, working with the hook at low speed for 5 minutes, allowing the flour to hydrate. Finally, add the salt and work until it consolidates.

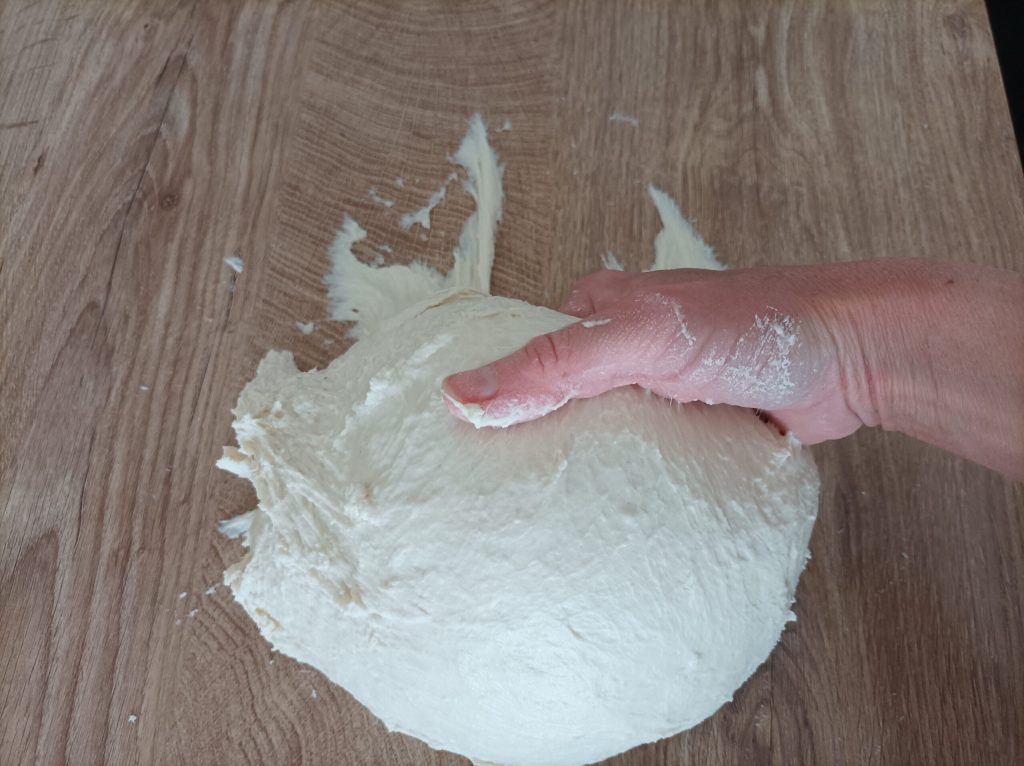
Then turn it out onto a work surface and knead for a few minutes. Form a ball and let it rise covered with plastic wrap for 2 hours or until doubled.
After the first rising, proceed with the second phase.

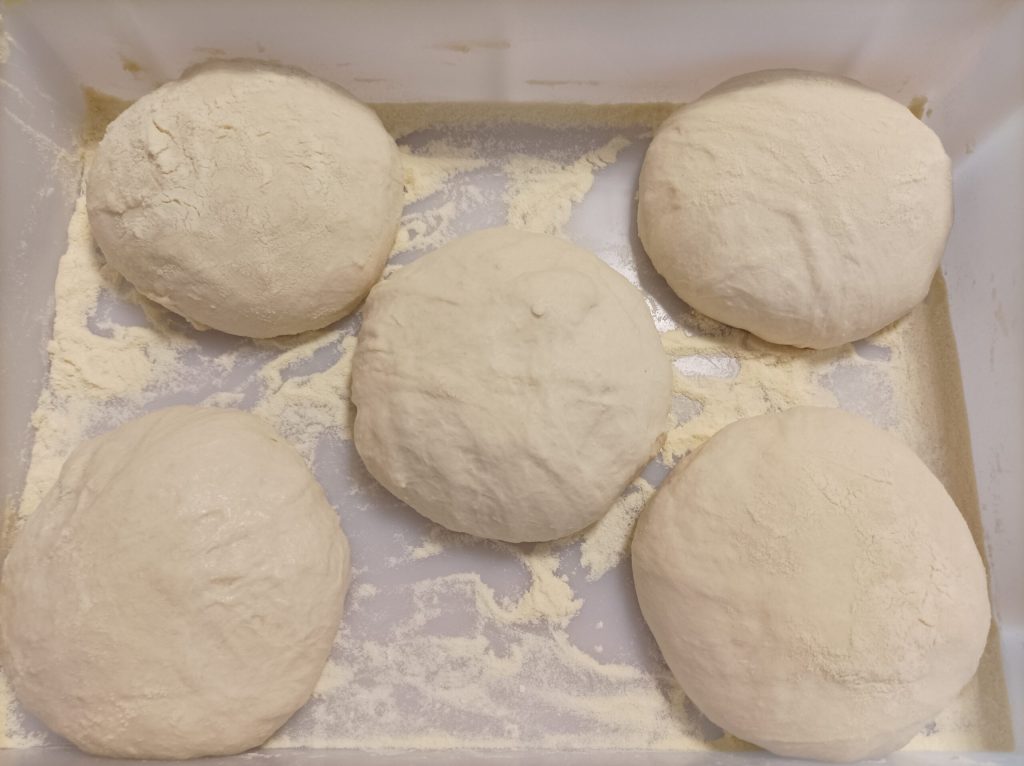
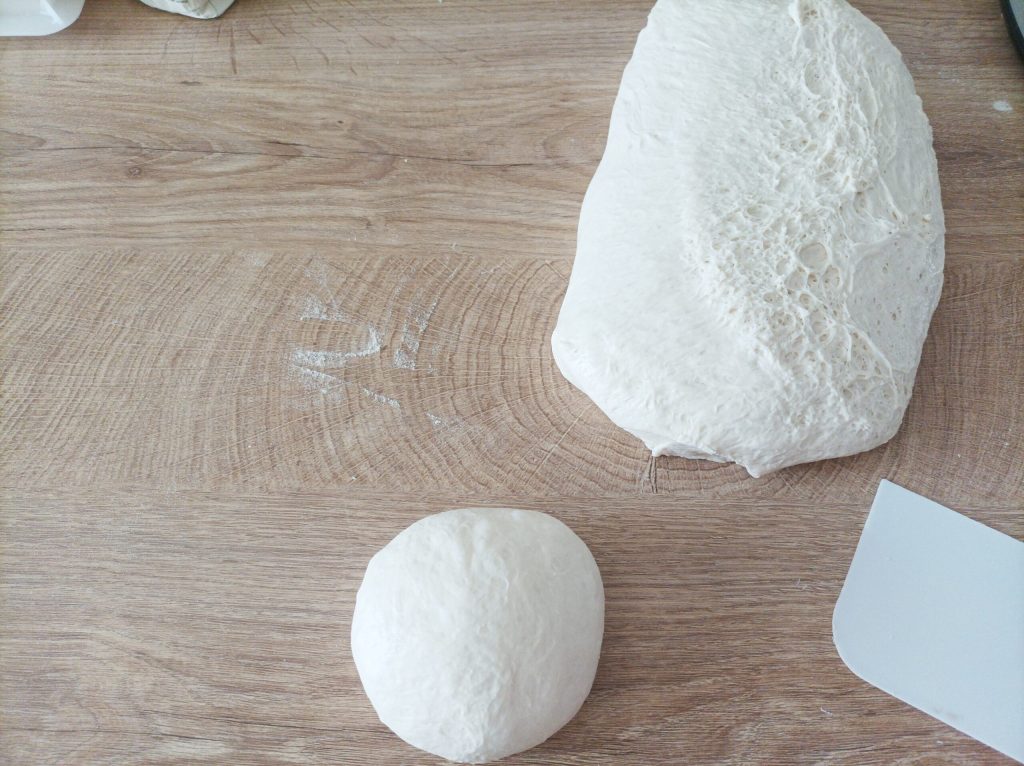
After the rising time has elapsed, it’s time to portion the dough. Cut the dough into pieces forming dough balls (each about 7 oz for one pizza), place them in a container or on a floured surface, then cover them and let rise for about 3 hours.
Try to space the dough balls out, otherwise they will stick together.
After the rising time, the dough balls are ready!
Advice
If you want to prepare the dough in advance, you can store it in the fridge overnight after the first rising, reducing it to 1 hour, then proceed with the second phase of rising the next day. If you prefer to store it longer, you can freeze it after the first rising. When needed, thaw it and proceed with the second rising phase.
If you want to prepare the dough in advance, you can store it in the fridge overnight after the first rising, reducing it to 1 hour, then proceed with the second phase of rising the next day. If you prefer to store it longer, you can freeze it after the first rising. When needed, thaw it and proceed with the second rising phase.
If you want to prepare the dough in advance, you can store it in the fridge overnight after the first rising, reducing it to 1 hour, then proceed with the second phase of rising the next day. If you prefer to store it longer, you can freeze it after the first rising. When needed, thaw it and proceed with the second rising phase.
If you want to prepare the dough in advance, you can store it in the fridge overnight after the first rising, reducing it to 1 hour, then proceed with the second phase of rising the next day. If you prefer to store it longer, you can freeze it after the first rising. When needed, thaw it and proceed with the second rising phase.
If you want to prepare the dough in advance, you can store it in the fridge overnight after the first rising, reducing it to 1 hour, then proceed with the second phase of rising the next day. If you prefer to store it longer, you can freeze it after the first rising. When needed, thaw it and proceed with the second rising phase.
If you want to prepare the dough in advance, you can store it in the fridge overnight after the first rising, reducing it to 1 hour, then proceed with the second phase of rising the next day. If you prefer to store it longer, you can freeze it after the first rising. When needed, thaw it and proceed with the second rising phase.
