Here is my coconut cheesecake, a new version of what has become our go-to sweet recipe for special occasions.
Yes, last Sunday was Mother’s Day, and like every respectable celebration, a cheesecake couldn’t be missing, the dessert that has recently become one of our favorites.
If you’re a cheesecake lover, you surely know that, upon closer inspection, the differences between one version and another are minimal. The variations usually lie in the details.
The first fundamental detail that differentiates this coconut cheesecake from those I’ve made before is… the coconut. Come on now!! Haha, just kidding! 😄
We love coconut desserts, and in fact, I always add some to the biscuit base in my cheesecakes, but this time I also wanted to include it in the cream and then in the decoration.
So, I don’t know if coconut cheesecakes are usually made this way, but as always, I wanted to try making it by intuition, and it worked out great since everyone liked it!
The second variant – a true variant, enough with the jokes – is the Greek yogurt, which I used instead of kefir.
As you know, I had never ventured into making cheesecakes until recently, that is, until I got the idea of making one with kefir. My intent was to serve kefir to my kids (yes, yes, really serve it) without hearing their endless anti-kefir protests. And I succeeded brilliantly since after the first experiment here at home, a whole “series” of cheesecakes with cream and kefir was born, which always turn out well, are loved by my kids, are suitable for any occasion, and always impress guests… in short, a perfect 10.
But homemade kefir, it must be said, is not very widespread, not everyone knows it, not everyone has the time or patience to make it at home. That’s why, in the absence of kefir, the best thing to do, which I’ve also recommended in past recipes, is to replace it with Greek yogurt.
And Sunday was also the time for me to try it, Mother’s Day was the perfect occasion to make a Greek yogurt cheesecake.
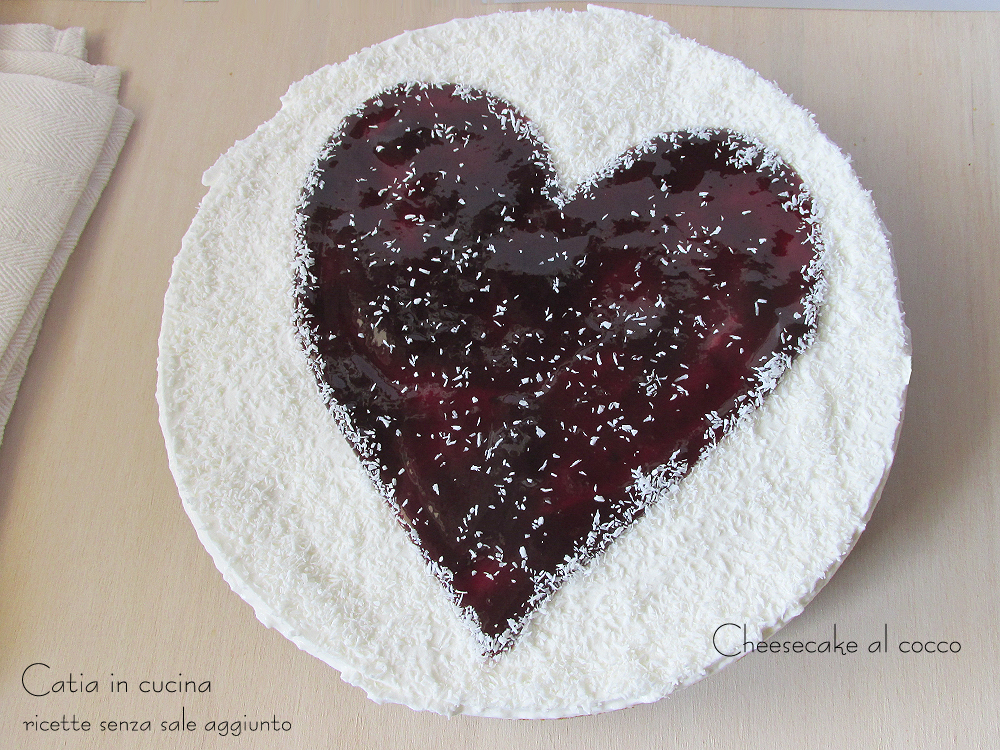
Here it is! I present to you my coconut cheesecake, with Greek yogurt.
〰 〰 〰
- Difficulty: Easy
- Cost: Economical
- Preparation time: 30 Minutes
- Portions: 8
- Cooking methods: No Bake
- Cuisine: International
- Seasonality: All Seasons
Ingredients
- 3.5 oz cookies (mixed, + some cake and Easter dove leftovers)
- 2.5 oz amaretti
- 1 oz grated coconut (rapé)
- 3 oz butter
- 1 cup heavy cream
- 6 oz Greek yogurt (whole milk)
- 1.4 oz powdered sugar
- 2 tbsps grated coconut (rapé)
- 3 tbsps blackberry jam
- as needed grated coconut (rapé)
Tools
- Mixer
- Bowl
- Springform Pan
Steps
Prepare the base by crushing or blending the cookies, amaretti, and any leftover cake (I also had the remnants of our very last Easter dove!). Add the coconut and mix.
Melt the butter (I use the microwave as always), add it to the crushed cookies and mix well with hands.
Spread the mixture on the bottom of a springform pan (I always use the 22 cm one) and press it very well with fingers to compact it.
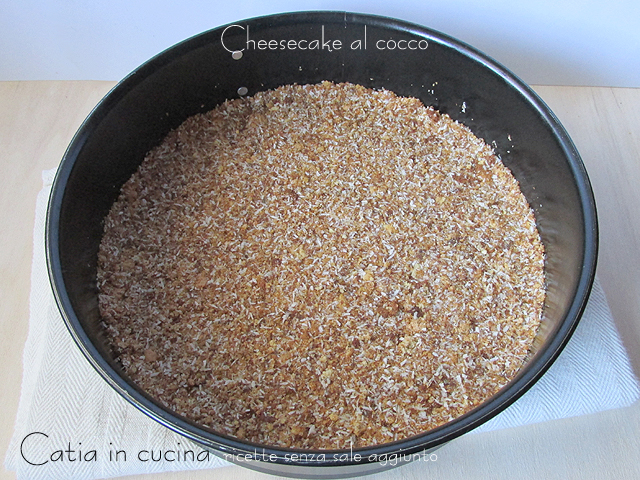
Place the base in the freezer for 15-20 minutes.
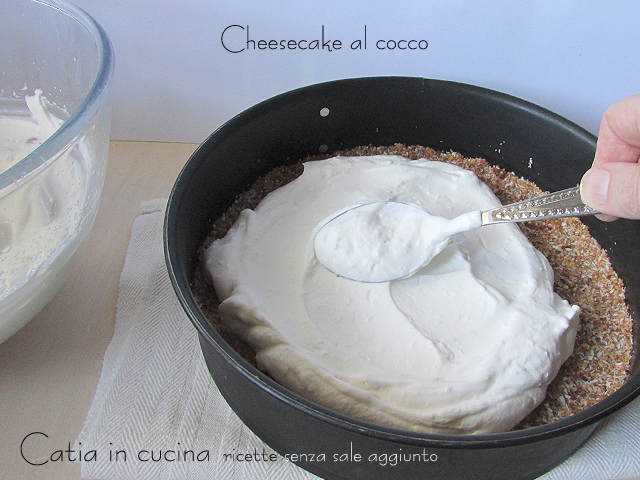
Meanwhile, whip the cream, sweetened with 40 grams of powdered sugar (if you want, you can increase the sugar).
Add the Greek yogurt and blend to combine it with the whipped cream.
Also add 2 tablespoons of coconut and mix well.
☝ For the amount of coconut, I went by eye, I thought two tablespoons were sufficient, honestly I wasn’t sure how much to use, and if the coconut would make the cream grainy, so I didn’t overdo it. Anyway, we liked it this way, you adjust according to your tastes, as I believe it should always be. 😉
Remove the base from the freezer. Spread all the cream of whipped cream and Greek yogurt over the base.
Place back in the freezer for at least half an hour. This time I deliberately froze it because I prepared it a bit in advance.
👉 For the decoration, which I made heart-shaped given the occasion, today I used blackberry jam, homemade by my friend Luisa. You can use any jam, of course, I just remind you that if it’s very thick, it’s good to soften it with a tablespoon of water to make it easier to spread.
Draw a heart in the cream (with a skewer, toothpick, whatever you want) and spread the jam inside with the back of a spoon, paying a little attention to the edge.
Decorate the remaining cream uncovered with coconut. I sprinkled a bit over the heart too, but meh, I realize now that maybe it looks less impressive in the photo than in real life, anyway, it goes without saying that everyone can decorate it as they like. 😉
Place back in the freezer.
☝ If you freeze your cheesecake, you will need to leave it at room temperature for about 20 minutes, even half an hour, before serving. My impression was that with Greek yogurt, it thawed more slowly compared to versions with kefir, but it could indeed be just an impression. What is certain is that this coconut cheesecake gives its best after it softens. At least for me, if it’s too cold, I feel like it loses flavor. Don’t you think so too?
Remember that my cheesecakes are all without gelatin or other thickeners, so even if you don’t want to freeze it, a half-hour passage in the freezer is necessary to compact the cream.

If you want to replace Greek yogurt with “normal” softer yogurt, not as thick as Greek yogurt, or if you want to use kefir, I would recommend using a smaller amount (see previous cheesecakes: this and this).
Next time I want to try using homemade spreadable cheese, so I’ll have a new variant to talk about!
Follow me!
In my new WhatsApp channel and, hear hear! now I’m also on Instagram! 😄
As always, you can find me on my Facebook page, on my Pinterest boards, in my two groups: Catia’s Group, in the Kitchen and Beyond and Just What I Was Looking For! and if you feel like it… subscribe to my Newsletter.
As always, you can find me on my Facebook page, on my Pinterest boards, in my two groups: Catia’s Group, in the Kitchen and Beyond and Just What I Was Looking For! and if you feel like it… subscribe to my Newsletter.
