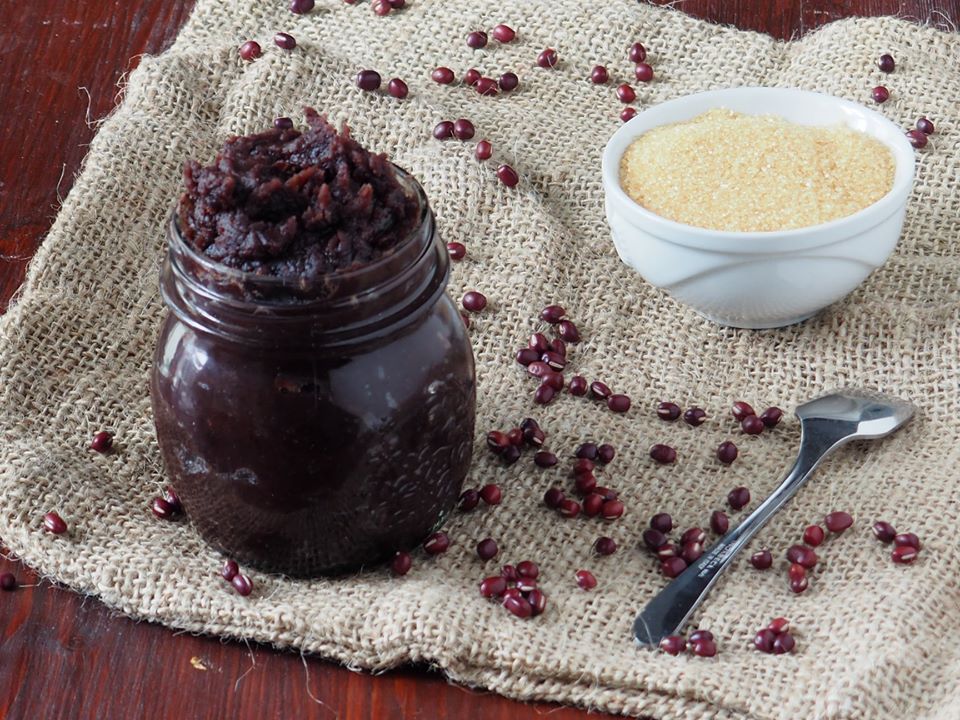
As you may have already guessed, I adore ethnic cuisine of all kinds. I enjoy trying new flavors and combining unusual ingredients to create ever-changing dishes. This time, I wanted to venture into Japanese cuisine, which I find truly amazing: their skill and inventiveness always manage to amaze me. For a while now, I’ve been curious about making Anko (red Azuki bean jam), and I finally managed to make it. Try it with me and let me know what you think!
You can use it to fill some delicious Mochi (click on the link for the recipe).
Want to make white bean jam? If you don’t know it, click here
Please don’t miss the FACEBOOK page, my INSTAGRAM account, and the YOUTUBE CHANNEL.
Here is the link for more oriental recipes:
- Difficulty: Easy
- Cost: Economical
- Rest time: 12 Hours
- Preparation time: 45 Minutes
- Portions: about 600g of jam
- Cooking methods: Stovetop
- Cuisine: Japanese
Ingredients
- 9 oz Dried red beans (Azuki)
- 6 cups Water
- 9 oz Brown sugar
- 1 pinch Fine salt
Preparation
Wash the beans two or three times, discarding the water each time.
Soak them in cold water for 6/8 hours, overnight is fine too. Drain, place the beans in a colander, and rinse with running water.
In a pot, put six cups of water, when it boils add the beans. Cover with a lid and cook over medium heat for about two hours.
If the water dries up, add more that you have previously heated (I added about another four cups).
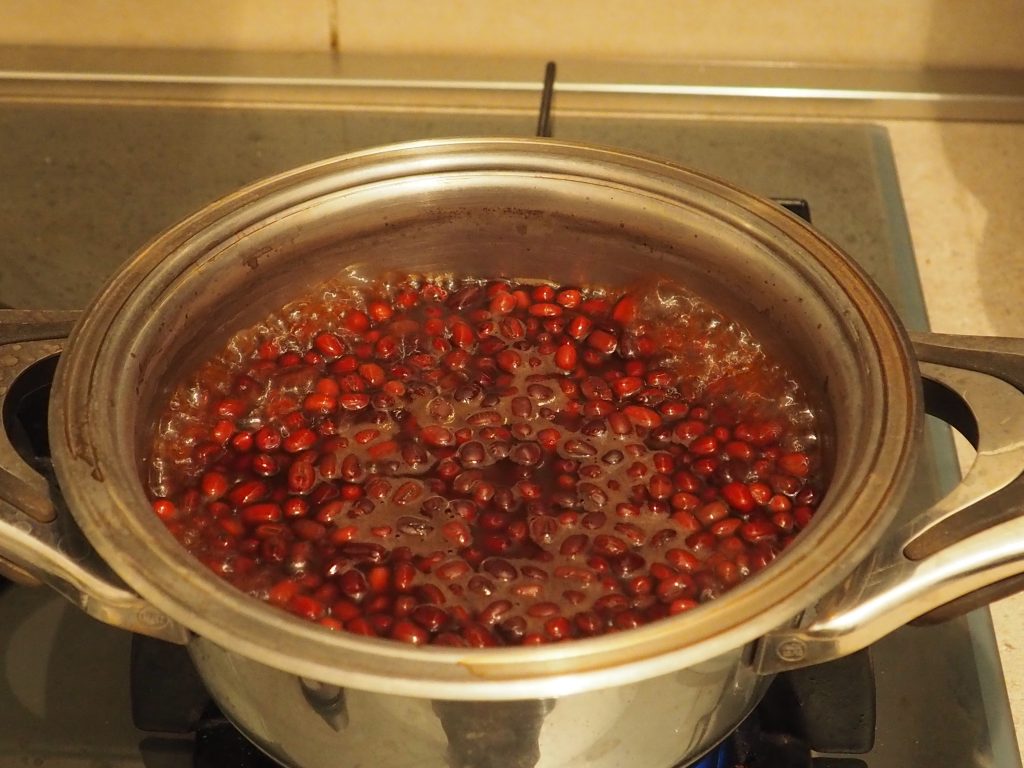
Towards the end of cooking, try not to add more water, but let the existing water dry up.
Once cooked, put the beans in a colander and let them drain for about twenty minutes, so they become dry.
If you have already dried them during cooking, you can skip draining them, but the jam will be more liquid if you do not cook it longer with the sugar.
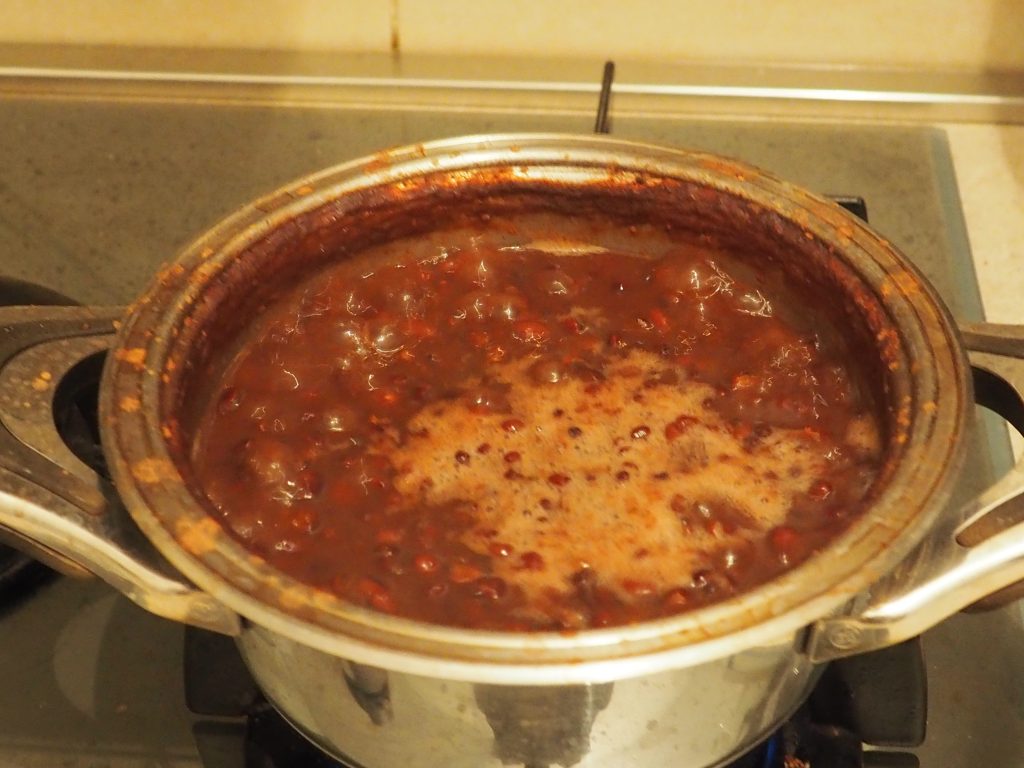
Now put the red beans in a mixer and puree them. The mixture will be slightly grainy.
Now weigh the mixture, mine was 500g. This operation will help you calculate the amount of sugar to add, which should be half the weight of the bean mixture. So I added 250g.

In a small saucepan, put 4/5 tablespoons of water, heat, add the brown sugar, and let it dissolve completely.
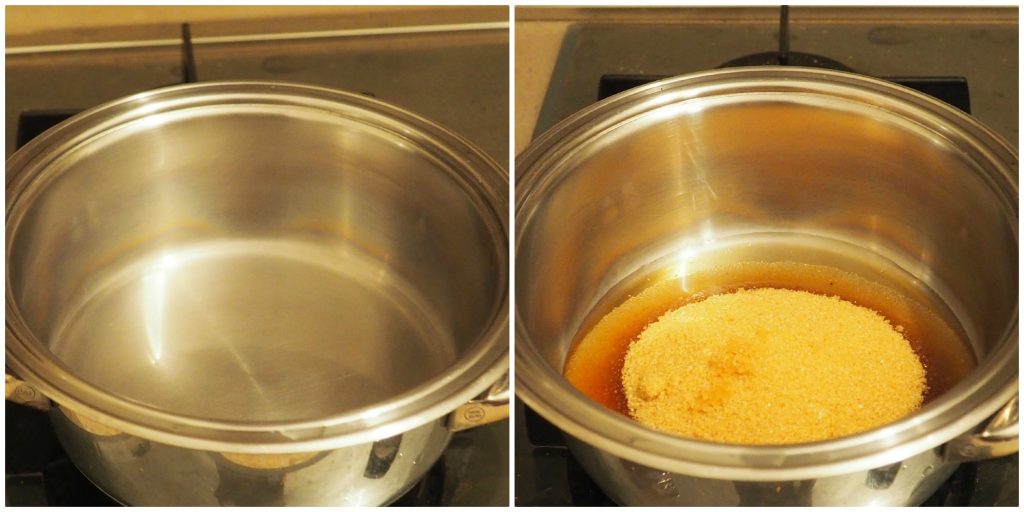
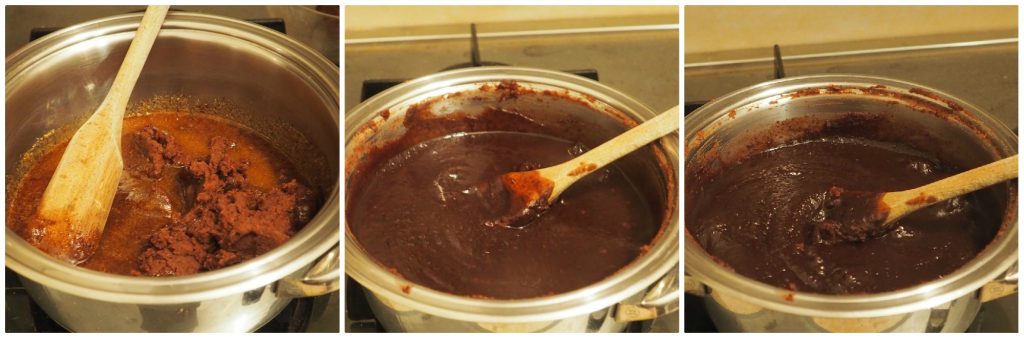
Now add the bean mixture to the sugar, mix well to combine everything, add a pinch of salt, and continue stirring for 10/15 minutes until you get a smooth cream.
If you need to use it within a few days, let the Anko cool on a plate or large dish. Then transfer it to a jar and store it in the refrigerator.
If you want to keep it for longer, jar it hot in sterilized jars; to create a vacuum seal, close them well, turn them upside down until the mixture has completely cooled.
Suggestions/Tips
After two hours, taste the beans to check for doneness: they will be intact externally but soft internally.
Remember that the sugar you need to add is half the weight of the mixture obtained after passing it through the mixer. This will give you medium sweetness; if you like it sweeter, you can increase the amount, or decrease it if you prefer it less sweet.
The package recommends soaking the beans overnight: if you skip this step, the cooking time might be slightly longer.
If you don’t have brown sugar, you can also use white sugar.
The taste of Anko vaguely resembles that of marron glacé.
If you enjoyed Anko (red Azuki bean jam), also try other Japanese cuisine recipes:
What it is and how it’s made: Gomasio
Mochi filled with anko and banana
Want to make white bean jam? If you don’t know it, click here.
If you are interested in other ethnic recipes, take a look at the “FROM ABROAD” section in the Home page menu
My Social Channels!
To not miss any recipes, you can also follow me on:
Instagram; Pinterest; if you want to stay updated, like my Facebook page ?