The Sardinian ricotta rolls are a recipe that holds a special place in my heart, as they are part of my roots and the tradition of my land.
They are a soft and versatile bread, perfect to bring to the table on many occasions: for a brunch, to accompany a dinner or to enrich an aperitif with cold cuts and cheeses.
I also like to enjoy them with a smear of jam, perhaps at breakfast or for a snack, while they are still slightly warm and release their aroma.
If you like working with dough, on the blog you’ll also find other recipes for homemade leavened bread that you might enjoy.
- Difficulty: Easy
- Cost: Low cost
- Rest time: 4 Minutes
- Preparation time: 30 Minutes
- Portions: 4 large rolls
- Cooking methods: Oven
- Cuisine: Italian
- Seasonality: All seasons
Ingredients
Here are the ingredients needed to prepare the Sardinian ricotta rolls.
- 2 1/4 cups type 1 wheat flour (about 2 1/8 cups (250 g) for the dough + about 2 tbsp (20 g) for dusting the work surface)
- 1 1/2 cups re-milled durum wheat semolina
- 1 1/2 cups sheep ricotta
- 1 1/4 cups water
- 2 1/4 tsp fresh yeast ((about 7 g; ~1 packet))
- 1 tbsp sugar (or about 2 tsp (10 g) honey)
- 3/4 tbsp extra virgin olive oil ((about 12 g))
- 1 2/3 tsp fine salt ((about 10 g))
- lemon zest (grated, optional)
Tools
Below is the list of tools I used to make the recipe.
Some items have a clickable Amazon icon, so you can purchase them directly from there if you wish.
- 1 Mixing bowl large
- 1 Fork
- 1 Kneading mat / Work surface I use a silicone one
- 1 Spatula
- 1 Baking sheet
Steps
In a bowl, mix the two types of flour together. If you don’t have the type 1 flour I used, you can use a type 0 (all-purpose) flour that you normally use.
Make a well in the center of the flours (the so-called fountain) and start pouring in the crumbled fresh yeast, almost all the water (leave just a little for the salt, which will be added at the end), the grated lemon zest (optional) and the sugar or honey if you prefer. Now begin to combine the ingredients, using a fork or spoon.
At this point add the salt into the little water we had set aside and add that to the dough, add the oil as well and bring the dough together. Now knead with your hands making small folds.
Now let it rise for at least two hours at room temperature.
After two hours, take the dough, dust the work surface with flour and stretch it with your hands into a rectangle.
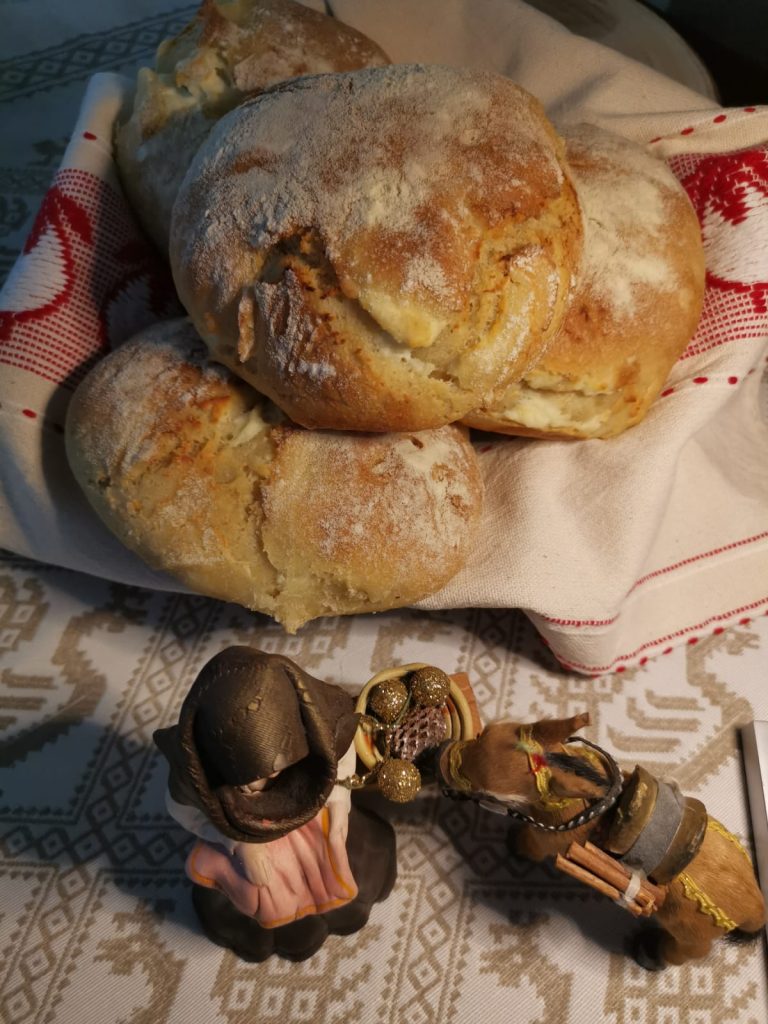
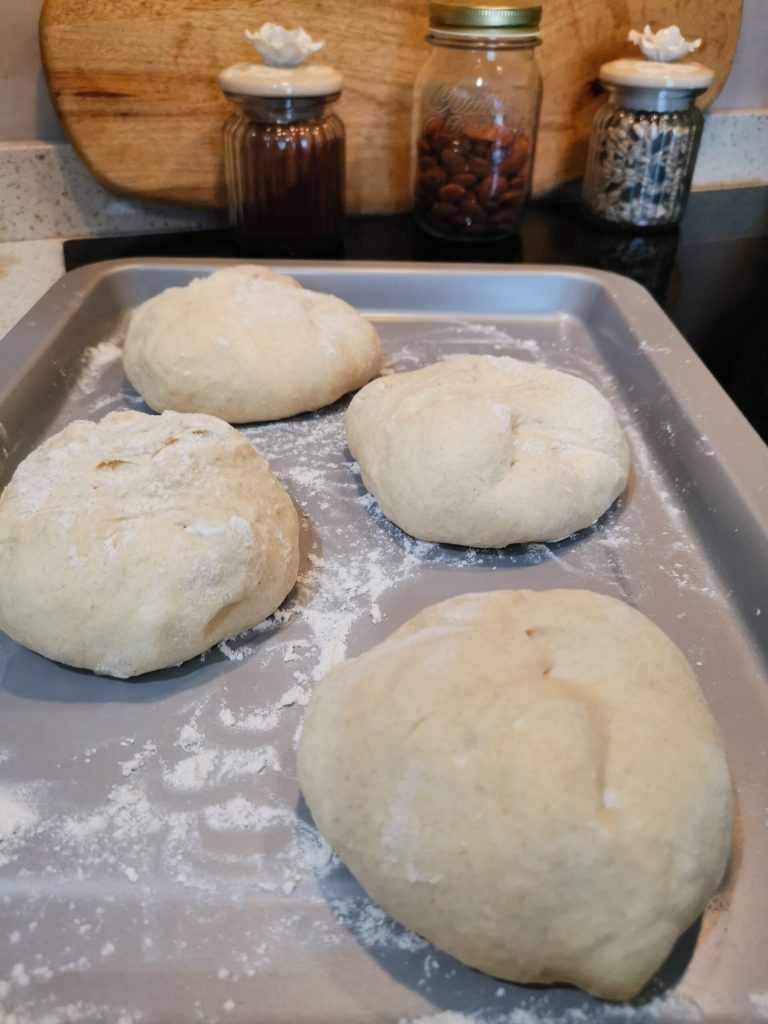
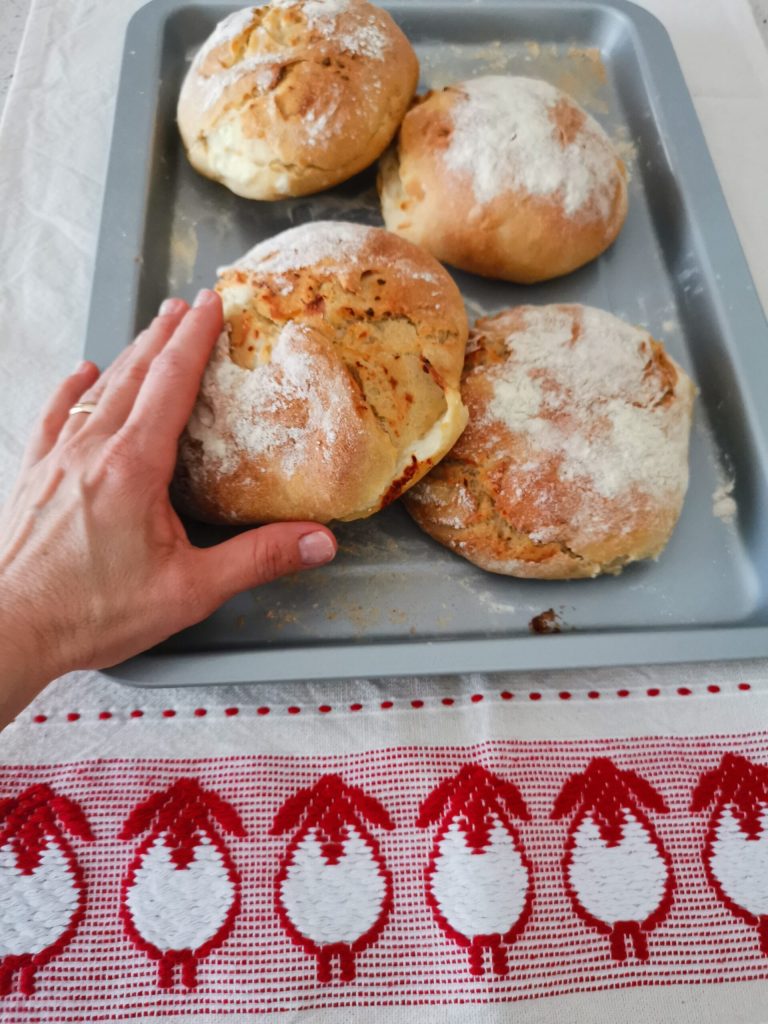
Now take the ricotta that you will have smoothed a bit in a small bowl (to make it nice and creamy) and spread it with a spatula on the rectangle of dough. Fold the rectangle over itself, seal the edges and cut the dough into several pieces for smaller rolls; I cut it into 4 large rolls, as you can see in the photo.
Don’t worry if the ricotta, even though you have sealed the edges, tends to leak out a little. Shape the rolls, then let them rise on a floured baking sheet or on parchment paper for another hour. The rolls should double in volume again.
After another hour, check that the rolls are nicely puffed and risen and preheat the oven in static (conventional) mode to 383°F. Dust the surface with flour and proceed with baking. For 4 larger rolls, I baked them for 30 minutes; smaller rolls may require a few minutes less. Before taking them out of the oven, always test with a toothpick.
As I mentioned before, if you look at the photos below, the ricotta may tend to come out a little, but no problem, it will stay there.

Remove from the oven, let cool slightly and enjoy these wonderful rolls.
Storage and tips for Sardinian ricotta rolls
The Sardinian ricotta rolls, precisely because they are made with fresh ricotta in the dough, are best stored in the refrigerator.
When ready to enjoy them, just take them out of the fridge and warm them for a few minutes in a pan, oven or microwave. This will make them soft and fragrant again as if freshly baked.
My suggestion, especially if you decide to enrich the dough with grated lemon zest, is to serve them with jams and cheeses.
They are delightful for an aperitif, but also perfect for a different kind of breakfast.
FAQ (Questions & Answers)
How to best enjoy Sardinian ricotta rolls
These rolls are very versatile: you can serve them sweet with jams or honey, or savory with cold cuts and cheeses.
They are perfect for a brunch, an aperitif or as a soft bread to serve at dinner.