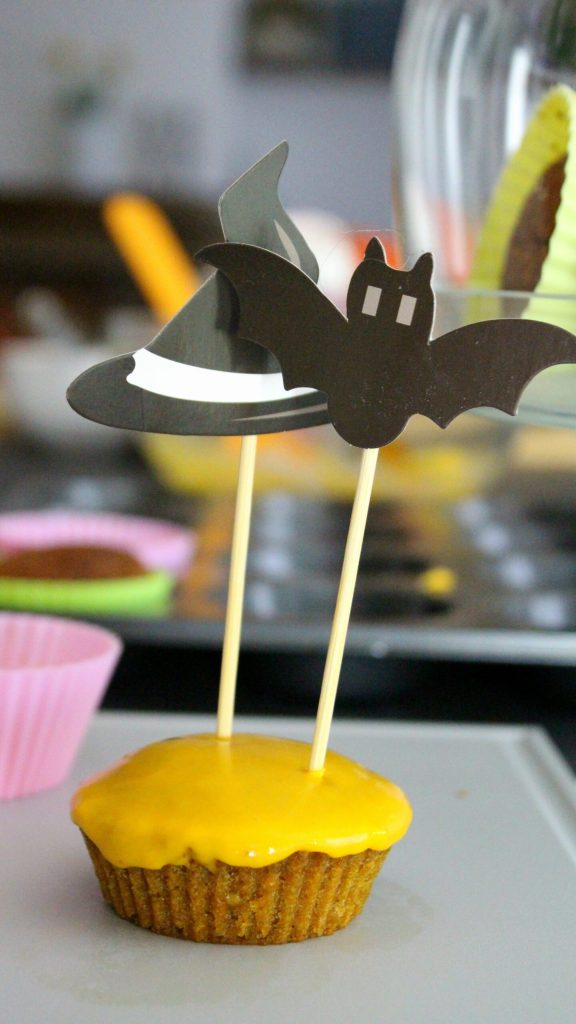
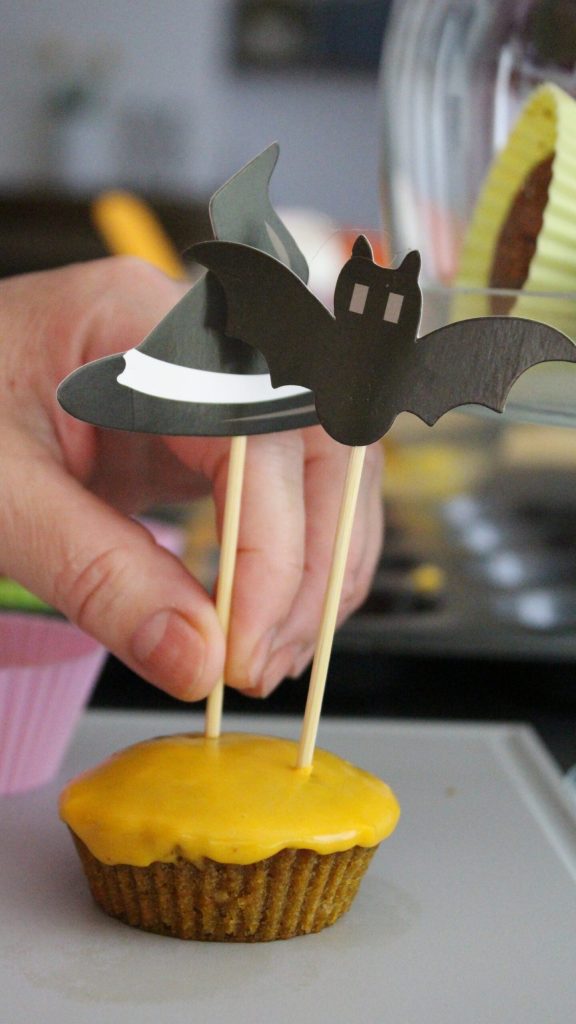
Halloween pumpkins are soft and delicious cupcakes made with pumpkin pulp, one of the most versatile fall ingredients of the season. These cupcakes can be topped with orange colored frosting and decorated with fun toothpicks or with Halloween pumpkin face drawings, reminiscent of the color and collective images of the holiday.
Useful recipes and tips:
- Difficulty: Easy
- Cost: Economical
- Preparation time: 40 Minutes
- Portions: 12
- Cooking methods: Oven
- Cuisine: American
- Seasonality: Fall, Winter
Ingredients for making Halloween pumpkins
- 1 1/2 cups butternut squash
- 1 1/4 cups all-purpose flour
- 1 tsp baking powder
- 1 tsp spices (the four spices (cinnamon, cloves, nutmeg, and ginger))
- 1/2 cup brown sugar
- 1/2 cup butter
- 2 eggs (large fresh eggs)
- 1 tsp orange zest (grated untreated orange zest)
- 1 pinch fine salt
- 1 3/4 cups powdered sugar
- 2 tbsps water (hot)
- 10 drops food coloring (orange)
Tools for making pumpkin cupcakes
- 1 Cutting board
- 1 Knife
- 1 Grater
- 4 Bowls
- 1 Scale
- 1 Whisk
- 1 Teaspoon
- 1 Zester Grater
- 1 Sieve
- 12 Baking cups
- 1 Muffin tin
- 1 Cooling rack
How to make Halloween pumpkins
To make these delicious cupcakes, I used grated pumpkin pulp (the main ingredient of the recipe) that you can get from a whole pumpkin after cutting, cleaning, and grating it to give the cupcakes a stronger flavor and consistency, but replaceable for convenience with store-bought pumpkin puree or flour if you prefer a smoother, more homogeneous consistency.
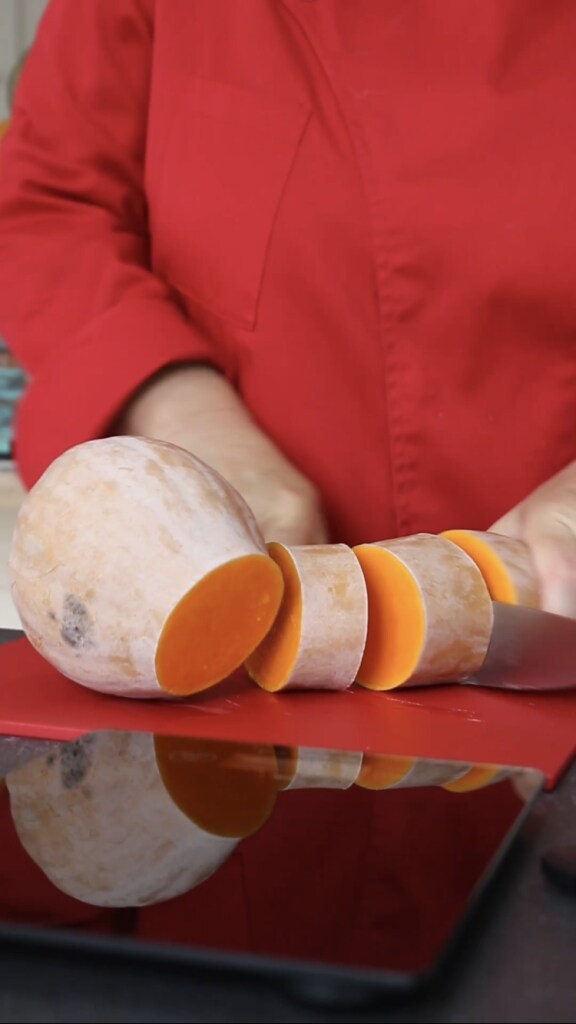
Starting from the whole pumpkin to get the pulp, I recommend buying a small butternut squash with smooth skin (not wrinkled) of about 2.2 lbs and using the long top section because it is free from filaments and seeds that you would find in the lower rounder part of the pumpkin.

Place the pumpkin horizontally on a clean and steady cutting board for your safety and, with a very sharp chef’s knife (I recommend), cut the long top part of the pumpkin into three sections.
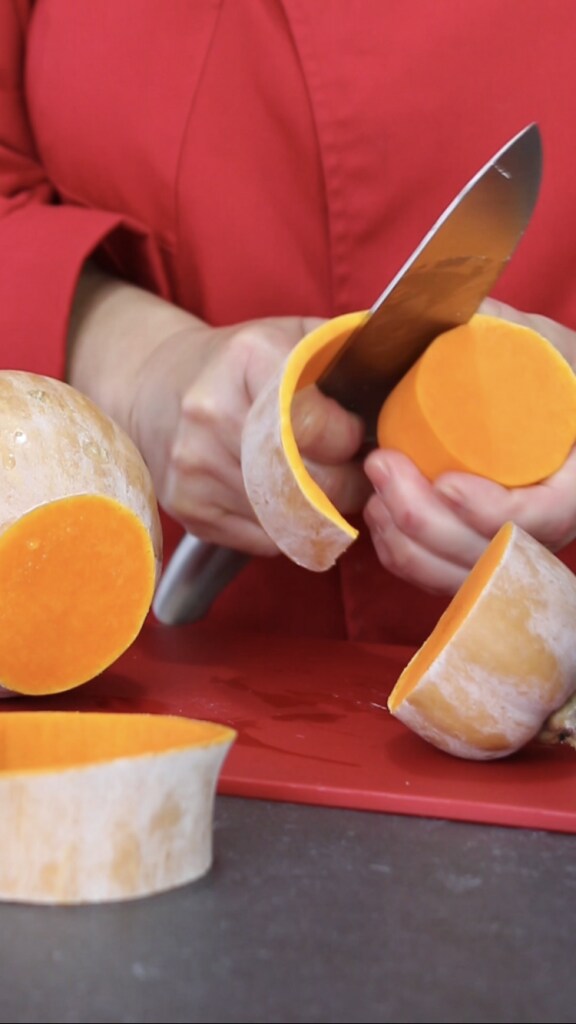
Normally, these small pumpkins are more tender and have less hard skin compared to larger older pumpkins. With the knife in hand and the pumpkin piece in the other hand, score the pumpkin’s skin with a sharp cut and start removing it in a circular motion.
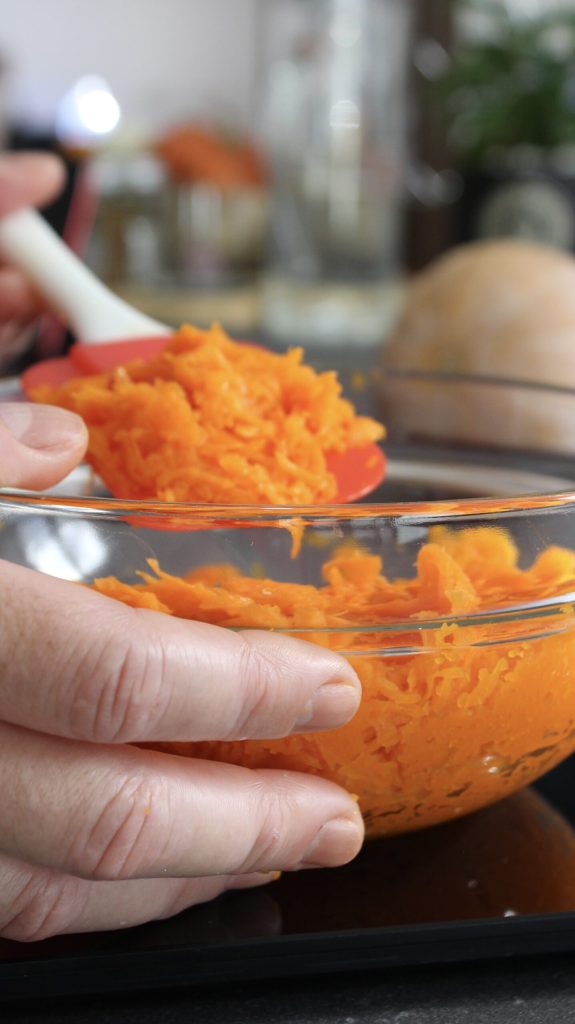
Grate the pumpkin pulp with the grater, collecting it in the container.

Place the first bowl on the digital scale, turn it on to tare, and transfer the pumpkin pulp into it, ensuring the quantity is as indicated in the recipe. At this point, it is convenient to clean the entire pumpkin and grate it, divide it into wedges or chunks to store and have available for making other recipes.
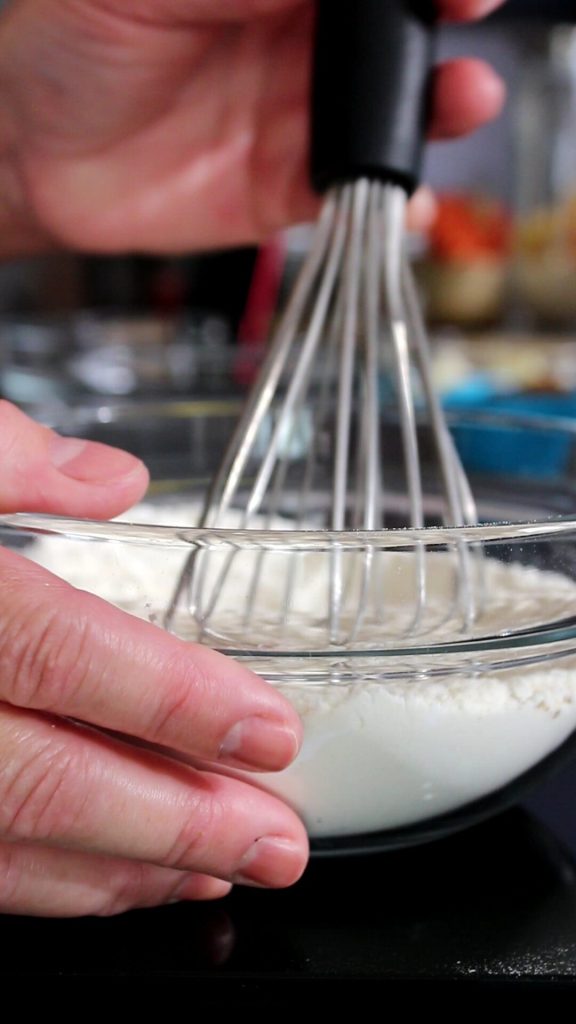
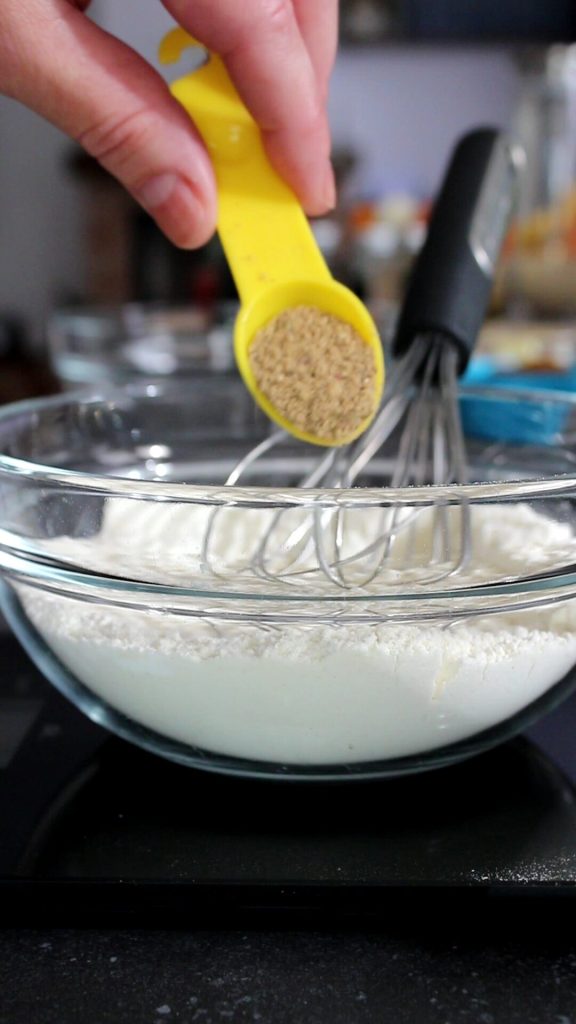
Weigh the all-purpose flour with the scale and add it to the second bowl. Add the baking powder (4 g). I recommend using a set of measuring spoons with Anglo-Saxon metric measures.

Add a pinch of fine salt (2 g). Mix with the whisk to make a flour mix.
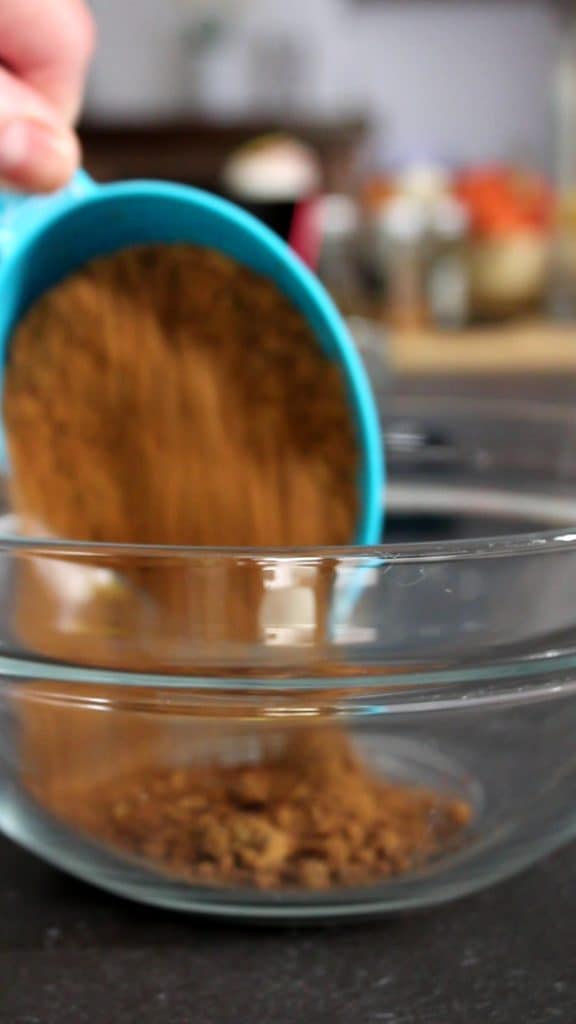
In the third bowl, put the brown sugar. The brown sugar will give the dough a more rustic texture and a darker color, reminiscent of yellow pumpkins.
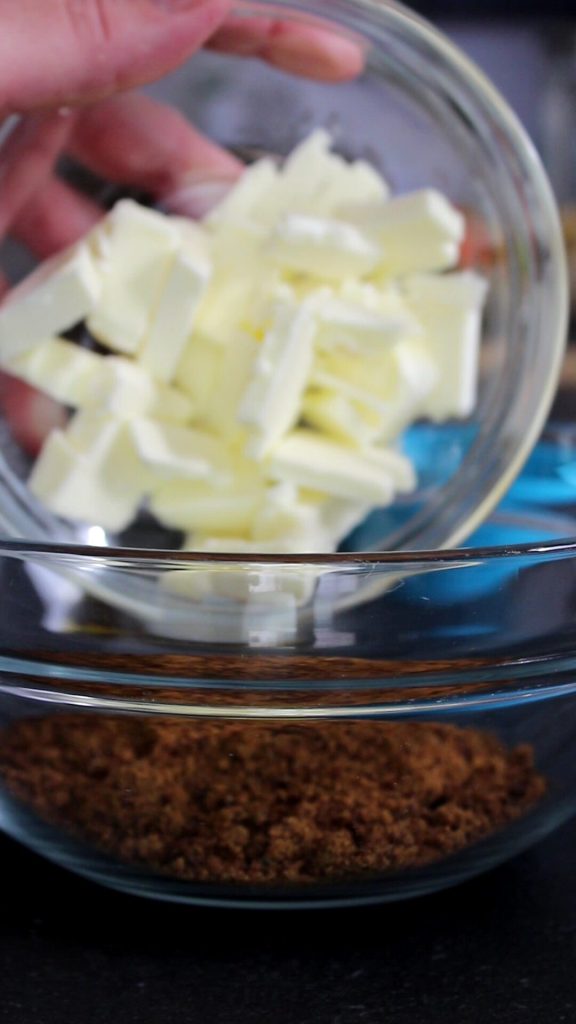
Add the softened butter at room temperature, so it is soft enough to be whipped well together with the sugar. I recommend using fresh butter and taking it out of the fridge as the first thing when preparing the cupcakes.
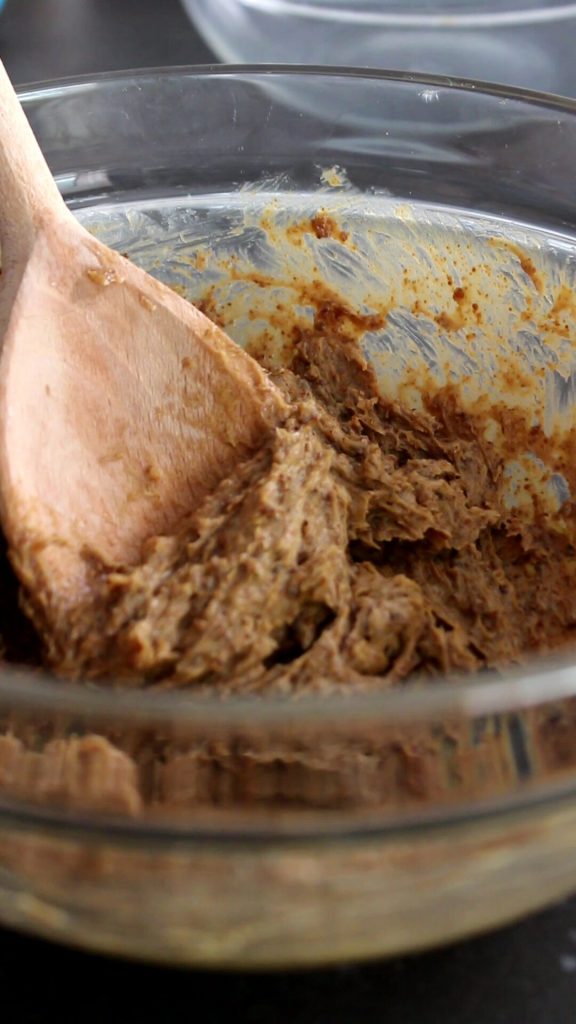
Mix the brown sugar and softened butter with a wooden spoon or hand whisk to whip them for a long time until obtaining a lighter and frothy mixture.
Next, add the large fresh eggs, one at a time and only after the first is fully absorbed or incorporated into the dough.

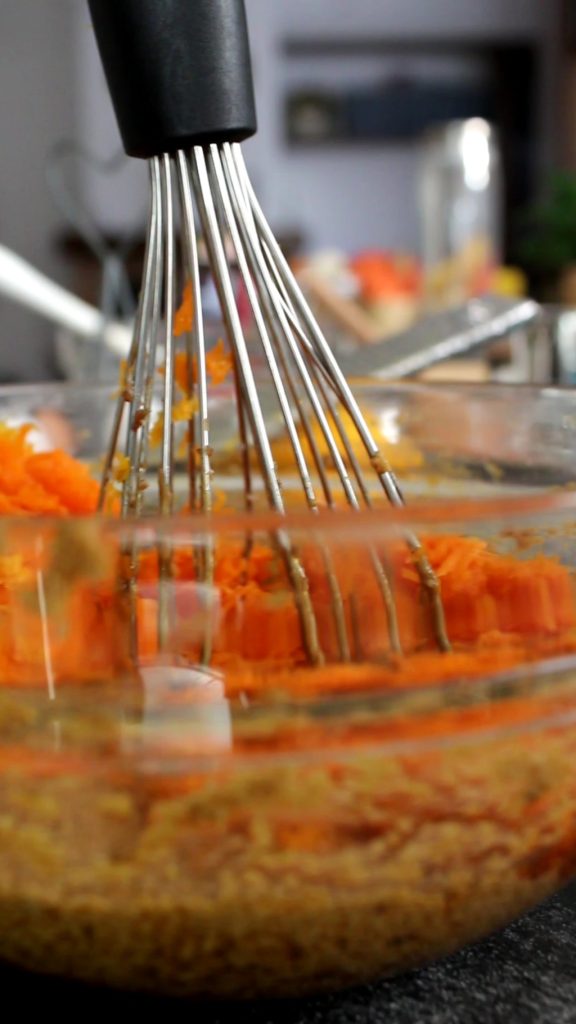
Add the previously grated pumpkin pulp set aside in the first bowl and grate some orange zest with the help of the zester grater with a fine blade, ideal for citrus.
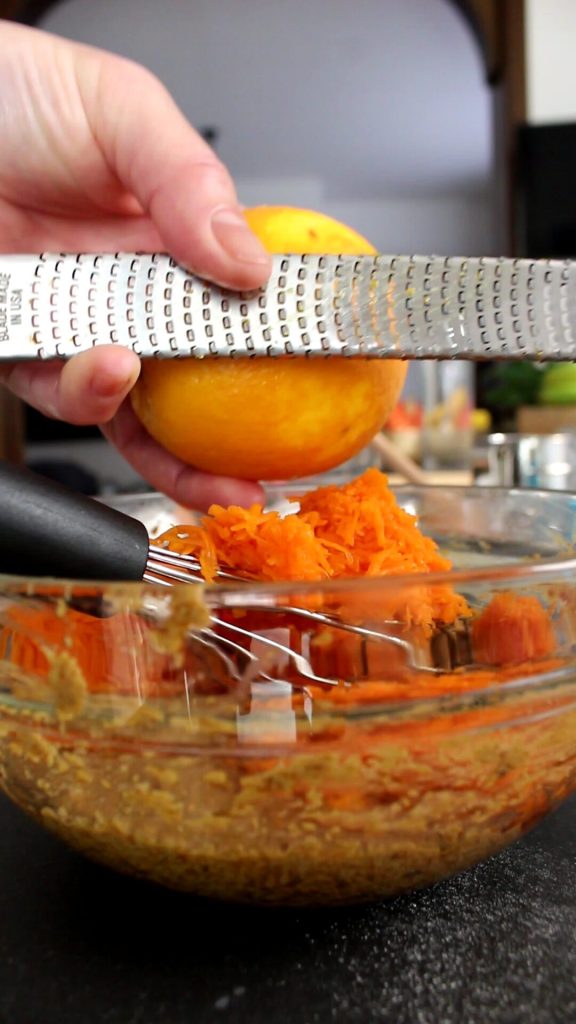
Now, mix the ingredients with the hand whisk until they are well incorporated.
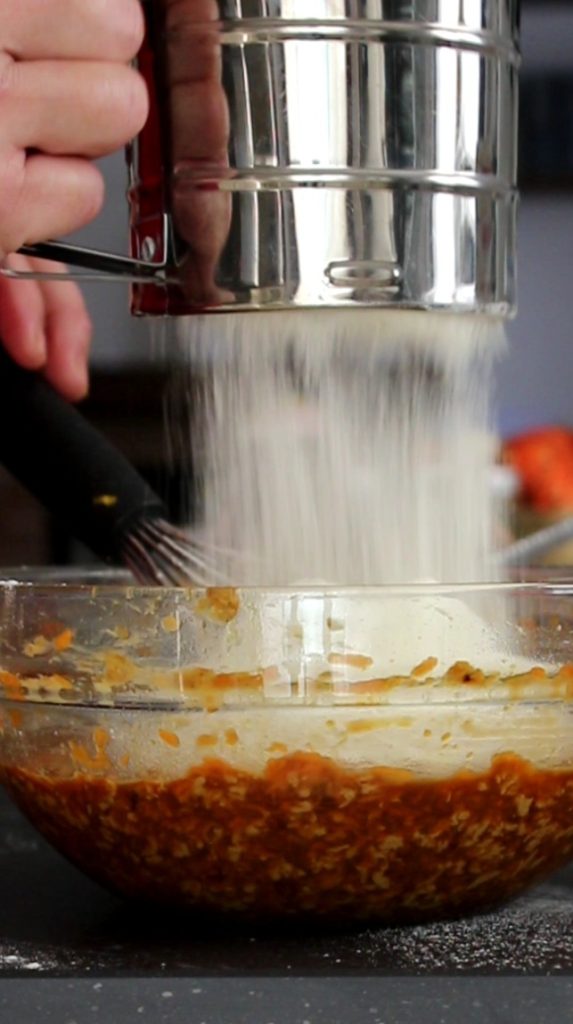
Finally, add the flour mix using the sieve to remove any lumps. Usually, flours are already sifted but it is preferable to sift them before using them to ensure perfect incorporation.
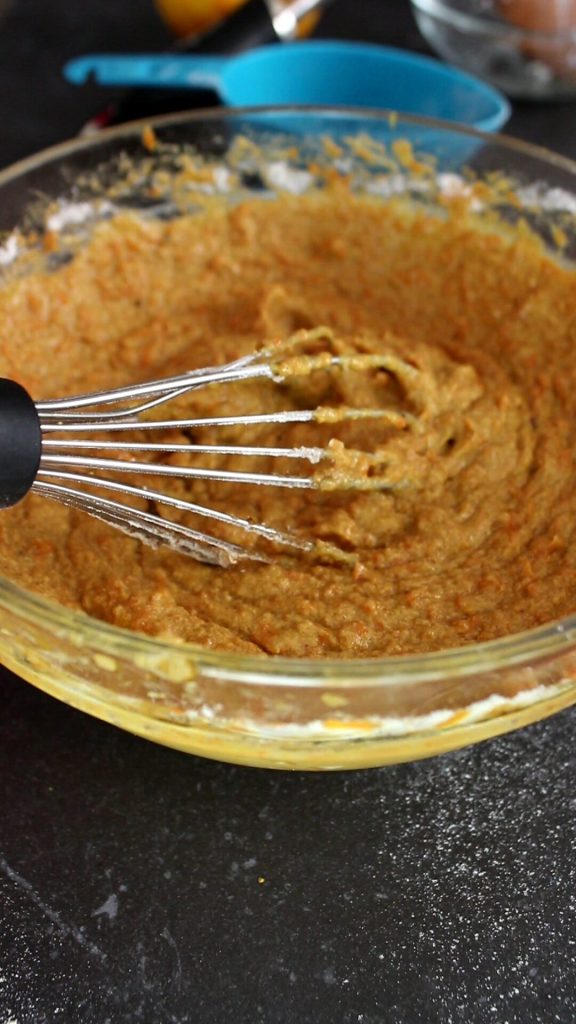
Finally, mix all the batter ingredients until they are well combined.
Now that the Halloween pumpkin batter is ready, remember to turn on your convection oven setting it to 338°F to preheat it while following its technical instructions.
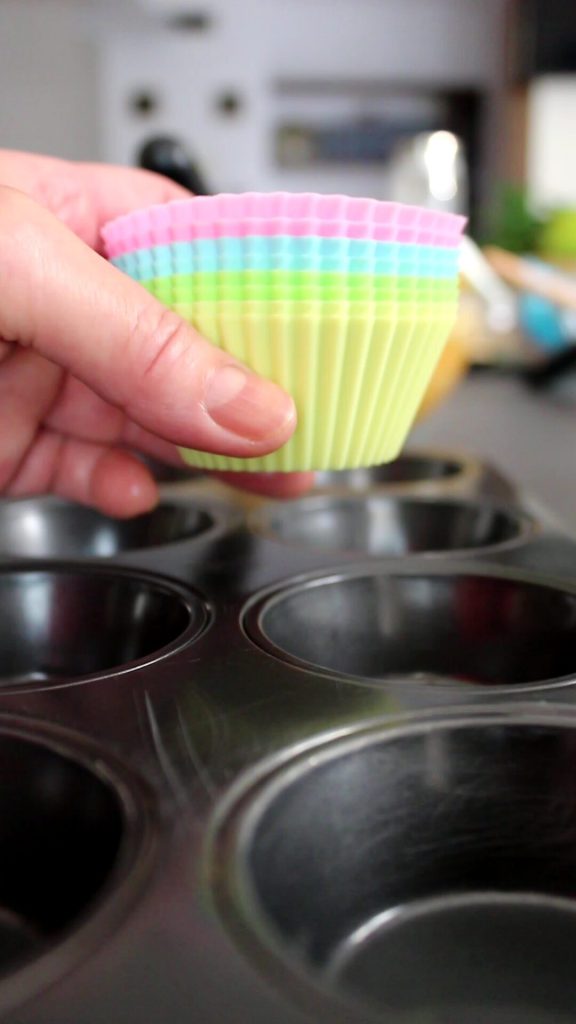
For baking cupcakes, there are specific pans that you will easily find in supermarkets or household stores specializing in pastry utensils. This cupcake and muffin pan has 12 concave molds to fill with the batter. Thinking about sustainability in the environment, I recommend using eco-friendly baking cups suitable for food in silicone and reusable rather than paper ones; with this choice, it will also be very easy to unmold the cupcakes while maintaining their perfect shape for presenting the cupcakes.
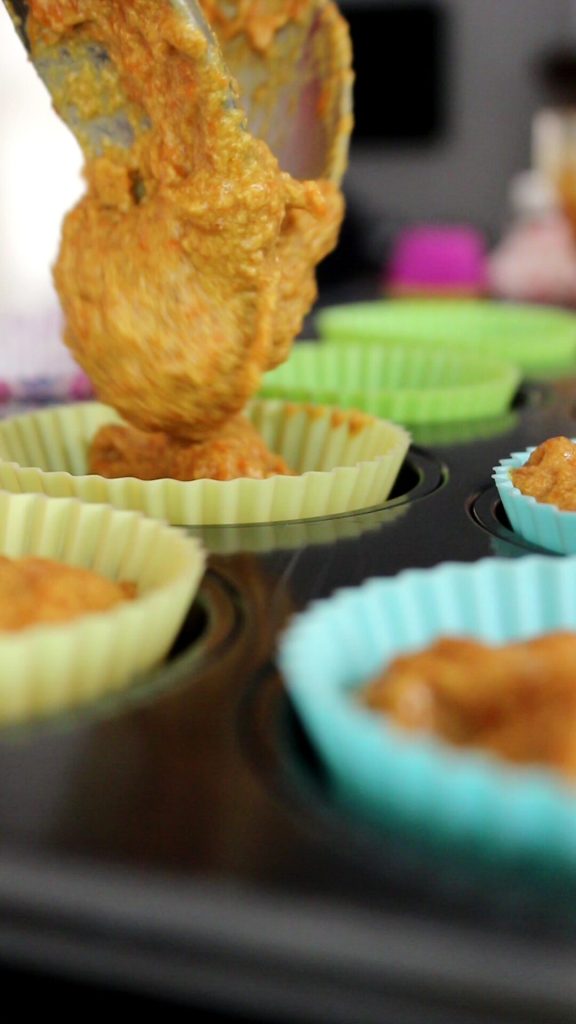
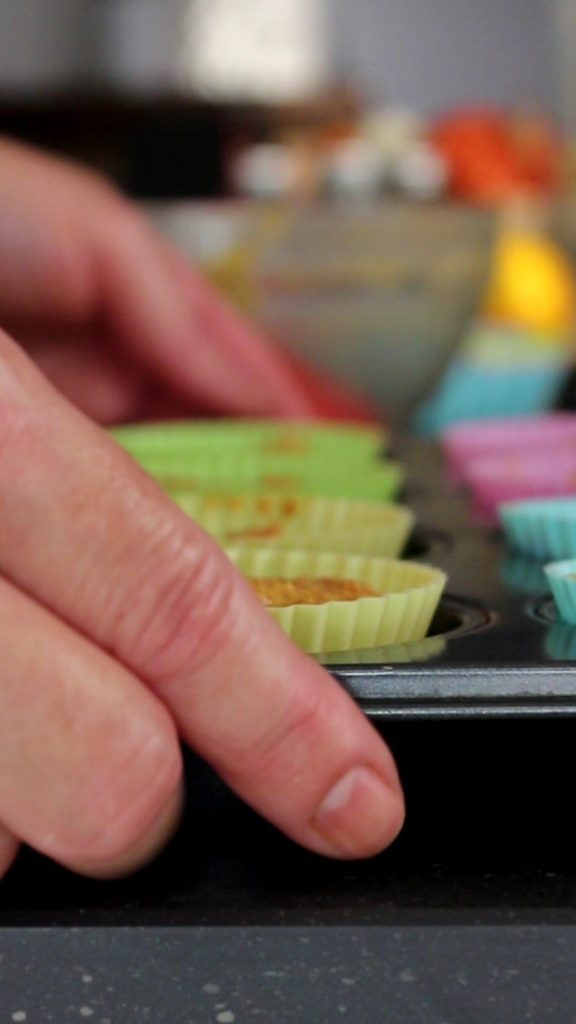
With the help of 2 spoons (or teaspoons), distribute the batter into the molds filling them only up to 2/3 so that they have enough space to rise properly, without risking getting volcano-shaped cupcakes.
Once the cupcakes batter is distributed, place the pan in the preheated oven and bake the cupcakes for 25-30 minutes.
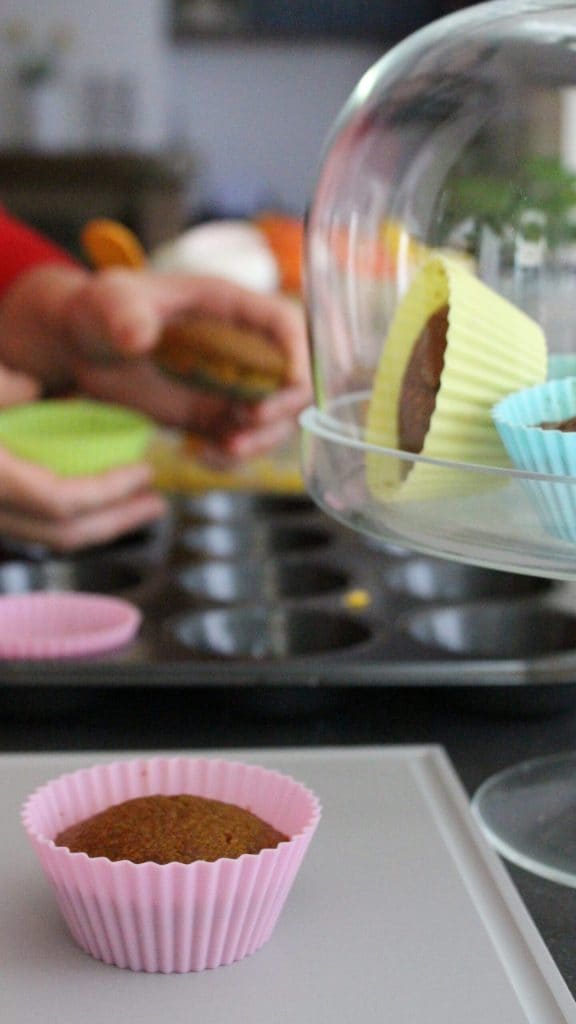
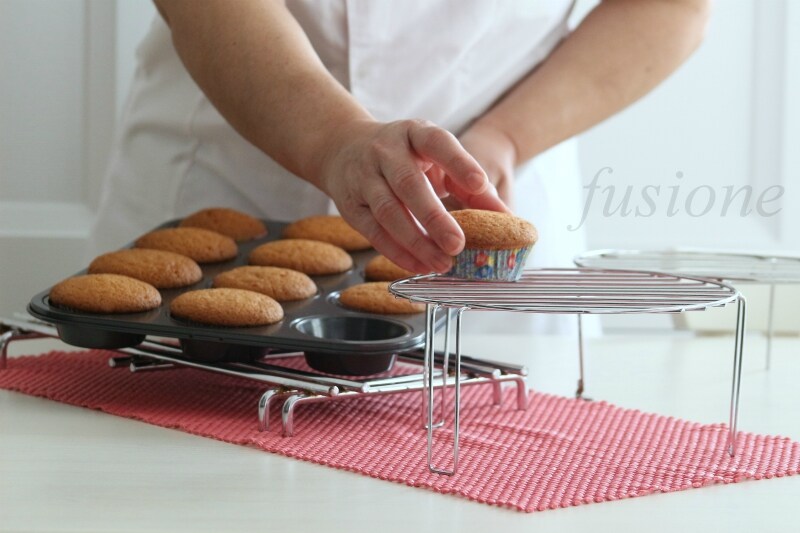
Once the baking time is up, remove the pan from the oven and place it on a safe surface. Transfer the cupcakes to the cooling rack and let them cool completely before unmolding, topping, or decorating them… but I bet you won’t wait to taste them!
Preparing water icing can be really easy! Follow the instructions below:
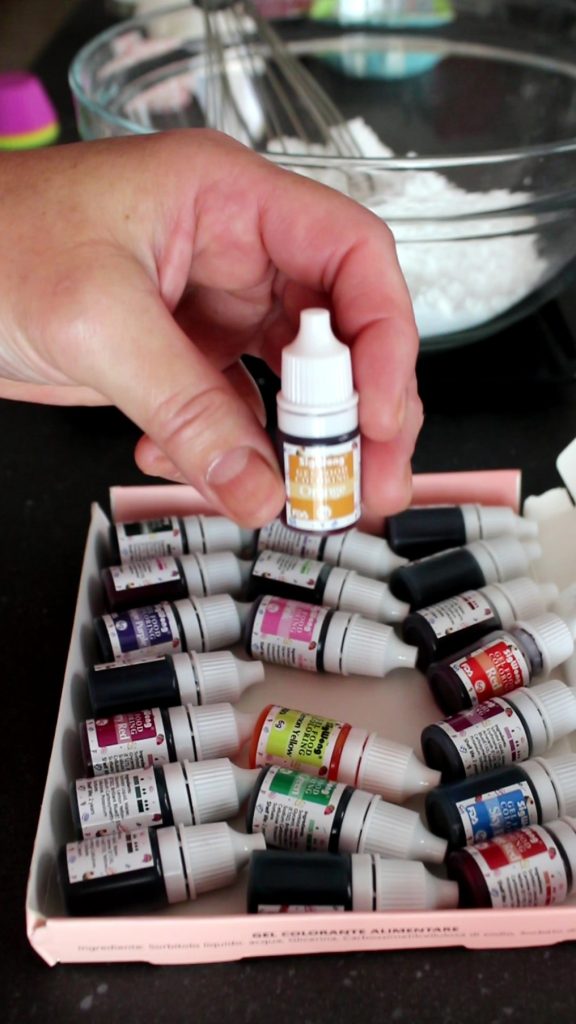
To make water icing you will need powdered sugar, a little water, and a few drops of orange food coloring.
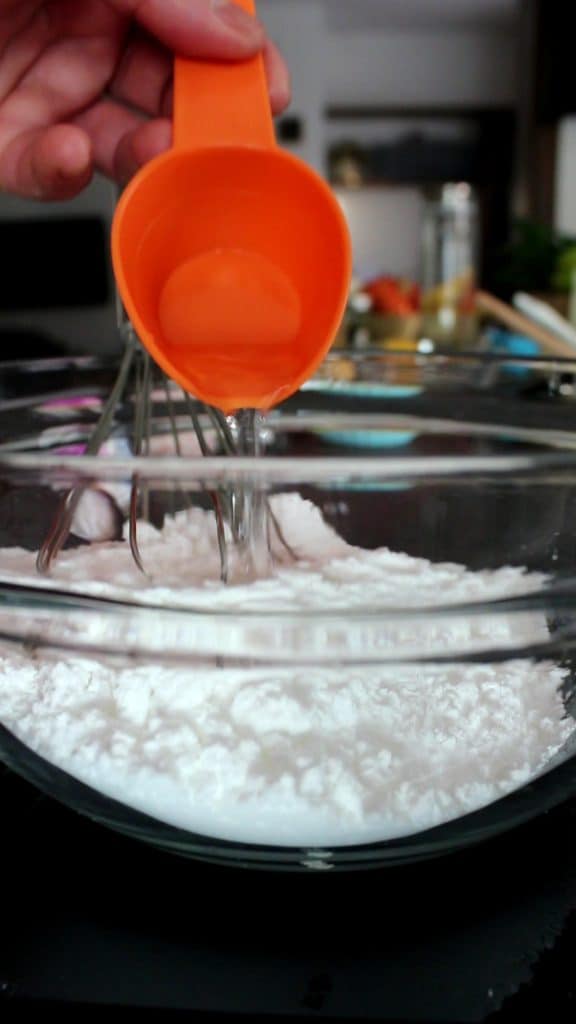
Sift the powdered sugar into the fourth bowl and pour the hot water little by little while mixing with the hand whisk until forming a spreadable icing.
Add 10 drops of orange food coloring to evoke the color of yellow pumpkins.
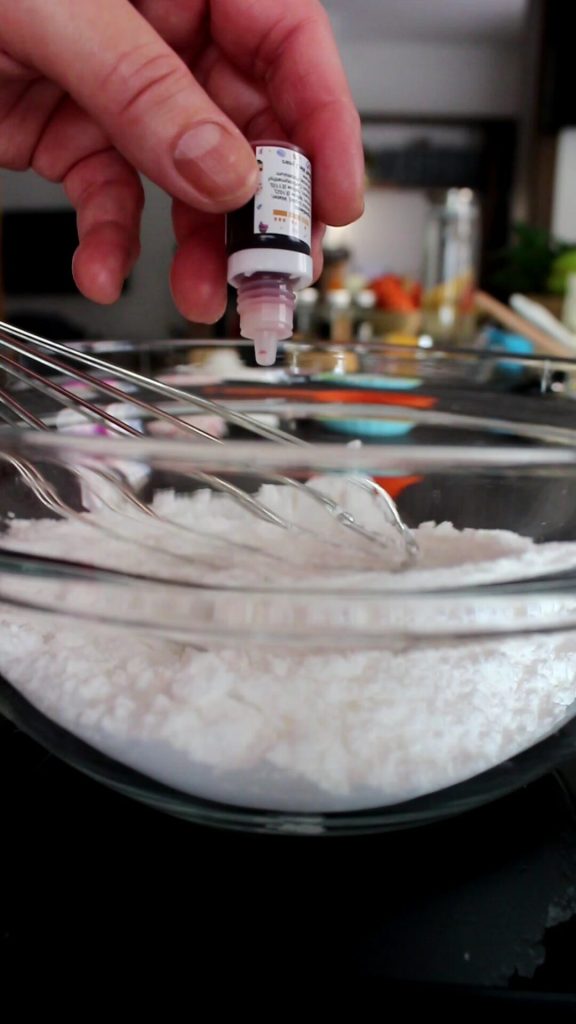
Continue to mix until the coloring is completely incorporated and thus a spreadable colored icing that is dense and very covering is obtained.

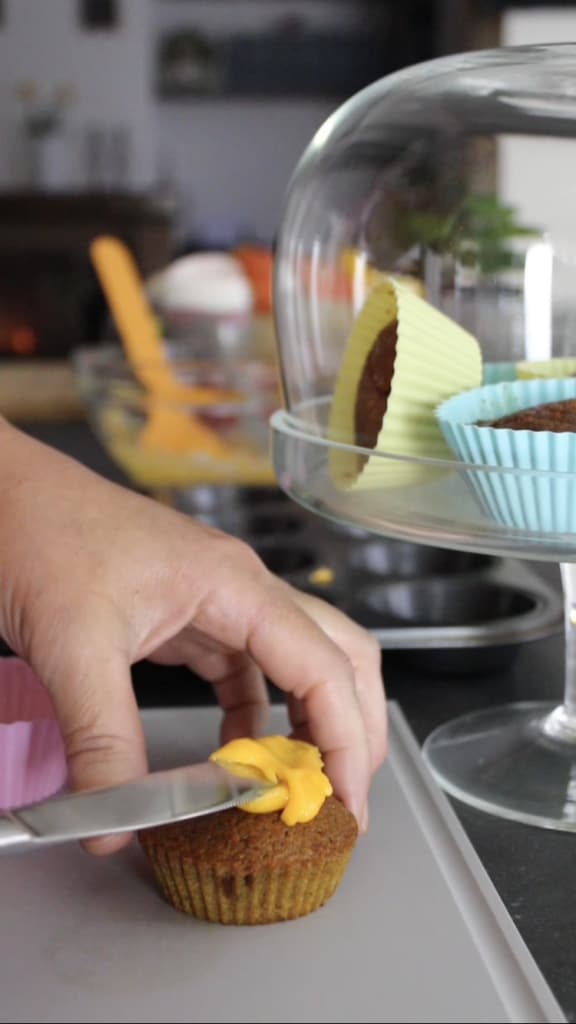
The cooled pumpkins are ready for the final garnish and decoration. Take the pumpkins and spread the orange water icing on top (about 25 g for each cupcake).
Additionally, you can draw fun pumpkin faces with black icing (made in the same way as orange icing) and leave alternative decorations to your imagination.
Storage and Tips
Pumpkin cupcakes can be stored for at least 2 days. To prolong the freshness of the Halloween pumpkins, spread the colored icing and decorate the cupcakes just before serving them.
While waiting for the pumpkins to cool completely, cover the water icing with plastic wrap and store it in the refrigerator. When you are ready to use it, wet it with a bit of hot water and mix until it regains the right consistency.
FAQ (Frequently Asked Questions)
What type of pumpkin should you choose to make cupcakes?
I recommend buying a small butternut squash with smooth skin (not wrinkled) of about 2.2 lbs and using the long top section because it is free from filaments and seeds that you would find in the lower rounder part of the pumpkin.
How to make orange colored water icing?
Preparing water icing can be really easy! Follow the instructions below:
To make water icing you will need powdered sugar, a little water, and a few drops of orange food coloring.
Sift the powdered sugar into the fourth bowl and pour the hot water little by little while mixing with the hand whisk until forming a spreadable icing.
Add 10 drops of orange food coloring to evoke the color of yellow pumpkins.
Continue to mix until the coloring is completely incorporated and thus a spreadable colored icing that is dense and very covering is obtained.
