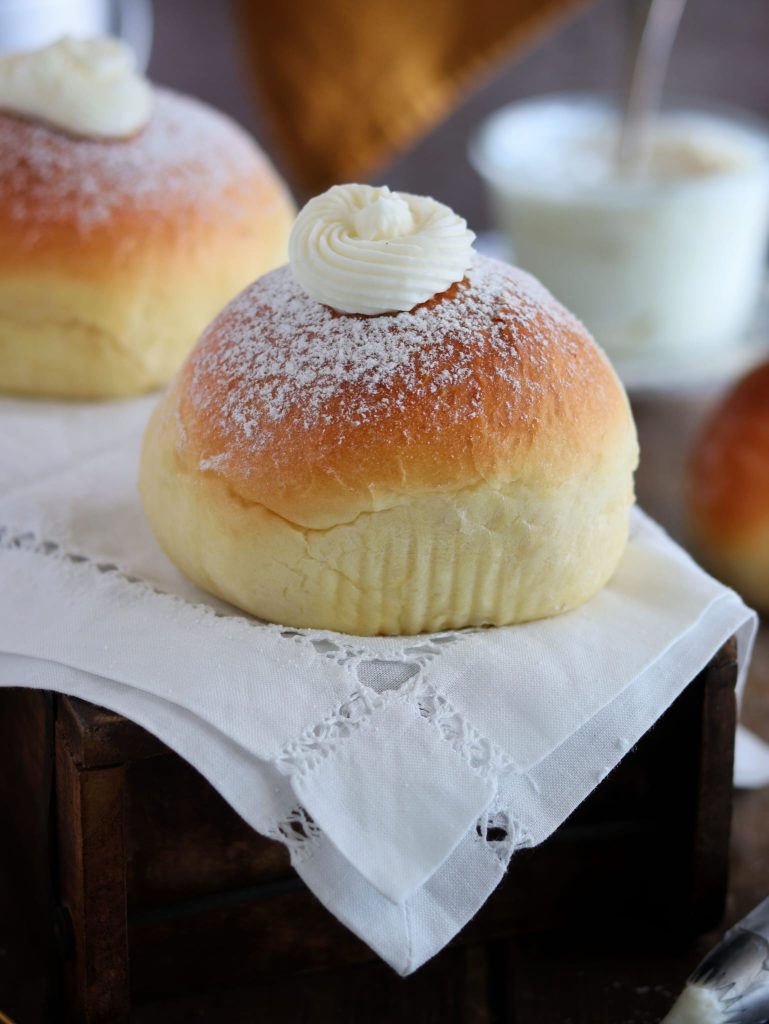
The brioche pandoro, now viral on social media, are soft brioches inspired by the Neapolitan pastry chef Rocco Cannavino, better known as Uncle Rocco.
These brioches are clouds of sweet leavened dough, flavored with citrus and filled with a delicious milk cream, perfect for breakfast but also enjoyable in the middle of the night with friends after a night out at a pizzeria or a club.
They are also well suited to different types of fillings like pastry cream, lemon curd, hazelnut or pistachio cream.
In short, everyone on the web has tried them, and as someone who loves to prepare leavened goods, I couldn’t resist trying them myself.
Now, take a minute to read the recipe and then… let’s cook and eat!!
See also
- Difficulty: Medium
- Cost: Cheap
- Rest time: 3 Hours
- Preparation time: 30 Minutes
- Portions: 6
- Cooking methods: Oven
- Cuisine: Italian
- Seasonality: All seasons
Ingredients
- 4 cups g Manitoba flour
- 2/3 cup ml milk
- 3 eggs
- 1/2 cup g sugar
- to taste lemon zest
- to taste orange zest
- 1/2 oz g fresh yeast
- 7 tbsps g butter (soft)
- 1 pinch salt
- to taste milk cream
Tools
- 1 Stand mixer
- 1 Bowl
- Plastic wrap
- 1 Kneading board
- 6 Aluminum molds in aluminum
- 1 Metal scraper
- 1 Pastry bag
Steps
The preparation of the brioche pandoro, like all leavened doughs, requires some time and a few tips for a good outcome. Let’s see step by step the various stages of the process.
First, break the eggs, beat them with a fork, and add the milk to create a homogeneous mixture.
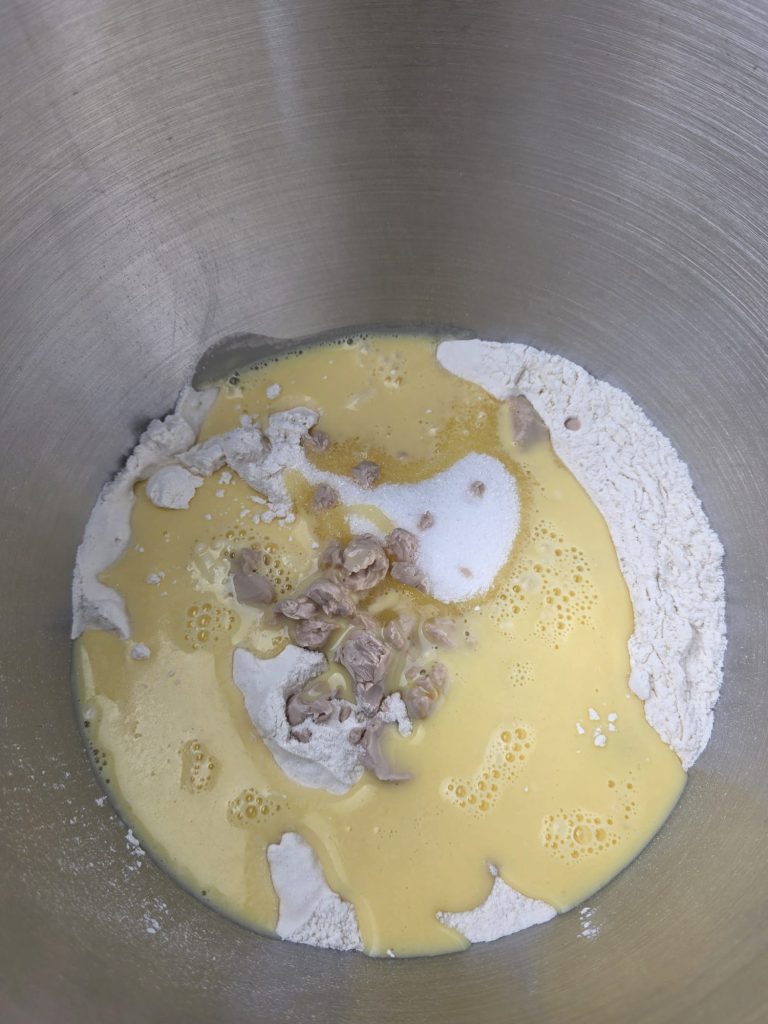
Gather in the bowl of the stand mixer the flour, sugar, crumbled yeast, and half of the milk and egg mixture. Start the stand mixer (with the spiral hook attached) and begin kneading while you slowly add the remaining eggs and milk.
When the dough has gained consistency, before adding the last part of the liquids, also add the salt and continue kneading at medium-low speed.
It’s important not to overheat the dough to avoid compromising the leavening and the final result of the brioche pandoro.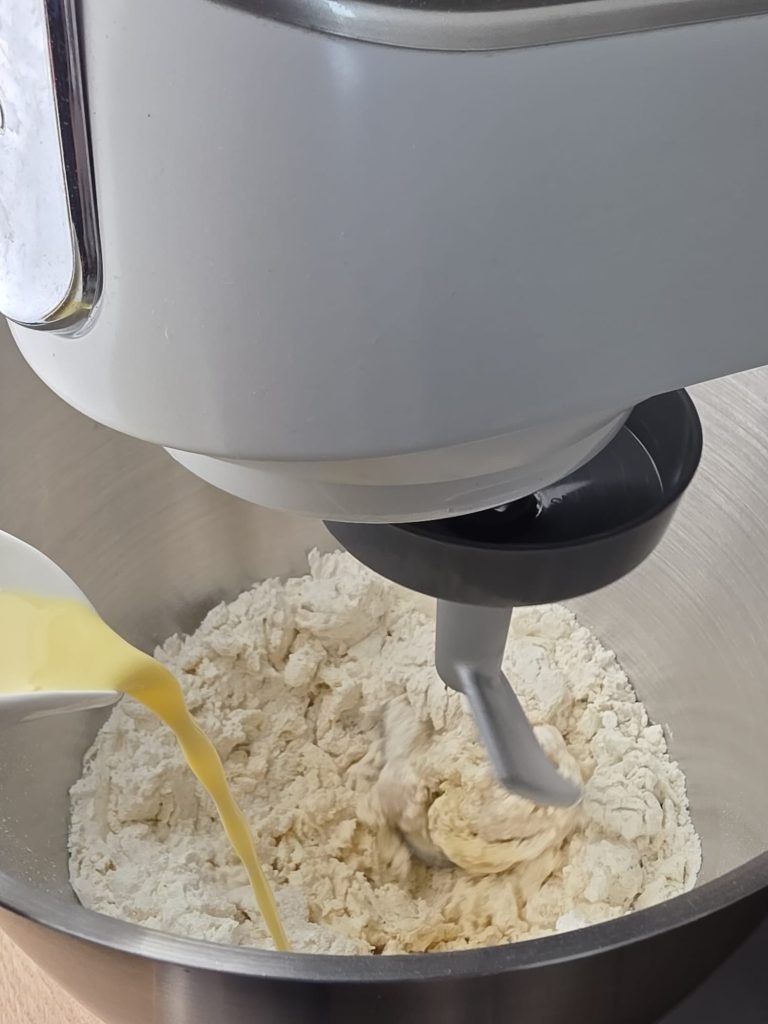
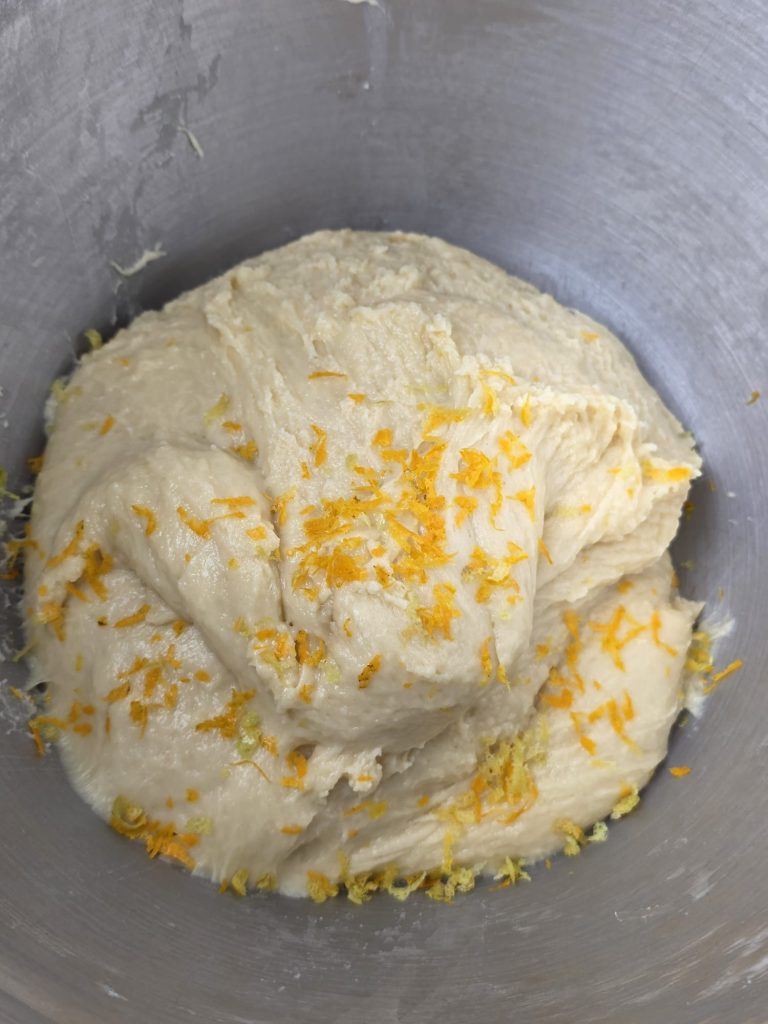
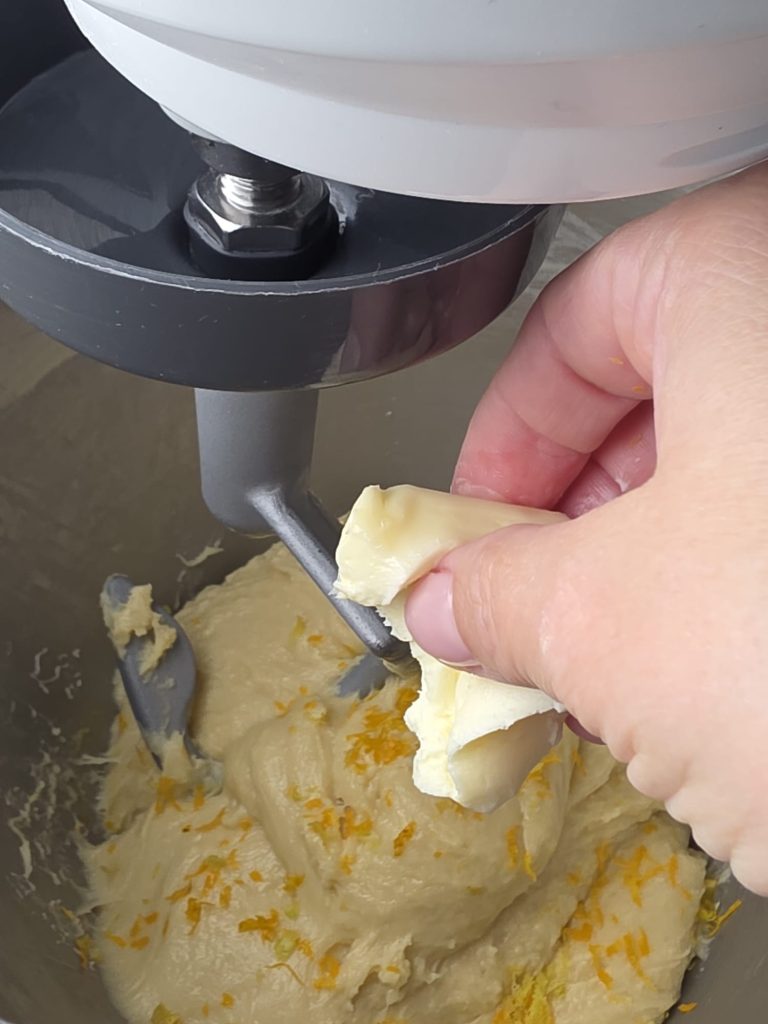
Once the dough is kneaded, add the grated orange and lemon zests, start the stand mixer again, and begin adding the butter a little at a time.
Do not add more butter if the previous one has not been perfectly incorporated into the dough.
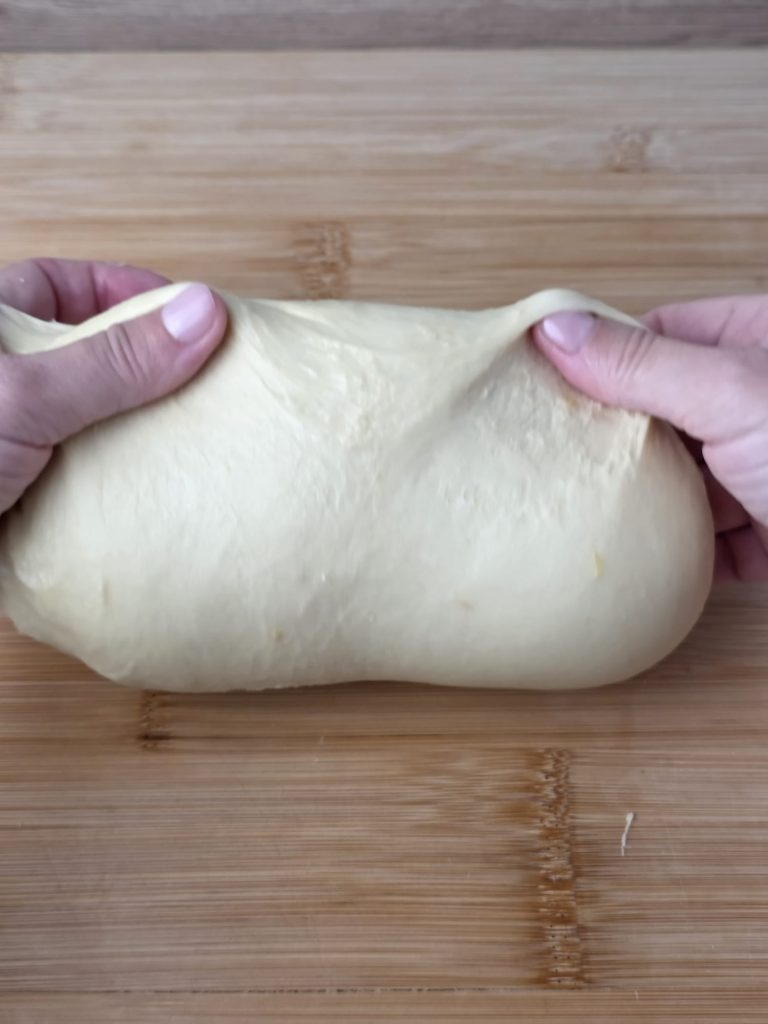
Knead the dough until it is smooth and elastic.
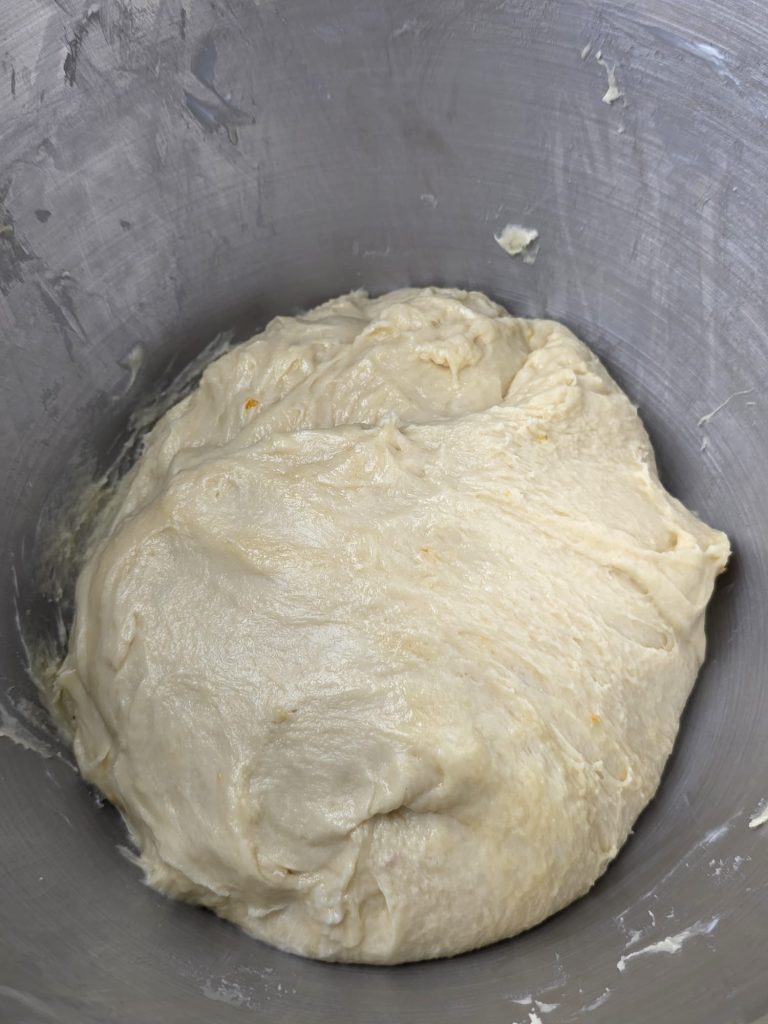
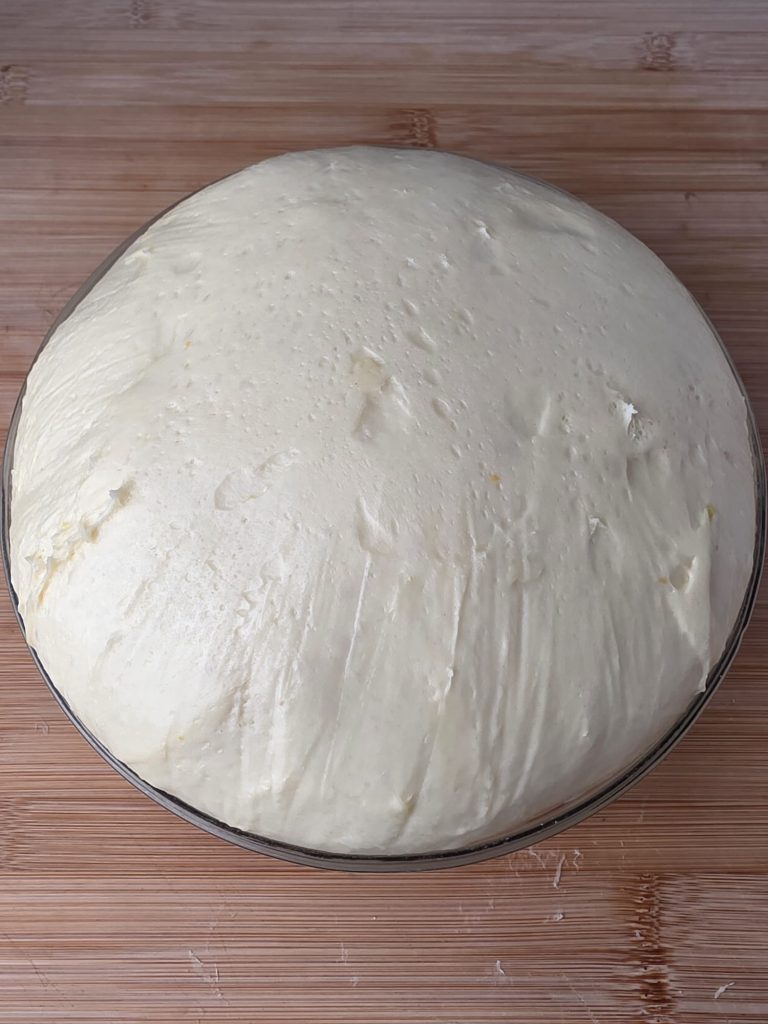
Then transfer it onto a kneading board, fold the dough, place it in a bowl covered with plastic wrap, and let it rise until doubled.
When the dough has doubled in volume, deflate it and transfer it onto a kneading board.
With a metal scraper, divide the dough into six equal portions.
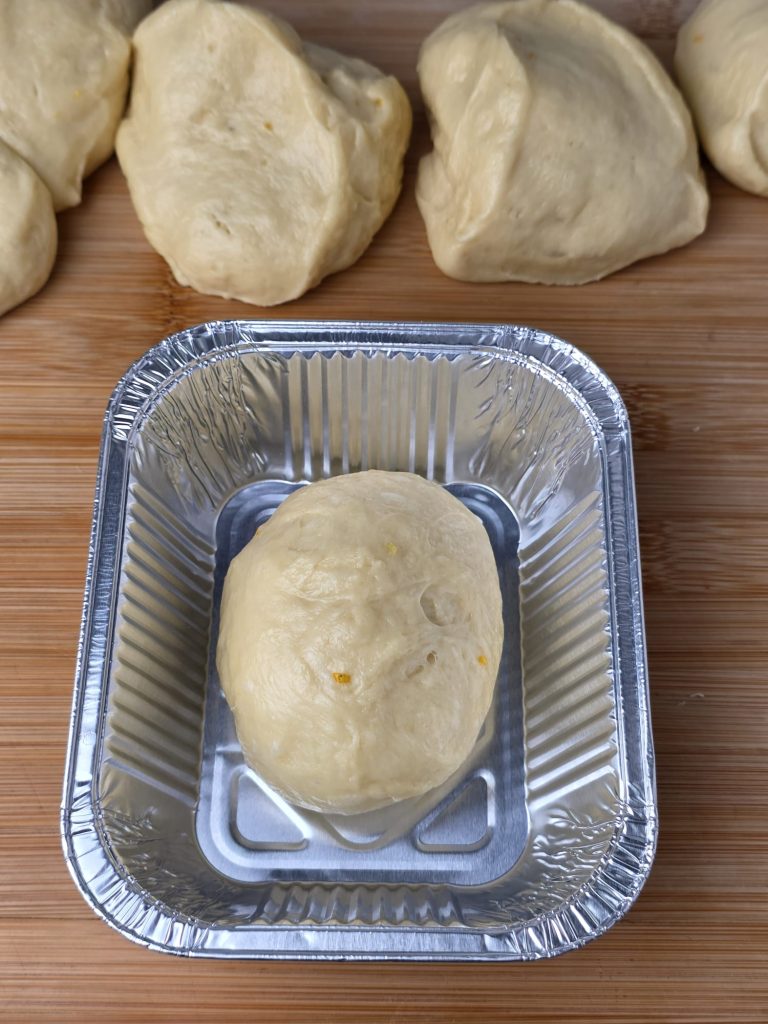
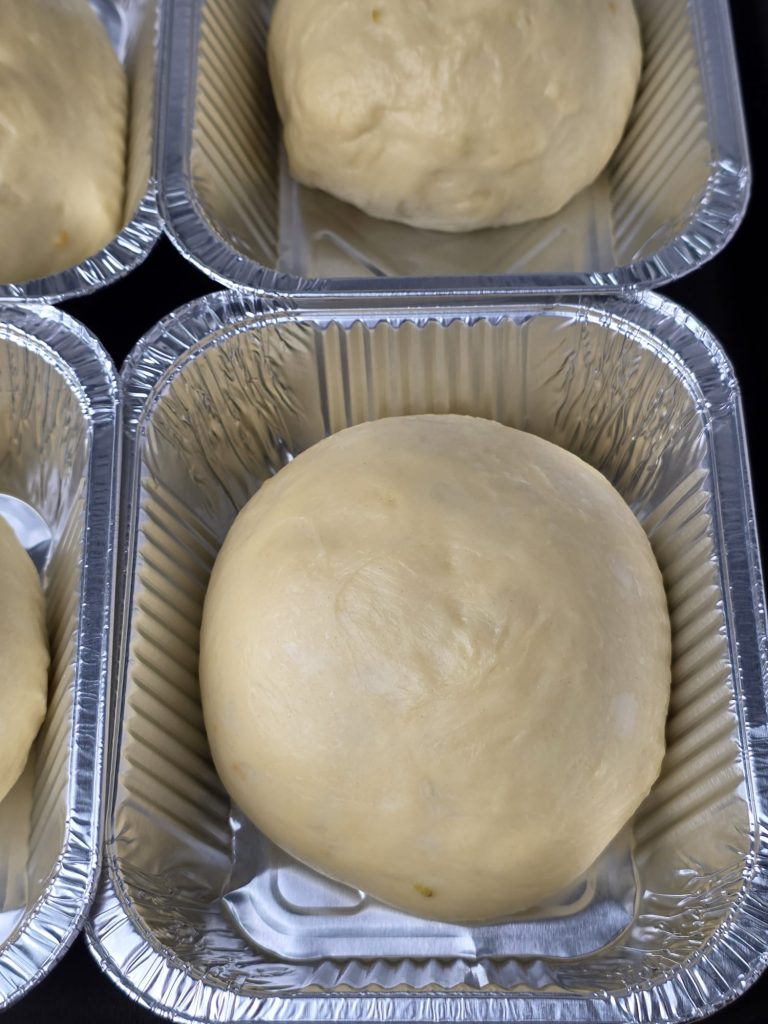
Roll each portion into a disc, then fold the edges inward, shape it into a sphere (rotate the dough on the board), and seal the edges.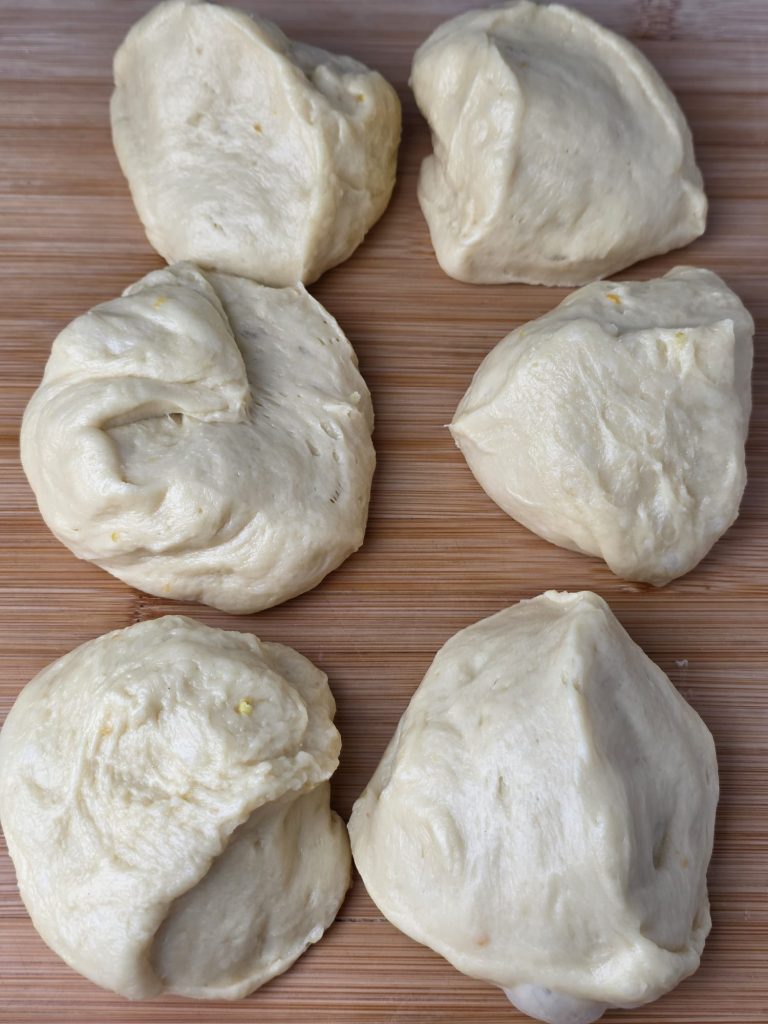
Place the dough balls into rectangular aluminum molds and let them rise again until doubled.
Bake the brioche pandoro in a preheated static oven at 340°F for 15 minutes.
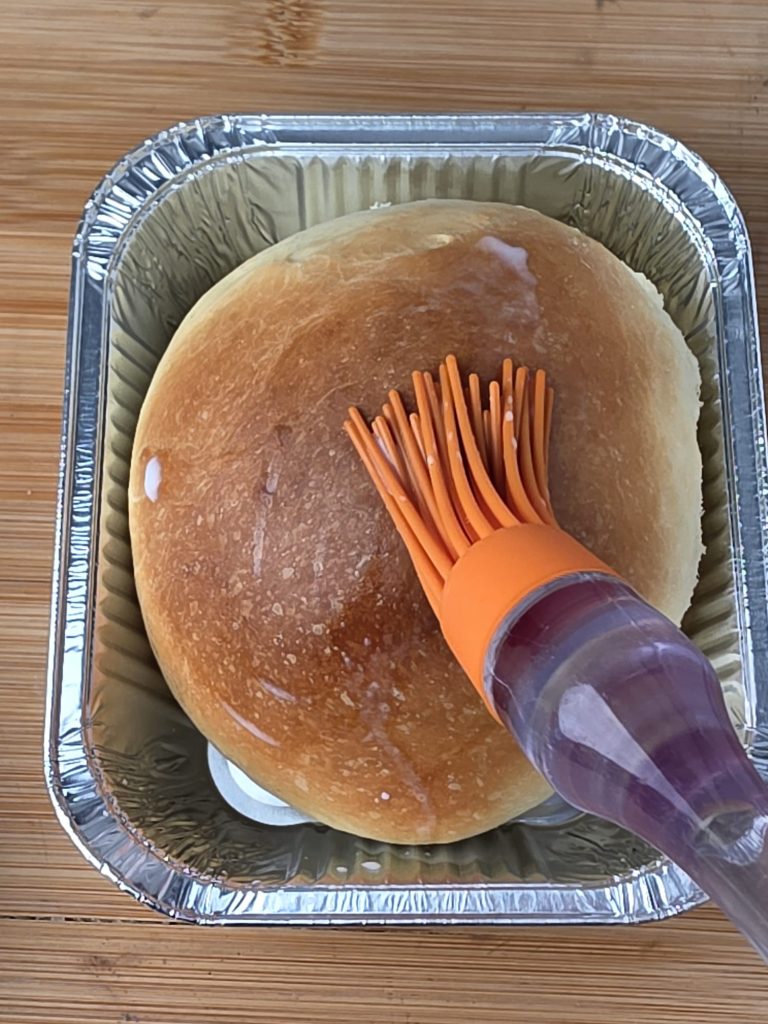
Once baked, brush the surface of the brioches with milk, repeating this operation 3 times, allowing the milk to be fully absorbed between each brushing. This step will give the brioches a shiny and soft crust.
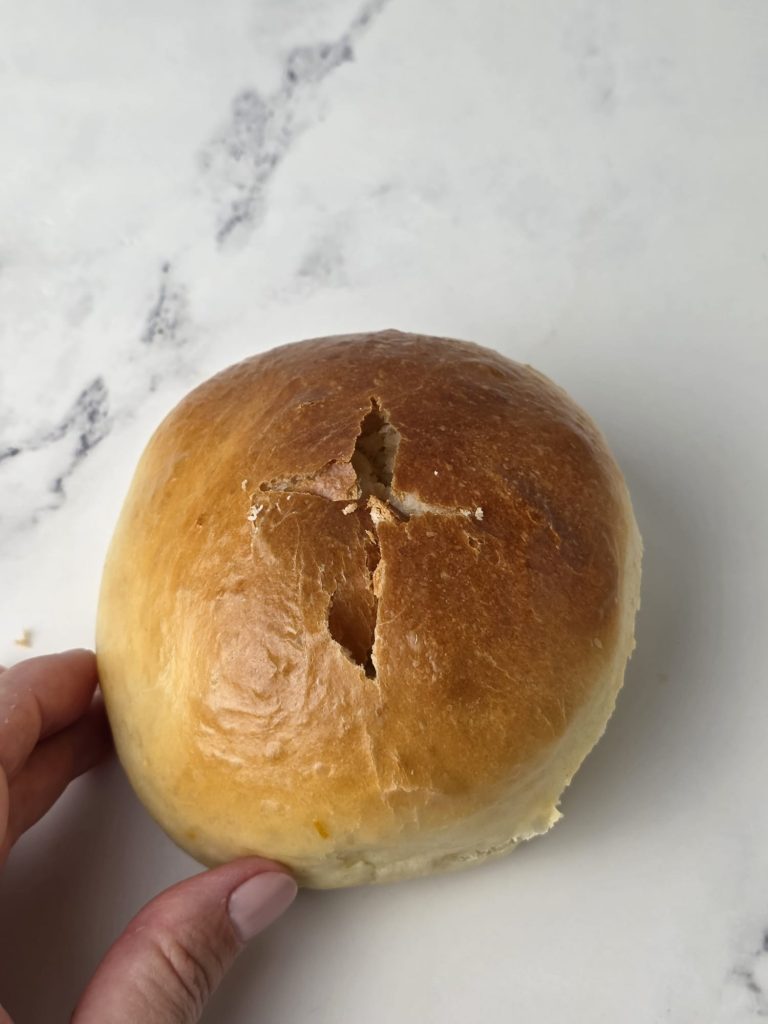
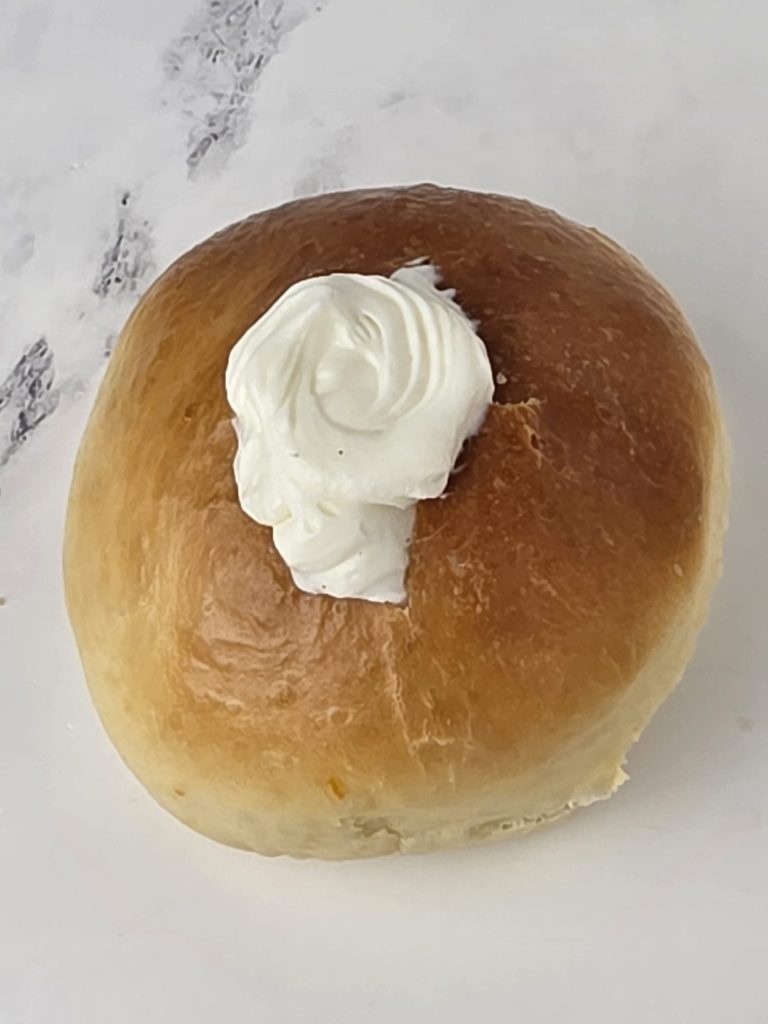
When they are completely cooled, you can fill them with milk cream, using a pastry bag, making a cross-cut on the surface of each brioche.
Finish with a dusting of powdered sugar and get ready to sink your teeth into a cloud😉.