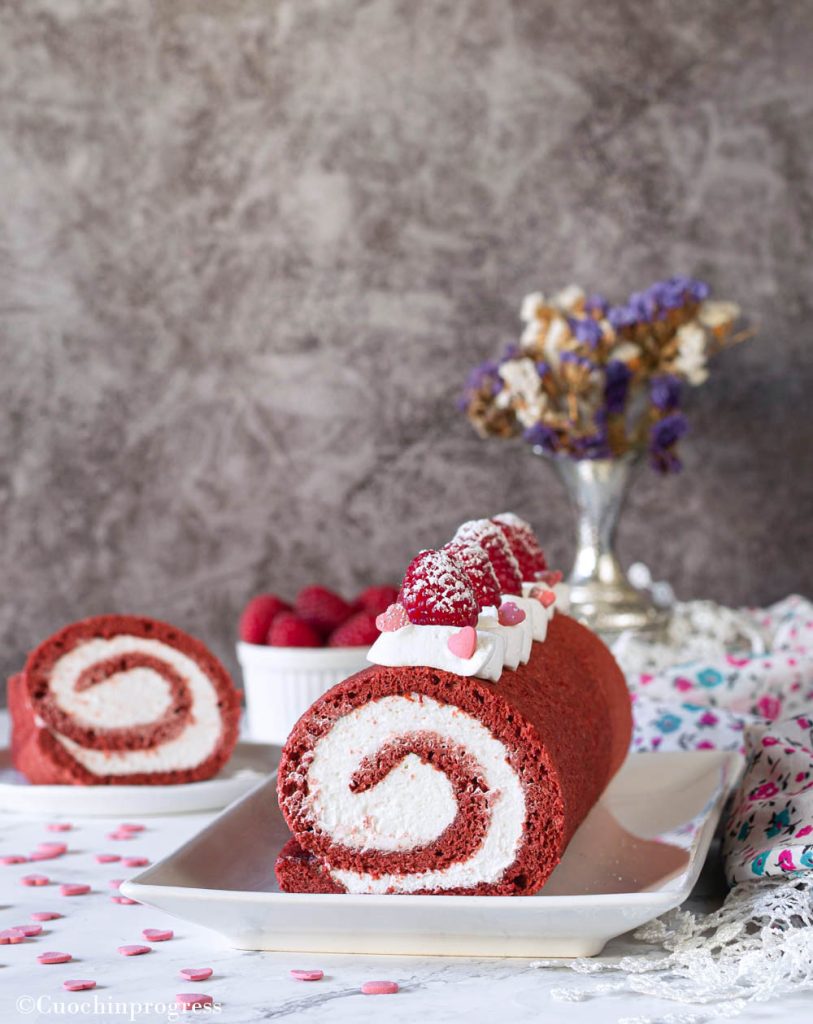
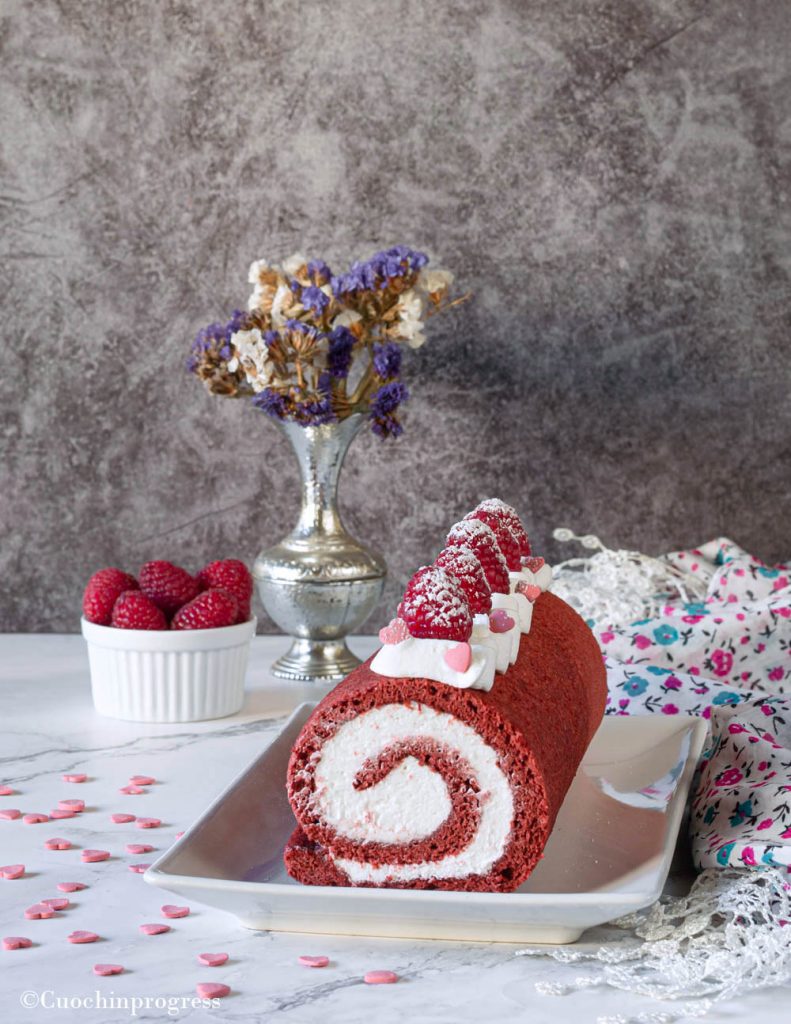
The RED VELVET ROLL is a delightful dessert—simple, elegant and tasty—that can be served as an after-dinner dessert or as a colorful and indulgent snack for adults and children alike. Like the famous cake, this roll stands out for the bright color of the sponge, soft and spongy, and for the white filling, in this case a really perfect mix of whipped cream and condensed milk.
Every bite reveals its extraordinary goodness and it has a truly perfect softness. The sweetness is slightly tempered by the raspberries that decorate it, which also give a light acidity and a delicate aroma that make it even more irresistible.
I almost forgot: this roll is beautiful and tasty, but it’s also easy to make. Don’t waste time and treat yourself and your friends to a happy moment.
YOU MIGHT ALSO LIKE:
- Difficulty: Very easy
- Cost: Very inexpensive
- Rest time: 2 Hours
- Preparation time: 15 Minutes
- Portions: 8 servings
- Cooking methods: Oven
- Cuisine: Italian
Ingredients
- 4 eggs (medium, at room temperature)
- 1/2 cup granulated sugar (about 100 g)
- 1 pinch salt
- 1 teaspoon red food coloring (gel or powder)
- 2/3 cup 00 flour (or all-purpose flour) (about 80 g)
- 3/4 teaspoon baking powder (about 3 g)
- 1 1/2 tablespoons unsweetened cocoa powder (about 7 g)
- 3/4 cup sweetened non-dairy whipping cream (about 200 ml)
- 3.5 oz sweetened condensed milk (about 100 g (≈ 1/3 cup))
- raspberries
- colored sprinkles
- powdered sugar
Tools
- 1 Baking pan
- 1 Spatula
- 2 Bowls
- Electric beaters
Steps
The preparation of the RED VELVET ROLL is very simple and quick.
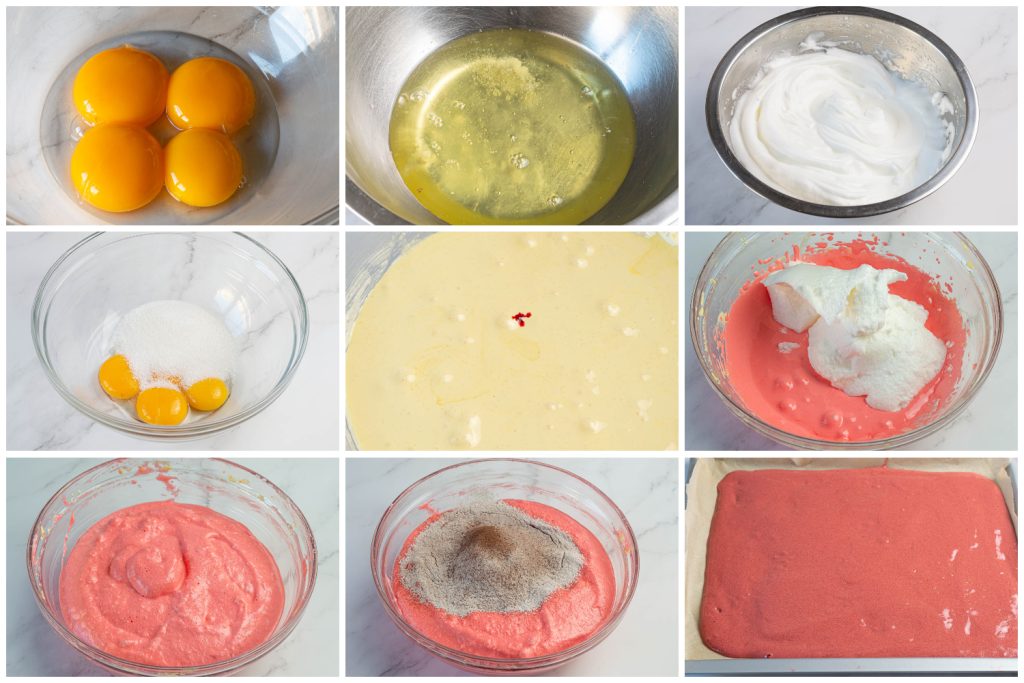
Separate the yolks from the whites and place them in two bowls. Make sure the eggs are at room temperature.
In the bowl with the whites add a pinch of salt and beat them until stiff peaks form. Then set aside.
Whisk the yolks with the sugar until they are light and frothy. Add the food coloring and mix it in well. At this stage you can choose the shade by adding more or less coloring.
Fold the egg whites in gradually and, using a spatula, gently incorporate them with slow upward movements so as not to deflate the mixture.
Add the sifted dry ingredients and fold them in well with a spatula.
Lightly moisten a 12.6 x 14.6 in (32 x 37 cm) baking pan, line it with parchment paper and press it so it adheres.
Pour the batter onto the pan and use a spatula to spread it evenly over the entire surface.
Bake in a preheated static oven at 356°F and cook for 10 minutes.
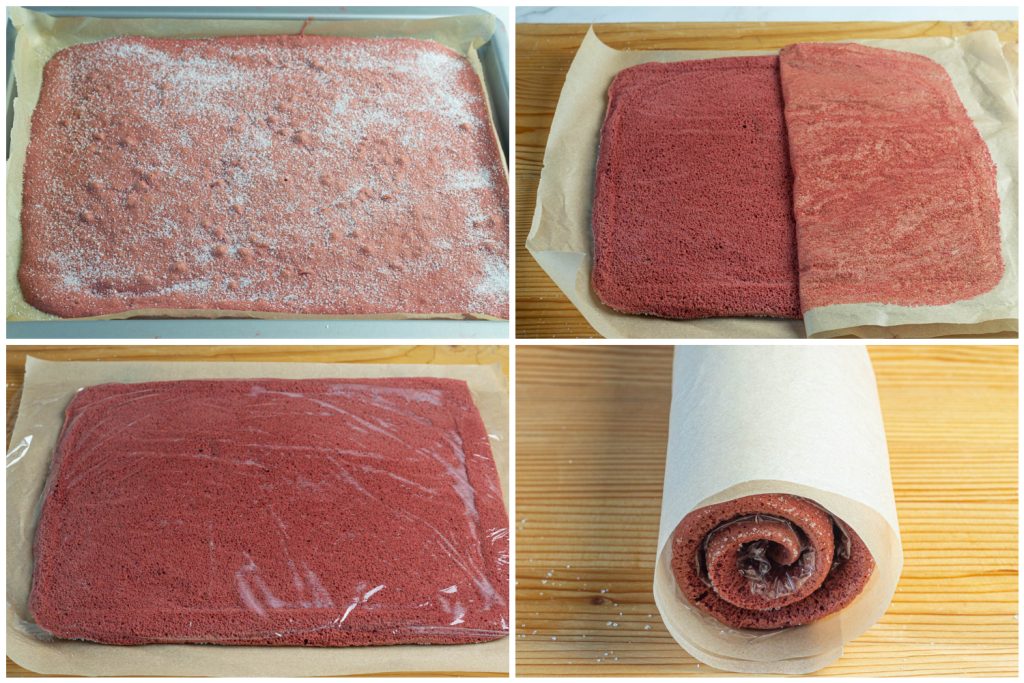
Once the sponge is ready, remove it from the oven, dust the surface with sugar, cover with another sheet of parchment paper, then very gently invert the pan.
Remove the parchment, place a sheet of plastic wrap on the sponge and roll it up starting from the shorter side. Let it cool.
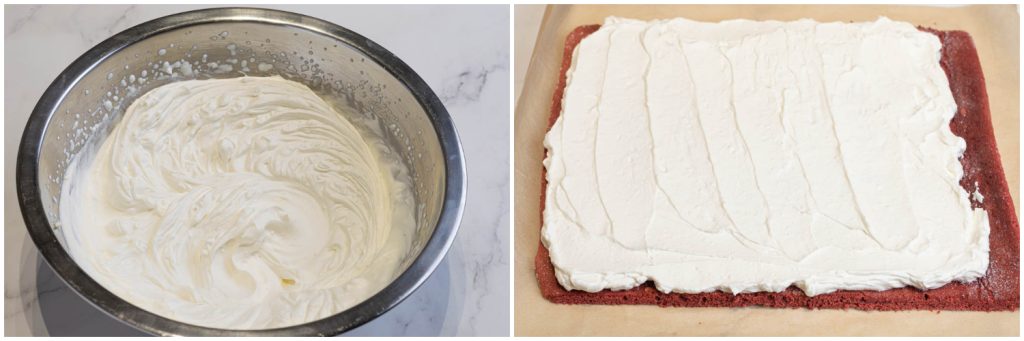
In a bowl place the cream—make sure it is very cold—and whip it with the beaters. When it begins to thicken add the condensed milk in a thin stream and continue whipping until you reach a firm consistency, but be careful not to turn it into butter.
Spread the cream over the sponge, leaving about 1 1/8 in (3 cm) free on the shorter sides.
Very gently roll starting from the short side, wrap the roll in plastic wrap and let it rest in the fridge for at least 2 hours.
After the resting time, unroll the roll, place it on a serving plate and decorate it with the remaining cream, raspberries, some colored sprinkles and a light dusting of powdered sugar.
STORAGE
You can store the RED VELVET ROLL well covered in the refrigerator for up to 3 days.
You can store the RED VELVET ROLL well covered in the refrigerator for up to 3 days.