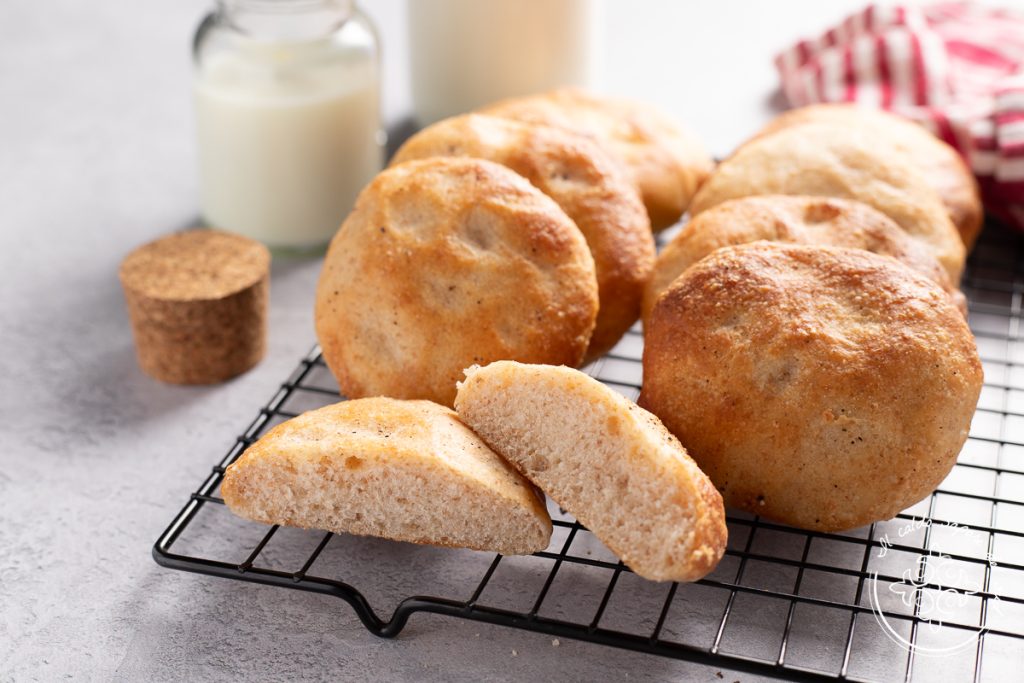
Soft whole-wheat focaccine made with milk and type 2 flour. Have you ever thought about making very soft whole-wheat focaccine for your children’s snack? Follow me in the kitchen and I’ll tell you how I make them using type 2 flour! Less well-known than true wholemeal flour, type 2 flour is known as semi-wholemeal flour, but it is similar in appearance and nutritional characteristics to wholemeal. Stone-ground, milled slowly at low speed, this flour is slightly coarse but retains high nutritional quality and genuineness and is perfect for achieving soft baked goods that are also wholesome. Stone-ground semi-wholemeal flour is easy to find at the supermarket, it is healthy and allows many preparations. My children’s favorite is the very soft whole-wheat olive oil focaccine, and I make them gladly because they are healthy and delicious. You can eat the focaccine plain, or fill them with cheeses, cold cuts, or vegetables and they are always delicious. Let’s go to the kitchen — I’ll tell you how to make the whole-wheat focaccine and you’ll see how good they are. But first, remember that if you want to stay updated on all my recipes, you can follow my Facebook page (here) and my Instagram profile (here).!
Also see:

- Difficulty: Very easy
- Cost: Very economical
- Rest time: 3 Hours
- Preparation time: 30 Minutes
- Portions: 18
- Cooking methods: Oven
- Cuisine: Italian
- Seasonality: All seasons
Ingredients to make soft whole-wheat focaccine
- 4 cups (about 17.6 oz / 500 g) type 2 flour
- 1 1/4 cups (about 10 fl oz / 300 ml) milk (lukewarm)
- 4 1/2 tablespoons (about 2.3 fl oz / 65 g) extra virgin olive oil
- 2 1/2 tablespoons (about 1.06 oz / 30 g) sugar
- 2 teaspoons (about 0.42 oz / 12 g) salt
- 1 teaspoon (about 3.5 g) active dry yeast (or 12 g fresh yeast)
- as needed extra virgin olive oil (for the emulsion)
- as needed water (for the emulsion)
Tools
- Bowl
- Baking sheet
- Oven
Steps
To make very soft whole-wheat focaccine with milk and oil you can knead by hand as I did, but using a stand mixer will make everything easier; do not use a Thermomix as this dough does not work well with it.
Pour the flour into a bowl, add a little lukewarm milk and dissolve the yeast, add the sugar and mix.
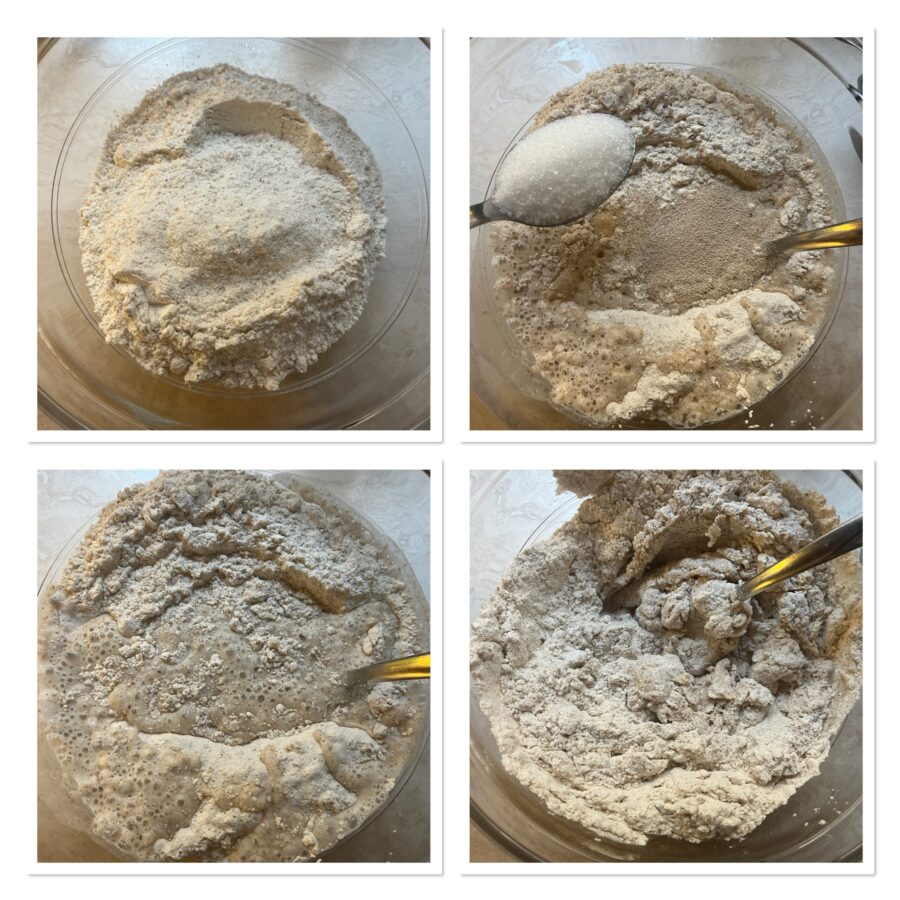
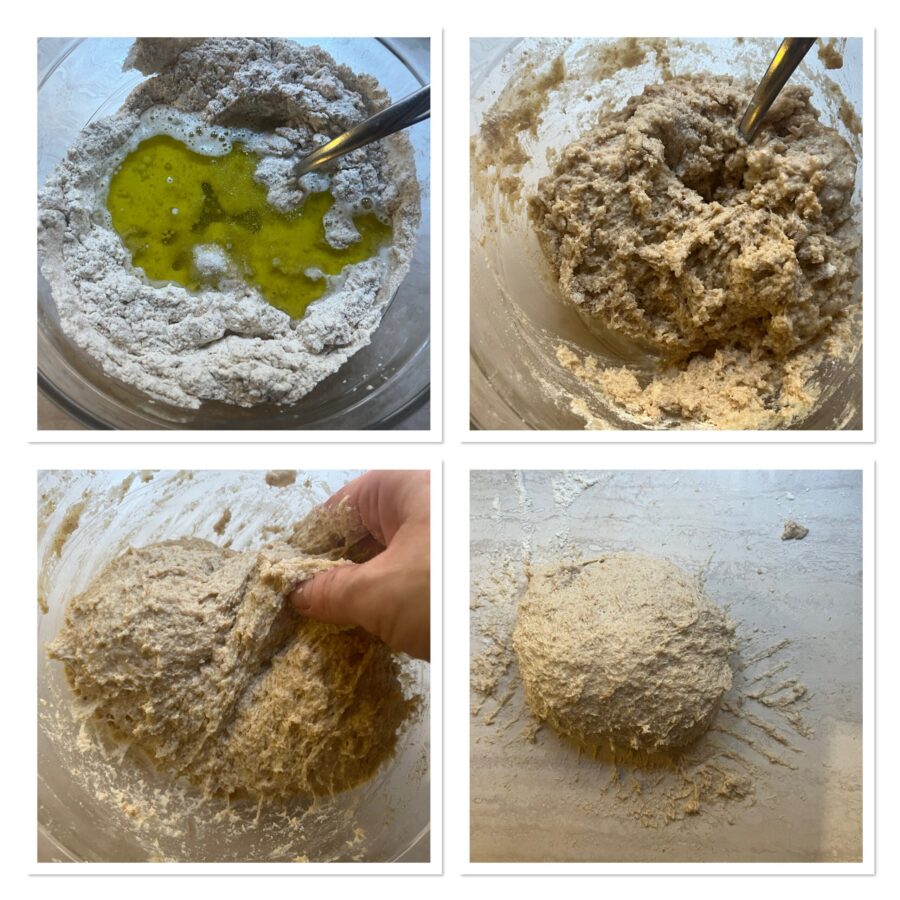
Add the oil and finally the rest of the milk with the salt. Mix everything with a spoon, knead in the bowl for a few minutes using your hands if you prefer, cover with a kitchen towel and let rest for 20 minutes.
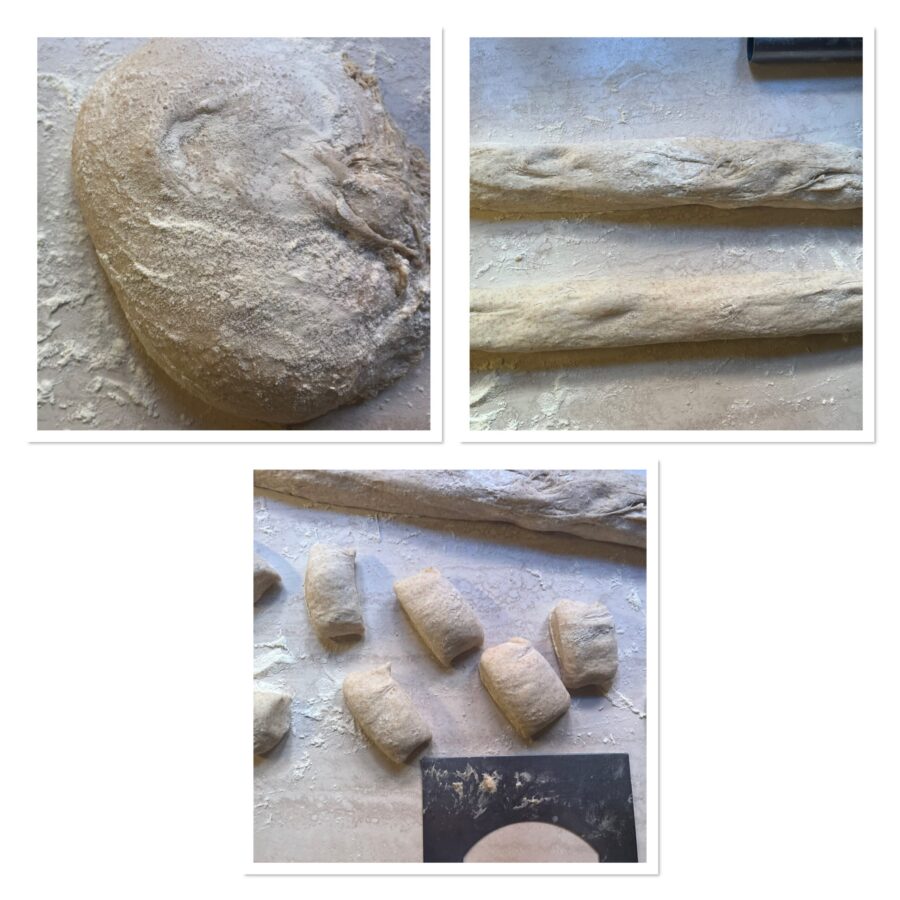
After this time, turn the dough out onto a floured work surface and work it until it gains consistency and is no longer sticky. Do not use too much flour, just a dusting, otherwise the rolls will be tough; be patient and it will work out.
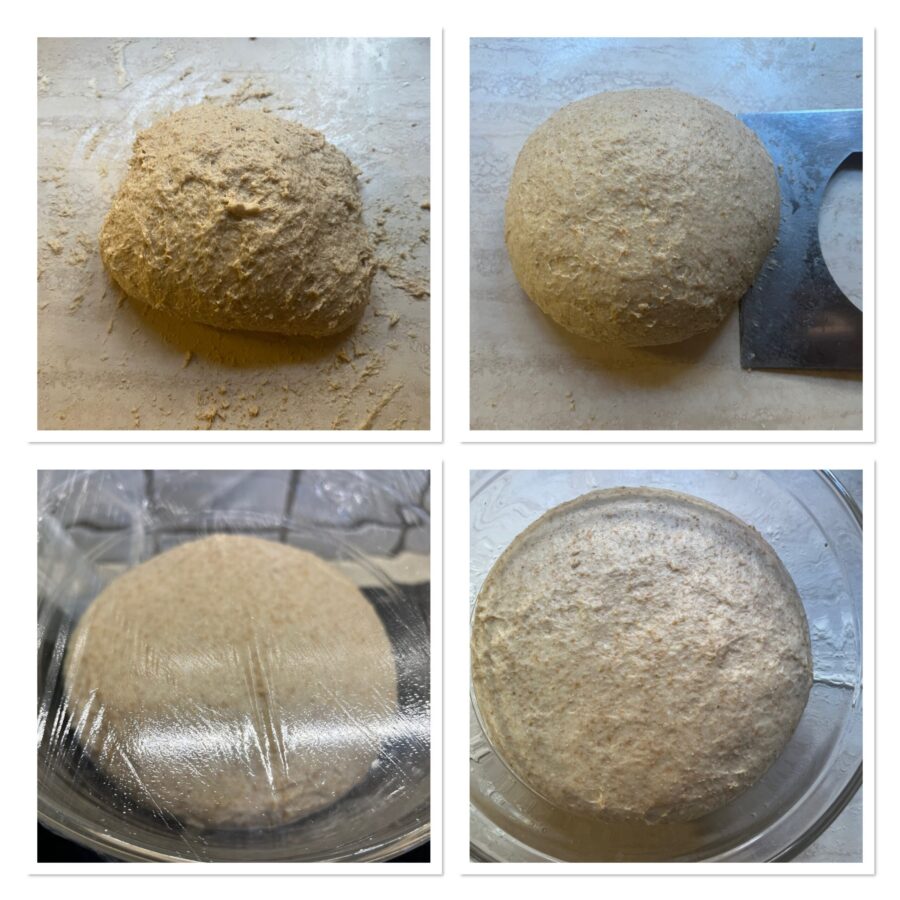
Shape the dough into a ball and place it in a bowl, cover with plastic wrap and keep it warm to proof until doubled; the time is indicative, but 2 hours and 30 minutes may be enough. If it’s not ready, wait for proper fermentation.
Turn the risen dough onto the work surface and, without deflating it too much, stretch it out and divide it in two with a bench scraper.
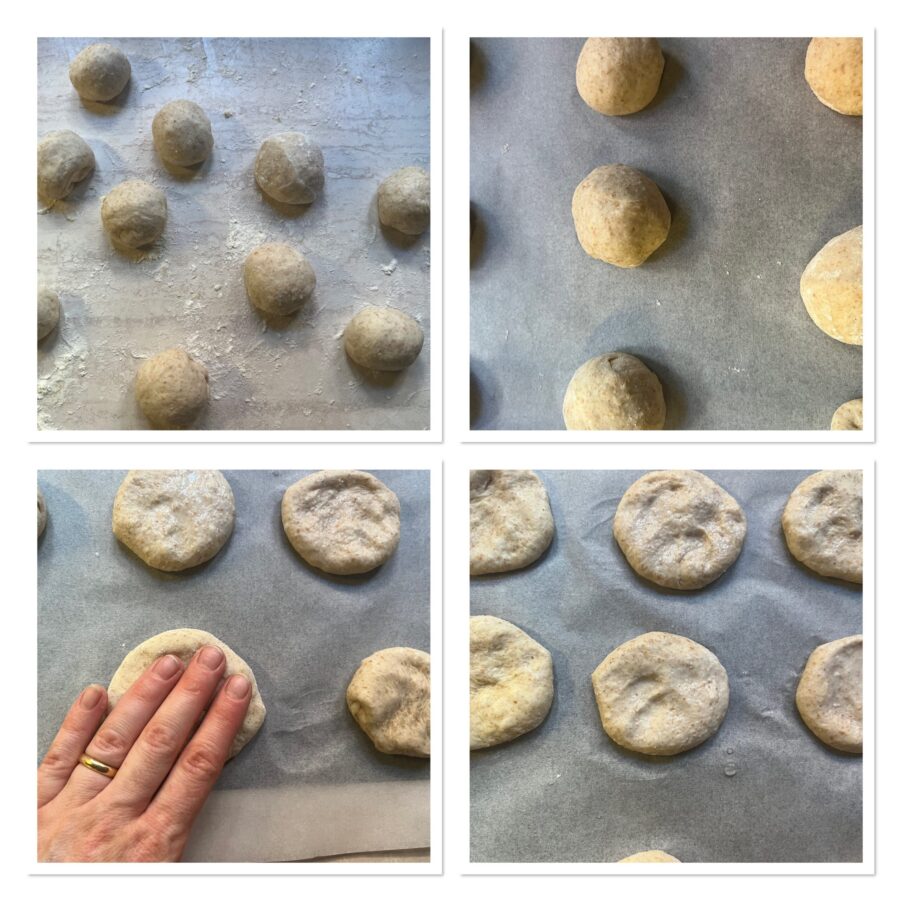
Cut into many pieces — using the bench scraper — forming pieces of about 50 g (about 1.8 oz) and shape into small balls.
Let them rest 10 minutes and then flatten them to form discs that are thicker at the edges and arrange them on a baking sheet lined with parchment paper. Cover with plastic wrap and let them proof again for 30 minutes in a warm place, for example in the oven with the light on.
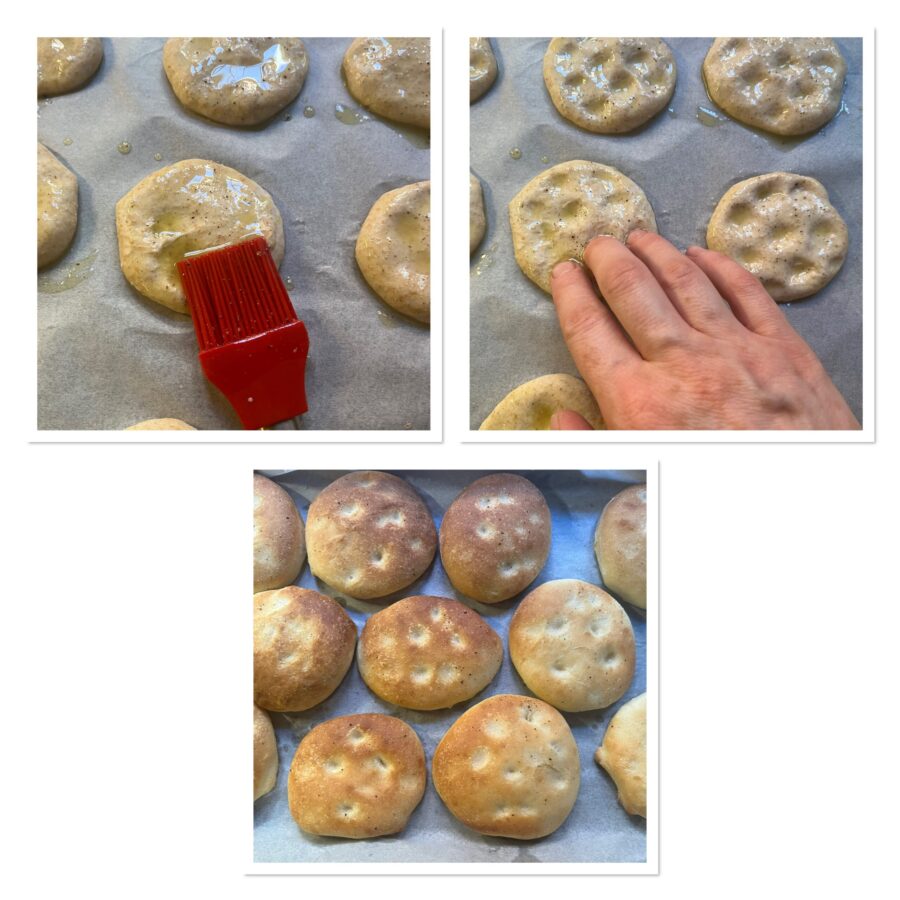
Prepare an emulsion by whisking together with a fork water and oil, then add a generous sprinkle of black pepper.
Take the focaccine, which should be nicely risen and puffy, brush them with the emulsion and use your fingertips to press them down, forming dimples.
Bake in a hot oven at 392°F (200°C) for about 15 minutes or until they reach the desired golden color.
The milk whole-wheat focaccine are ready — they’re delicious warm or at room temperature, can be filled and are also excellent eaten plain. They keep for 2 days like any other bread if stored in a plastic bag. If you wish, you can freeze them in freezer bags and thaw them as needed to enjoy with sweet spreads, cheeses, or cold cuts.