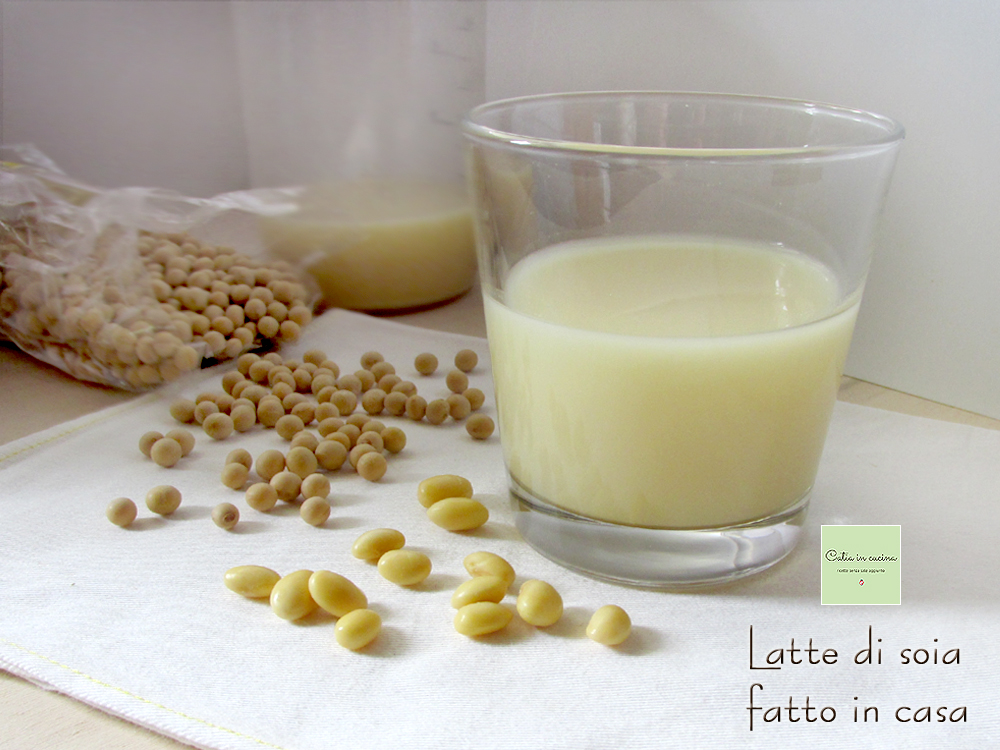
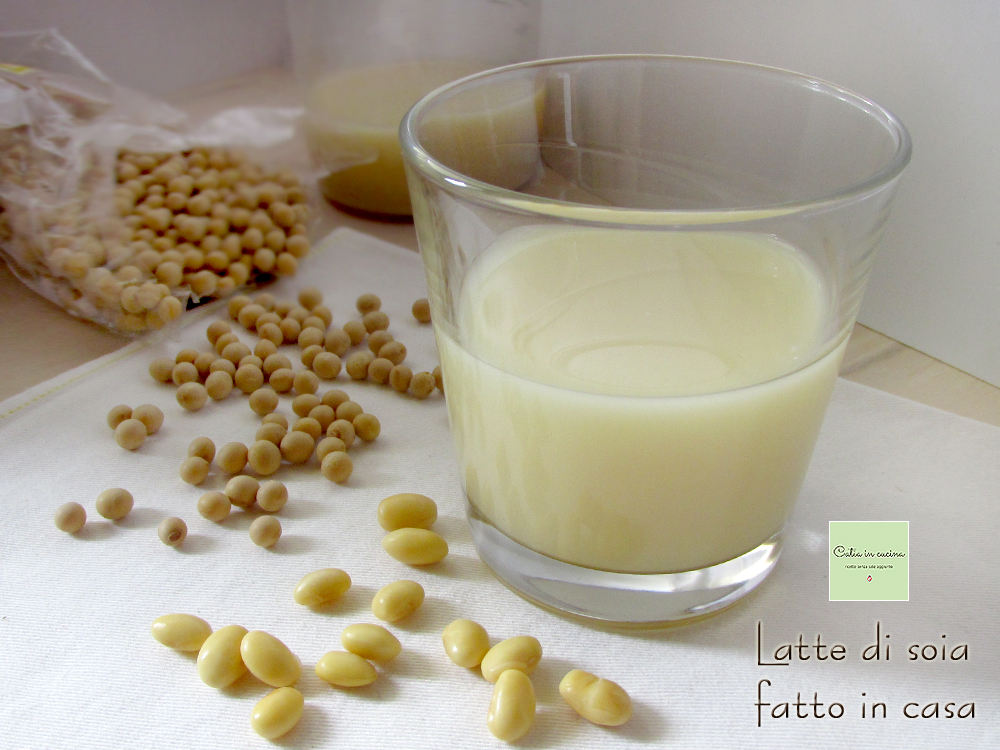
Here I am, my homemade soy milk is ready! 😃
It gave me a hard time, I must say, but I didn’t give up! No way!
Before writing this post I did a thousand experiments and, above all, I tested my soy milk in several recipes. I must be honest: my homemade soy milk didn’t work perfectly on the first try.
After several batches with unsatisfactory results that made me think homemade soy milk wasn’t for me, I finally made a breakthrough discovery: the soy milk I had produced up to that point always had too strong a bean smell and taste for my liking, and even sweetening it I didn’t enjoy it. It was still great used as an ingredient in various recipes, but I didn’t like it as a beverage.
I struggled to understand why homemade was so different — and worse — than store-bought. I’ve been buying packaged soy milk for years and I’ve always liked both the sweetened version and the unsweetened soy-rice mix I already told you about (used, for example, in the vegan coffee cream and in the vegan mayonnaise).
Like other packaged plant-based drinks, packaged soy milk contains, besides sugar, also oil, salt and flavorings, which I never intentionally added, just as I didn’t add them to the homemade oat milk. And no, the issue wasn’t the lack of oil or salt.
At some point during my experiments I got lucky. By chance I read the now-classic blog by Bressanini and came across an article that was just waiting for me to read it, 😄 this article contains very useful information that solved all my problems. I tried it immediately and it really works.
Suddenly my opinion of the quality of homemade soy milk changed dramatically, in just one batch.
Read the recipe and try it yourself!
〰 〰 〰
Besides the vegan coffee cream and the mayonnaise mentioned above, here are 3 more recipes where you can use homemade soy milk:
- Difficulty: Medium
- Cost: Economical
- Rest time: 1 Day
- Portions: 1 liter (about 4 1/4 cups)
- Cooking methods: Stovetop
- Cuisine: Italian
- Seasonality: All seasons
Ingredients
- 1/2 cup dry soybeans (after soaking they will become about 8.5–8.8 oz (about 1 1/3 cups))
- 4 1/4 cups water
- 1 tbsp brown sugar
Tools
- Pot
- Bowl
- Immersion blender
- Fine-mesh sieve
Steps
Soak the soybeans for 24 hours, changing the water (I changed it twice).
👉 Soaking, and discarding the soaking water, are necessary to remove phytic acid and other antinutrients present in soybeans.
And here’s what I learned from Bressanini: do not leave the bowl (containing the soybeans soaking in water) at room temperature, but put it in the fridge. The reason is — and I quote his words: “soaking in the refrigerator reduces the formation of unwanted odors and flavors.”
So… yes, you can leave them at room temperature if you want, but after my experience I honestly don’t do it anymore. When you take the bowl out of the fridge the soybeans don’t emit any smell, whereas before, when I left them in the kitchen at room temperature, the smell of soaked soybeans was noticeable.
If you read Bressanini’s article you’ll notice I used slightly different methods and times. After various experiments I settled on my own procedure, and I’m sure each of you can adapt your experiences to my instructions or to the many articles available online, while keeping some basic information in mind.That said, proceed as follows:
After 24 hours (but you can extend it by a few hours) and two water changes, remove the bowl from the fridge, drain the beans and rinse them under running water.Pour them into a pot and add 1 liter (about 4 1/4 cups) of water.
👉 Use a large pot because foam will form during boiling.
Blend everything using an immersion blender.
I removed the first foam already at this stage, right after blending. To remove it use a skimmer or a slotted spoon.
Bring to a boil and let simmer over low heat with the lid half on for 15–20 minutes.
☝ Watch the foam; occasionally lift the lid and remove it. If the foam tends to spill over even with low heat, the pot is probably too small.
After 15–20 minutes, turn off the heat and let cool slightly, then strain using a cloth or a fine-mesh sieve (see “how to strain” in the notes below).
After straining, sweeten to taste; I used a heaping tablespoon of brown sugar.
The soy milk obtained can be stored in the fridge for 3–4 days, sealed in a container or a bottle, but if you use it in your recipes (where it can replace cow’s milk) you’ll probably finish it quickly! 😉
As a drink on its own, I think it’s best cold from the fridge.
And how do you like it best?
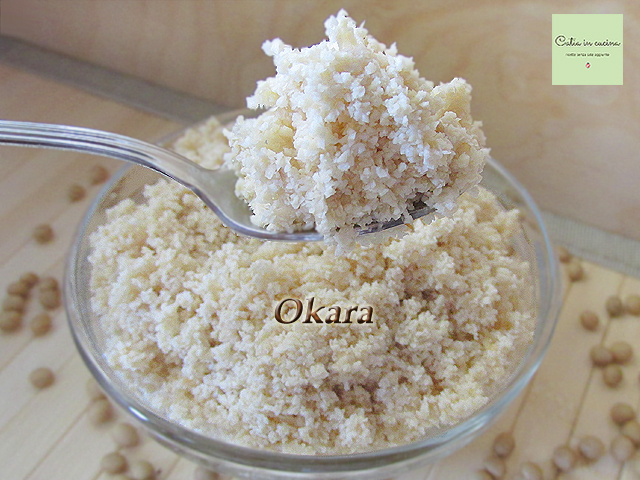
How to strain: I tried straining the milk both with a simple fine-mesh sieve (as I do for oat milk) and with a cloth. There isn’t a huge difference in the success of the milk, except for more sediment when using the sieve and almost no sediment when using the cloth. I noticed that using the sieve some amount of milk is retained by the blended soy (the okara), and even pressing the mixture with a spoon you can’t extract all the liquid as you can by squeezing the okara with the cloth (you get about another 1/2 cup of milk). In the end I decided that the cloth method is best for me, because the okara left in the cloth is drier and lends itself well to reuse.
Sterilizing the cloth: you can use a common kitchen towel; the important thing is that it contains no traces of detergent or fabric softener. I’m terrified of detergent traces and smells transferring to the milk, so I always boil the cloth before using it. Actually I keep a couple of towels specifically for this purpose (for example the cloth is also useful when making homemade spreadable cheese, I also explain how to handle the cloths there) and I avoid washing them in the washing machine with other laundry.Using the okara: Please, don’t throw away the okara! If you can’t use it right away you can store it for a few days in the fridge (in a sealed container). It can be added to bread and focaccia dough or used to make tasty patties (we will talk about that) (HERE you can find the croquettes 😉).
Now it’s your turn! Try it!
I look forward to photos of your soy milk and, above all, your opinions!UPDATE: I’m updating this recipe today, March 1, 2026; it was originally published on May 16, 2016. I didn’t change the procedure, only shortened the introduction to make it smoother to read. I hope you like the update. 😊
Follow me!
On my WhatsApp channel and on Instagram, on my Facebook page, on my Pinterest boards, in my two groups: Il gruppo di Catia, in cucina e oltre and Proprio quello che stavo cercando! — and if you’d like… subscribe to my Newsletter
On my WhatsApp channel and on Instagram, on my Facebook page, on my Pinterest boards, in my two groups: Il gruppo di Catia, in cucina e oltre and Proprio quello che stavo cercando! — and if you’d like… subscribe to my Newsletter
