Welcome to the kitchen of Dadcook!
If you think preparing legumes is only a matter of time and patience, today I will show you how to turn a simple ingredient into the perfect base for a thousand dishes.
Cooking dried chickpeas at home is not only a budget-friendly choice, but a true act of love for authentic flavor and perfect texture.
This preparation follows the same philosophy of balance and lightness you find in my 2-INGREDIENT FUDGE WITH BANANA AND CHOCOLATE, where a few carefully chosen elements create a surprising result.
It’s that search for genuine simplicity that also characterizes my SOFT MANDARIN CAKE, where the natural aroma is the real protagonist.
But my cooking is also about discoveries and textures that can excite.
If you’re a fan of clever dishes that solve dinner, just like my Baked Pasta with Artichokes and Sausage: The Clever “Everything Raw” Recipe, or you’re after that enveloping creaminess typical of my PASTA WITH CHICKPEAS AND CHERRY TOMATOES, learning how to boil dried legumes will become your new secret for incredible dishes.
It’s the ideal solution when you want a healthy, protein-rich alternative, maybe before indulging in a guilty pleasure like my NO-BAKE CHOCOLATE MOUSSE CAKE.
To complete the work, we’ll use simple aromatics like bay leaves and celery, which give that extra touch just like spices do in my APPLE AND CINNAMON MUFFINS (FLOURLESS).
Today’s secret? Choose a long soak, just like hydrating grains in my healthier recipes, and have the patience for slow cooking to achieve a velvety softness, similar to what we aim for in my 3-INGREDIENT APPLE BROWNIES.
Make yourself comfortable and prepare the pot: let’s discover how to turn simple dried legumes into a flavor masterpiece signed by Dadcook! 💡
- Difficulty: Very easy
- Rest time: 12 Hours
- Preparation time: 10 Minutes
- Portions: 8 Servings
- Cooking methods: Stovetop, Slow simmer
- Cuisine: Italian
- Seasonality: All seasons
- Energy 184.26 (Kcal)
- Carbohydrates 25.24 (g) of which sugars 1.98 (g)
- Proteins 11.21 (g)
- Fat 3.38 (g) of which saturated 0.46 (g)of which unsaturated 2.87 (g)
- Fibers 7.32 (g)
- Sodium 256.79 (mg)
Indicative values for a portion of 150 g processed in an automated way starting from the nutritional information available on the CREA* and FoodData Central** databases. It is not food and / or nutritional advice.
* CREATES Food and Nutrition Research Center: https://www.crea.gov.it/alimenti-e-nutrizione https://www.alimentinutrizione.it ** U.S. Department of Agriculture, Agricultural Research Service. FoodData Central, 2019. https://fdc.nal.usda.gov
Ingredients
- 2 1/2 cups (dried) dried chickpeas
- 8 1/2 cups water (fresh)
- 3 cloves garlic
- 2 stalks celery
- 5 leaves bay leaves
- 1 tablespoon salt
Tools
- 1 Bowl Pyrex
- 1 Saucepan Lagostina
Steps
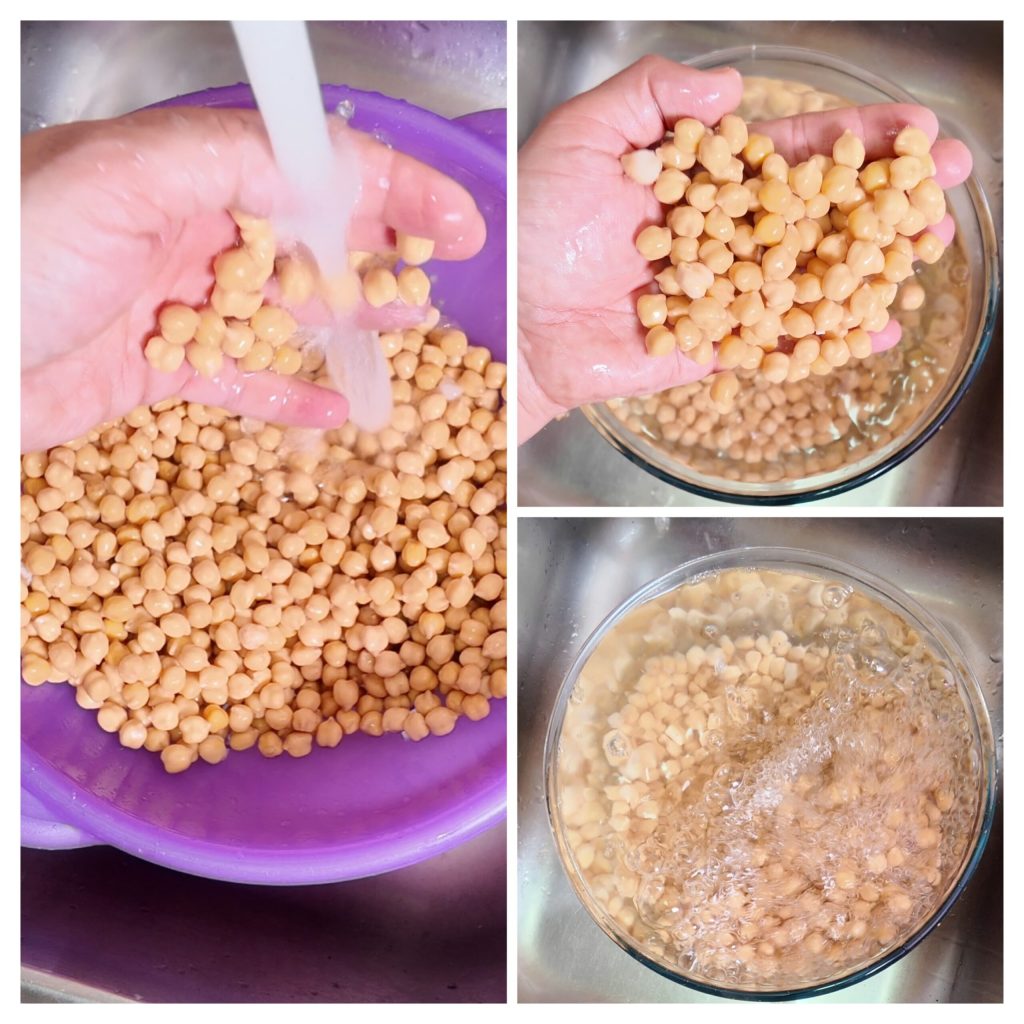
Preparation and long soaking
Start with the basics: take the dried chickpeas, quickly check them to remove any impurities, and rinse them well under running water.Put them in a large bowl with plenty of fresh water. My suggestion?
Soak them for at least 12–24 hours (today I soaked them for 24 hours!).
If it’s warm at home, keep the bowl in the refrigerator and, if you can, change the water once or twice: this will make the legumes much more digestible.
Slow, fragrant cooking
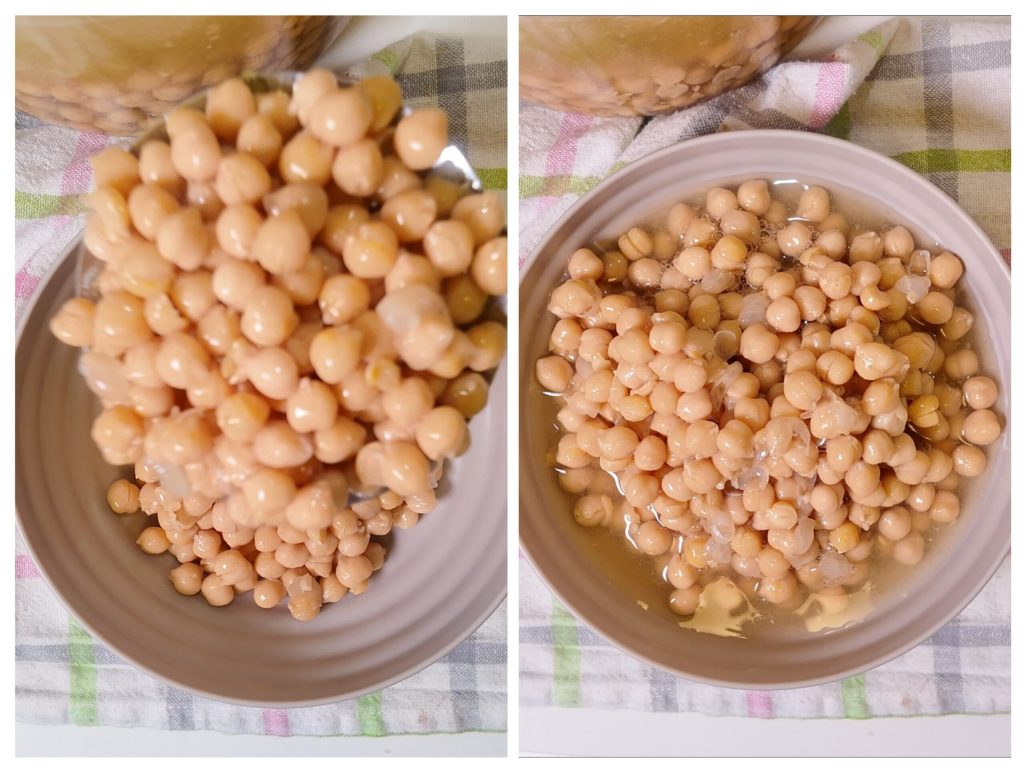
After soaking time, drain the chickpeas and give them a final rinse.
Transfer them to a high-sided pot and cover with plenty of cold water.
Add the aromatics: a celery stalk cut into large pieces, a few bay leaves and a garlic clove crushed but left whole (this way you can remove it easily at the end).
Turn on the heat and bring to a boil.
At first you’ll see white foam form: skim it off with a skimmer until the water clears.
At this point, lower the heat, cover and let simmer gently for about 90 minutes.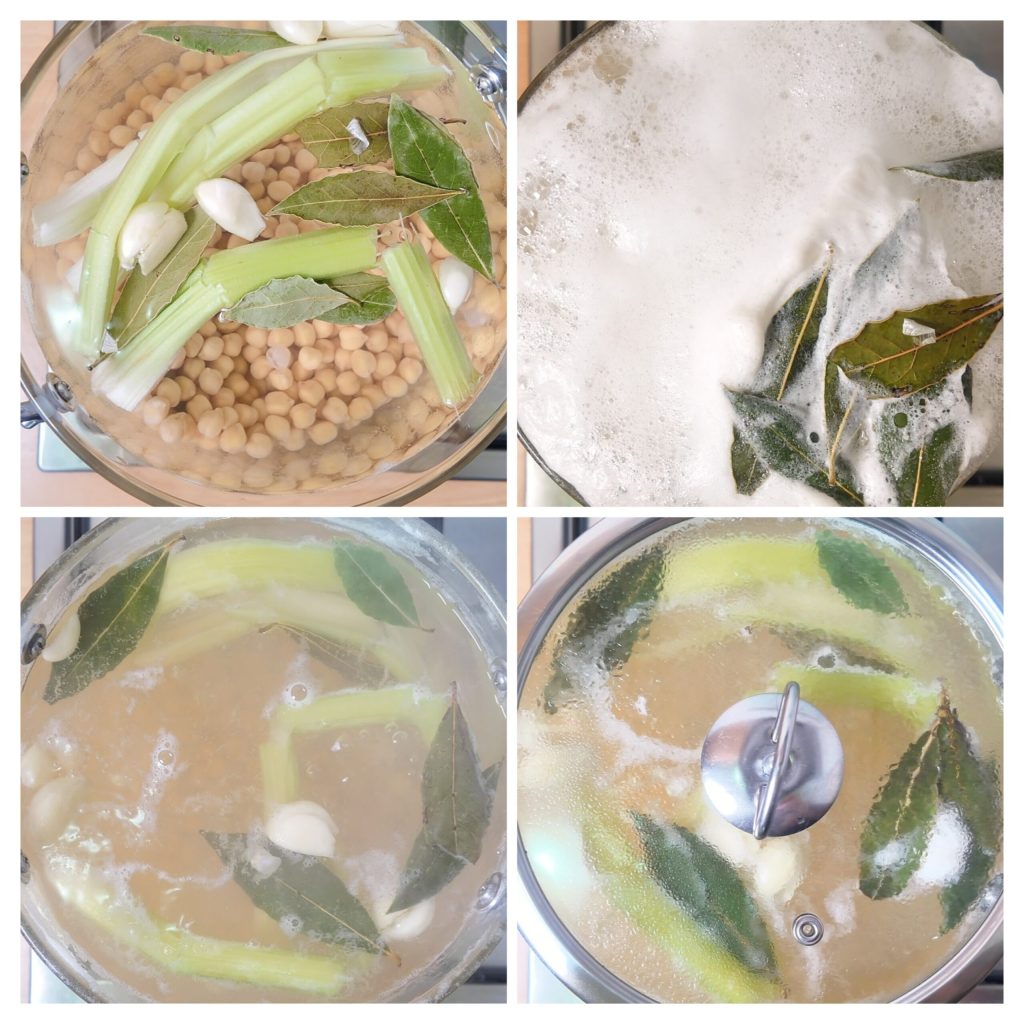
The salt trick and resting
During cooking, stir the chickpeas occasionally with a wooden spoon.
Warning: do not add salt now!
Salt should be added only in the last 10 minutes of cooking.
Why?
If you add it at the start, the chickpea skins will become hard and tough, while we want them very tender.
Once done, turn off the heat and let them cool slightly in their water with the lid on: this step will make them even juicier.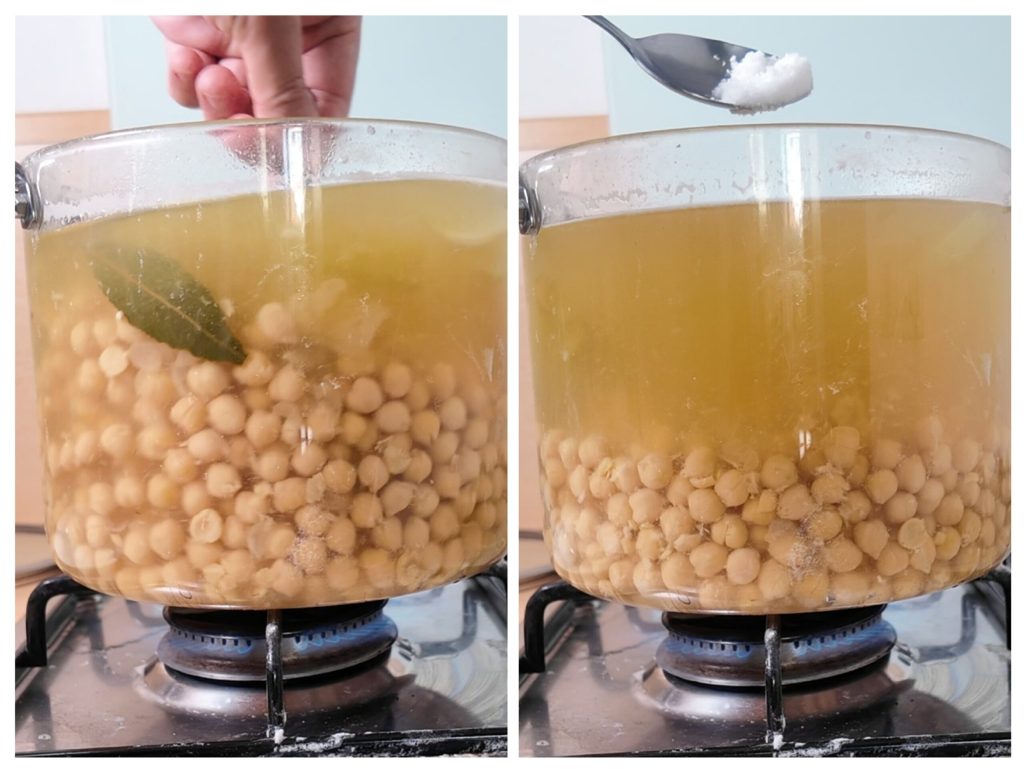
How to store them for your “clever” dishes
Once cool, drain the chickpeas but don’t throw away the cooking water (our precious aquafaba!).Transfer the chickpeas to individual containers, maybe with a little of their broth to keep them moist.
They’re ready to be stored in the fridge for a few days or frozen, ready to use when you crave a quick recipe.
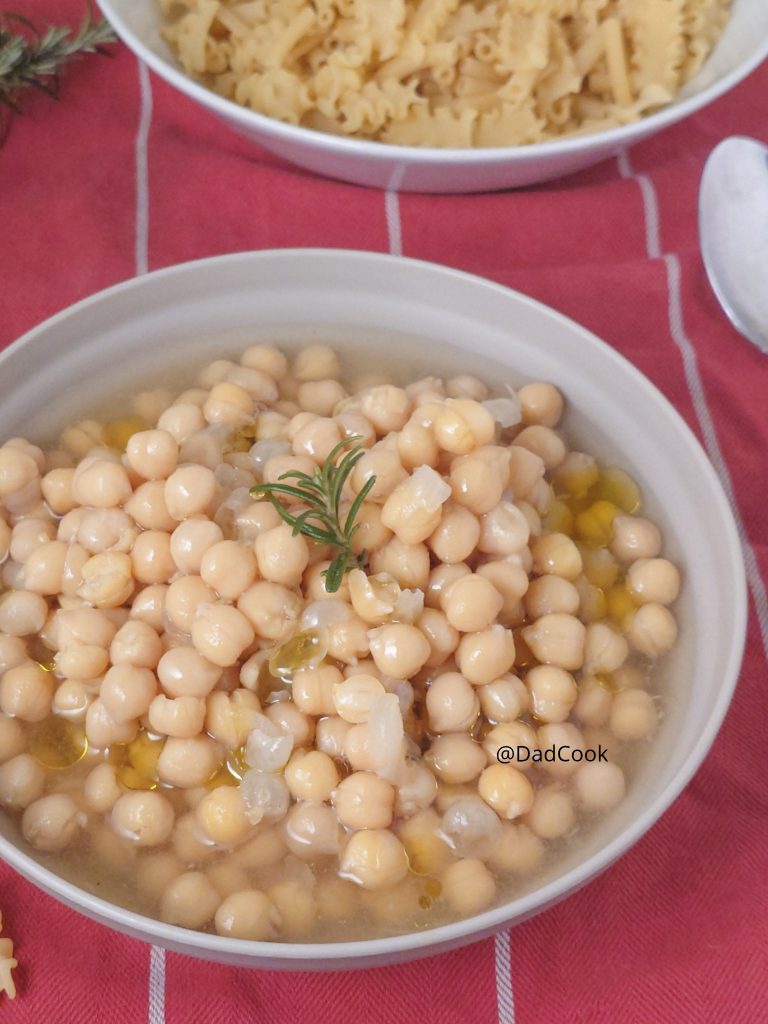
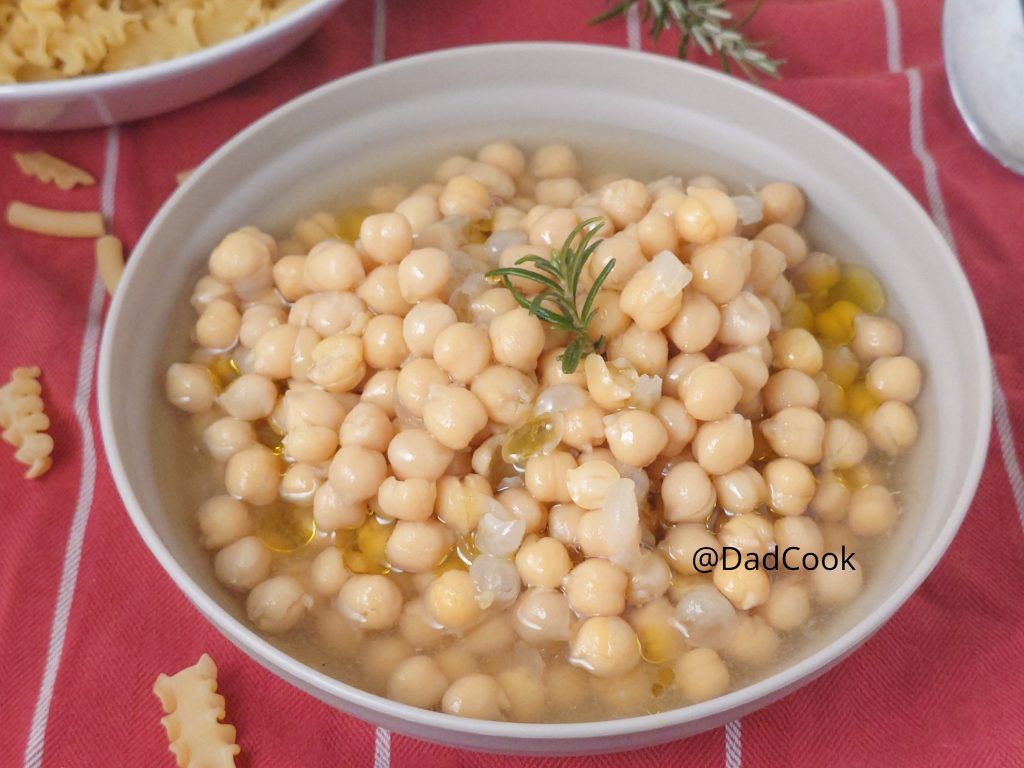
Tasting: simplicity on the table
There’s no better way to know if the cooking is perfect than tasting them plain.Serve them still warm, add a generous drizzle of extra virgin olive oil raw and, if you like, a pinch of freshly ground black pepper.
You’ll taste the authentic flavor of the legume, creamy inside with skins that melt in your mouth.
❄️ Storage: how to manage your stock
Cooked chickpeas are perfect for meal prep:
In the refrigerator: Once cool, put them in an airtight container covered with their cooking water (the aquafaba).
They keep perfectly for 3–4 days.
In the freezer: You can freeze them in convenient single portions, always with a bit of their water. In the freezer they last up to 3 months.
When you need them, just toss them straight into a pan or let them thaw in the fridge overnight.
💡 Dadcook’s Tips
Aquafaba is gold: Don’t throw away the cooking water!
It’s rich in proteins and starches.
You can use it to make your pasta and chickpeas creamier or, if you’re in a sweet mood, whip it to make mousses and vegan meringues.
The fridge trick:
During a long 24-hour soak, keeping the bowl in the fridge prevents the water from fermenting, especially in summer.
The chickpeas will stay fresh and the final result will be much cleaner in flavor.
Top digestibility: Besides changing the water and skimming the foam, make sure the chickpeas are well cooked (they should mash easily between your fingers).
A well-cooked legume is one that won’t cause bloating!
🔁 Variations and Aromatics
Although the bay leaf, garlic and celery version is my favorite, you can have fun changing the aroma of your cooking water:
Mediterranean version:
Add a sprig of fresh rosemary instead of bay leaf.
Oriental version: If you plan to make a special hummus, add a pinch of cumin or a piece of fresh ginger to the boiling water.
“Stained” version: A couple of cherry tomatoes halved will give the broth a pinkish color and a sweeter taste.
📝 Final Notes
Always remember that the quality of dried chickpeas matters: if they are very old they may take longer to cook.
If after 90 minutes they are still a bit firm, don’t despair!
Add a ladle of boiling water (never cold!) and continue cooking until they reach the creaminess you desire.
Have you tried this recipe?
I hope this guide on how to boil dried chickpeas helps you rediscover the pleasure of homemade legumes, just like it did for me!
It’s the ideal solution for those who want a ready healthy, protein-rich and super versatile base, without relying on the usual jars and enjoying a velvety texture that really makes a difference in everyday dishes.
A small act of kitchen organization that will allow you to create incredible dishes, from steaming soups to the creamiest hummus, bringing the taste of tradition to the table.
If you have doubts about soaking times or want to suggest your secret aromatic trick to flavor the cooking water — maybe a pinch of ginger or a grandma’s tip — write to me below in the comments.
I love reading your experiences and discovering those little details that make every dish unique in your homes!
And don’t forget to follow me on my Facebook, DadCook page for more “rock” recipes, clever tips and to stay updated on my latest kitchen discoveries.
Prepare the pot and… see you in the next recipe!
Frequently Asked Questions (FAQ)
Can I cook chickpeas without soaking?
I strongly discourage it.
Soaking is not only to speed up cooking, but it is essential to reduce phytic acid, making legumes more digestible and ensuring the skins don’t stay hard.
If you’re really in a hurry, use a pressure cooker, but still after at least 8 hours of soaking.Why do my chickpeas stay hard even after hours of cooking?
The two main causes are: you added salt at the beginning (which hardens the skin) or the chickpeas are old.
If the legumes have been in your pantry for too long, they’ll struggle to become tender.
The secret remains the freshness of the product and adding salt only at the end.How much water is needed for 500 g of dried chickpeas?
For traditional boiling you’ll need about 2 liters (about 8 1/2 cups) of water.
The chickpeas should always be submerged by at least 1 1/2–2 inches.
If during cooking the water becomes too low, always add boiling water so as not to interrupt cooking and ruin the texture.What is aquafaba and how can I reuse it?
Aquafaba is the cooking water of chickpeas, rich in proteins and starches.
In the kitchen it’s magical: if you whip it with beaters, it becomes a stable foam like egg white, perfect for mousses and light desserts.
The clever trick:
If you have a cat, don’t throw it away!
Since we’ve cooked the chickpeas without salt and without baking soda, aquafaba is a very healthy snack.
Try freezing it in ice cube trays: you’ll get protein-rich frozen cubes that cats love to lick, especially on hot days.
It’s a fun and natural way to refresh and hydrate them!
