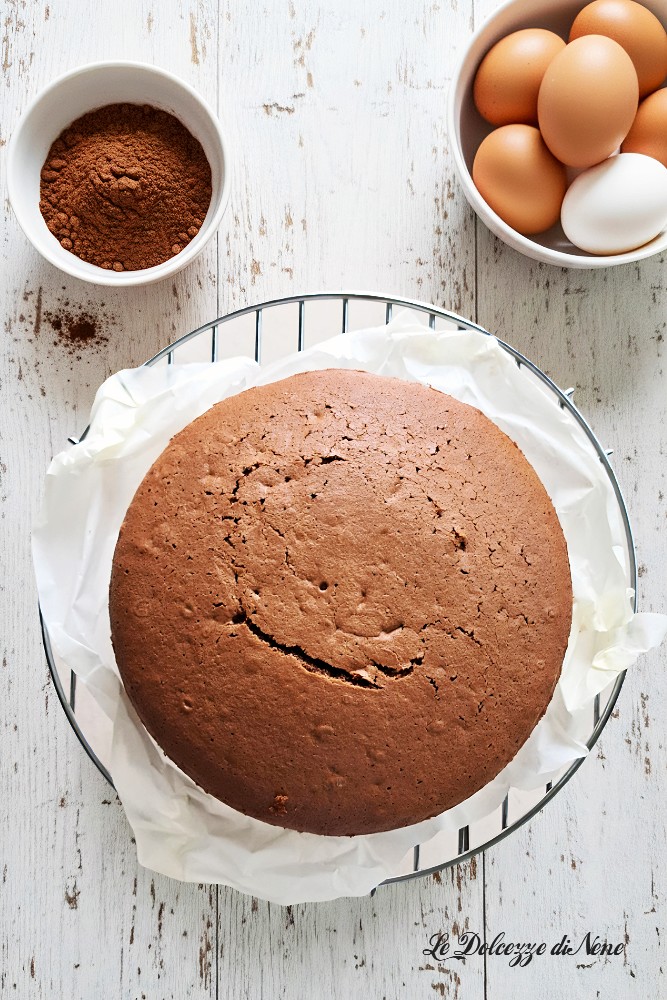
The cocoa cake base for filling is soft, light and incredibly versatile; it’s the perfect base for show-stopping cakes or simply a delicious snack to enjoy as is. In this cocoa version it gains a more intense and enveloping note, able to transform even the simplest preparation into a small moment of pleasure. In today’s post I will walk you step by step through this classic recipe, with practical tips and a few tricks to get an impeccable result every time.
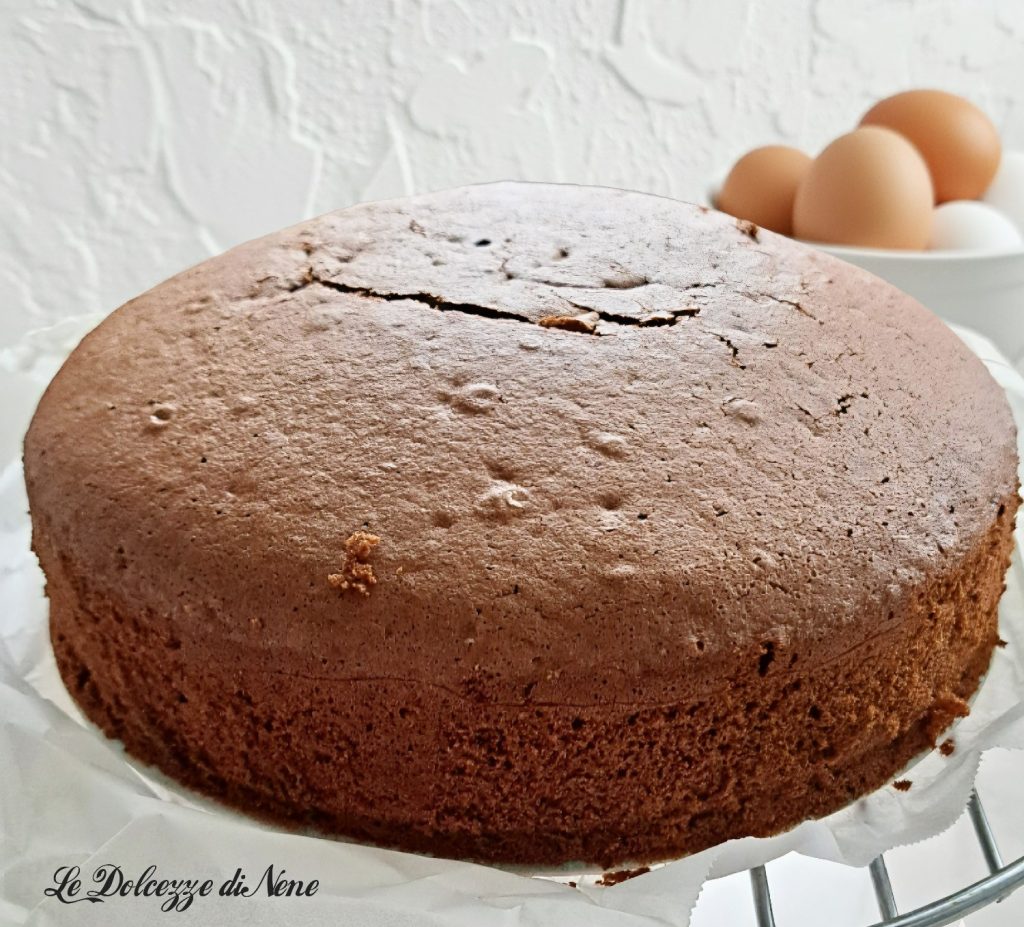
Here it is in the classic version
- Difficulty: Easy
- Cost: Budget-friendly
- Preparation time: 20 Minutes
- Cooking time: 30 Minutes
- Portions: 1 piece
- Cooking methods: Oven
- Cuisine: Italian
- Seasonality: All seasons
Ingredients for the cocoa cake base for filling
- 3/4 cup + 2 tbsp cup granulated sugar
- 1 cup cup 00 flour (type 00 — or all-purpose flour)
- 1/2 cup cup unsweetened cocoa powder
- 3 tbsp + 1 tsp tbsp water
- 3 eggs
- 2 tsp baking powder
- 1 packet vanillin (vanilla sachet)
Tools
- 1 Stand mixer
- Bowls
- Parchment paper
- 1 Baking pan diameter 8–9 in
Preparation of the cocoa cake base for filling
Place the sugar and eggs in the bowl of the stand mixer. Use the whisk attachment and start beating at medium-high speed (I use speed 5) until the mixture is nice and fluffy; it should triple in volume. This will take about 10 to 15 minutes.
Meanwhile, in a bowl mix the flour, cocoa, vanillin and baking powder. Sift them, then add them in spoonfuls to the whipped mixture, mixing at medium-low speed (I use speed 2), alternating the dry ingredients with the water.
Finally, continue mixing for a few seconds; the batter should remain airy and should not deflate too much. Now take the baking pan, line the base with parchment paper and pour the batter into it.
Bake in a preheated oven at 338°F (conventional) for 30 minutes. Do the toothpick test and extend baking time if necessary. Once ready, let it cool very well and remove it from the pan. When the base is completely cold, you can start filling it.
Perfect pairings
1. Creams and fillings
Vanilla pastry cream The contrast between cocoa and vanilla is an evergreen classic.
Mascapone cream Soft and velvety, ideal for impressive cakes.
Dark or milk chocolate ganache For chocolate lovers without compromise.
Coffee cream Perfect for a more adult and aromatic dessert.
Pistachio chantilly cream A modern and very indulgent pairing.2. Soaking syrup
Milk and cocoa for a delicate flavor suitable for children.
Rum or orange liqueur for an elegant touch.
Light sweetened coffee for a bolder taste.
Vanilla syrup to enhance the sweetness of the cocoa.3. Fresh or stewed fruit
Raspberries or strawberries: the acidity perfectly balances the cocoa.
Pears: sweet and soft, ideal even cooked.
Bananas: for a richer and creamier pairing.
Orange: zest or segments add freshness.4. Decorations
Powdered sugar for a simple and refined touch.
Chocolate shavings to add texture.
Hazelnut or pistachio crumbs for a crunchy effect.
Whipped cream for a softer, more dramatic dessert.
TIPS and NOTES
Add flavor
Orange: grated zest for a fresh aroma.
Coffee: one teaspoon of instant coffee dissolved in a little water.
Vanilla: seeds or extract for a rounder aroma.
Gluten-free
Replace the flour with a gluten-free mix, and add one teaspoon of cornstarch to maintain lightness.
How to store the cocoa base and for how long
At room temperature: Wrap it in plastic wrap or store it in an airtight container. Duration: 3–4 days.
In the refrigerator: Not necessary, but if it’s very hot you can keep it in the fridge well sealed. Duration: up to 5 days.
In the freezer: It freezes very well. Wrap it first in plastic wrap and then in a freezer bag. Duration: up to 2 months. To use it, let it thaw at room temperature while still wrapped.
