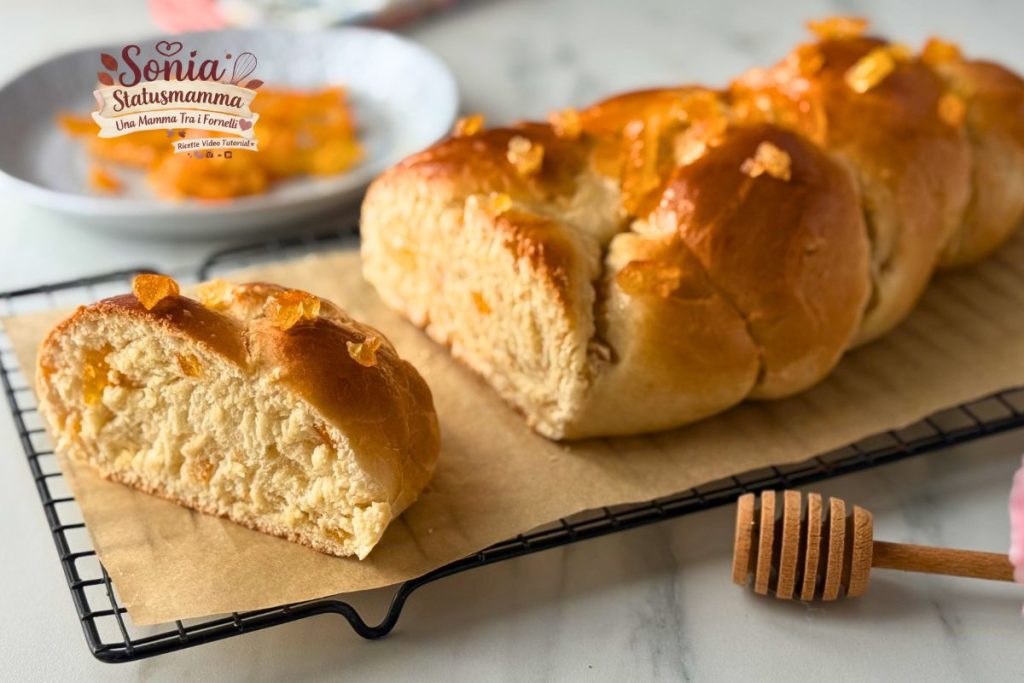
Easter Orange Braid: the soft and clever recipe for the perfect dunk!: The Orange Braid is my sweet solution when I want to bring the scent of Easter to the table with a handcrafted but simple method. I perfected this recipe to obtain a dense and flavorful brioche, just like the old days: the secret is all in the order of the ingredients and the precise weighing of the dough pieces! A very fragrant, economical pastry perfect for everyday breakfast
- Difficulty: Easy
- Cost: Economical
- Rest time: 2 Hours
- Preparation time: 15 Minutes
- Cooking time: 35 Minutes
- Portions: 10
- Cooking methods: Oven
- Cuisine: Italian
- Seasonality: All seasons, Easter
Ingredients
Just a few simple ingredients, most of which we usually have in the pantry, are enough to make an authentically flavored citrus brioche. Choosing Manitoba flour is essential to give the right structure to the dough made by hand.
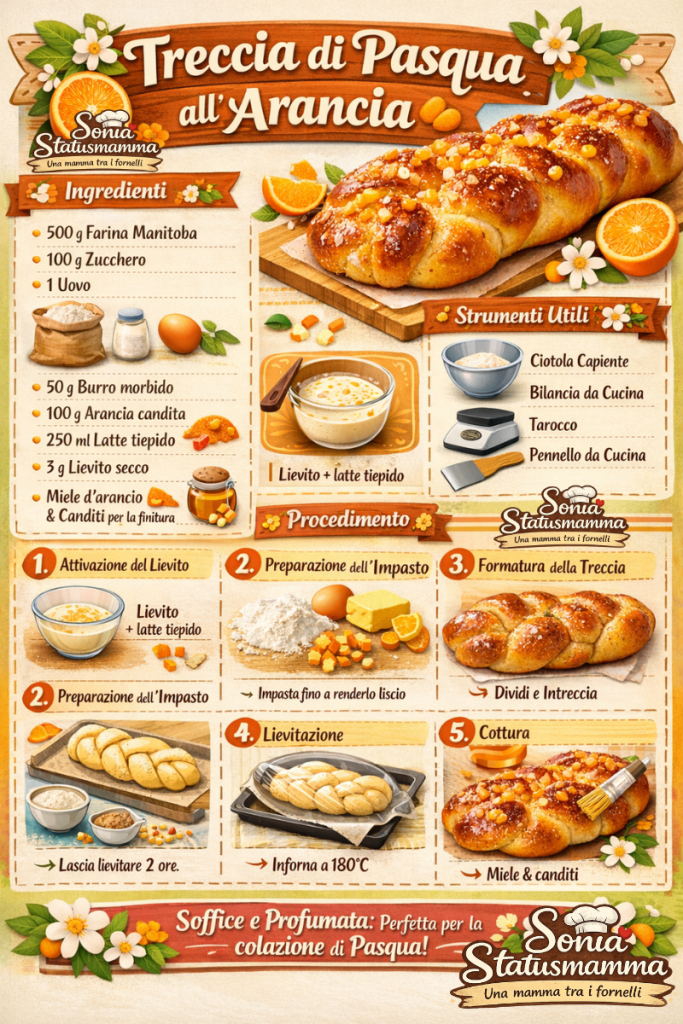
- 4 cups (about 500 g) Manitoba flour
- 1/2 cup (about 100 g) granulated sugar
- 3.5 tbsp (about 50 g) butter (soft)
- 1 egg
- 1 tsp instant dry yeast
- 1 tsp orange essential oil (food-grade) (orange)
- 3.5 oz (about 100 g) candied orange (diced)
- 1 cup (about 250 ml) milk (warm)
- to taste orange honey
- candied fruit
Why you’ll love this recipe?
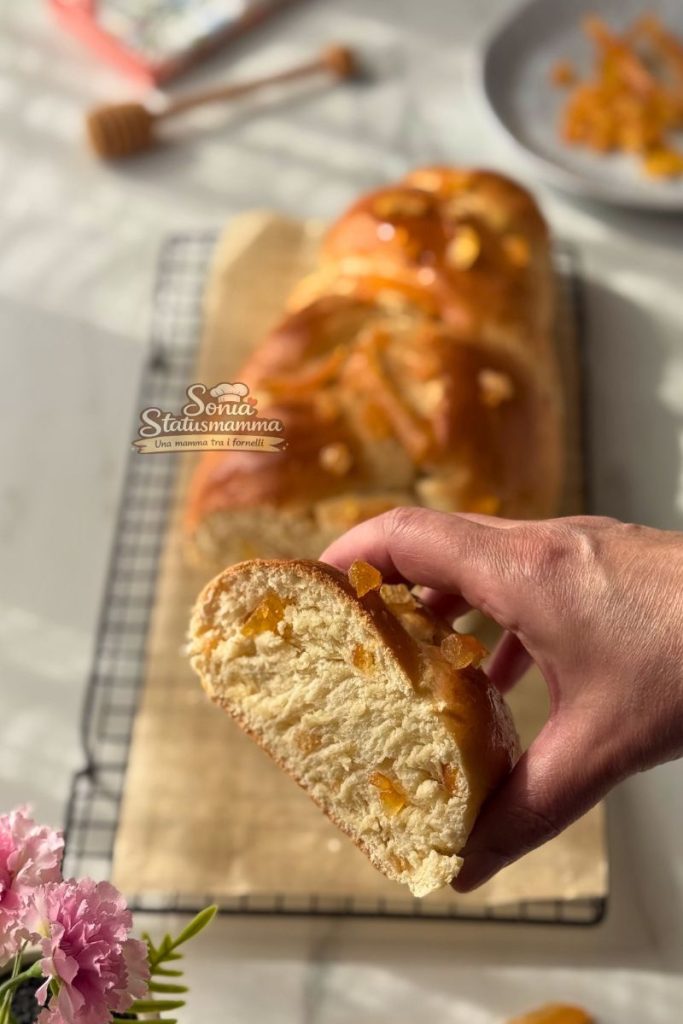
Dunking Effect: The crumb is dense and compact, made to be dipped in milk without falling apart.
Amazing Aroma: The essence and the candied fruit added right away release an incredible scent.
Easy Method: No stand mixer needed, everything is done by hand with love.
Tools
You don’t need large equipment or expensive mixers to prepare this braid; the secret is all in manual skill and a couple of tools that guarantee precision in the result.
- 1 large mixing bowl
- 1 kitchen scale
- 1 kitchen brush
- 1 baking tray
- 1 parchment paper
Nutritional values (per approx. 100 g):
Calories: 310 kcal
Fat: 6.5 g
Carbohydrates: 54 g
Protein: 9 g
Steps
Following the steps in the correct order is the secret to managing the yeast and fats well. Here’s how to turn these ingredients into a breakfast masterpiece in a few simple steps.
1. Activating the yeast: Start by dissolving the yeast in the warm milk with a teaspoon of sugar. Let rest for 5 minutes until you see a light foam.
2. Aromatic dough: Make a well with the Manitoba flour, add the egg, sugar and the essence. Sonia’s tip: Add the soft butter and the diced candied fruit right away. Working the fats and aromas from the beginning will make the dough wonderfully fragrant!
3. Kneading: Pour in the milk with the yeast and knead vigorously on a marble surface until the dough is smooth and firm.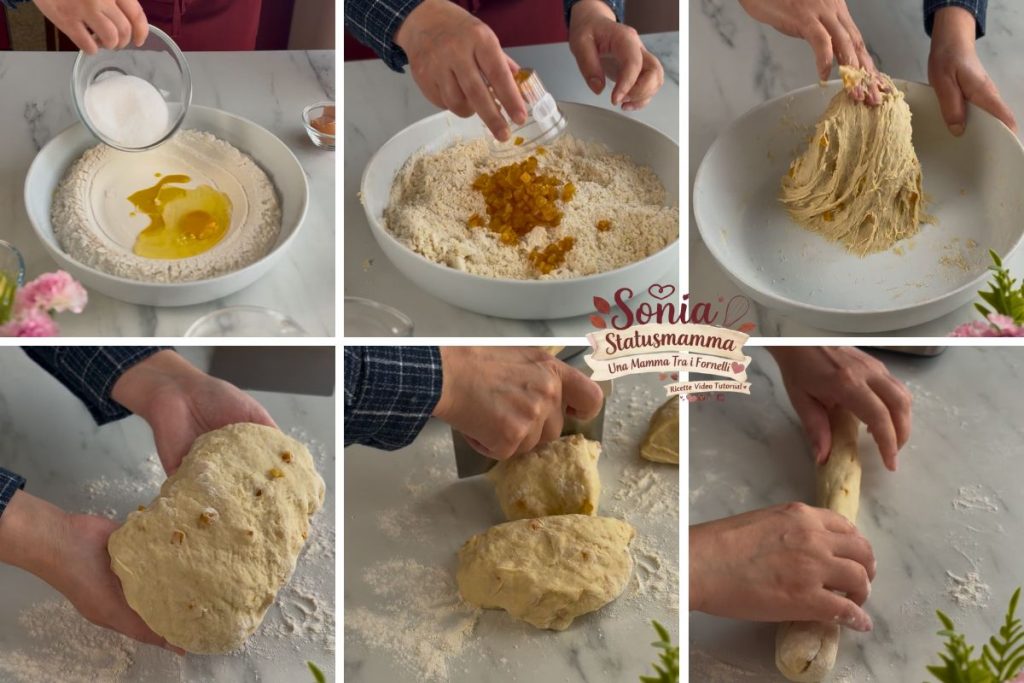
4. The secret of the shape: Divide the dough into 3 pieces. Weigh them on the scale to make them equal: only this way will the braid bake evenly and look beautiful.
5. Braiding and resting: Form three long rolls and braid them without pulling too tightly. Place on the tray and let rise covered for 2 hours (until doubled).
6. Baking and finishing: Brush with a little milk and bake at 356°F (180°C) for 35 minutes. As soon as it comes out of the oven, glaze with orange honey and candied fruit strips.
If you want to receive my new recipes every day in preview, you can follow them on my channel WhatsApp in real time.
also discover how to prepare delicious Easter Appetizers with Puff Pastry: 5 minutes and in the oven! (Clever Recipes)
Sonia’s tips for a perfect result
Don’t rush: Manitoba is a strong flour and needs the full 2 hours of rising to perform at its best.
Hot glazing: Apply the honey when the braid is still piping hot, so it soaks in slightly and creates an irresistible glaze.
Chocolate chip variation: If you don’t like candied fruit, replace it with 3.5 oz (about 100 g) of dark chocolate chips kept in the freezer until the last moment.
THE FINAL TOUCH: HOW TO STORE IT
You can store your Easter Orange Braid under a glass dome or sealed in a food bag for up to 3-4 days. It will remain fragrant and ready for breakfast! If it becomes slightly firm, 10 seconds in the microwave will bring it back soft as if just baked.
Easter Orange Braid: the soft and clever recipe for the perfect dunk!
Questions & Answers about the Easter Braid
In this section I collected answers to the most common doubts I receive about this recipe, to help you get a perfect, fragrant and super inviting braid at first try! Whether you are new to leavened doughs or an experienced cook, here you’ll find the tricks to avoid mistakes.
Can I replace the orange essence with grated zest?
Certainly! If you prefer a more natural aroma, use the grated zest of two organic oranges. In this case, make sure to add it to the flour together with the sugar so that all the essential oils are released during mixing.
Why is it so important to weigh the three dough pieces on the scale?
It’s the secret to a pastry-shop result! If the three pieces have different weights, the braid will rise unevenly in the oven: the smaller part will be dry and the larger one could remain underbaked inside. By weighing them you’ll get perfect, even baking.
My braid turned out a bit dense, is that normal?
Yes, this is a “dunking” brioche. Unlike laminated croissants or cloud-like brioche, the Statusmamma braid has a tasty and sturdy crumb, designed specifically to be dipped in milk without falling apart. It’s its defining characteristic!
What can I use instead of candied orange?
Candied fruit is traditional, but if you really don’t like it you can replace it with 3.5 oz (about 100 g) of dark chocolate chips (freeze them 30 minutes before using!) or with raisins previously soaked and well wrung out.
Can I prepare the dough the night before?
Yes! In that case, after shaping the dough, place it in a covered bowl in the refrigerator overnight. The next morning, let it return to room temperature for one hour, then proceed with cutting, shaping the rolls and the 2-hour rise on the tray.
Follow me on FACEBOOK and on INSTAGRAM and on VIDEO TUTORIALS ON YOUTUBE so you don’t miss new recipes
If you like pinning don’t miss my photo recipes on PINTEREST!
TO RETURN TO THE HOME CLICK HERE!
