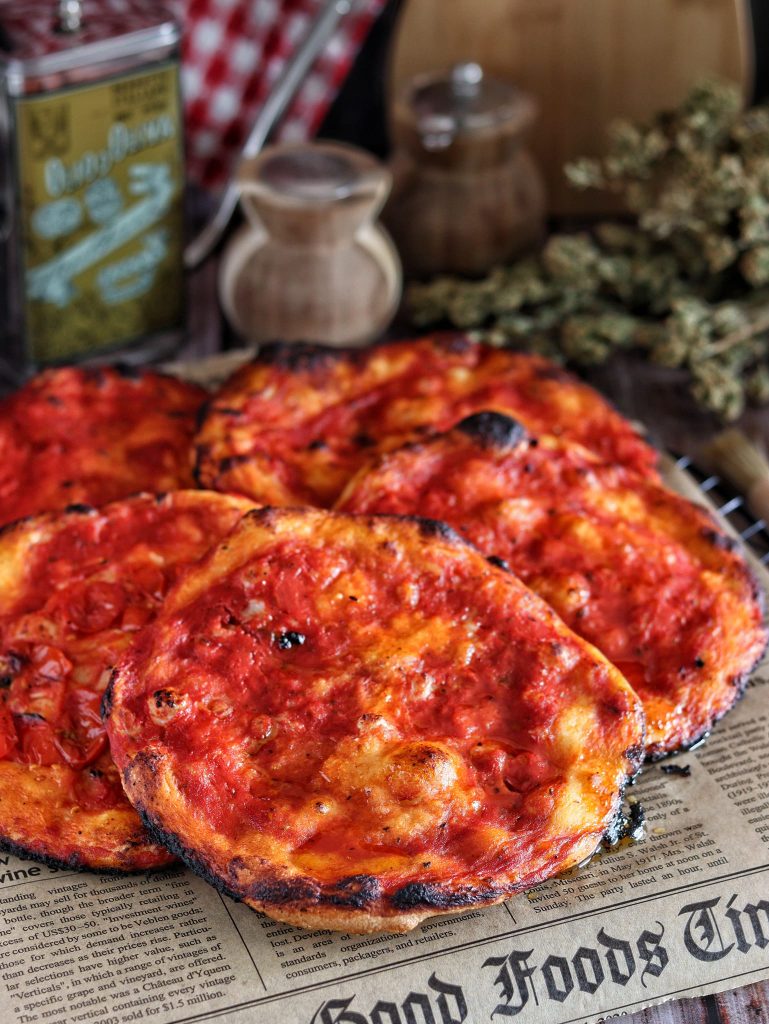
Here in Rome, in any bakery you enter, you’ll always find on display, along with the lingue di suocera and pizza tongues, thin red mini pizzas with a “crispy” texture, topped with tomato, salt, oregano, and lots of oil, making them slightly greasy but also extremely crumbly and delicious.
Of course, I wanted to try making them at home, and the result was surprisingly very close to that of Roman bakeries.
I usually prepare quite a few, store them in the freezer, and then take out a couple each morning for the girls’ school snack.
The dough, made with flour, water, yeast, salt, and oil, is very simple to make, either with a stand mixer or by hand, as the hydration is not extremely high (65%), and the rising times with the proposed yeast amount are not excessively long. Of course, you can also decide to reduce the yeast amounts for a longer rise.
Now take a minute to read the recipe and then… let’s cook and eat!!
See also
- Difficulty: Easy
- Cost: Economical
- Rest time: 2 Hours 30 Minutes
- Preparation time: 20 Minutes
- Portions: 6
- Cooking methods: Oven
- Cuisine: Italian
Ingredients
- 4 cups all-purpose flour
- 1 1/3 cups water
- 1 tsp dry yeast (or 3 tsp fresh yeast)
- 2 1/2 tsp fine salt
- 1 1/3 tbsp extra virgin olive oil
- 14 oz tomato (peeled or purée)
- to taste salt
- to taste extra virgin olive oil
- to taste dried oregano
- a few cherry tomatoes (optional)
Tools
- 1 Stand Mixer
- 1 Plastic Wrap
- 1 Metal Dough Scraper
- 1 Rolling Pin
- 1 Baking Tray
- 1 Work Surface
- 1 Food Scale
Steps
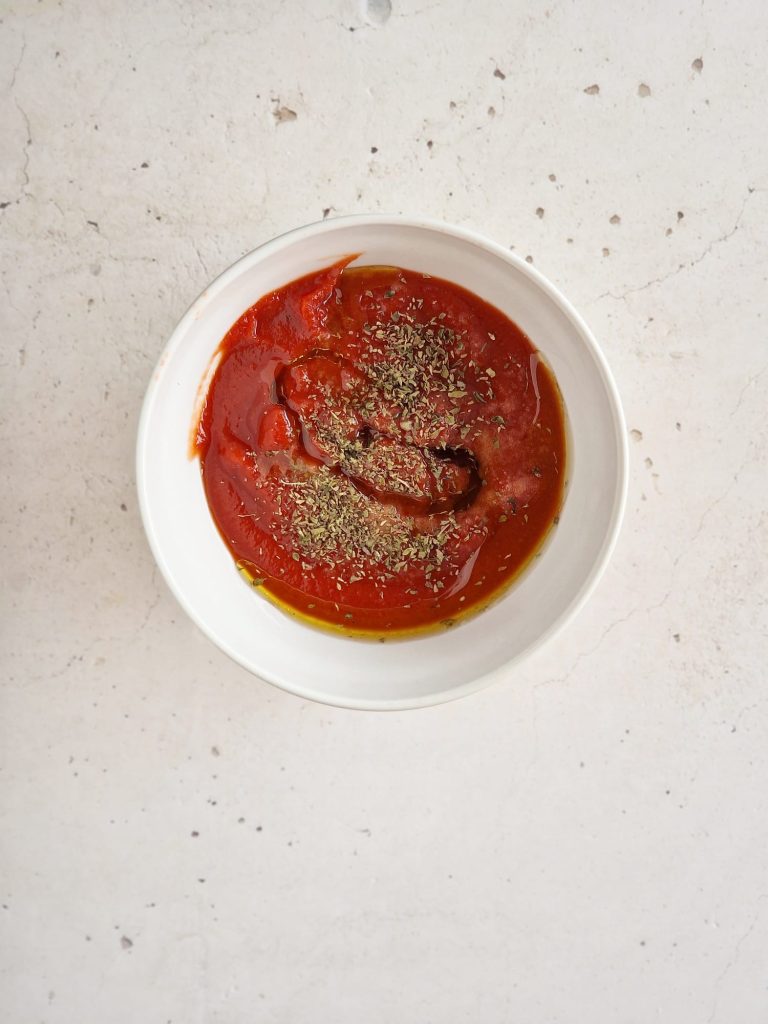
To prepare the Roman red mini pizzas, first, season the tomato pulp or purée with oil, salt, and oregano, then cover and let it marinate.
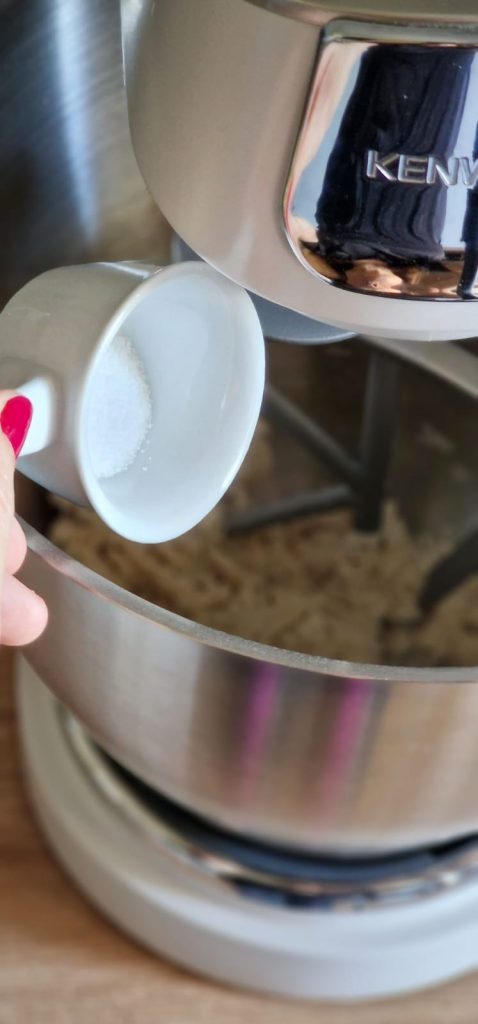
Gather the flour in the bowl of the stand mixer, add the active dry yeast, and start the mixer at the lowest speed for a few seconds.
Once the yeast is perfectly mixed with the flour, start adding the water, a little at a time, kneading at low speed with the paddle attachment.
Continue by adding the salt and finally the oil. At this point, switch the paddle for the dough hook and continue kneading until the dough is smooth.
Then transfer the dough to a work surface, knead it briefly by hand, then place it in a bowl, cover it with plastic wrap, and let it rest until doubled in size.
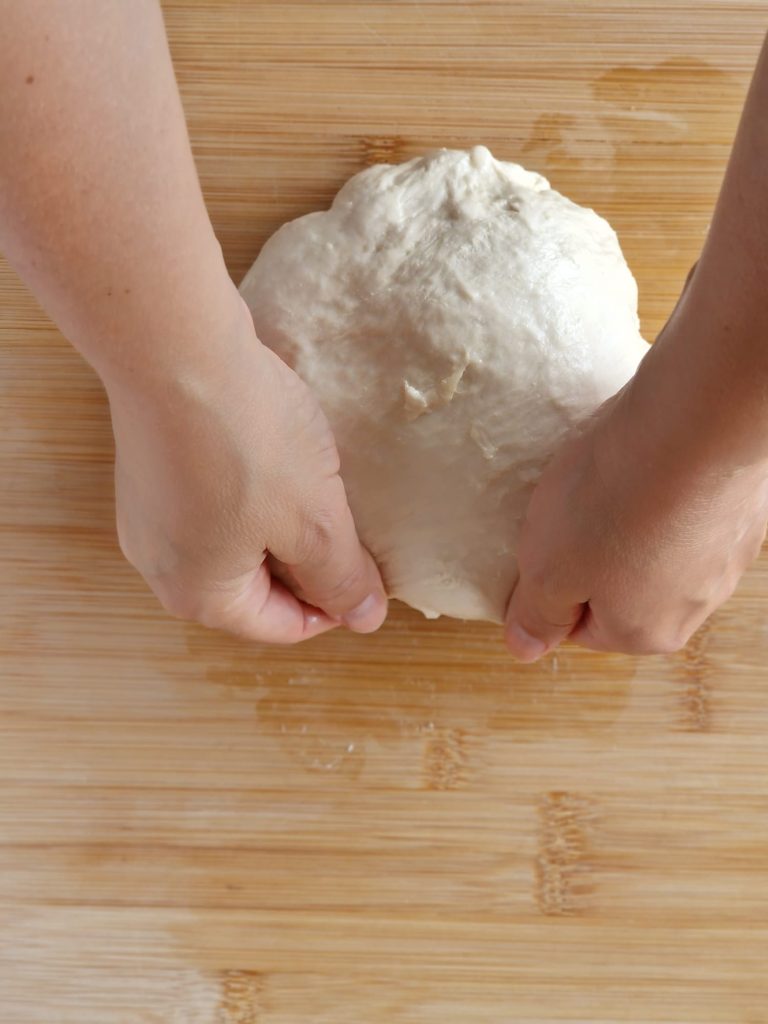
Once risen, transfer the dough back onto the work surface, divide it into 8 pieces of about 3 1/2 oz each, and shape each piece by bringing the outer edges toward the center, then roll it into a round ball on the work surface.
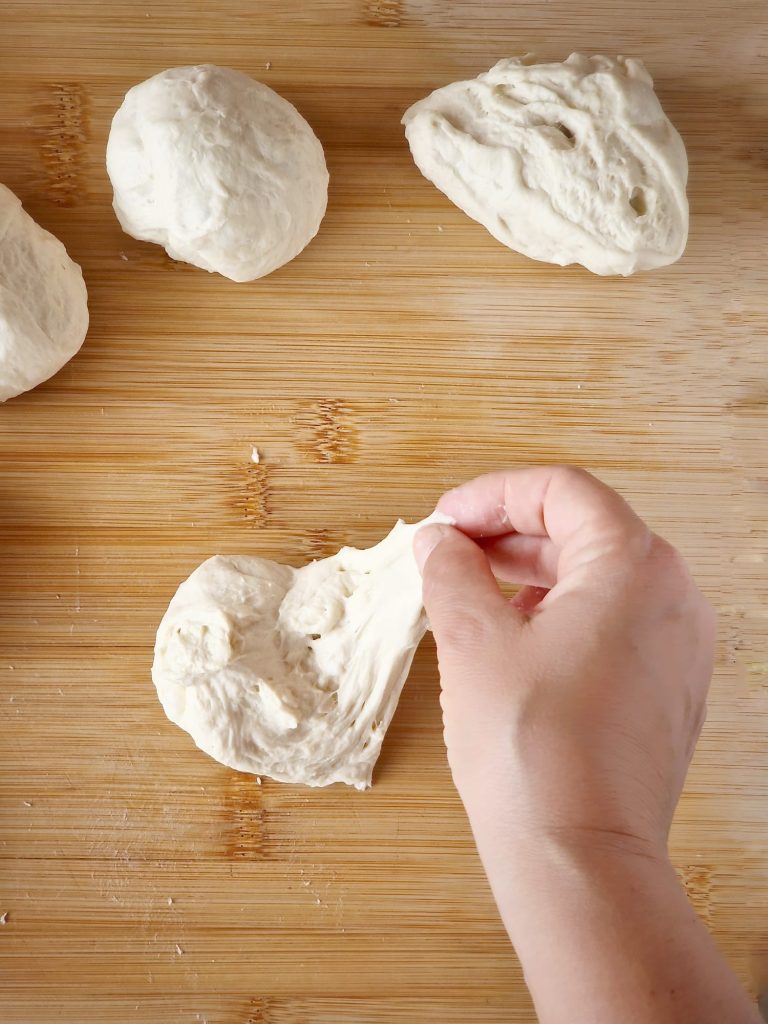
Let the dough balls rest for another 20 minutes, covered with a cloth.
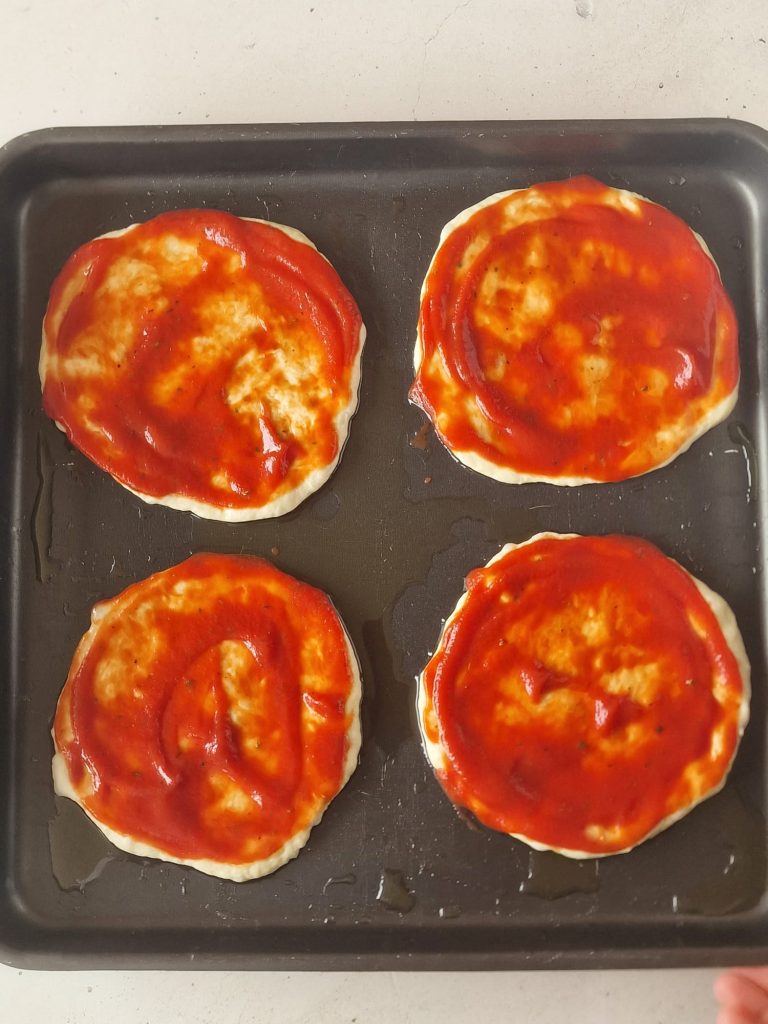
After this second rise, start stretching the dough balls with your fingers, spreading them from the center outwards. As you stretch them, transfer them to a generously oiled baking tray.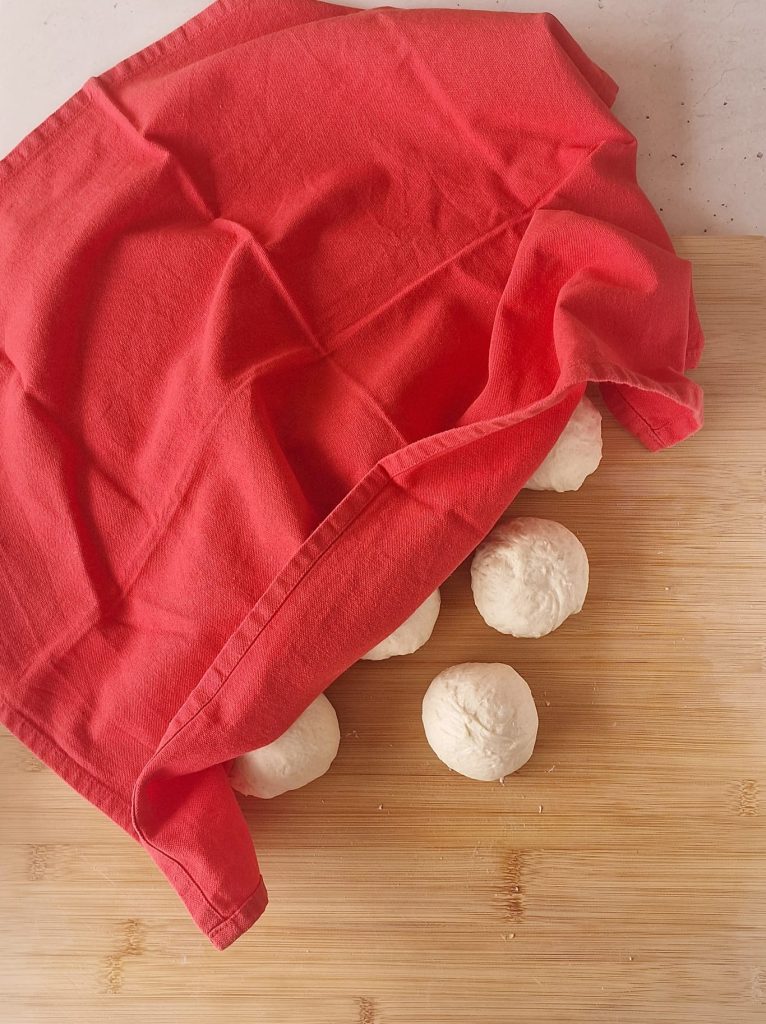
Before topping each mini pizza, further stretch them in the tray by pressing down the edges (the presence of the oil at the base of the tray will make this operation much easier).
Cover the entire surface with two tablespoons of previously seasoned tomato and finally, bake your red mini pizzas in a preheated static oven at 482°F. Bake them for the first 10 minutes on the oven floor and for the last 3-4 minutes in the middle rack.
Once out of the oven, drizzle with a little raw oil and enjoy your crispy and tasty red mini pizzas 😉.
Follow me also on:
Instagram Facebook Pinterest