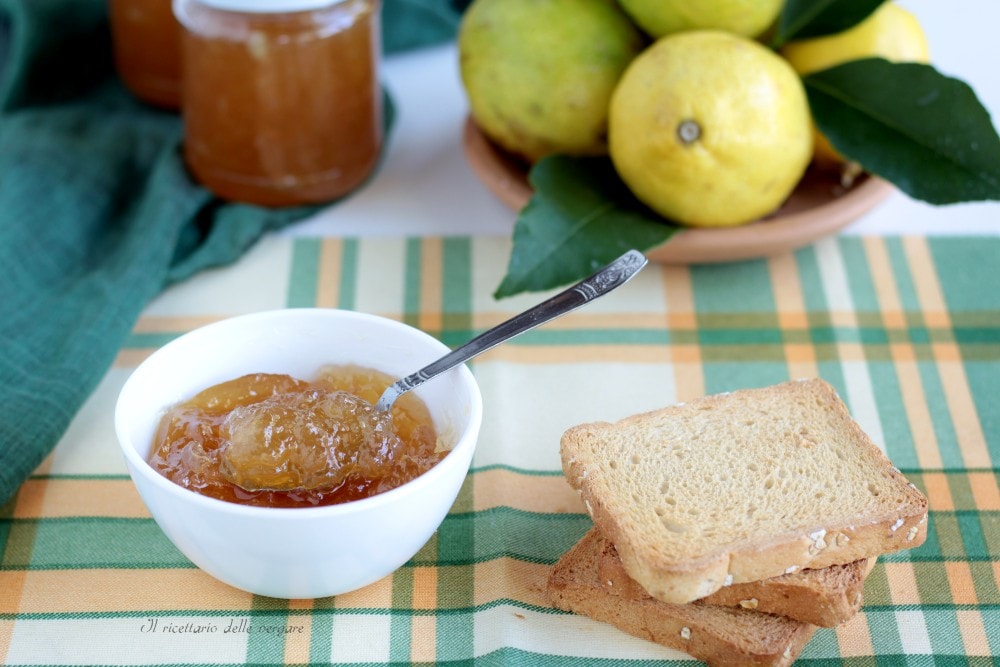
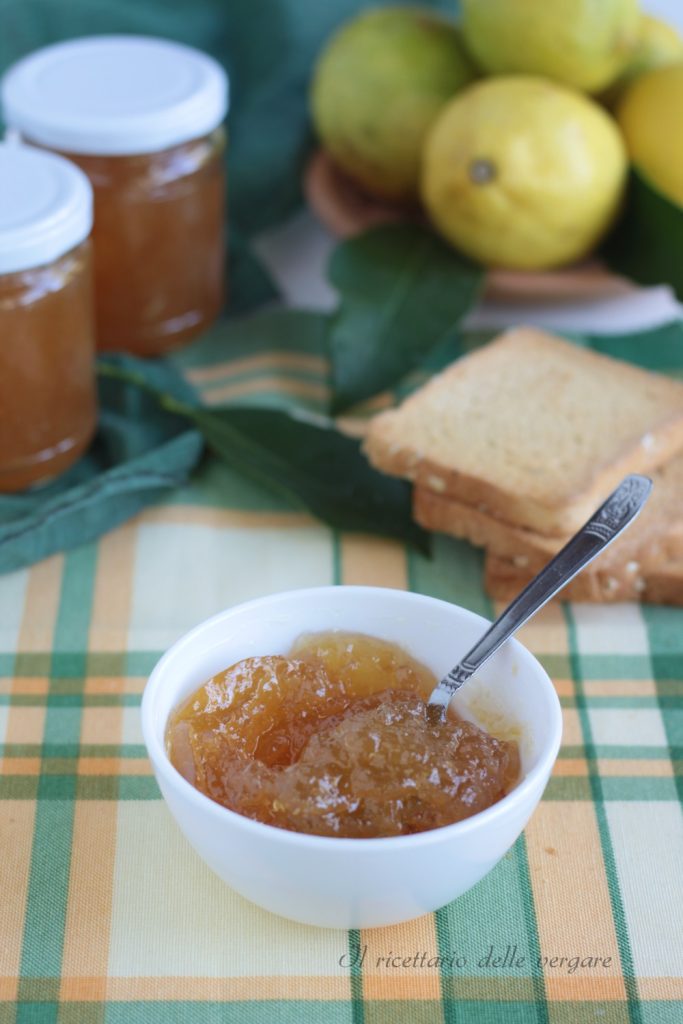
Today I prepared the Lemon Marmalade, I had never made it before also because my trees are still small and give few fruits. You’re probably wondering where I got the lemons to prepare 12 jars of this delicious marmalade. An unexpected gift arrived a few weeks ago directly from the Amalfi Coast. I had never made this marmalade and I must say I liked it very much. Look for untreated lemons and try it yourself.
HERE ARE OTHER IDEAS WHERE TO USE THIS MARMALADE:
- Difficulty: Very easy
- Cost: Medium
- Rest time: 24 Days
- Preparation time: 30 Minutes
- Portions: 2 jars of 700 g
- Cooking methods: Stovetop
- Cuisine: Italian
- Seasonality: All seasons
Ingredients for Lemon Marmalade
- 2.2 lbs lemons (untreated and peeled)
- 3 cups sugar
- 2 cups water
Steps for Lemon Marmalade
Repeatedly wash the lemons under running water, use a soft brush to remove all impurities from the peel, then dry them. Remove the peel, including the white part, slice them thinly and remove all the seeds present.
Now place the obtained slices in a pot covered with water and let them rest in the fridge for 24 hours. After this time, discard the soaking water and transfer the citrus fruits to a large pot (steel or enamel), pour half a liter of water, and turn on the stove.
Stir repeatedly, as soon as it starts boiling skimming repeatedly. The lemon pulp should turn into mush, and the water should evaporate completely.
In another container, dissolve the sugar with 1 1/4 cups of water. Keep the flame very low and stir continuously. Keep on the heat until you obtain a thick syrup which you will then pour over the lemons.
Resume cooking while continuing to stir. When the mixture reaches a thick enough consistency. To be sure, do the drop test. Pour a little on a tilted plate, and if it doesn’t run down quickly, it’s ready to be jarred.
If you want a creamier marmalade without pieces, blend with an immersion blender, transfer the marmalade into jars that have been boiled for 15 minutes in water. The jars must be taken out of the water and dried as soon as the jam is ready.
-
When performing this operation, ensure you always have a cloth under the jars taken out from the boiling water to prevent a thermal shock to the jar, which could cause the glass to crack.
After filling the jars (which should be filled up to 1 or 2 cm below the rim), close them immediately and put them upside down always on a towel until they are cold.
Label the jars with the product name and date, then store them in the pantry ready to be used for breakfasts or even dessert preparations.
If you like, follow me also on Facebook by clicking The Vergare’s Cookbook and hit like. I’ll be waiting for you…Ivana
You can also find me on Instagram and Pinterest
If you liked this recipe, click the stars below to give it a rating. Your feedback is very important to me. Thank you.
Return to the HOME to read all other recipes
