Are you looking for a tasty appetizer to offer maybe to your friends at a buffet dinner? The deviled eggs are perfect.
Few and simple ingredients for an aperitif or simply one of the most used appetizers for Easter, deviled eggs are very quick and economical to make.
You can adjust the amount of spiciness according to your own taste, offering a tasty appetizer ready in no time and very importantly, economical and can be made a day in advance.
Below, I’ll leave you other versions for always different and tasty deviled eggs that you might present on a large platter all together so that everyone takes the one that entices them the most, even visually.
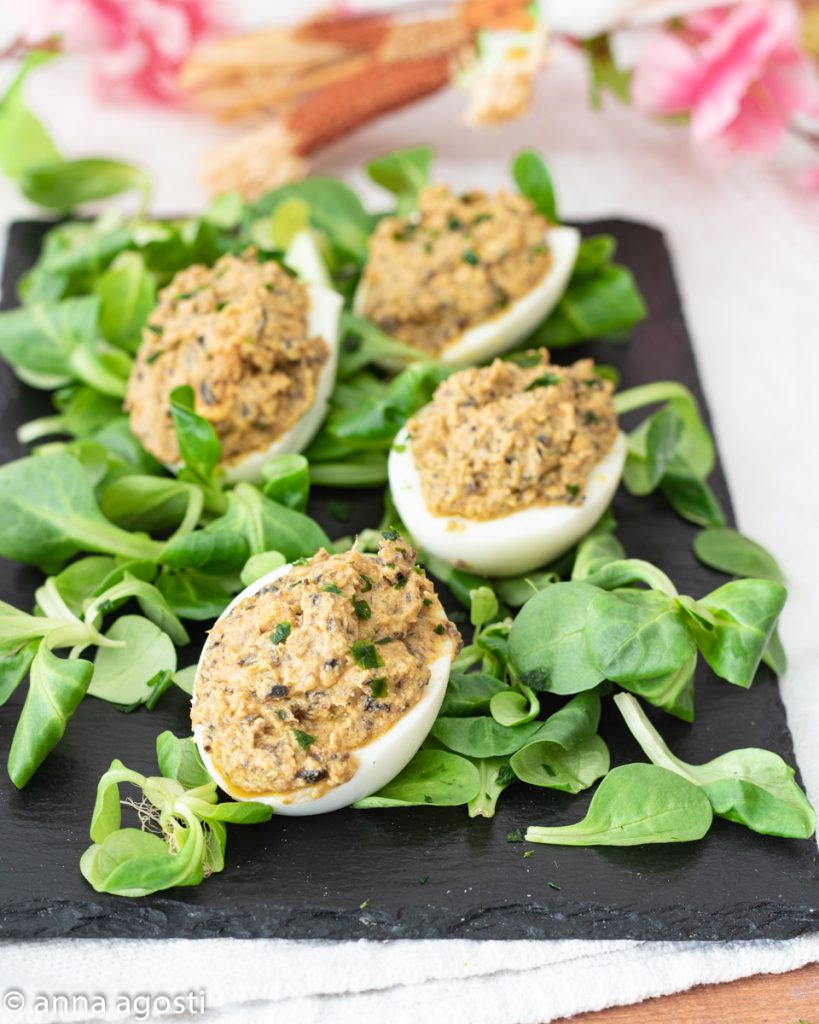
Let’s go right after the photo as always to discover how to prepare the Deviled Eggs😉
See you soon with the next recipe, Ana Amalia!
- Difficulty: Very Easy
- Cost: Very Economical
- Preparation time: 15 Minutes
- Portions: 4 People
- Cooking methods: Stovetop
- Cuisine: Italian
- Seasonality: All Seasons, Easter
Ingredients for Deviled Eggs
- 4 eggs (large)
- 0.7 oz anchovies in oil
- 3.5 oz tuna in oil
- 1 tsp capers in salt (rinsed and drained)
- 0.7 oz black olives (pitted)
- to taste chopped parsley
- 1 fresh chili pepper
- 1 pinch smoked paprika
Tools
- 1 Immersion blender
- 1 Small pot
- 1 Teaspoon
- 1 Piping bag
Preparation of Deviled Eggs
First, focus on cooking the eggs. If you want a perfect result without cracks, follow my [guide on how to boil eggs perfectly]
Once ready, cool them immediately in very cold (or iced) water: this trick will help you peel them without damaging the egg white.
2. Extraction of yolks: Carefully peel the eggs, cut them in half lengthwise, and remove the yolks.
Set them aside in a small bowl, being careful not to break the “cradle” of firm egg white that will later hold the filling.
In the cup of an immersion blender or a blender, put the anchovies, well-drained tuna, and black olives.
Rinse the capers very well to eliminate excess salt (you can also use those in oil or vinegar, well-drained) and add them to the blender along with the fresh chili pepper, making sure to remove the internal seeds to adjust the spiciness.
Start blending until you get a creamy but still slightly coarse mixture. At this point, incorporate the firm yolks, paprika, and half of the chopped parsley. Blend again to mix the flavors well.
My tip: If the mixture seems too firm, add a tiny bit of extra virgin olive oil (I find it delicious to use the tuna oil if it is of good quality) to reach the ideal consistency.
Transfer the mixture into a piping bag fitted with a star tip for a more elegant effect, or simply proceed with a teaspoon if you prefer a more rustic look.
Arrange the egg whites on a serving platter and fill them abundantly. Finish with a sprinkle of the remaining parsley and, for a touch of color, serve on a bed of fresh salad.
Storage and Variations of Deviled Eggs
In the refrigerator: You can store the deviled eggs in the refrigerator, in an airtight container, for up to 24 hours. I recommend adding them to the platter and decorating them with parsley just before serving, to prevent the filling from drying out on the surface.
Make ahead: If you want to get ahead, you can boil the eggs the day before and store them (whole and with the shell) in the fridge. The cream can also be prepared in advance and stored in a well-sealed piping bag.
Milder version: If you don’t like chili, you can replace it with fresh chives or mild mustard to keep a strong flavor but less “fiery”.
Crispy touch: For a contrast in texture, try adding a piece of crispy bacon (browned in a pan) or pistachio granules on top of each egg.
Without tuna: If you prefer a different version, you can replace the tuna with cream cheese or mayonnaise, obtaining an even silkier texture.
Vegetarian variant: Omit tuna and anchovies and work the yolks with blended sun-dried tomatoes in oil and a chop of olives and capers: the flavor will still be intense and “devilish”!
Other Recipes
🖥If you want to see other types of recipes you can go back to HOME
📲If you don’t want to miss any recipe you can follow me on my Facebook Page, just activate the notifications and you’ll see how many new recipes every day.
FAQ (Questions and Answers)
Can I prepare the filling without the mixer?
Certainly! If you prefer a more rustic texture, you can mash the yolks with a fork and finely chop the tuna, anchovies, olives, and capers with a knife. Then mix everything energetically in a bowl until you obtain a homogeneous mixture.
How do I keep the eggs from moving on the platter?
A professional trick: if the eggs tend to slip, cut a tiny slice of egg white from the outer base (the part resting on the plate). This will create a flat surface that makes the egg perfectly stable.
The filling is too runny, what did I do wrong?
Perhaps the tuna or capers weren’t drained well. Don’t worry: you can fix it by adding another hard yolk or a teaspoon of cream cheese or mayonnaise to thicken the mixture.
Why does the yolk have a greenish ring?
This happens when the eggs cook for too long. To avoid this discoloration and keep the yolk a nice bright yellow, follow the exact times in my boiled egg guide (usually 8-9 minutes from when it starts boiling).
How far in advance can I fill the eggs?
The ideal is to fill them no more than 2-3 hours before serving. If you do it too early, the egg white might start releasing moisture, and the filling might form a dark skin on the surface.