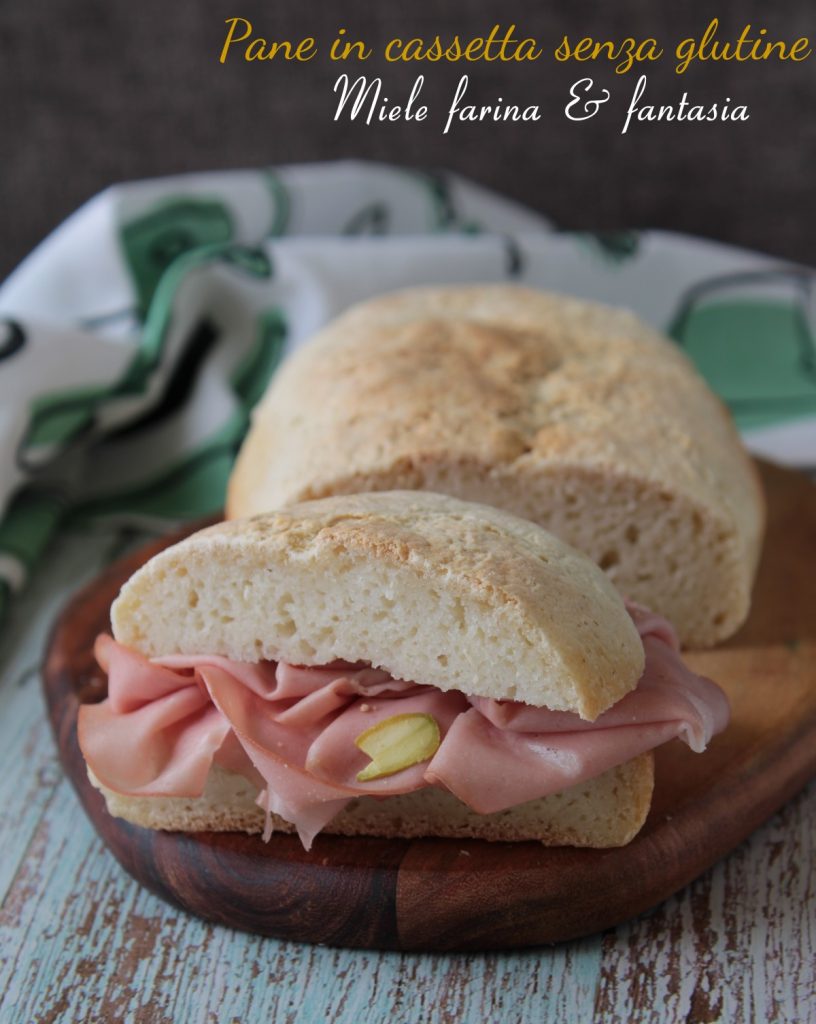
Today we’re talking about loaf bread gluten-free, fragrant, soft, and tasty, as well as very easy. I simply love to do the so-called “scarpetta” with bread, to mop up sauces and gravies from dishes like Neapolitan ragù, roasts, and so on. The loaf bread is also perfect for breakfast, sweet or savory, or to make a rich and succulent sandwich. Even if it doesn’t look perfect, I assure you it’s delicious.
- Difficulty: Easy
- Cost: Medium
- Rest time: 6 Hours
- Preparation time: 15 Minutes
- Portions: 10
- Cooking methods: Oven
- Cuisine: Italian
- Seasonality: Fall, Winter, and Spring
Ingredients
- 13 oz universal gluten-free flour
- 1 cup warm water
- 0.18 oz fresh gluten-free yeast
- 5.29 oz cold mashed boiled potatoes
- 1.7 tbsp vegetable oil
- 0.18 oz fine salt
- to taste vegetable oil or rice flour for the table
Tools
- 1 Mixer
- 1 Pan
Steps
Prepare the dough
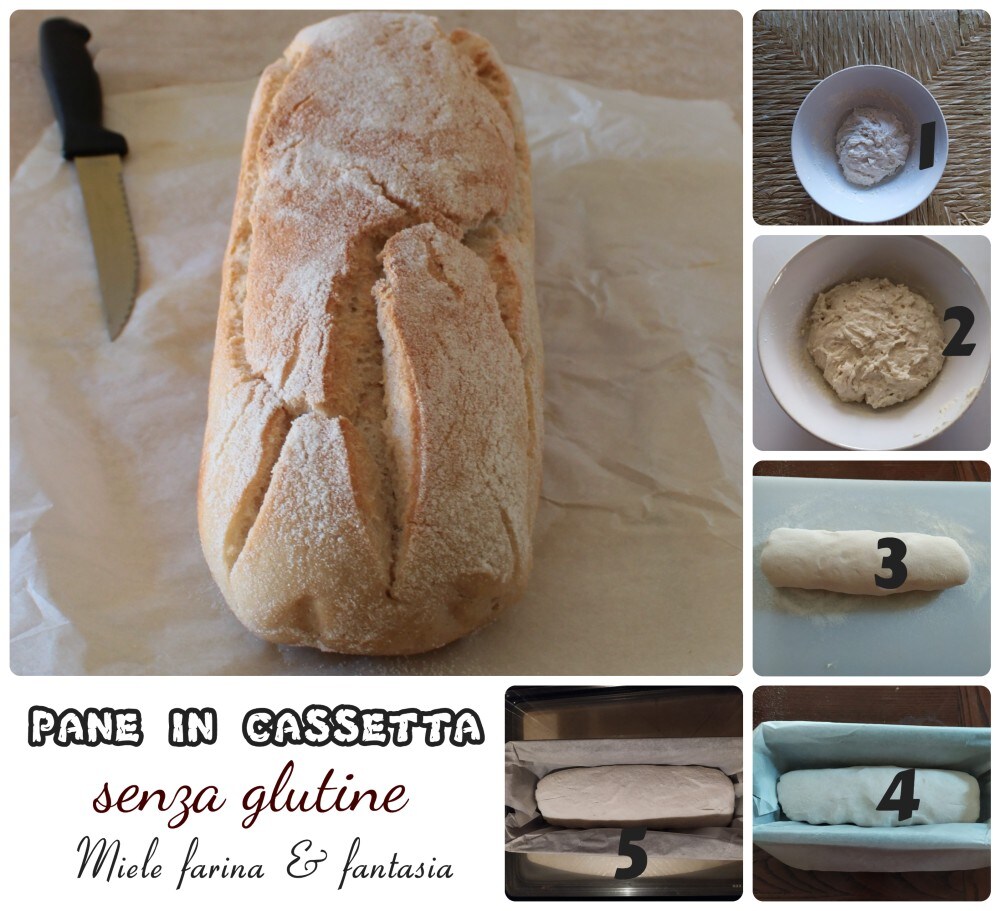
1) In a large bowl or the bowl of a stand mixer (choose how to knead your gluten-free loaf bread), dissolve the yeast with a tablespoon taken from the 1 cup.
2) Combine the flour, cold mashed potatoes, warm water (make sure it is not boiling, just lukewarm), salt, and mix coarsely. Finally, add the oil and knead long enough to absorb all the ingredients (resist the temptation to add water, as in the first few minutes, it may seem that the flour cannot be absorbed). In the end (after about 5-7 minutes), you will get a firm and sticky dough. As it happens with glutinous flours, not all gluten-free mixes absorb liquids in the same quantity, and it may be necessary to add a little more or a little less than the amounts indicated, so I suggest adding them little by little.
Do not prolong the kneading process; stop as soon as all ingredients, including the flour, are absorbed, because gluten-free flours, if kneaded for too long, tend to release the absorbed moisture, becoming almost creamy.
3) Grease the bowl with a little vegetable oil and place the dough to rise, sealing the bowl well with plastic wrap and wait for it to rise.
4) When the dough has almost doubled in size, sprinkle or oil the work table and transfer the dough, letting it gently fall from the bowl. Shape it into a loaf, a cylinder, or round like a bun.
5) Place it in a loaf pan (already lined with parchment paper) of 10 inches in length for a taller loaf or 13 inches for a shorter loaf, like mine.
6) Cover the pan with plastic wrap and let it rise again.
7) When the bread has almost reached the edge of the pan, preheat the oven to 340°F.
If the dough hasn’t yet reached the top edge but has small cracks or bubbles on the surface, it should be baked immediately.
8) Before baking our bread, it’s necessary to flip the risen dough; that is, take the dough out of the pan along with the parchment paper and place them on a cutting board.
9) Now, cover the top of the dough with a sheet of parchment paper and then place the loaf pan on top. With the help of the cutting board, flip the dough back into the pan, so that the part that was on top is now on the bottom of the pan.
This step is necessary to ensure that the gases from the rising distribute evenly, for better development during baking.
10) Bake the pan on the middle rack in the preheated oven.
Let it cook for about 45 minutes, checking the baking, as each oven has different temperatures.
When the gluten-free loaf bread appears evenly golden, take it out and let it cool.
It keeps well closed in a food bag.
This content contains one or more affiliate links
In the preparation of bread, pizzas, or sweets, I prefer to use either the universal gluten-free flour mix, suitable for all uses or specifically for bread and pizza, already mixed and ready to use – which can be found in stores specialized in celiac products and in more stocked supermarkets – as I find it more balanced in taste and aroma; that’s why among the ingredients I haven’t specified a particular gluten-free flour (such as amaranth, corn, cassava, and so on).