Here’s another pantry cake, the Two-Tone Bundt Cake, baked in an air fryer. One of those cakes that should never be missing at breakfast or as a delicious snack.
An easy-to-make cake, without butter, with a batter based on eggs, flour, yogurt, seed oil, and cocoa added to half of the batter to create a two-tone or marbled effect. You can choose fruit or coconut yogurt, like the one I’ve used, but strawberry or berry yogurt (my favorite) works perfectly as well. For a light version like this, use low-fat yogurt; otherwise, full-fat is fine too. The important thing is to use both the yogurt and the eggs at room temperature or take them out of the fridge at least 30 minutes before preparing the cake.
If you like simple and quick cakes, and especially bundt cakes, try the 7-jar Coconut Bundt Cake and the Carrot, Apple, and Lemon Bundt Cake in Air Fryer. For a super delicious and chocolatey version, this Cocoa Bundt Cake is amazing
Follow all the steps to achieve a perfect bundt cake. You can also bake it in the oven; find the instructions at the end of the recipe.
If you like my sweet recipes, also check these:
- Difficulty: Very easy
- Cost: Very cheap
- Preparation time: 10 Minutes
- Portions: 9-inch/10-inch pan
- Cooking methods: Air frying
- Cuisine: Italian
- Seasonality: All seasons
Ingredients
- 2 cups all-purpose flour
- 1 container plain white yogurt (low-fat, room temperature)
- 2 containers sugar
- cup unsweetened cocoa powder
- 1 container vegetable oil
- 3 eggs (room temperature)
- 1 pinch salt
- 1 package baking powder
Follow us on Facebook! Here is our page: https://www.facebook.com/AmicheFriggyeNonSolo/
Tools
- 1 Bundt cake pan 9-inch/10-inch
- 1 Electric whisk
- 1 Air fryer
If you enjoy cooking with the Air Fryer, join us! We are waiting for you in our Ninja – Combi and Fryers – recipes and more group
Steps
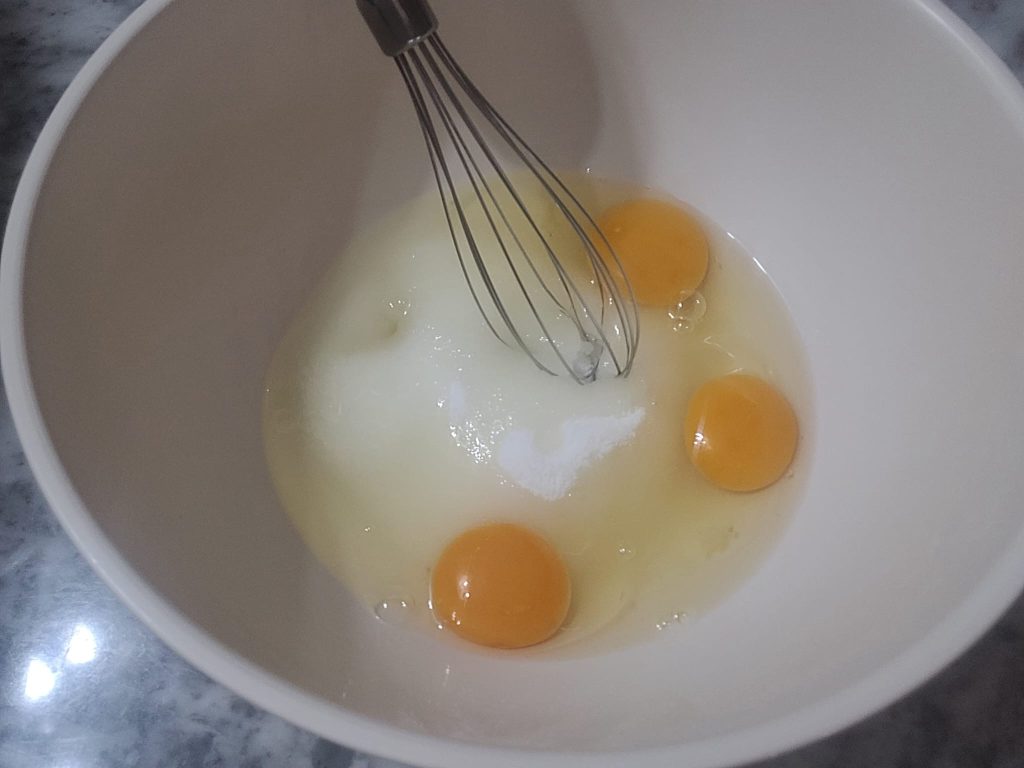
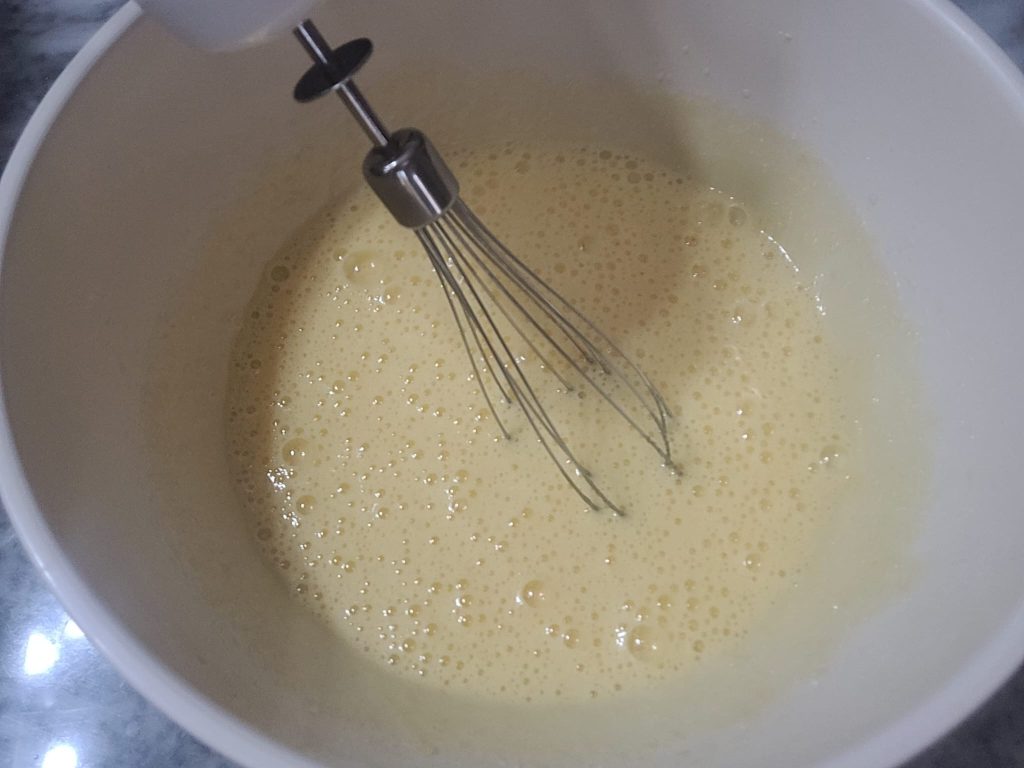
Before starting, remember to use room temperature yogurt and eggs. Pour the yogurt into a small bowl and set aside, wash and dry the container. In another large bowl, pour the 2 containers of sugar, add the eggs, and whisk with an electric mixer until you get a light and frothy mixture
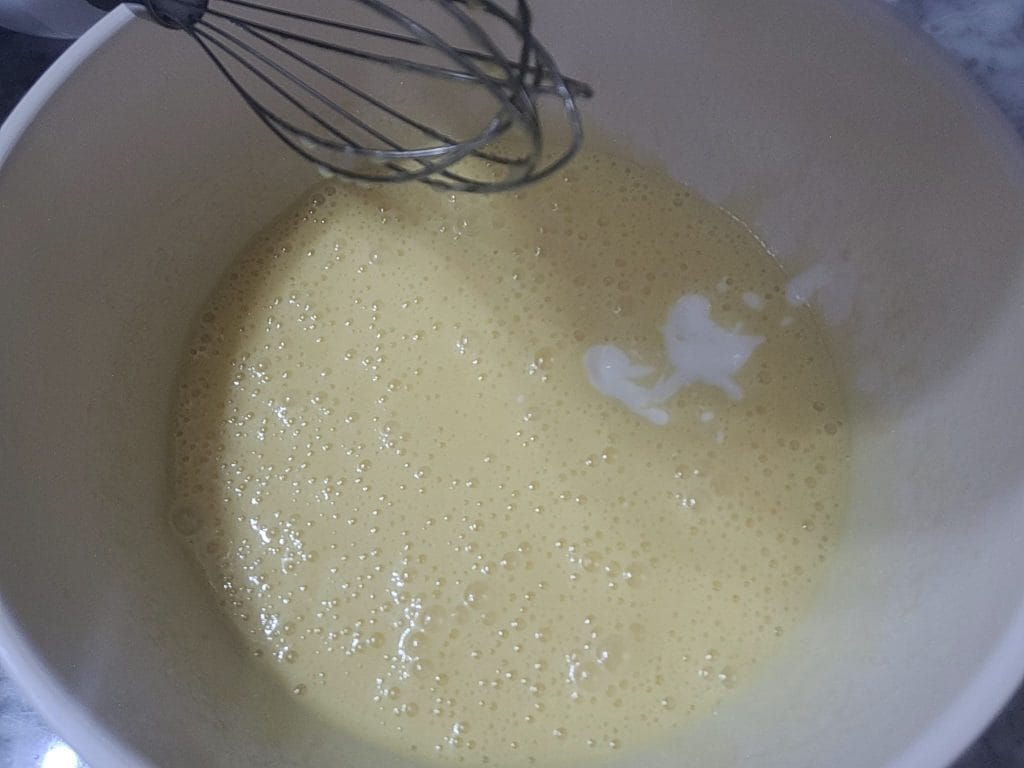
Add the vegetable oil slowly and continue to whisk the mixture for a few minutes
Now incorporate the yogurt and mix again
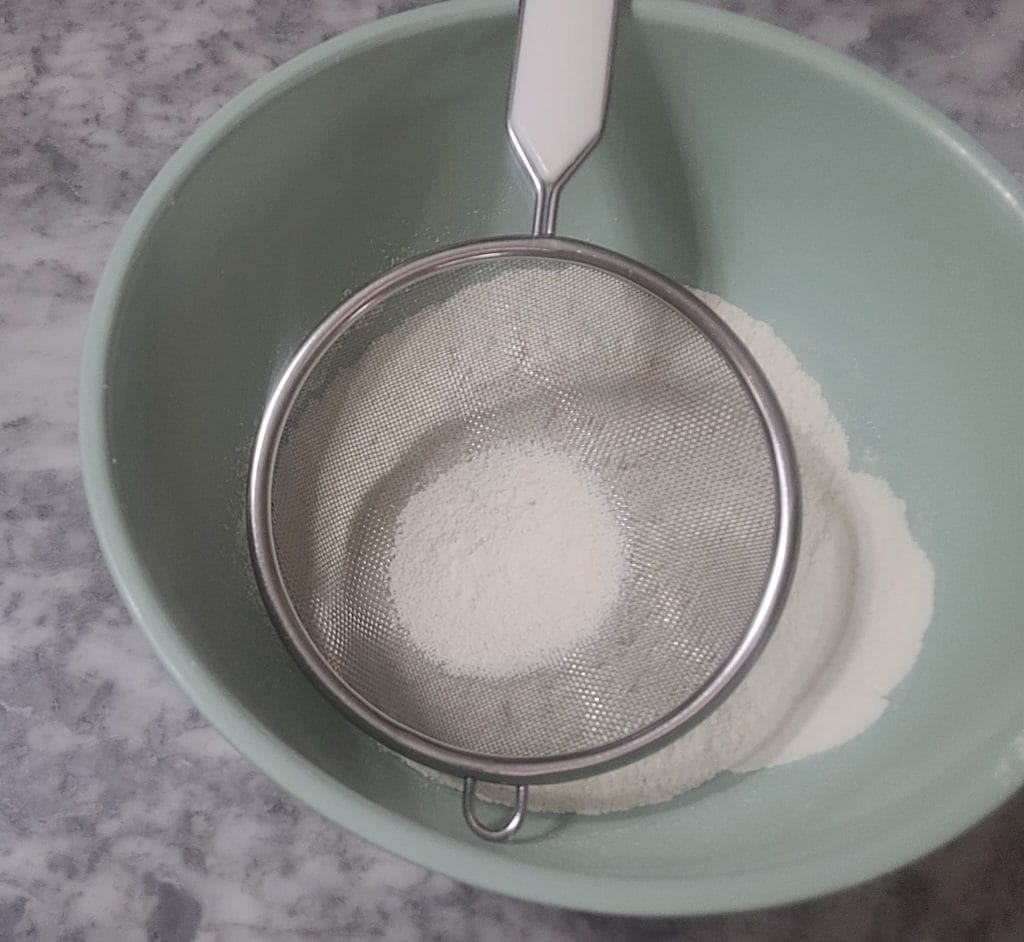
In another bowl, sift the flour and baking powder and add a pinch of salt
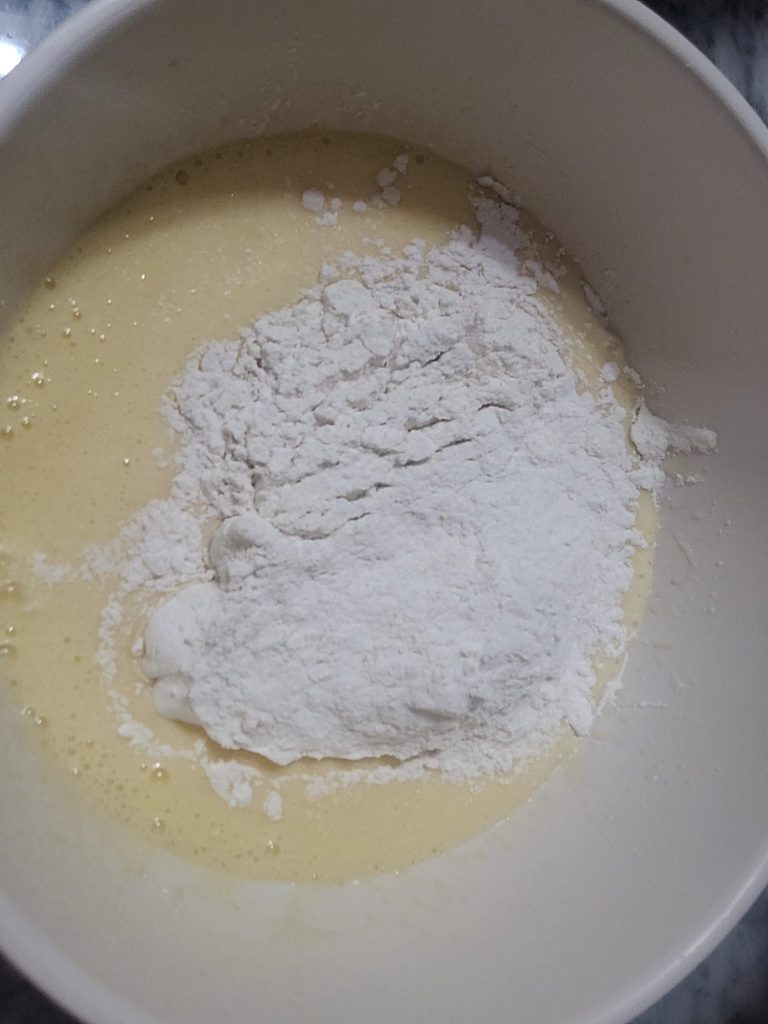
Combine it all with the egg, sugar, and yogurt mixture and mix until you obtain a smooth and homogeneous mixture without lumps
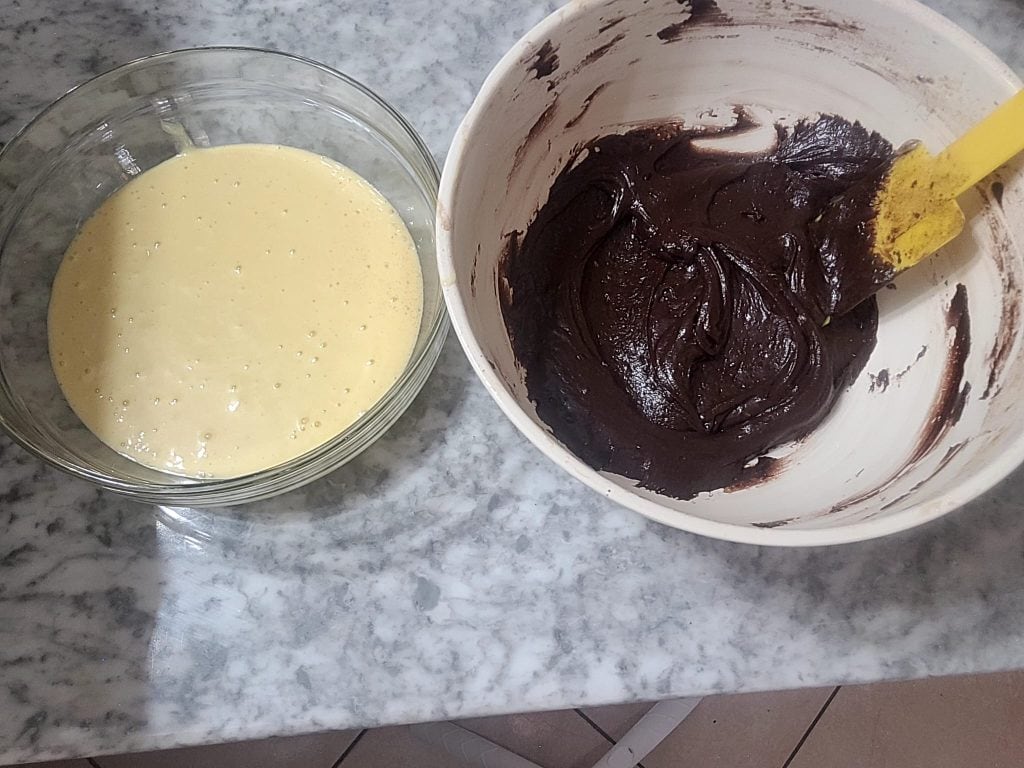
Take another bowl and divide the obtained mixture, adding the sifted cocoa to one of the bowls. Mix well with a spatula
Butter and flour the pan and start by pouring a part of the plain mixture
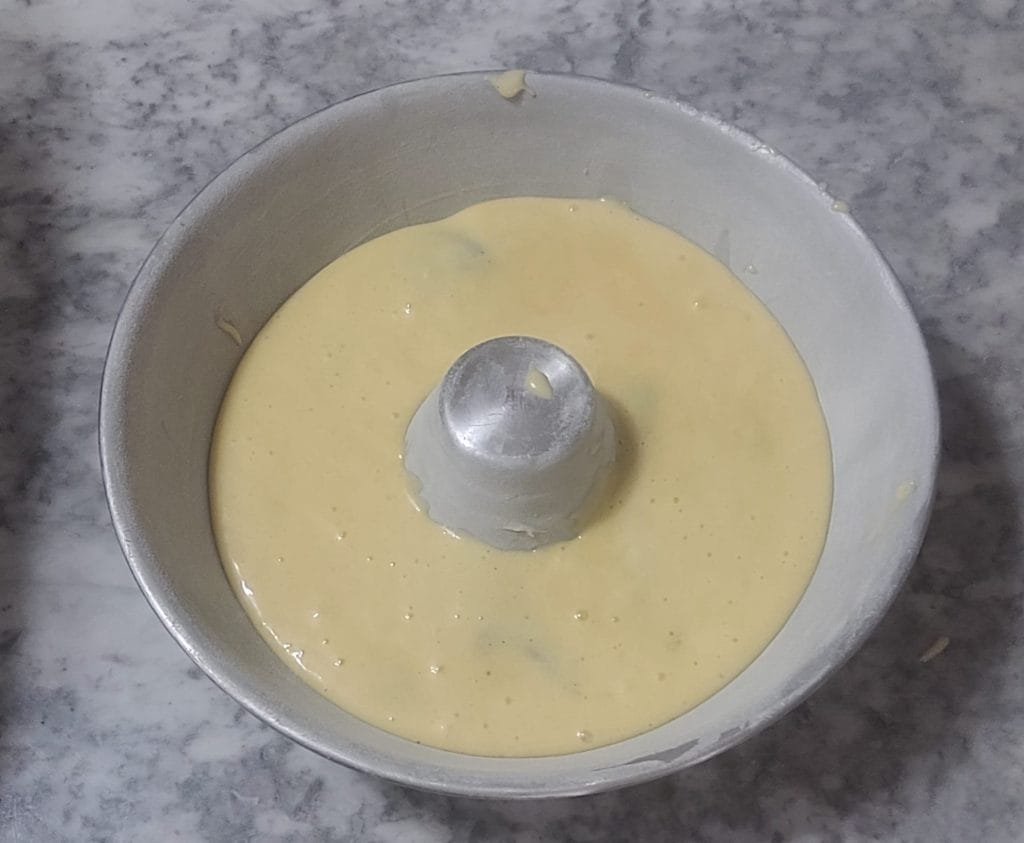
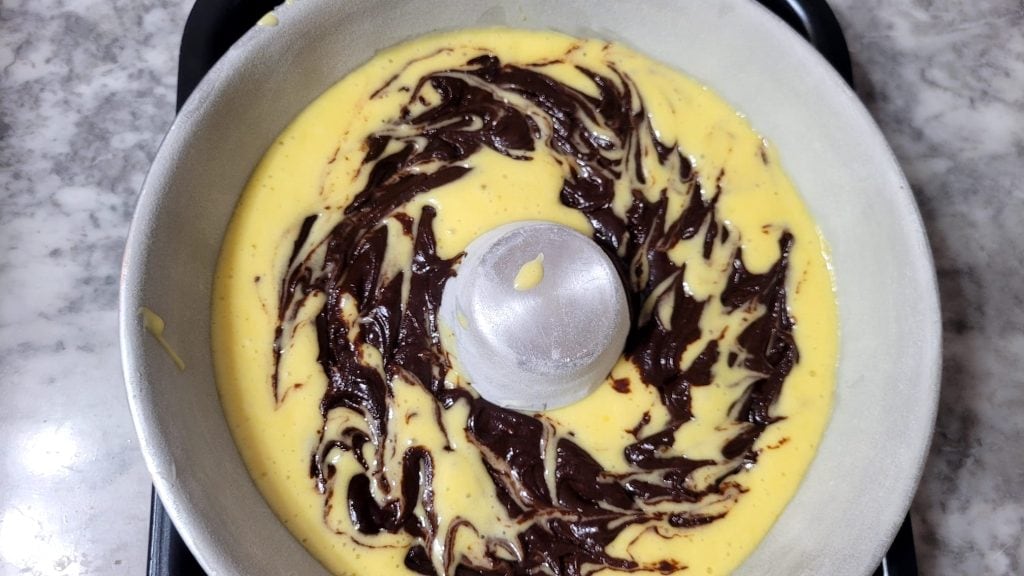
Now alternate the two batters inside the pan: start by adding a part of the plain mixture, then the cocoa one, cover with the remaining plain mixture, and finish with the cocoa one. Run a skewer or the tines of a fork over the surface to create a marbled effect
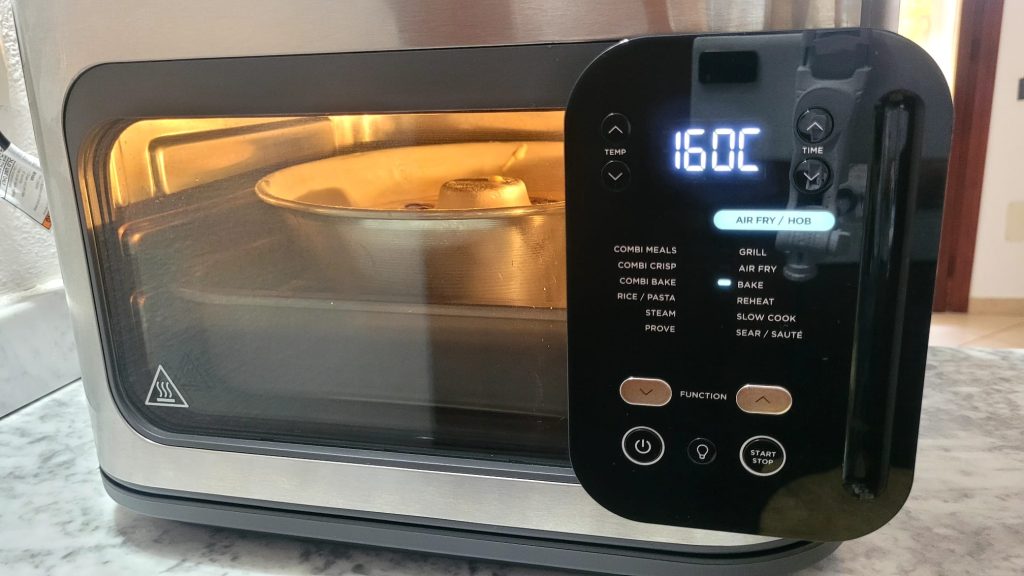
Preheat the air fryer to 320°F for 2–3 minutes and place the cake on the perforated grill. Bake at 320°F for 30–35 minutes, performing the toothpick test
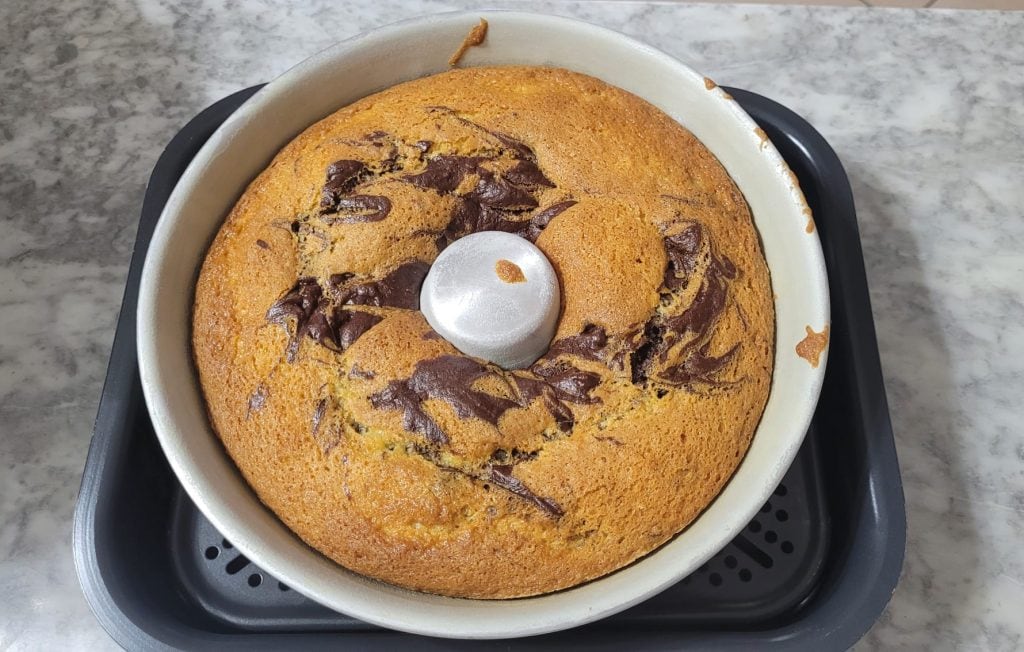
Remove the bundt cake from the fryer and let it cool completely before taking it out of the pan
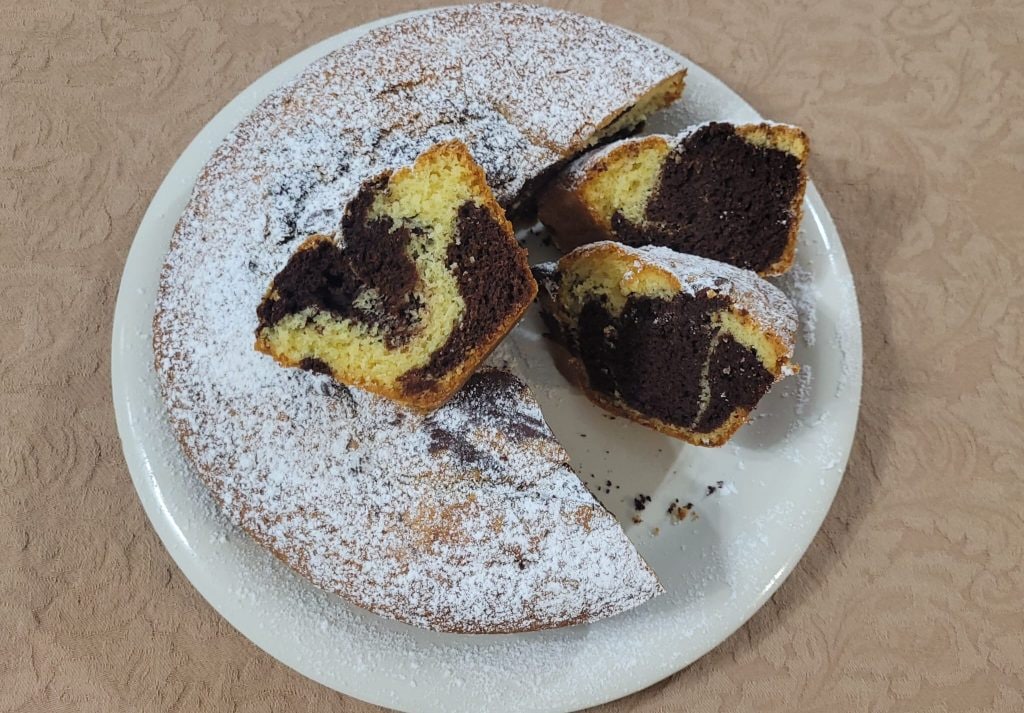
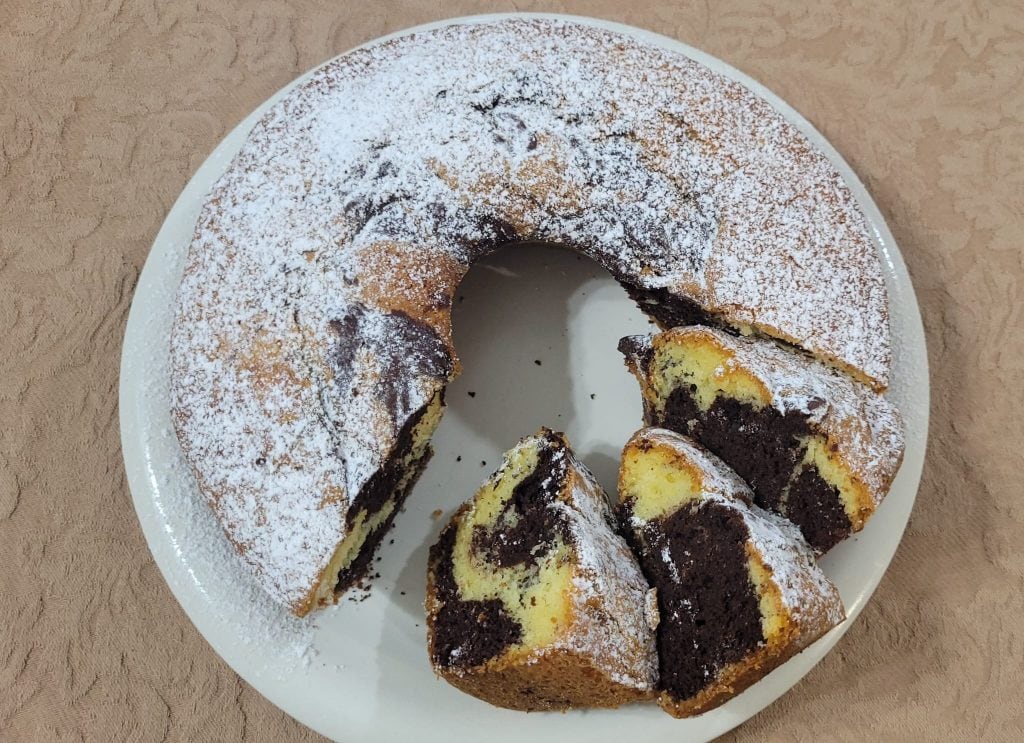
Sprinkle the surface with powdered sugar

Now your two-tone bundt cake is ready to enjoy
Baking the Two-Tone Bundt Cake in Oven
To bake the Two-Tone Bundt Cake in the oven, preheat the oven to 350°F and bake at 350°F for 35–40 minutes, always performing the toothpick test
Storing the Two-Tone Bundt Cake
The Two-Tone Bundt Cake can be stored for several days at room temperature, up to a week. Cover it with a lid and/or dome or on a plate covered with plastic wrap
