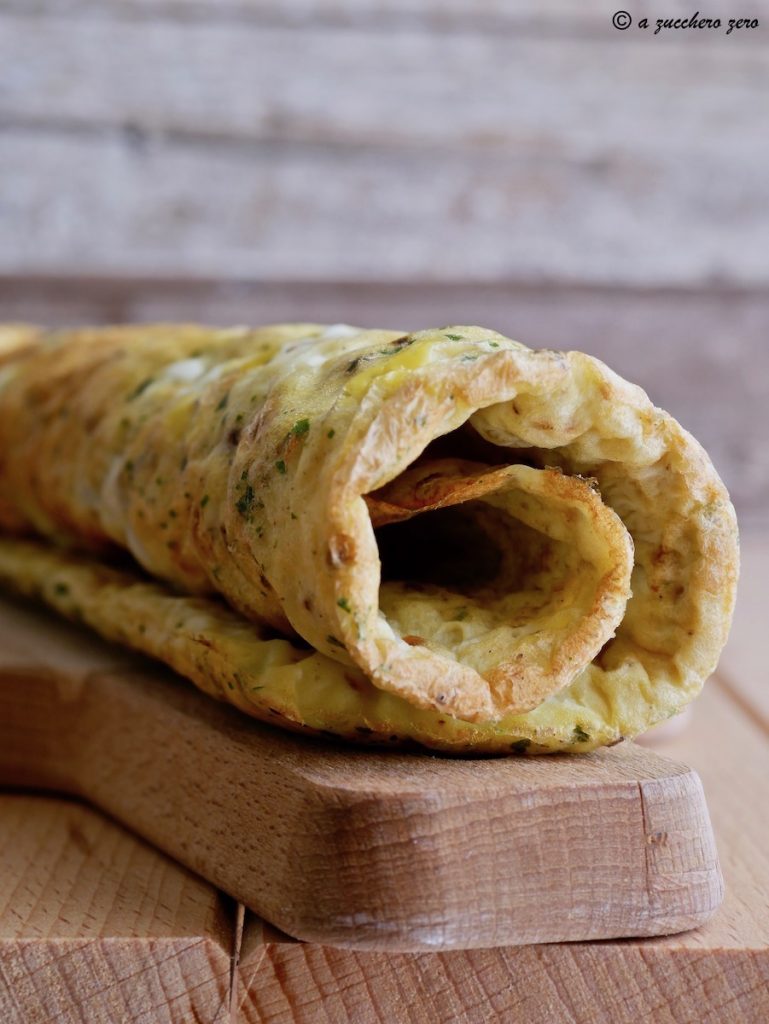
The baked omelette roll cooks in 10 minutes, versatile: to customize and fill.
I do not add cheese to the egg as I do not like the combination of the two foods.
You can customize:
• both the omelette roll;
• and the filling;
using herbs, spices, and vegetables.
To be filled cold with raw and cooked vegetables [steamed, boiled, grilled, or oven-baked] avoiding the combination with additional protein sources like cheeses and cured meats, thus obtaining a light summer dish that can be consumed as an appetizer or a second course.
Egg classification by weight
• XL very large: 73 g and above; • L large: from 63 g to 73 g; • M medium: from 53 g to 63 g; • S small: less than 53 g.
Consider one egg per person, sometimes I use two because they are small-sized.
It’s useful to know that washing eggs removes their protective layer, making the shell, porous, more easily attacked by bacteria.
Therefore, if the shell is dirty, you can clean it dry [for example with a paper towel] before storage and, only at the time of use, you can clean it with a damp paper towel.
- Difficulty: Easy
- Cost: Cheap
- Preparation time: 10 Minutes
- Portions: 2 People
- Cooking methods: Electric oven
- Cuisine: Italian
Ingredients
- 4 eggs
- 1 pinch salt
- 1 pinch mixed peppercorns (with grinder)
- to taste parsley (chopped)
- 2 tablespoons whole wheat breadcrumbs
Tools
- Baking Tray 10×11.5 inches
- Parchment Paper
- 1 Bowl
Preparation
Prepare a baking tray.
It is essential that it is level so that the beaten eggs spread evenly across the surface, or you will have a base of irregular thickness.
Carefully line the baking tray with a sheet of parchment paper, paying special attention to the corners.Break the eggs and pour them into a bowl.
Add a pinch of salt for each egg, grind the pepper, and add the parsley.
Optionally, know that some chopped sun-dried tomatoes go divinely well!
Beat everything with a fork.You can customize your roll to taste by adding and incorporating:
• herbs and spices;
• leafy vegetables, vegetables in pieces, or chopped [from spinach to zucchini].Sprinkle a layer of whole wheat breadcrumbs on the parchment paper [to make the base detach more easily from the parchment paper].
Pour the beaten eggs over the breadcrumbs and spread them until they cover the corners without mixing.Preheat the oven briefly.
Bake at 355°F (180°C) for 10 minutes in a ventilated oven until uniformly golden.Wait a few seconds for the base to deflate, then remove it from the tray with the parchment paper and transfer it to a cool surface.
When it is cold, gently peel it off the parchment paper and flip it [the side with the breadcrumbs goes inside the roll].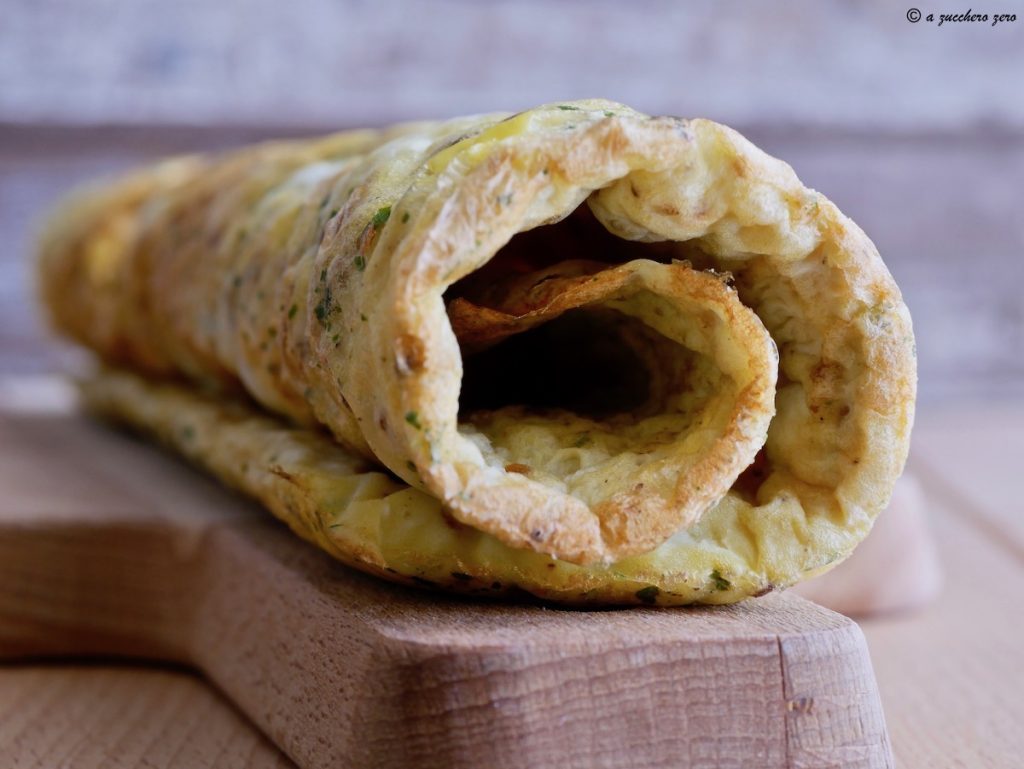
To be filled cold with raw and cooked vegetables [steamed, boiled, grilled or oven-baked] avoiding the combination with additional protein sources like cheeses and cured meats, thus obtaining a light summer dish that can be consumed as an appetizer or a second course.
Roll the filled base onto itself to form the roll.
Wrap the roll with the same parchment paper and close it like a candy to maintain its shape.Optionally store in the fridge.
Take the roll out from the fridge about half an hour before consuming it.To be served in slices.
Plate.
Your baked omelette roll is ready.Enjoy!
Notes
Hyperglycemia, prediabetes, and diabetes.
Here you will find dedicated recipes.
Remember:
• start the meal with a generous portion of vegetables [raw or cooked];
• a balanced meal must contain all nutrients: carbohydrates, proteins, fats & fibers;
• always prepare it in respect to the proportions and combinations indicated in your diet plan.
***
DO NOT COPY AND PASTE MATERIAL FROM THE BLOG in general and particularly ON SOCIAL PROFILES AND GROUPS [photos, ingredients, procedure – NOT EVEN IN SUMMARY FORM]: it is correct to share your photos of the recipes made by indicating the source, i.e., linking the blog where you can read the complete recipe.
FOR REASONS OF COPYRIGHT AND ALSO FOR THE HARD WORK THAT IS BEHIND.
Thank you.