Cooking beans: here’s how to do it simply using the pressure cooker.
My basic recipe for cooking beans perfect as soup or as a base for appetizers, first or second courses.
Additionally, beans can be used in preparing creams and chocolate desserts instead of flour.
If fresh beans naturally do not require soaking.
If dried beans need a soak of 12-24 hours, during which it is good to change the water a couple of times and then rinse them well before cooking.
Cooking with a pressure cooker.
Cooking beans in a pressure cooker reduces cooking times and makes them softer and more digestible.
- Difficulty: Easy
- Cost: Economical
- Rest time: 12 Hours
- Preparation time: 20 Minutes
- Portions: 2 People
- Cooking methods: Pressure cooker
- Cuisine: Italian
Ingredients
- beans (2 servings, weight according to dietary scheme)
- water (equal to two times the volume of the beans)
- to taste salt
- 1 drizzle extra virgin olive oil (raw)
I usually prepare more servings to have a convenient stock to freeze [meal prep].
Suggested Tools
- 1 Colander fine mesh
- 1 Bowl or salad bowl
- Pressure cooker
Preparation
Cleaning fresh beans
Shell the beans, extract the legumes from the pod and rinse them thoroughly.Cleaning dried beans
Spread the beans on a work surface and check them carefully, removing any impurities or small stones.If fresh beans naturally do not require soaking.
If dried beans need a soak of 12-24 hours, during which it is good to change the water a couple of times and then rinse them well before cooking.The soak serves to make the beans soft and to release anti-nutrient substances in the water.
The soaking water should not be used for cooking.– wash and rinse the dried beans well until the water is clear;
– soak for about 12 hours, changing the water a couple of times;
– rinse the hydrated beans well before cooking.Anti-waste tips
Use a colander to drain the legumes and collect the soaking water to water plants; not for food use.The hydrated and cleaned beans are ready to be poured into the pot.
Premise
– always consult the manual of your pressure cooker;
– check that valves and seals are clean;
– do not exceed the maximum limit indicated inside the pot.Cooking in a pressure cooker
In the pressure cooker, pour:
– fresh beans or hydrated dried beans;
– water equal to two times the volume of the beans.Close the pot.
Always remember to check that the seal is well positioned and the valve is free.Bring to a boil over medium-high heat until the pot comes under pressure and the valve emits the classic whistle.
Once under pressure, lower the flame and cook for:
– about 15 minutes if fresh beans;
– about 20 minutes if hydrated dried beans.
Turn off the heat, let the steam release completely then open the lid carefully and away from the face.Add the salt: now and not at the beginning of cooking to prevent the outer shell of the legumes from hardening, making the cooking longer.
For those with electric pressure cookers like Instant Pot, the steps are similar but the commands vary: e.g. “Pressure Cook” for 15 or 20 minutes + natural steam release.
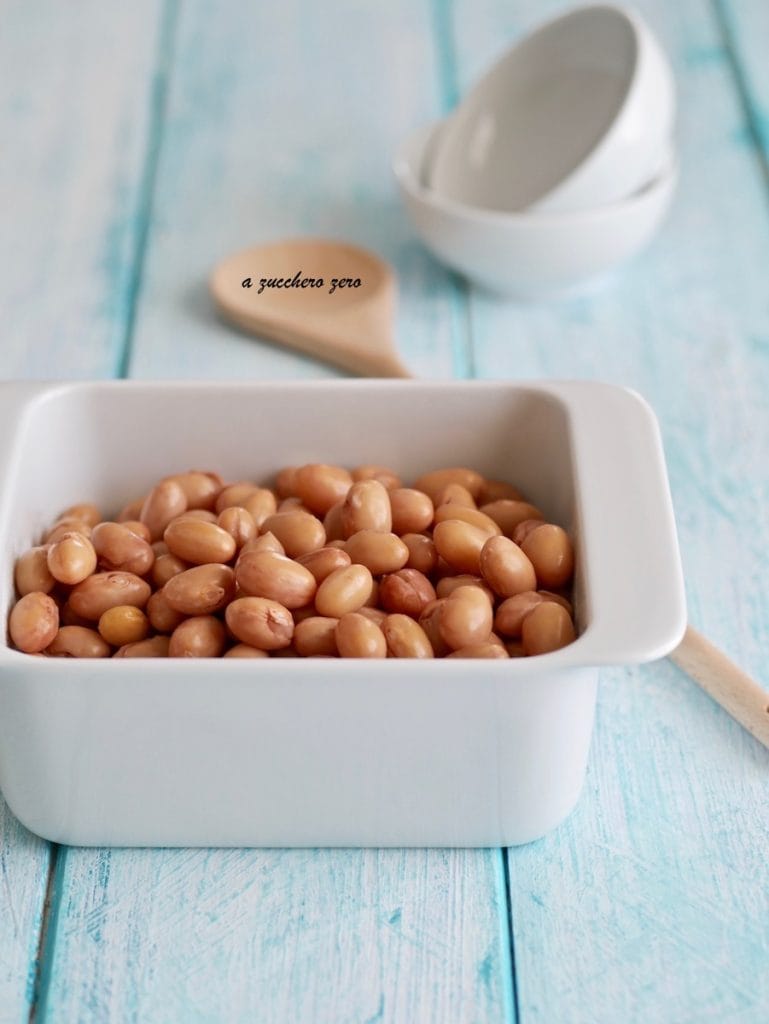
Your digestible and light beans are ready.
In the basic recipe perfect as soup or as a base for appetizers, first or second courses.
Additionally, beans can be used in preparing creams and chocolate desserts instead of flour.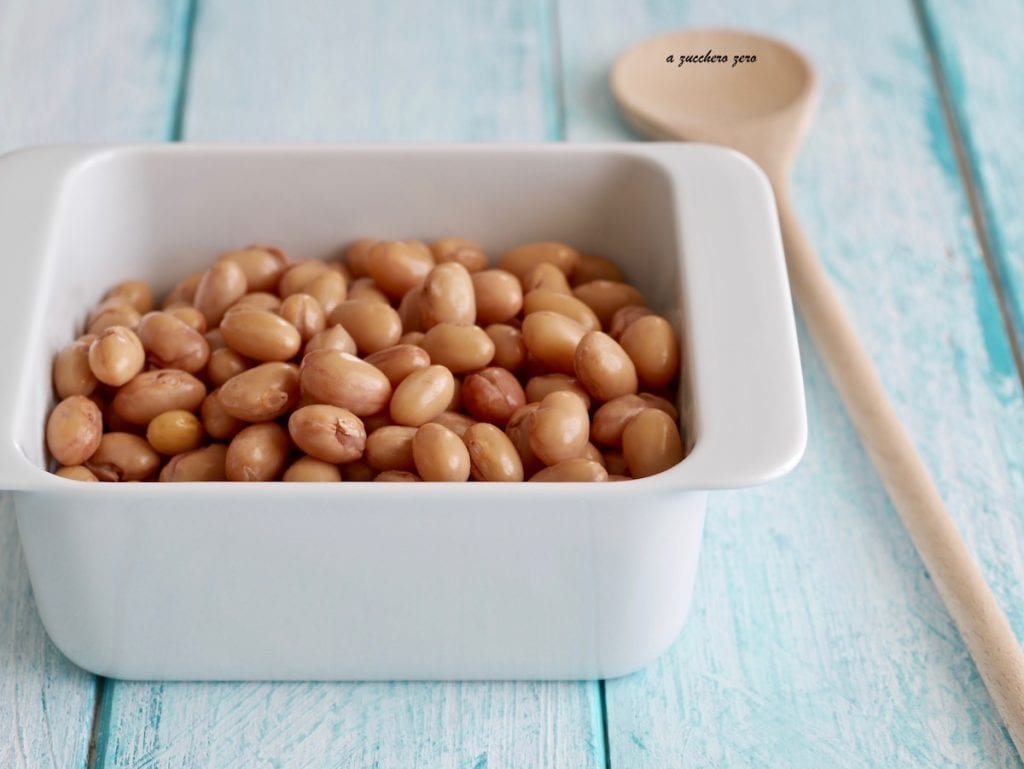
Plate and complete with a drizzle of raw extra virgin olive oil to enjoy them at their best.
Enjoy your meal!
Pass the cooked beans through a food mill: it ensures separation from the skins without forming air bubbles.
This method is valid for all varieties of fresh and dried beans for example cannellini beans, black-eyed peas, Spanish white beans, black beans.
Cooking times vary slightly depending on the type chosen.This method is also valid for chickpeas and fava beans.
For lentils, split lentils and split peas or mixed legumes, I use the IMCO or traditional pot instead.
Storage, Tips and Variations
Being a basic recipe I cook the beans simply.
Store cooked beans in airtight containers:
– in the fridge for up to 2-3 days;
– in the freezer for up to 3 months.
It is advisable to drain the legumes before freezing them: it may cause a slight loss of nutrients but in the context of freezer storage, it’s a useful choice:
– better preservation without ice crystals;
– faster defrosting;
– versatility: drained legumes are more practical to use in different recipes.
The amount of nutrients lost is minimal: most of the nutrients remain in the legume itself, and many of these substances would degrade anyway during freezing and subsequent reheating.
Let the legumes cool completely, drain them and portion them.
If you want to recover everything, you can use the liquid immediately or freeze it separately.
When defrosting, you can replenish the liquid by adding water or vegetable broth.
If you plan to use them in brothy dishes like soups or purees, you can freeze them with a little of their cooking liquid ensuring the container is suitable and there’s space for expansion.
FAQ (Questions and Answers)
Tips on how to pair legumes
– legumes + cereals [example: bread, pasta or rice], preferably choose whole grains;
– legumes + protein.
Respect the proportions and combinations indicated in your dietary scheme.
To explore the topic further read the article by clicking on the following link: pairing legumes in the diet.How can I make sure the legumes are of Italian origin?
Legumes are often grown abroad and packaged in Italy.
Check carefully that the packages indicate:
Origin: Italy; Grown in Italy; 100% Italian product.
The wording “EU” or “non-EU” means they come from different countries, for example, Canada.When are fresh beans harvested?
Fresh beans are generally harvested from July to September.
Early varieties may be ready as early as June-July while late ones mature around September-October.