Bubble pizza, as I call it, is something enchantingly soft and especially digestible. Little yeast and lots of patience will bring this delicacy to life.
Why do I call it bubble pizza? You will find out from my photos, but above all, I hope you will discover it by making it yourself.
The bubble pizza, you will prepare it with a few grams of fresh yeast and a dough resting time of at least 24 hours.
I assure you, however, that the satisfaction when you bite into it will have been worth the wait.
I used Molino Squillario flour 🌽 to make it. I leave you the direct link to see the wonderful products they produce.
If you love leavened products, you can’t miss ⬇️
- Difficulty: Easy
- Cost: Very cheap
- Rest time: 1 Day
- Preparation time: 50 Minutes
- Portions: 4
- Cooking methods: Oven
- Cuisine: Italian
- Seasonality: All seasons
Ingredients
Let’s see the ingredients we need to prepare the bubble pizza
- water (1 1/2 cups warm)
- fresh yeast (6g)
- flour (4 cups + some tablespoons for the work surface)
- extra virgin olive oil (1 1/2 tbsp)
- fine salt (2 tsp)
Tools
You can make the pizza by hand or in a stand mixer. Choose how you want to make it.
Steps
Let’s see the steps
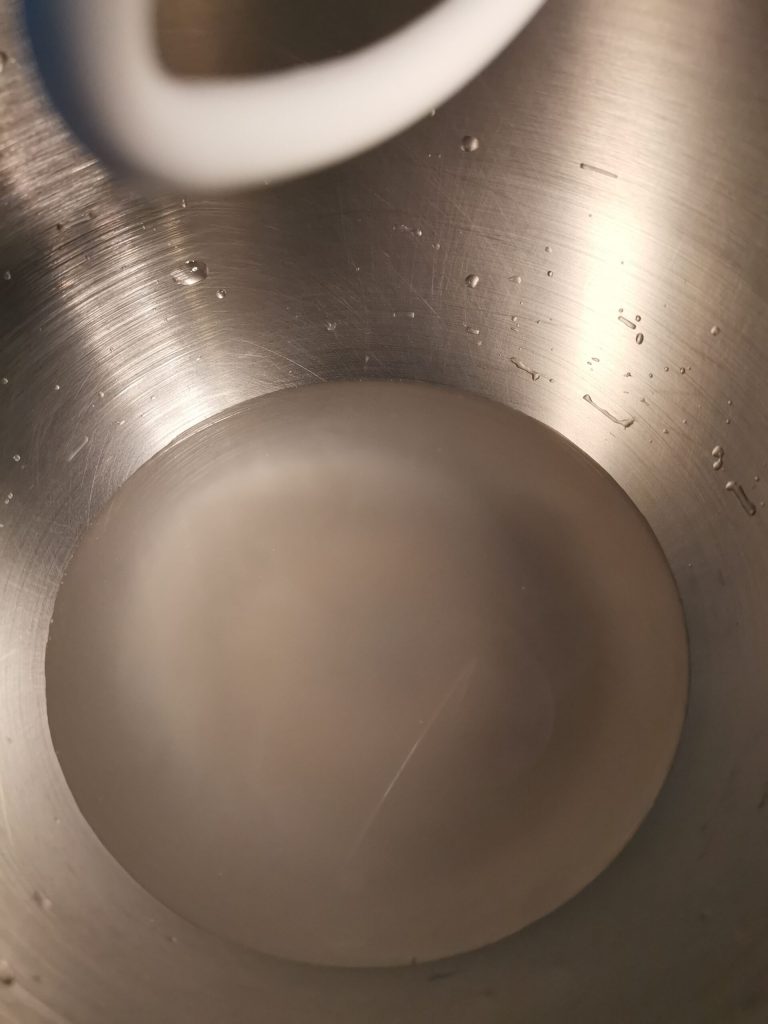
First, take the water, slightly warmed, it should be warm, and dissolve the fresh yeast in it.
Now start incorporating the flour slowly until it’s finished. For making the PIZZA always choose a strong flour.
Therefore, Manitoba flour will be fine, or a flour that indicates W between 240-300 on the package. If you exceed 24 hours of rising, the W should be over 300.
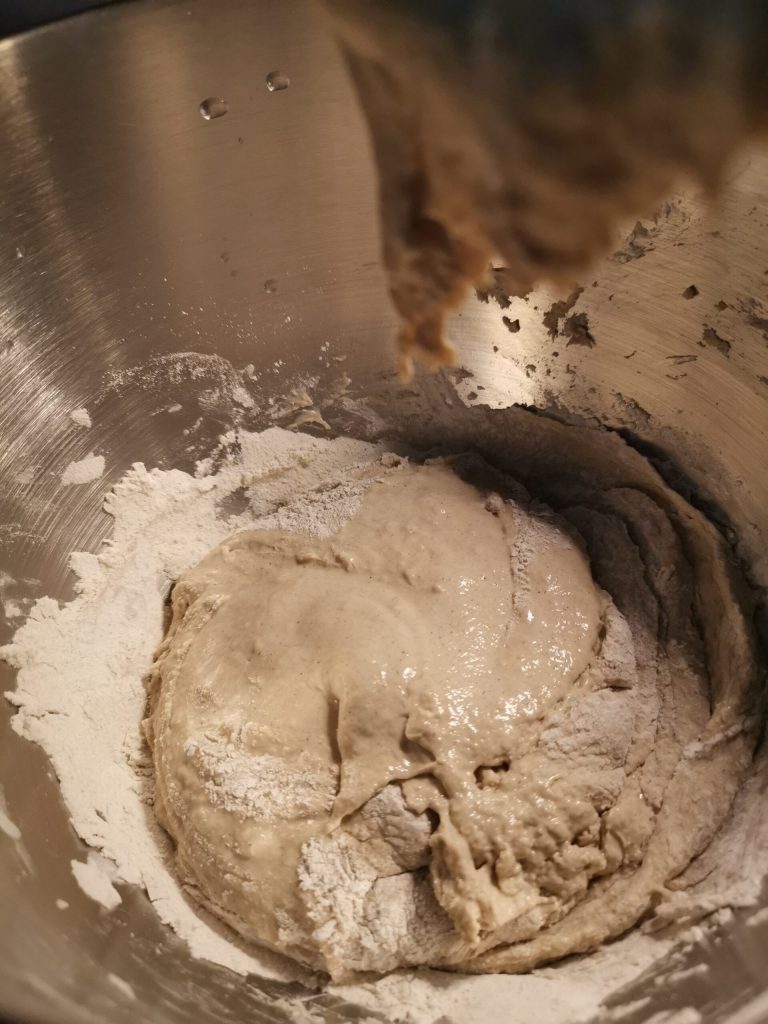
After completing this step, you will see that the dough will be sticky, don’t worry, leave it where you mixed it, cover it, and let it rest for about 15 minutes.
Uncover the dough and add the necessary amount of oil. Combine using the mixer hook or by hand, and after a few minutes, add the salt. Always last, so it doesn’t interfere with the leavening.
As you can see from the image below, the dough will be very hydrated, and this will give it softness. Now, if you weren’t already working it by hand, dust your hands with flour, put some on the work surface where you’ll place the dough, and start making indentations with your hands on the dough (as if you were making indentations for focaccia), then fold the dough over itself from the top.
Imagine you have a rectangle in front of you, and starting from the top edge, fold it over itself, as if you were folding a napkin. This way, the dough will incorporate air.
Perform this operation 2/3 times. To explain better, after making the initial folds described above, turn the dough to form the classic ball and cover it to rest for 15 minutes. After this time, take it again and repeat the folds.
If you visit my Instagram page, you’ll find a video of the pizza preparation, and you’ll see this simple folding operation.
At this point, I divide the dough into two or three pieces, place them in glass containers that I can cover with plastic wrap, and store them in the fridge until the next day.
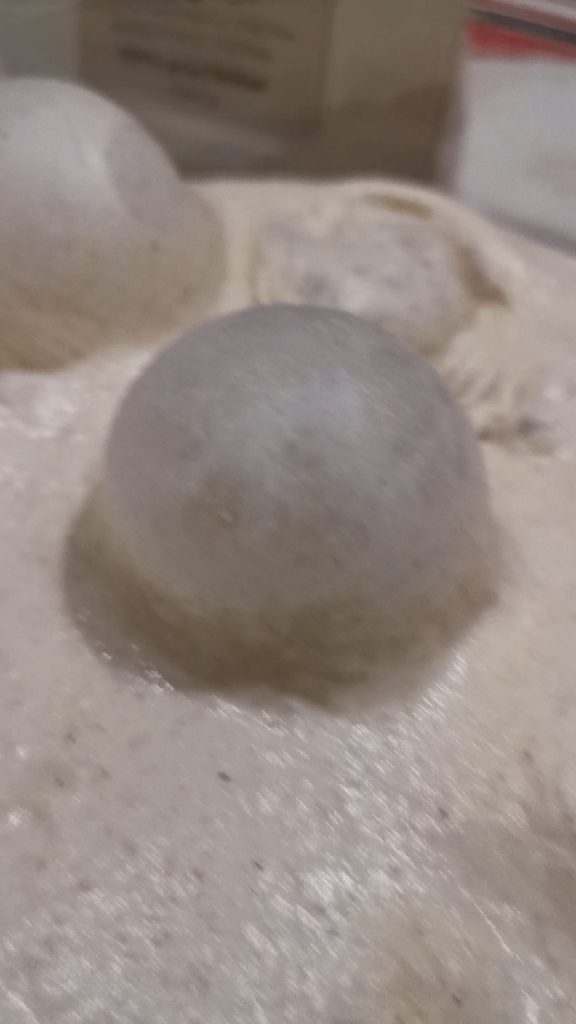
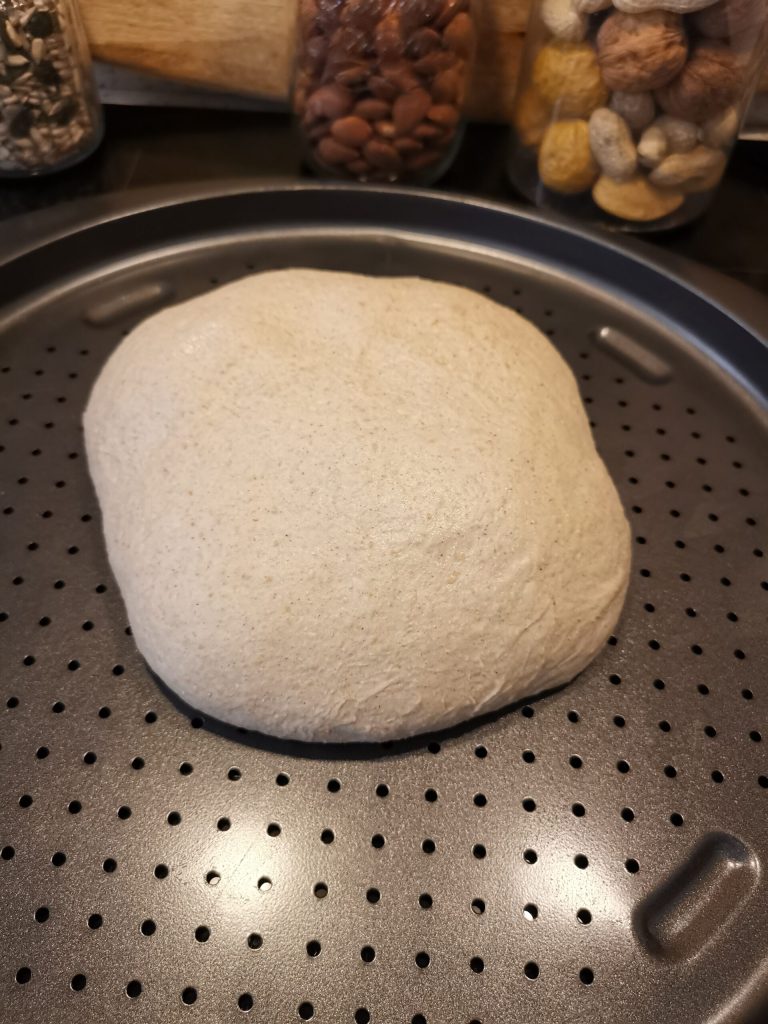
The next day, I take the dough balls from the fridge around 11 a.m. and leave them at room temperature until 2 p.m. At that point, in the early afternoon, you’ll see that the dough will be nice and puffy, and the famous bubbles will have appeared on the surface.
At that point, take the ball and repeat the folds, and let it rise until 6-7 p.m., when you’ll stretch it and top it.
Around 7 p.m., I take the dough and start stretching it. You’ll see that it will be very soft, and you’ll stretch it into your pan beautifully. I recommend placing it in the tray and working it as little as possible. Of course, you’ll need to stretch it, but just a few movements will give the pizza its shape.
Obviously, my times are indicative, to help you understand the timing between one operation and another. You start based on when you want to bake and eat.
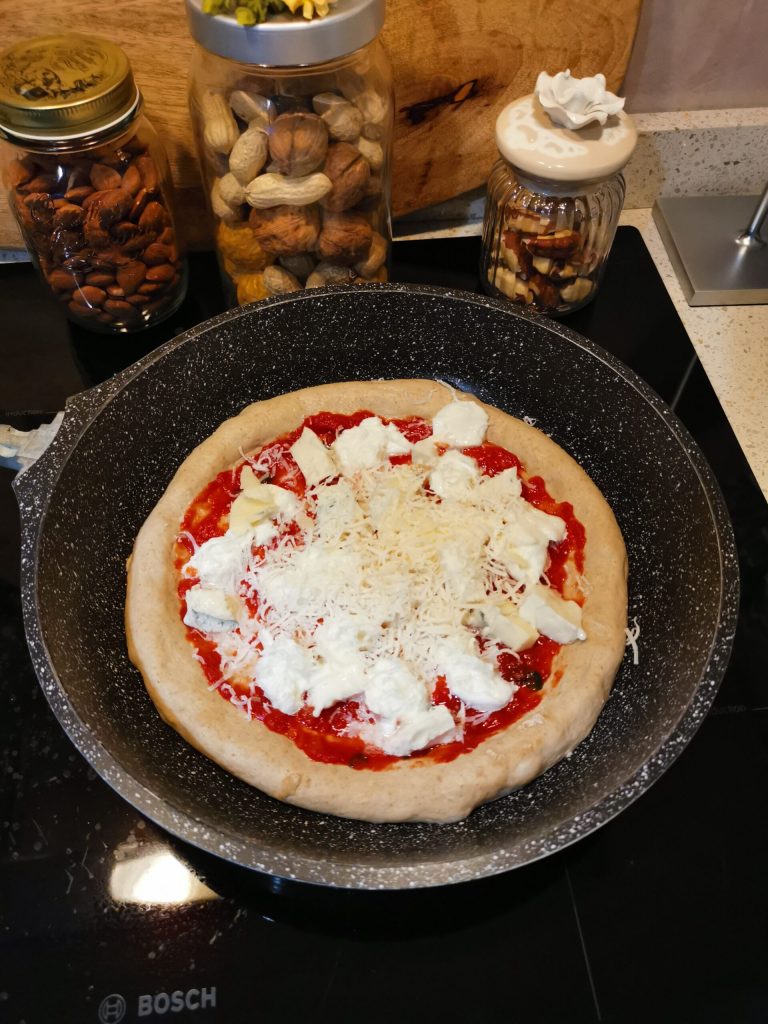
Top as you like and bake at 392°F, preheated, static oven for about 20 minutes. Always check the cooking before removing from the oven.
Stuffed pizza ready to be baked
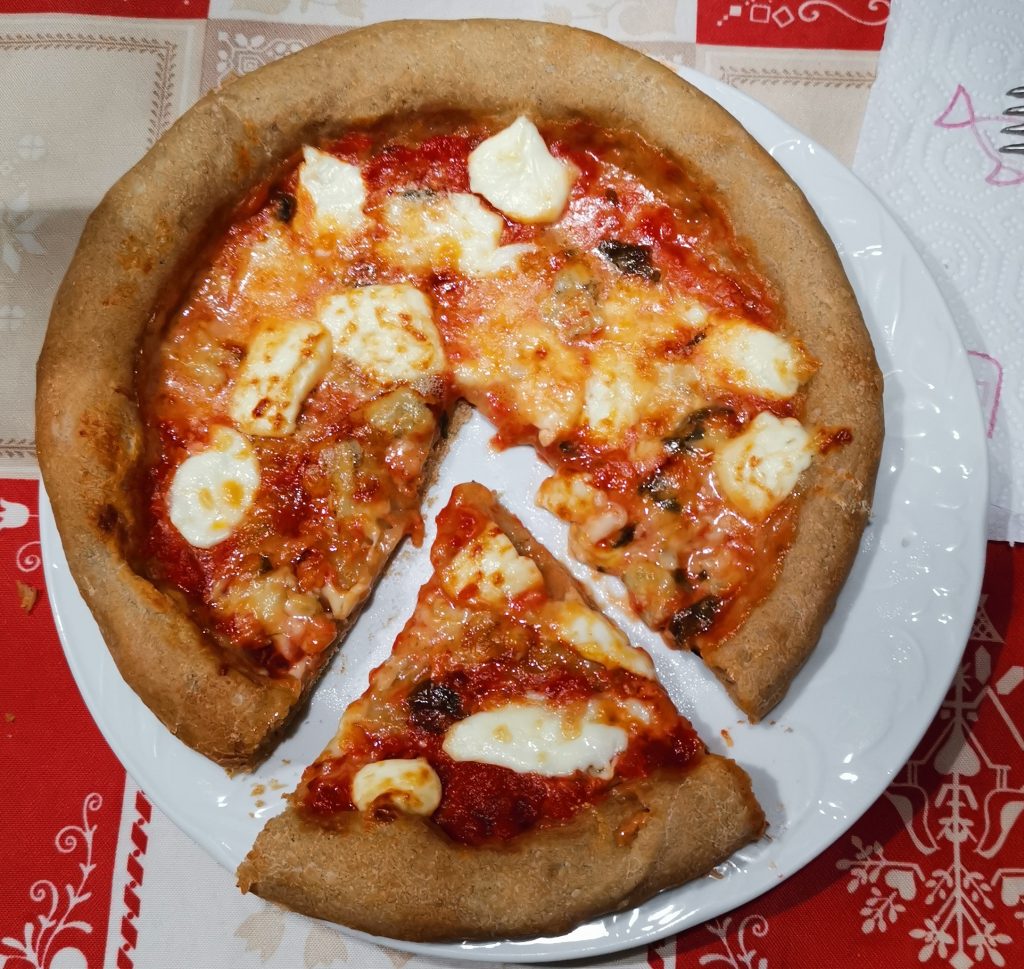
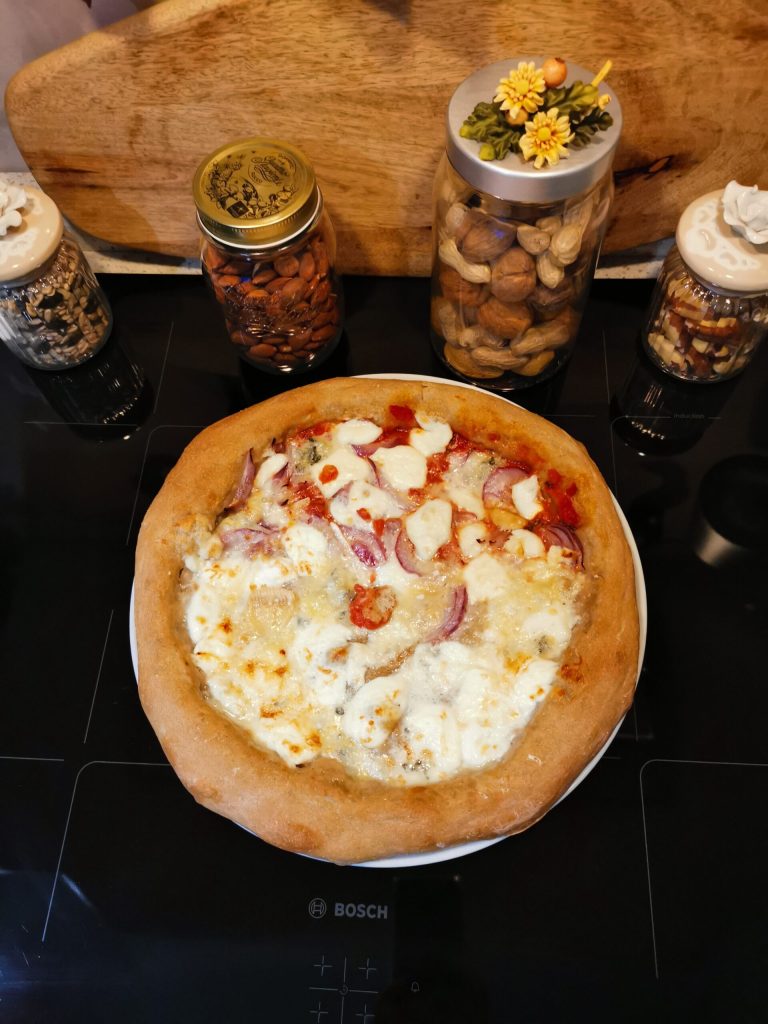
Baked pizza
Tips on storing the bubble pizza
If you happen to have leftover pizza, don’t worry.
Store it in the refrigerator, the next day or the day after it will be even more delicious.
You can reheat it in the oven or in a pan
FAQ (Questions and Answers)
Will you make the bubble pizza again?
Don’t be intimidated if it seems like a long process, you’ll see it’s worth it. I always start the morning of the day before, compared to when I’ll eat it.
Remember, on Instagram, you’ll also find the preparation video. You can click on the text below to reach my page and my BriCciola account.
BRICCIOLA ⬅️