The dried fruit bread is a preparation that you can enjoy with your meals or at breakfast. It is a bread with a light sugary note that serves to give character to this loaf, so simple yet full of flavor.
Why did I call it dried fruit bread? Because it was born from the idea of using up a mix of dried fruit that I had bought but forgotten in a corner of the pantry.
Since it was unlikely I would be able to consume it all in the two days before expiration, I decided to blend all the ingredients into flour and make a sort of bread with a light sugary note.
I assure you it’s delicious and full of many properties. TRY IT!
If you like kneading, here are some quick recipes for you to click below, written in red:
- Difficulty: Easy
- Cost: Economical
- Rest time: 6 Hours
- Preparation time: 6 Hours 20 Minutes
- Portions: 8People
- Cooking methods: Oven
- Cuisine: Italian
- Seasonality: All seasons
Ingredients
Let’s see the ingredients we need to make the recipe
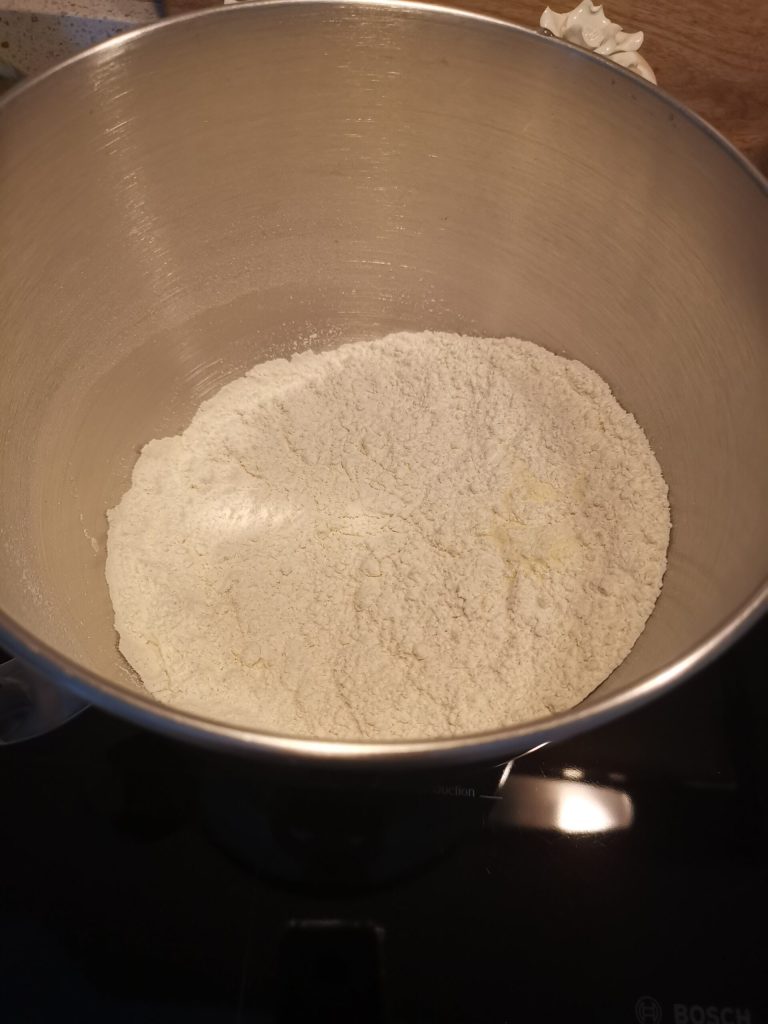
- 4 cups all-purpose flour
- 0.8 cups semolina flour
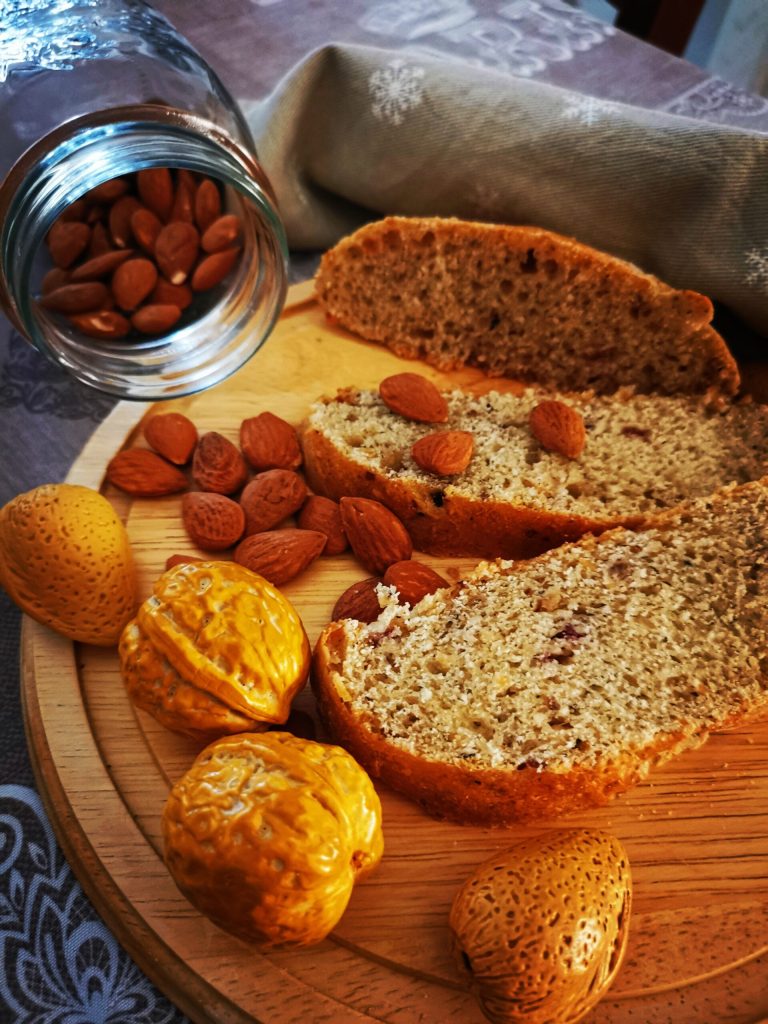
- 1 cup fresh fruit (mixed, almonds, cashews, raisins, walnuts, pine nuts)
- 0.2 oz fresh yeast
- 3 teaspoons sugar
- 1.7 cups water
- 3.5 tbsp extra virgin olive oil
- 1.5 tsp fine salt
Tools
I used a stand mixer, but the dough can be easily prepared by hand. You will need a work surface to knead or a large bowl and a food processor or blender.
Steps
First, take the mixed dried fruit, as I mentioned among the ingredients, my mix included almonds, cashews, raisins, pine nuts, and walnuts and turn it into flour. If you don’t have the mix ready, use 1 oz of each mentioned ingredient. Place everything in a food processor or blender and reduce the dried fruit to flour.
Now pour the warm water into a bowl or stand mixer, and dissolve the yeast, sugar, and oil inside.
At this point, start adding the flour, slowly, and when you’ve mixed in about 4 cups and added the mixed dried fruit flour, add the salt dissolved in a small amount of water, which should always be added towards the end. After this operation, add the remaining flour to finish it.The salt is always added after the dough has been working for a while so that it doesn’t interfere with the yeast and sugar, which are already starting to interact.
Once all the flour is incorporated, this dough will remain hydrated. Especially if working by hand, don’t worry if it still tends to stick a little to your fingers.Dust your hands with a bit of flour and (if you haven’t used the stand mixer bowl or a container) and have worked the dough on a wooden work surface, transfer it into a bowl or container to let it rest for at least 5/6 hours, covered with plastic wrap.
After about 6 hours… transfer the dough to the baking tray.
Grease your hands and retrieve it from the container to transfer it onto a baking sheet lined with parchment paper or greased.
At this point, shape it into a loaf and let it rest for another hour in the pan.
After the hour and the loaf has doubled in volume, we’re ready to bake.
Oven static mode at 392 degrees Fahrenheit for about 25 minutes. Always bake in a preheated oven. Before turning off the oven, poke the dried fruit bread with a skewer to check that the interior is perfectly cooked.
Remove from the oven, and after a few minutes, when it’s warm, enjoy its simple deliciousness.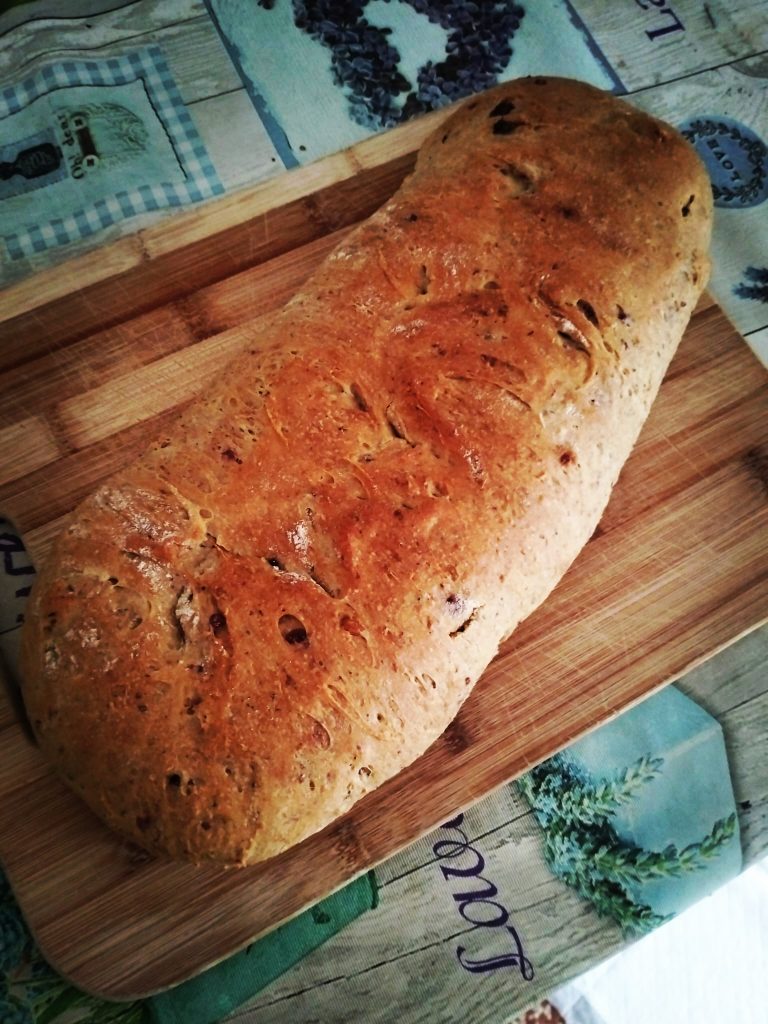
Storage
The dried fruit bread can be stored for 2/3 days in a paper bread bag or a container with a lid. When I said you could enjoy it with meals or at breakfast, it’s because, as you have seen from the ingredients, it is neither sweet nor salty.
Or rather, the sweet note is given by the raisins and the 3 teaspoons of sugar, but it is so light that at breakfast you can easily eat it as it is or accompany the slice with jam or chocolate spread.
It will be good at meals in its simplicity.
FAQ (Questions and Answers)
Will you make this dried fruit bread again?
If you try it, you’ll make it again because it’s tasty, light, and genuine.
If you like, continue to follow my culinary adventures on my page ➡️ INSTAGRAM