The semolina bread loaf is made entirely with this type of flour. Since I’ve found the right balance of all the ingredients, I can’t help but make it again as soon as it runs out.
Its soft, airy texture will win you over. Here are the ingredients and the procedure.
If you enjoy creating savory leavened breads, check out these recipes below:
- Difficulty: Easy
- Cost: Economical
- Rest time: 4 Hours 30 Minutes
- Preparation time: 20 Minutes
- Cooking methods: Oven
- Cuisine: Italian
- Seasonality: All seasons
Ingredients
Let’s see the ingredients we need to prepare the recipe
- remilled durum wheat semolina flour (640g (about 5 cups))
- fresh yeast (6g (about 2 tsp) + a measuring spoon of BREAD IMPROVER if you have it)
- water (380g (about 1.6 cups) + 40g (about 3 tbsp) to dissolve the salt)
- 1 tsp sugar
- 1 tsp fine salt
- 2 tsp milk
- extra virgin olive oil (18g (about 1 tbsp))
- as needed mixed seeds (optional)
Tools
A stand mixer, dough mixer, or a bowl to do it by hand
Steps
Making the semolina bread loaf is simple, but it will give you great satisfaction.
First, we put the flour in the stand mixer or bowl and make the classic hole/fountain in the center where we will add the liquids. I also added a measuring spoon of RUGGERI BREAD IMPROVER; I leave you the website here to visit ➡️Ruggeri Italian Flour Laboratory. Fantastic products that I recommend trying. If you don’t have it, proceed as per the recipe ingredients without any problem.
In a jug, we put room temperature or slightly warm water where we will dissolve the yeast and the teaspoon of sugar. Once mixed, pour them into the center of the flour and begin to stir, turning on the stand mixer.
Now, we also add the oil and two teaspoons of milk. Let it run for 4/5 minutes and finally add the salt dissolved in 40g of water, still warm (NOT hot).
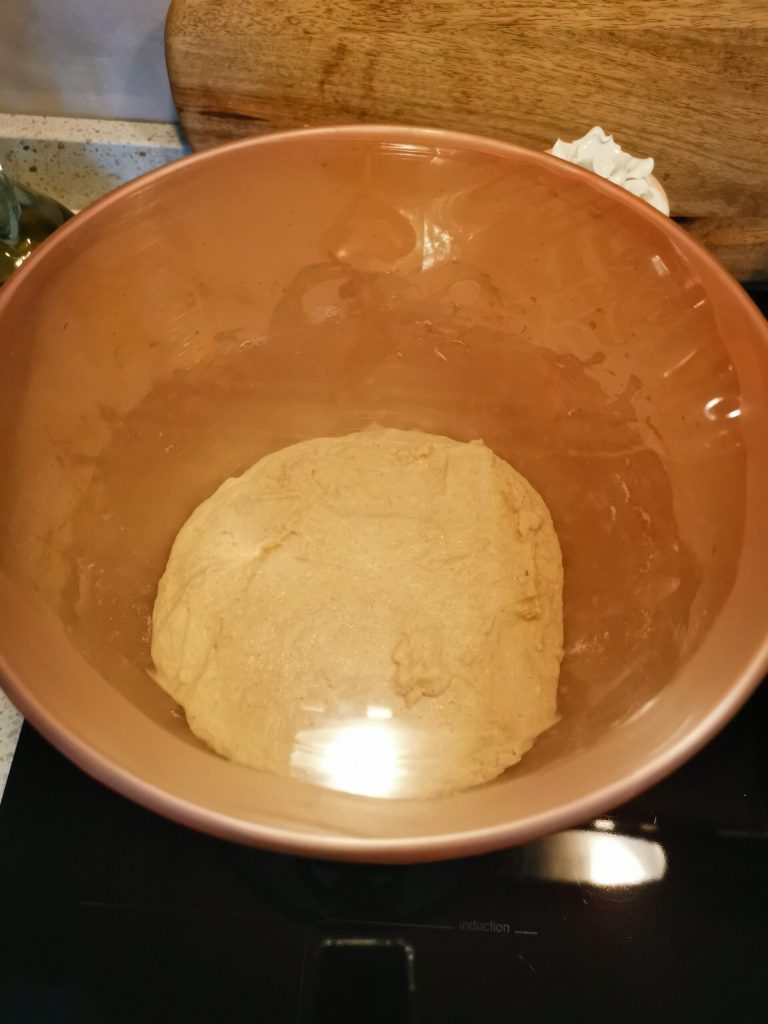
We continue to mix and create the dough that we will let rise (about 3 hours until doubled) in the covered mixer bowl, or covered container, in an off oven, or in a place sheltered from drafts.
After three hours, we take the dough that has doubled in volume and, after placing it on the floured work surface and giving it some folds, we start shaping our loaves.
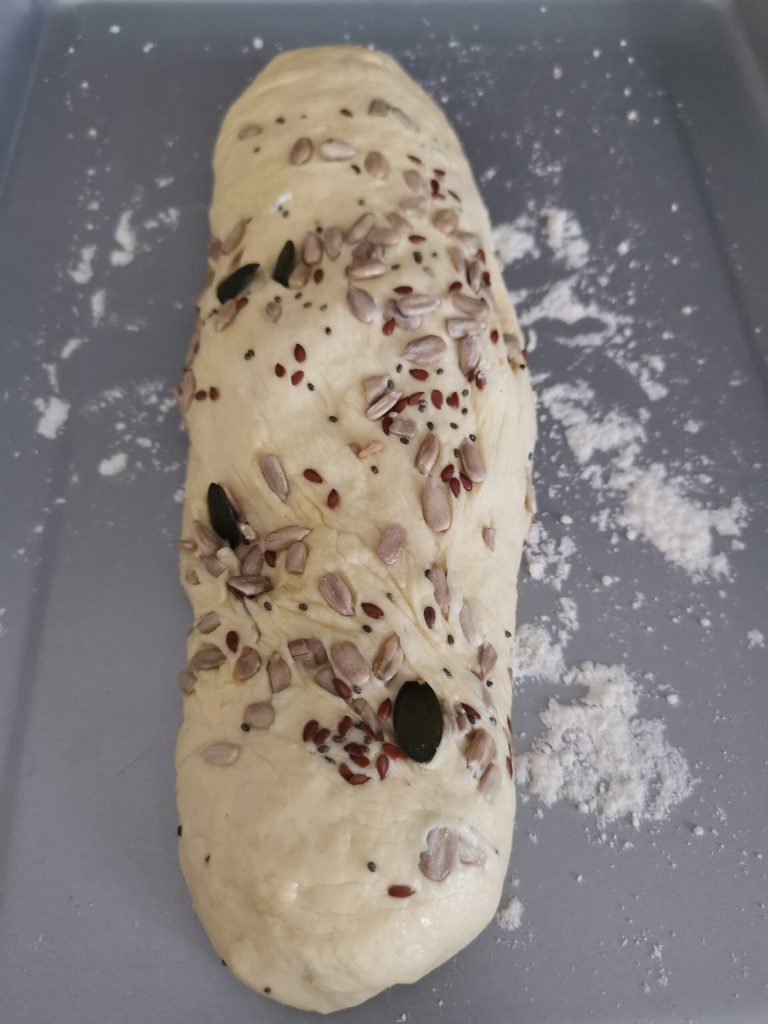
I usually get three more or less equal pieces from this dough that I then mold into loaves.
I usually prepare one with mixed seeds and two plain. The one with seeds I roll among the nuts scattered on the work surface, lightly oil my hands, run them over the loaf, and then roll it among the seeds until they are well stuck to the bread.
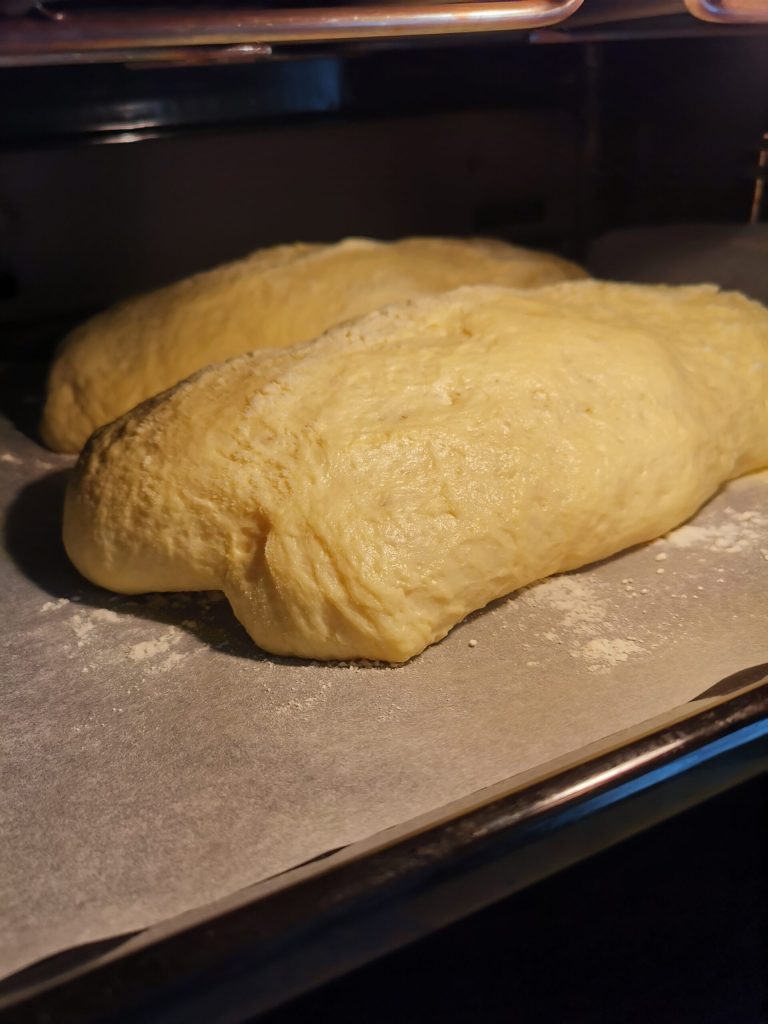
I place the bread on baking sheets and sprinkle the surface with semolina flour and a drizzle of oil. I let the shapes rise again for about another hour and a half.
When the bread is again nicely puffed and risen, I preheat the oven to 195 degrees Celsius (383°F), static mode, place a pot of water inside to get a crunchier crust and bake one sheet at a time on the intermediate oven rack for about 28 minutes.
After 25/28 minutes, check with a toothpick that the bread is cooked. At this point, turn off the oven and let the bread cool on the rack outside the oven.
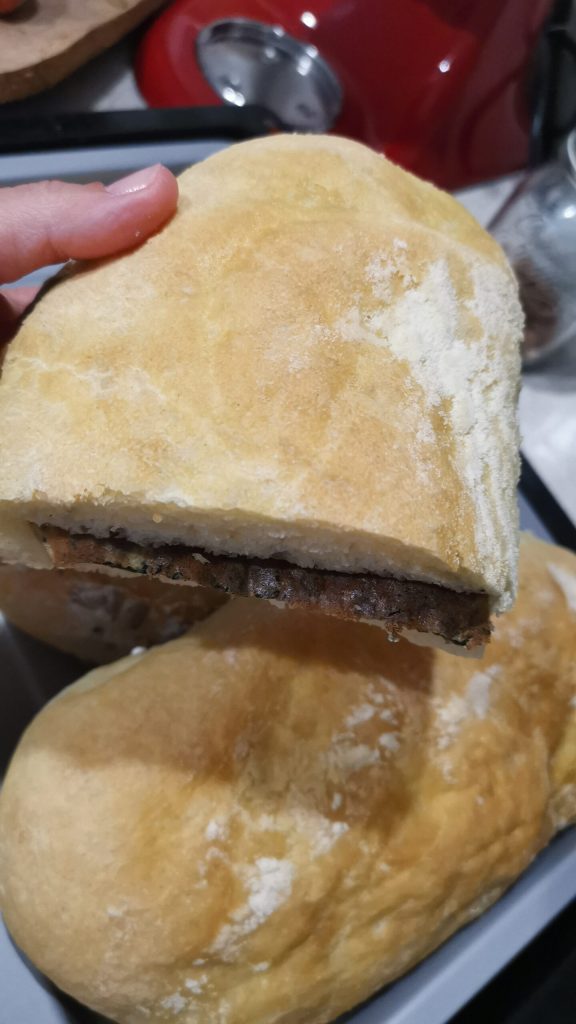
Here below ⬇️⬇️ is how the bread looks and what yummy sandwiches you will have. Enjoy your meal
Storing Semolina Bread Loaf
The bread keeps in a paper bag for two days, but I recommend freezing it and taking it out as needed. You can defrost it in the oven or at room temperature. It will be delicious.
FAQ (Questions and Answers)
Will you make this bread again?
I hope it wins you over, and you try to make it again. If you liked the recipe, leave me some stars if you like.
If you wish, you can also follow me on my page ➡️ INSTAGRAM