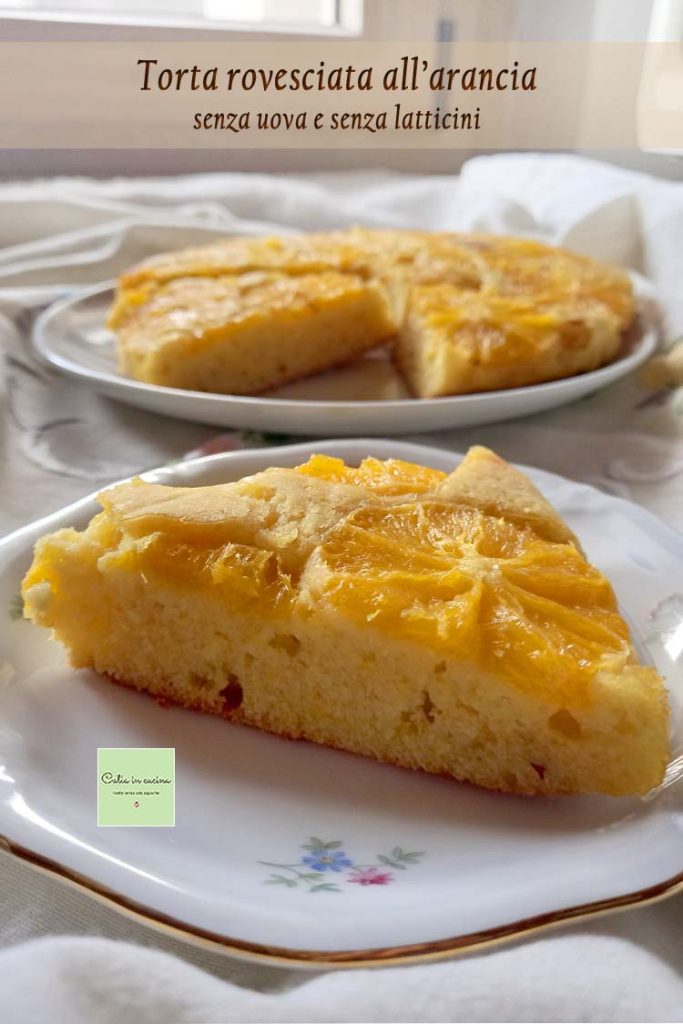
They tell me from the control room that today is World Cake Day, but I had no idea! 😄 I’m terrible at these things, all these world days, whatever they are, just slip past me! Luckily, I have Light and Tasty to keep me updated! 😀 To celebrate this day, today we present only cake recipes, all light, of course. And here’s mine: it’s a egg-free and dairy-free upside-down orange cake that you absolutely must try because it’s really delicious!
Moreover, this edition of our segment dedicated to light cakes could not have come on a better day, because it just so happens that today is my mom’s birthday! 😀🎉💐
For a few days now, I’ve been racking my brain to decide what cake to prepare, given that the traditional birthday cakes (those with cream and jam that used to reign supreme here years ago) are now being increasingly put aside ever since my mom’s blood sugar started acting up.
Indeed, egg-free desserts and low-fat sweets are already common in our house, but now we are also focusing on sugar-free or low-sugar cakes.
While searching online for decoration ideas, wanting to avoid cream, I came across the vegan upside-down orange cake by MandarinaCucina.it. I liked it for its simplicity. And the idea of an upside-down cake is just right to achieve a decorated cake in the simplest way possible.
I tweaked the recipe with my inevitable and indispensable personal touches, and it turned out great; we really liked it!
Try it! With just a few simple ingredients, egg-free, milk-free, only with orange juice, a little oil, and a bit of brown sugar, you will get a soft and delicate cake, excellent as a dipping cake for breakfast but so scenic that it’s perfect even for an occasion like a birthday. 🤩
〰 〰 〰
If you’re looking for other egg-free or dairy-free desserts, here are more recipes: 👇
- Difficulty: Easy
- Cost: Affordable
- Preparation time: 15 Minutes
- Portions: 8Pieces
- Cooking methods: Oven
- Cuisine: Italian
- Seasonality: Fall, Winter, and Spring
Ingredients
- 4 oranges (small, about 150 g each)
- 1 2/3 cups all-purpose flour
- 3 tbsp corn oil
- 1/3 cup brown sugar (of which 1 tbsp for the surface)
- 2 tsp baking powder
- vanilla flavor
Tools
- Citrus Juicer
- Bowl
- Cake Pan
- Parchment Paper
- Spatula
- Cooling Rack
Steps
Squeeze two oranges to obtain 130 g of juice.
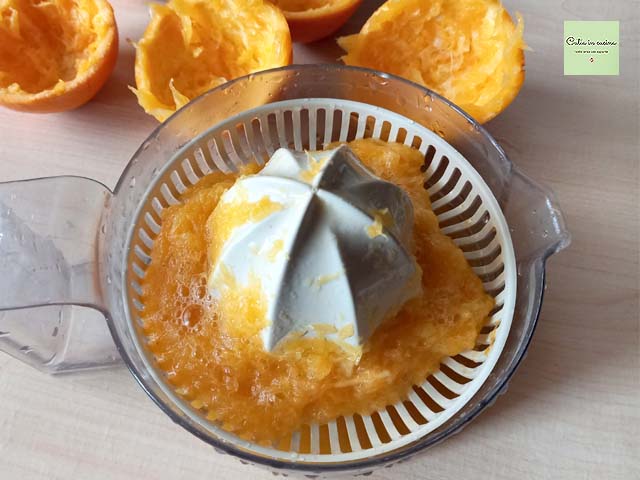
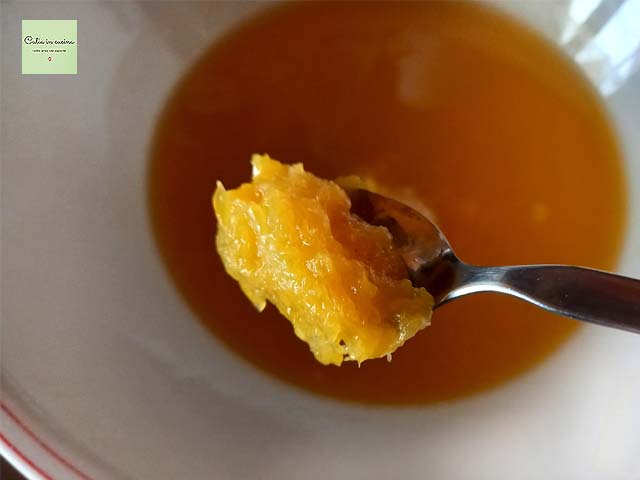
Pour the juice into a bowl.
Add the remaining pulp from the juicer (about 50 g).
Pour the oil and 1/4 cup of brown sugar into the bowl.
Mix well with a spatula to dissolve the sugar.
Add the flour and a teaspoon of baking powder.
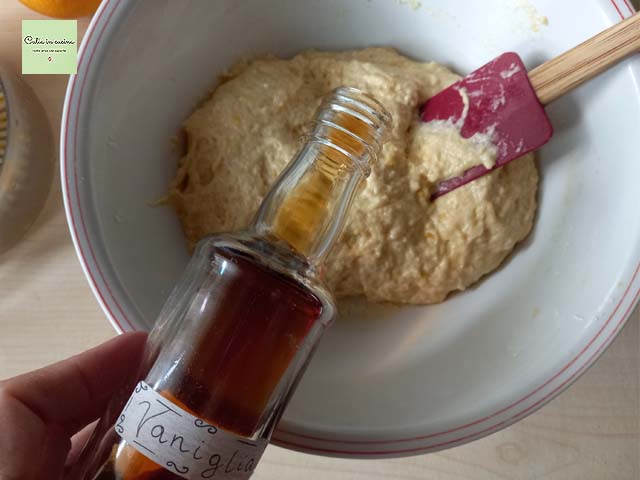
Mix well using the spatula, and finally flavor with a teaspoon of vanilla aroma (mine is homemade macerated, adjust the quantity according to the type of aroma used).
👉 Vanilla flavor is optional; you can simply flavor with the grated peel of one of the used oranges.
Line a baking pan with a diameter of 8 to 8.5 inches with a sheet of parchment paper.
👉 The smallest pan I have is 8.5 inches, the cake came out a bit low, as the photos of the slice show you. To make it higher, use a 8-inch diameter pan.
Sprinkle the remaining 1 tbsp of sugar over the parchment paper (although in my opinion avoidable, I will try to remove it next time).
Peel the other two oranges and slice them thinly.
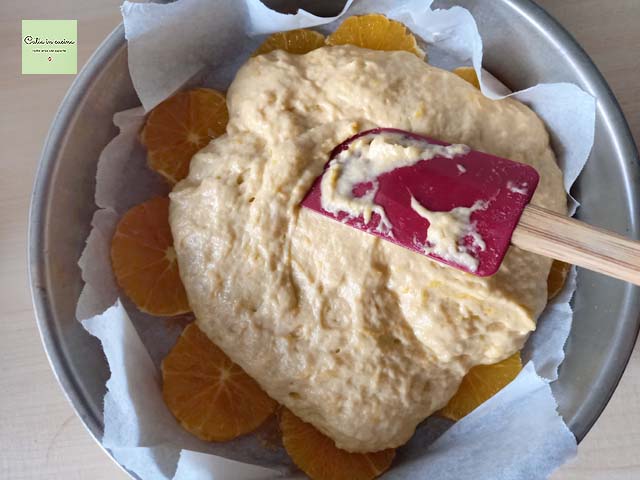
Distribute the orange slices on the parchment paper, trying to leave as little empty space as possible between the slices and without overlapping them (or overlapping them just a bit, if necessary).
Pour the mixture over the orange slices and level it well using the spatula.
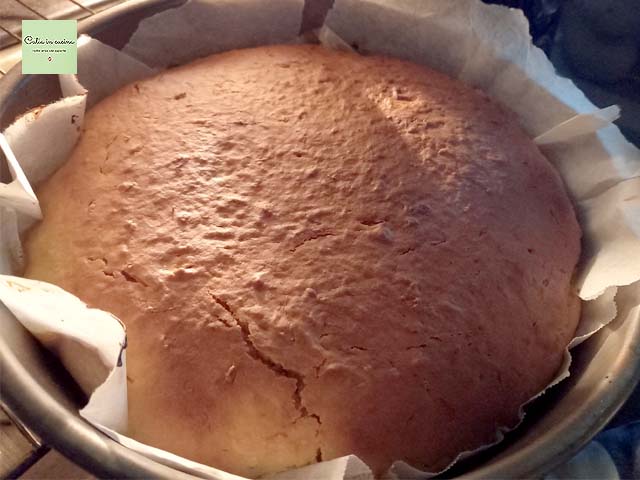
Bake at 392°F and after 10 minutes lower to 356°F. After another 10 minutes, turn off the top element, that is, leave only the bottom element on (or alternatively cover the cake with a sheet of foil) for another 5 minutes, to better cook the bottom, which is more humid due to the presence of the oranges.
👉 I adopted these baking precautions because I baked my upside-down cake in the Sfornatutto which, being a small oven, tended to cook the cake too much on the surface.
Remove the cake from the pan by placing a cooling rack (or a plate, but it’s better to use the rack to directly let it cool there) on the pan and flipping it over.
Gently remove the parchment paper.
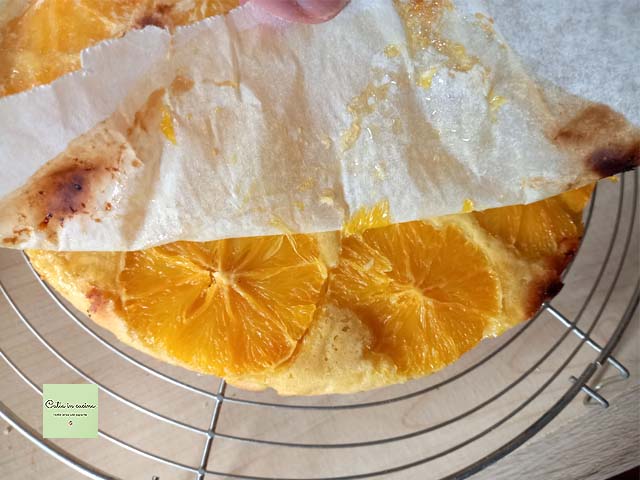
Let the upside-down orange cake cool and enjoy it!

Follow me!
On my WhatsApp channel and on Instagram, on the Facebook page, on Pinterest and in my two groups: Catia’s group, in the kitchen and beyond and Just what I was looking for! and if you like… subscribe to my Newsletter.
On my WhatsApp channel and on Instagram, on the Facebook page, on Pinterest and in my two groups: Catia’s group, in the kitchen and beyond and Just what I was looking for! and if you like… subscribe to my Newsletter.
Other Light and Tasty recipes (today only cakes):
Carla Emilia: Simple Honey Cake
Claudia: Air Fryer Lemon Cake
Daniela: Yogurt Cake with Chocolate Chips
Elena: Soft Pumpkin Cake
Carla Emilia: Simple Honey Cake
Claudia: Air Fryer Lemon Cake
Daniela: Yogurt Cake with Chocolate Chips
Elena: Soft Pumpkin Cake
