Behind Grandma Maria’s house, there was a beautiful large fig tree, and for me, as a child, the September fig harvest at Grandma’s was an unmissable annual event. I have a vivid memory of my mom standing on the shed’s roof, where the fig tree extended, comfortably picking figs without needing a ladder. And I remember the crates (and a blue, or maybe green, perforated bag) with the bottom covered with fig leaves, where the picked figs were placed. Small but plenty. Then, after a while, jars of Grandma Maria’s fig jam inevitably arrived at my house.
An inimitable fig jam.
After that era ended, neither my mom nor I made fig jam for many years because we never had a big tree like Grandma Maria’s again.
Until a few years ago, my brother bought a nice piece of land with mulberries, wild plums, olive trees, and… figs. 😊
This year, Mom and I shared the tasks a little. For a few days now, we have been making our fig jam – slowly, at the pace of only two or three jars a day, today me, tomorrow you – using the “harvest of the day.” 😊 Small harvests and small productions, not too demanding, so as not to tire ourselves and not to get too hot in front of the stove (lately, neither Mom nor I have the stamina Grandma Maria had! 😅).
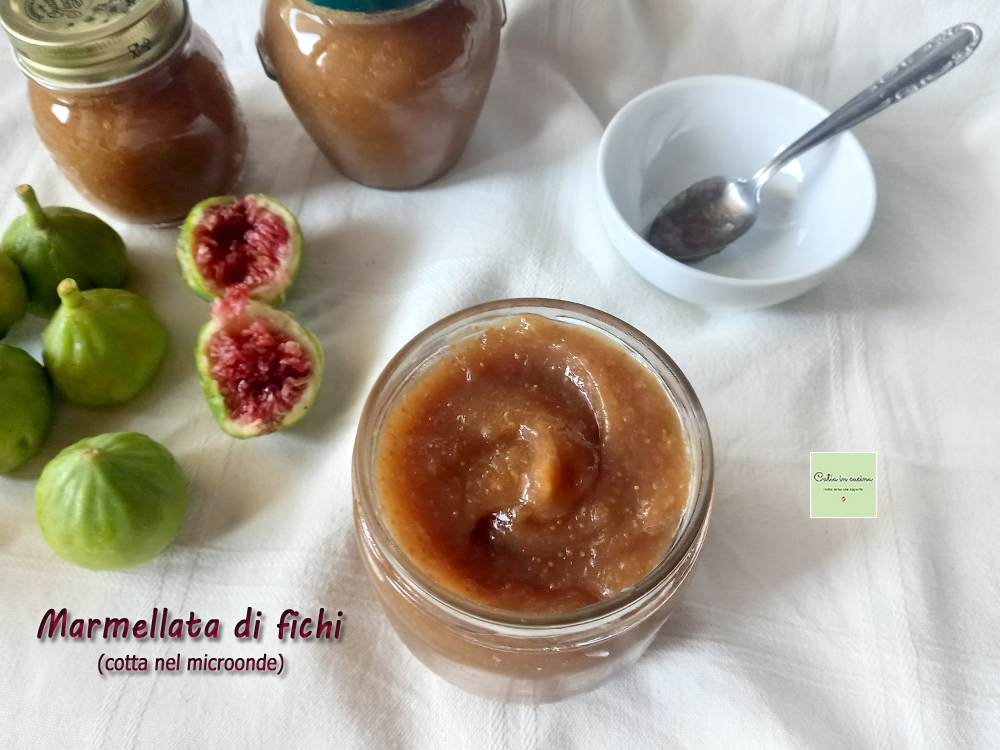
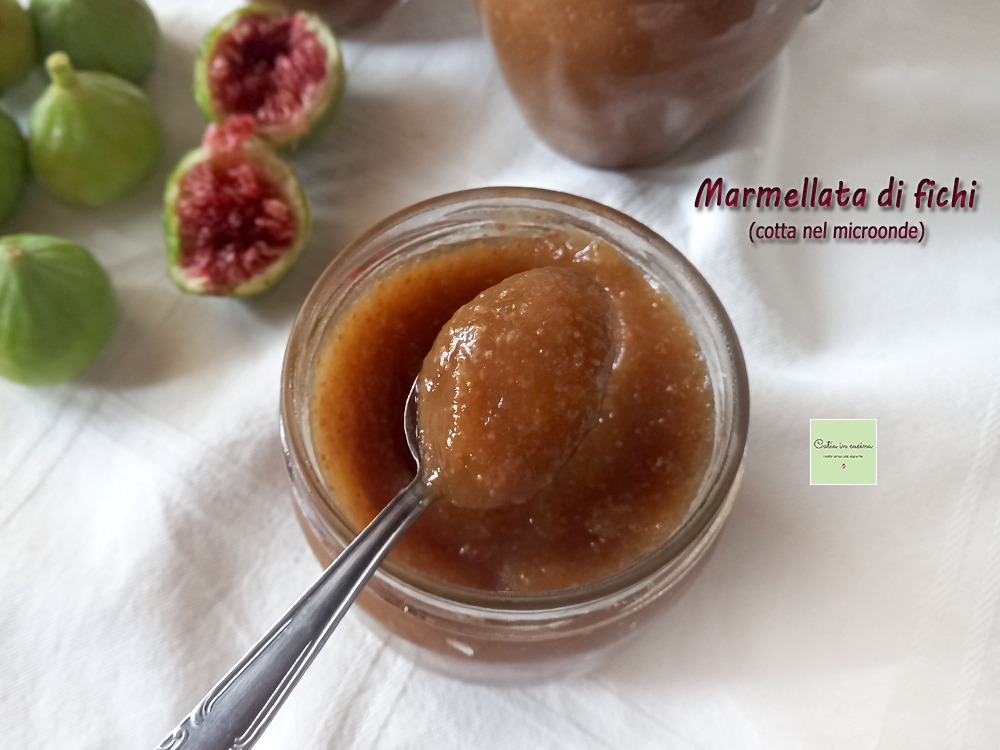
Here, I photographed my first three jars of the year, and now I’ll write you the recipe! 😊
〰 〰 〰
Do you want more ideas to use figs from your tree? Here are four! 👇
- Difficulty: Easy
- Cost: Economical
- Rest time: 20 Minutes
- Preparation time: 10 Minutes
- Portions: jars: 3
- Cooking methods: Microwave
- Cuisine: Italian
- Seasonality: Summer
Ingredients
- 2.2 lbs figs (ripe)
- 1 apple (small, about 80 g peeled)
- 3.5 oz sugar
- 2 tbsp rum (amber)
Tools
- Microwave
- Immersion Blender
- Bowl in Pyrex
Steps
Quickly rinse the figs under running water to remove any impurities (or insects).
Dry the figs with a cloth or kitchen paper.
Remove the stem and part of the peel (I didn’t peel them completely, I just removed the part of the peel that comes off when removing the stem).
Cut the figs in half to check the inside.
Place the figs in a microwave-safe bowl or saucepan (I used my trusty Pyrex bowl).
Add the sugar and a (small) peeled and chopped apple.
Set the microwave to the highest power for 15 minutes.
Open the microwave to stir the figs with a spoon, then continue cooking for another 15 minutes.
👉 Cooking time can be extended at your discretion: stir and taste, then decide if it needs to cook a little longer.
At the end, leave the bowl in the microwave for about 20 minutes (resting time is a useful step in all microwave cooking).
Blend the figs (and apple) using an immersion blender directly in the bowl until you reach the desired consistency.
Pour one or two tablespoons of rum (amber) into the obtained puree and mix with a spoon.
Pour the jam into previously sterilized glass jars.
Before use, jars and lids must be sterilized. Proceed as follows:
Wash jars and lids, then boil them in a pot, submerged in water, for 15-20 minutes, then drain them and let them dry upside down.
They can also be sterilized in the oven at 212°F (100°C) for about half an hour. Remove the jars from the oven using an oven mitt, being careful not to burn yourself.
Or in the microwave: in this case, fill the jars with a little water (no more than halfway), place them on the microwave plate (jars only, not lids), then set the microwave to the highest power for a few minutes (about 5 minutes) during which the water in the jars boils. At the end, remove the jars using an oven mitt, being careful not to burn yourself.
The microwave procedure is quick and convenient but only valid for jars, not lids, which must be sterilized separately (boiling or oven).
After filling the jars with the (hot) jam, not up to the rim but leaving about a half-inch space from the top, let them cool.
For short-term consumption (within a few days), it is enough to keep the jars in the fridge.
However, to preserve the jam for the winter, you need to boil the jars to create a vacuum seal. Proceed as follows:
Place the jars in a pot full of water. The water must cover the jars by at least three fingers.
Insert a cloth between the jars so they don’t hit each other during boiling, risking breaking.
Bring the water to a boil and let it boil for 20 minutes over medium-low heat.
Let the jars cool in the water.
Once cooled, remove them from the water and check that the lid is rigid, meaning it doesn’t make a click sound when pressed.
If the vacuum seal is successful, the jam will last all winter, stored in a pantry, preferably in the dark. If the lid makes a click, don’t store the jar, but you can use the jam immediately to make a nice tart.
Follow me!
On the WhatsApp channel and on Instagram, on the Facebook page, in Pinterest and in my two groups: Catia’s group, in the kitchen and beyond and Just what I was looking for! and if you want… subscribe to my Newsletter.
On the WhatsApp channel and on Instagram, on the Facebook page, in Pinterest and in my two groups: Catia’s group, in the kitchen and beyond and Just what I was looking for! and if you want… subscribe to my Newsletter.
