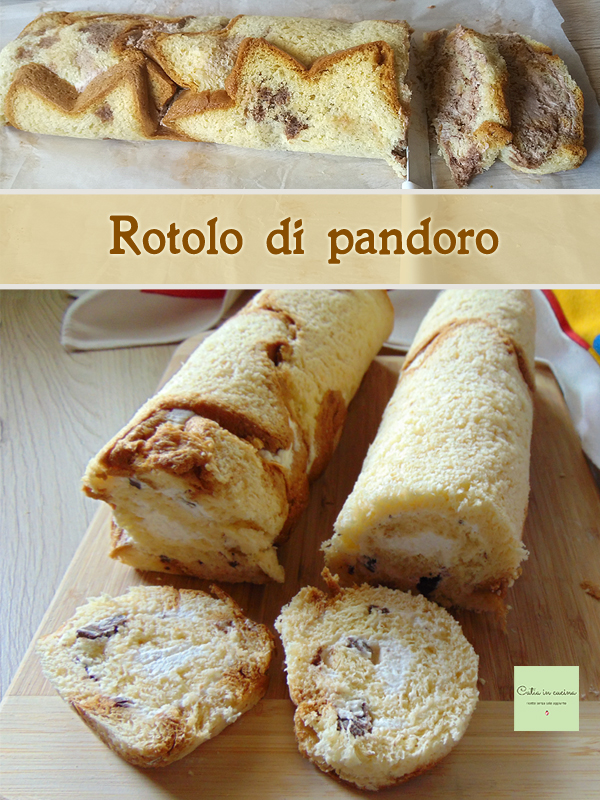
The stuffed pandoro roll is one of those recipes that become popular after Christmas as a recycling recipe.
Almost as if from January 7 onwards, eating pandoro in the usual way (which also applies to panettone), without transforming it into the ingredient of a dessert, becomes out. 😀
You know I am passionate about recycling, but recycling entire pandoros or panettones is a problem I’ve never encountered because we have always eaten them for breakfast again and again, sometimes overlapping them with the early Easter doves. 😀 The only time I used a piece of pandoro in a recipe was when I made these truffles. Yes, yes, the only time.
But the opportunity to do anything eventually comes, and the chance to recycle a pandoro came when I found one completely forgotten and well-hidden in the back of the pantry. In July.
Can you have breakfast in July with a pandoro? To me, with all that heat in July, it felt a bit strange, 😀 and that was the moment when I decided the recycling made sense. And in the indecision over which dessert to choose, I remembered the many pandoro rolls I had seen online months before. Moreover, summer is the right season to make a no-bake dessert, right?
That first summer pandoro roll of mine had some flaws, to be honest, because I struggled quite a bit to roll it up. But I promised myself to try again, patiently waiting for the right occasion to do so. 😉
As with all things… practice makes perfect! And the second and third rolls turned out more beautiful, so today I feel ready to write the recipe for you.
Forget post-Christmas recycling; I think the right time to make this dessert is now, so we can practice for Christmas. If we want to impress our guests at our Christmas lunch, what is the point of waiting for January recycling? Or even next July? 😀
〰〰〰
Do we have other Christmas ideas? 😊👇
- Difficulty: Medium
- Cost: Economical
- Rest time: 2 Hours
- Preparation time: 30 Minutes
- Portions: 20 slices
- Cooking methods: No-bake
- Cuisine: Italian
- Seasonality: Christmas
Ingredients
- 1 Pandoro
- 1 cup Heavy whipping cream
- 3.5 oz Dark chocolate
- 2 tbsps Powdered sugar (optional)
- Fruit (berries or blueberries)
- Jam
- Hazelnut spread
Tools
- Knife
- Plastic Wrap
- Rolling Pin
- Hand Mixer
Preparation
Before the instructions, I note that the weights of the ingredients are indicative, as the recipe can be made with either a 750 g or a 1 kg pandoro. The amount of filling may depend on the pandoro’s size as well as personal choices (more or less abundant filling).
I marked powdered sugar as optional to sweeten the cream because if you choose to use jam, it’s better to skip the sugar. And anyway, even unsweetened, the cream is equally excellent, also in the other filling versions.
I will include some tips in the instructions to avoid the mistakes I made with my first roll. I hope they are helpful.
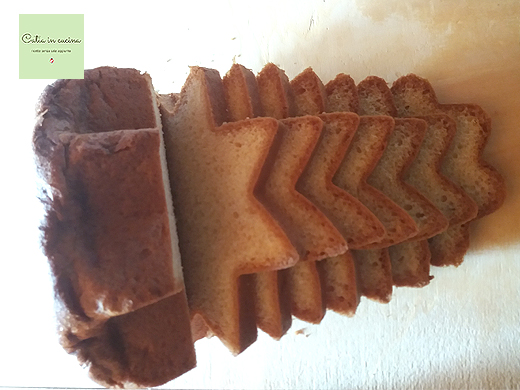
First, slice the pandoro.
The ends can be useful for “gap-filling pieces”.
Lay a sheet (or two close sheets) of plastic wrap on the work surface.
The first time I used parchment paper, but I do not recommend it. In my opinion, the plastic wrap is more suitable because once you finish rolling, it holds the roll more compact and in shape.
Arrange the pandoro slices on the wrap, interlocking the tips as much as possible.
The points that inevitably remain empty should be filled with pieces as much as possible suited to the spaces.
Using a rolling pin, flatten the slices (and pieces) of pandoro, being careful not to move them apart, but trying to join the pieces together to form a layer as compact as possible. Optionally, place a sheet of parchment paper to prevent the rolling pin from sticking to the pandoro.
To prevent the pieces from moving apart (this happened to me and was a struggle), I suggest using the rolling pin like this: instead of rolling it (as when rolling out pie crust or shortcrust pastry), use it as a weight, pressing little by little on all the slices and at the same time trying to attach the edges to each other. Once everything is flattened, you can “roll out” (gently) to even out the thickness. Trust me, explaining it sounds harder than it is 🙂
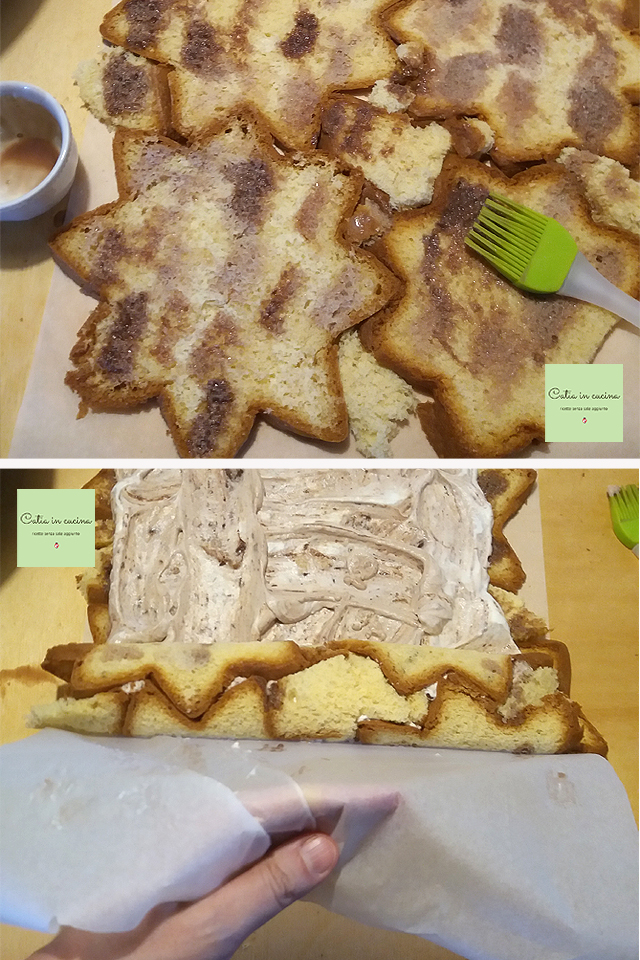
If you want to moisten the pandoro (with coffee, liquor, or fruit juice, according to taste and needs), I suggest using a brush and being careful not to over-soak it.
If the pandoro is soft (and it certainly is if it hasn’t been forgotten until July!), you can safely skip moistening.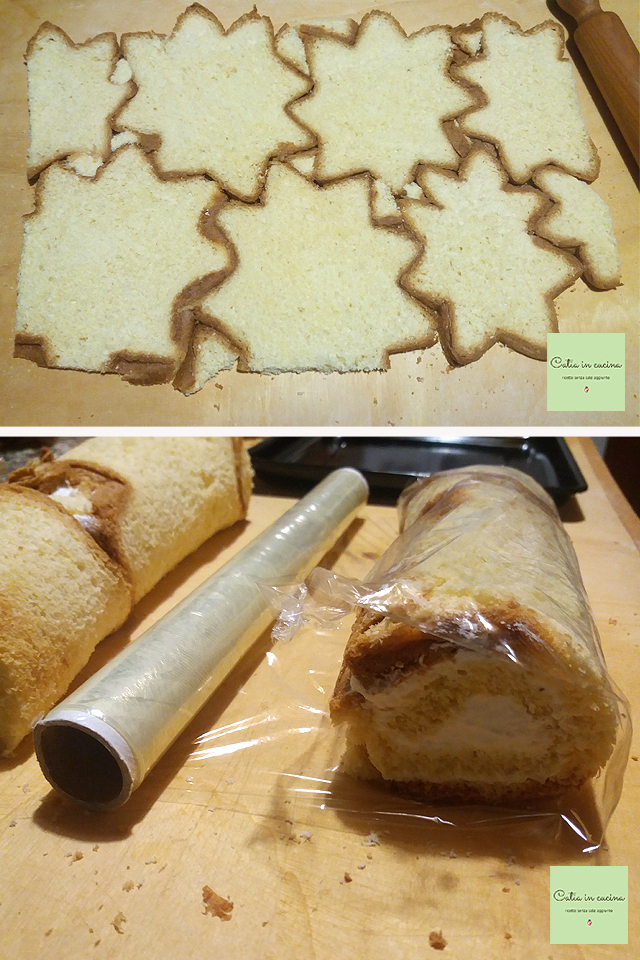
Whip the cream and spread it using the back of a spoon, add the chopped chocolate (or fruit pieces, or jam), then proceed to roll up.
You can choose the rolling side: long side to obtain a longer roll that can be cut into two pieces, or short side to obtain a shorter roll with a slightly larger diameter.
It’s essential to use the plastic wrap as an aid during rolling, as commonly done with other types of rolls. The two previous photos refer to my first roll, which I moistened with coffee and milk and rolled with parchment paper. If you decide to use parchment paper, I still recommend removing it and closing the roll with plastic wrap, which is more effective, in my opinion, in containing the finished roll.
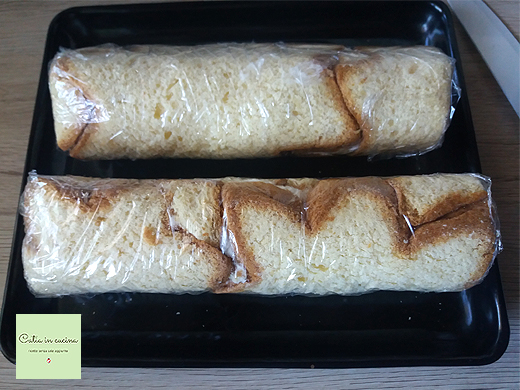
After closing the roll – or rolls if you decided to make two smaller ones – in the plastic wrap, let them rest in the fridge for a couple of hours.
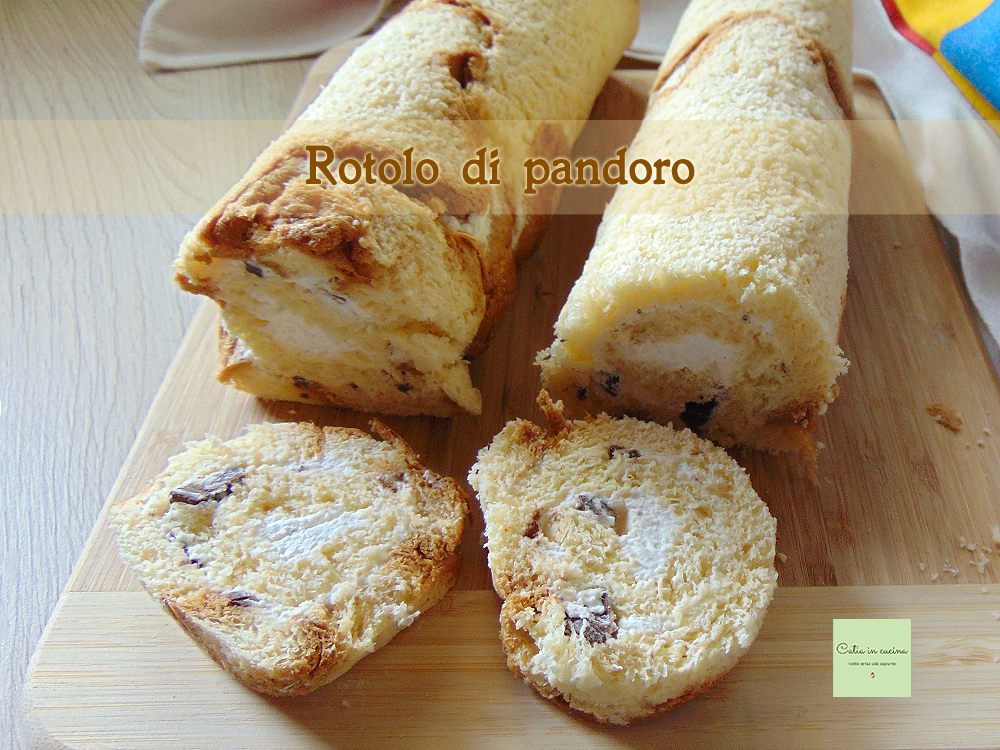
Finally, slice and enjoy!
Decide if you want to prepare it… before, during, or after the Christmas holidays! 😀
Enjoy!
Decorated or Plain Pandoro Roll?
When serving, you can decorate the roll with powdered sugar or cocoa, or cover it with cream or chocolate to transform it from a simple stuffed pandoro roll to a real Christmas log.
I really like the naked version, even though any flaws are visible. But the beauty of this stuffed pandoro roll is precisely the fact that the pandoro slices are recognizable! You agree with me, right? 😀
Follow Me!
In my new WhatsApp channel and on Instagram, on Facebook page, in Pinterest and in my two groups: Catia’s group, in the kitchen and beyond and Just what I was looking for! and if you want… sign up for my Newsletter.
