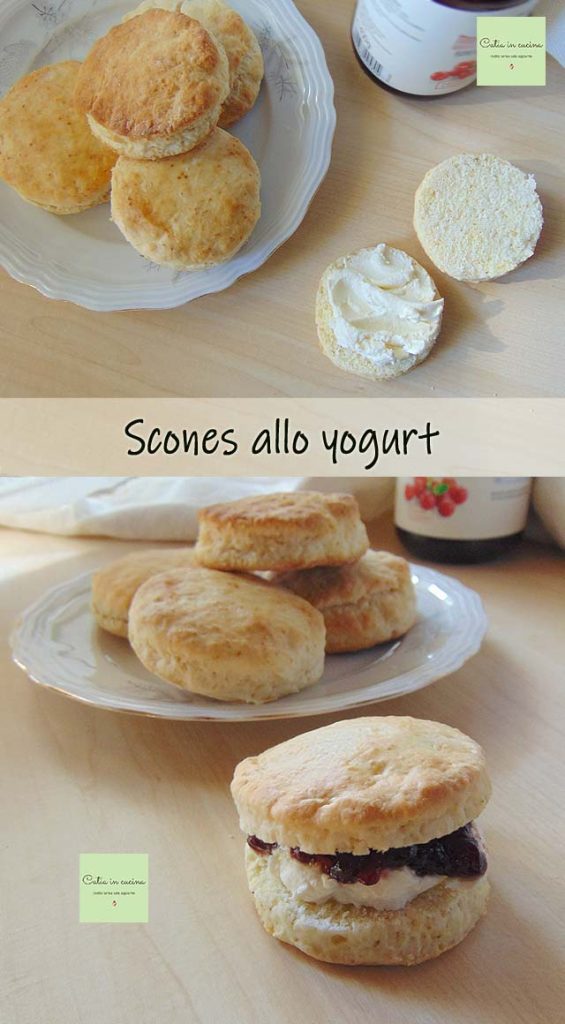
For this week’s Light and Tasty theme (topic: yogurt), I decided to prepare sweet yogurt scones. 🤩

I started by making them with coconut yogurt. In a simple version, just coconut yogurt, a little butter, a tablespoon of sugar, and nothing else.
Then I tried them with vanilla yogurt.
In the third round, I made them with lemon yogurt and increased the sugar to two tablespoons.
After that – all delicious, all eaten deliciously with butter and jam – I tried making them again by adding a tablespoon of coconut flour to those with coconut yogurt, a packet of vanilla (no, I didn’t have the pod) to those with vanilla yogurt, and some lemon zest to those with lemon yogurt.
The next day, since I had run out of the flavors in my fridge, I played the kefir card. 😉 After all, milk kefir is also a yogurt, although it’s better to call it fermented milk (but in the end, yogurt is also a fermented milk). 😀
So, in honor of the buttermilk version present in the book (Muffins and Delicacies, ed. KeyBook) that my friend Nadia gave me, and since kefir is commonly used in place of buttermilk in many recipes, I tried making simple unsweetened scones, using my trusty milk kefir instead of the plain yogurt I didn’t have.
Unsweetened scones turn out neutral, and therefore can still be ‘sweetened’ with sweet fillings, but they are also suitable for being filled with cheeses, sauces, flavored butters, or enriched with spices and herbs.
For these non-sweet versions, perfect for buffets, and particularly for those with herbs and spices (very suitable for my low-sodium cooking), I reserve the right to write a separate recipe as soon as I can try and photograph them, because for today… I think I have enough material to write a poem just about these yogurt and kefir scones, sweet and not. In the end, I baked them for two afternoons in seven different versions! 😀 Ahah help!!
Well then! Are you ready to dive into the aroma that will invade your kitchen?
Make these yogurt scones right away! Choose the yogurt flavor you prefer, and start!
〰 〰 〰
For other ‘breakfast’ recipes made with yogurt or kefir, here are some ideas: 👇
- Difficulty: Easy
- Cost: Economical
- Preparation time: 15 Minutes
- Portions: 7
- Cooking methods: Oven
- Cuisine: English
- Seasonality: All Seasons
Ingredients
Although I started with the coconut version and worked my way back to the base version, I decided to write the ingredients starting from the base recipe. Makes more sense, right? 🙂 So below you’ll find the ingredients for the two base versions with yogurt or kefir (unsweetened versions), then the variations for all other versions (sweet) with coconut, lemon, and vanilla yogurt. In any case, I’ll explain everything in detail in the procedure.
- 1 1/4 cups all-purpose flour (+1 tbsp for the work surface)
- 1/2 tsp baking powder (half a teaspoon)
- 1/3 cup plain yogurt
- 1 tbsp butter
- 1 1/4 cups whole wheat flour (+1 tbsp for the work surface)
- 1/2 tsp baking powder (half a teaspoon)
- 1/3 cup milk kefir
- 1 tbsp butter
- 1 1/4 cups all-purpose flour
- 1/2 tsp baking powder
- 1/3 cup flavored yogurt (lemon or vanilla)
- 1 tsp lemon zest (for lemon yogurt version)
- 1 packet vanilla extract (for vanilla yogurt version)
- 2 tbsp sugar (2 tablespoons)
- 1 tbsp butter
- 1 cup all-purpose flour (+1 tbsp for the work surface)
- 1 tbsp coconut flour (1 tablespoon)
- 1/2 tsp baking powder (half a teaspoon)
- 1/3 cup coconut yogurt
- 2 tbsp sugar (2 tablespoons)
- 1 tbsp butter
Tools
- Bowl
- Knife
- Rolling Pin
Preparation
I hope the division of ingredients illustrates all the versions well and that everything is clear. Just keep in mind the following clarifications:
🔸 The base version is neutral. It’s not sweet, it’s not savory, it’s not flavored, it works well with plain yogurt (sweetened or not) as well as with kefir (homemade, I haven’t tried store-bought because, as you know, I don’t buy it, but I’m sure store-bought works too).
This neutral version is excellent both with sweet and savory fillings, and can be transformed into a slightly flavored version using fruit yogurt (I used coconut, vanilla, and lemon) while not adding sugar.
For example, I used coconut yogurt without adding sugar and without adding coconut flour, and the result was excellent. The scones emitted a great coconut aroma, even though the coconut flavor was only slightly present. They were very delicate and delicious filled with butter and jam.
Similarly, I tried adding coconut flour to a base dough: in this case, I used two tablespoons of coconut instead of just one (i.e., 130 g of all-purpose flour and 20 g of coconut flour), and they turned out slightly flavored, perfect to eat on their own or filled.
🔸 In the kefir version, I used a bit less kefir than yogurt for the same amount of flour. I believe this is because the kefir I’m producing at the moment is more liquid than yogurt (due to using partially skimmed milk instead of whole milk). In any case, both the flour and the yogurt (or kefir) can be slightly adjusted if necessary during the dough preparation.
I remind you that the dough should be worked briefly and should not be too sticky, the 10 g (ten grams) of flour I allocated for the work surface will be enough to allow proper handling and rolling of the dough without stickiness (in all the versions I tried).
First, combine the baking powder with the flour in a bowl.
Cut the butter into small pieces and let it slightly soften. Mash it with your fingertips and work it with the sugar (if used) and flour.
Pour the yogurt into the bowl and mix with a knife ‘cutting’ the mixture. Alternatively, you can use a food processor with blades (but I haven’t tried).
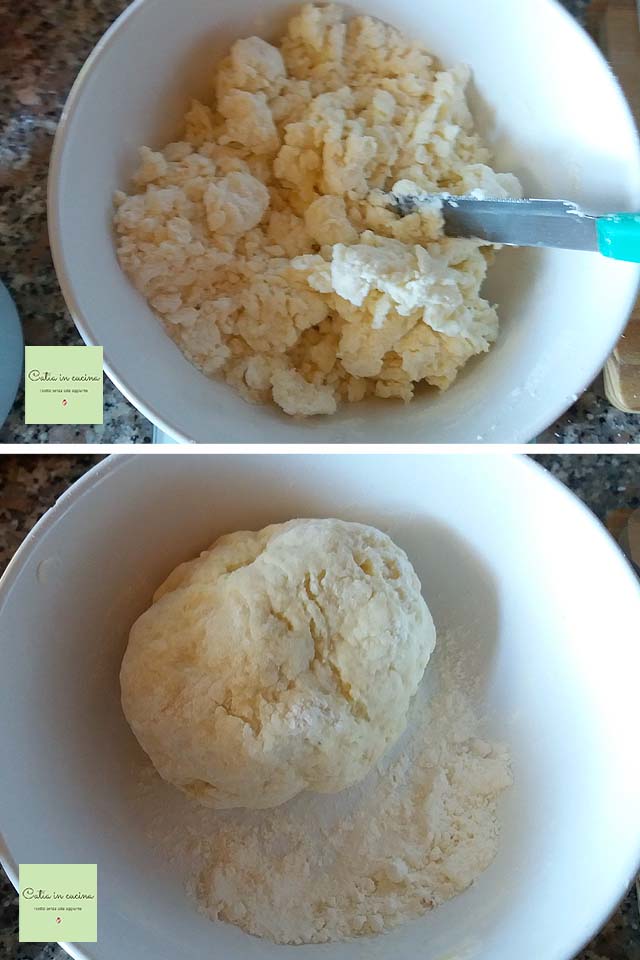
Some of the flour and crumbs will remain at the bottom of the bowl, and to incorporate it, you will need to work the mixture with your hands (better just with your fingertips). Proceed quickly, just enough time to incorporate the flour.
Then you can transfer the mixture to the work surface to work it by folding, pressing gently. Work it very little, half a minute, a minute. Flour if necessary to prevent the dough from becoming sticky, it will still have a soft consistency.
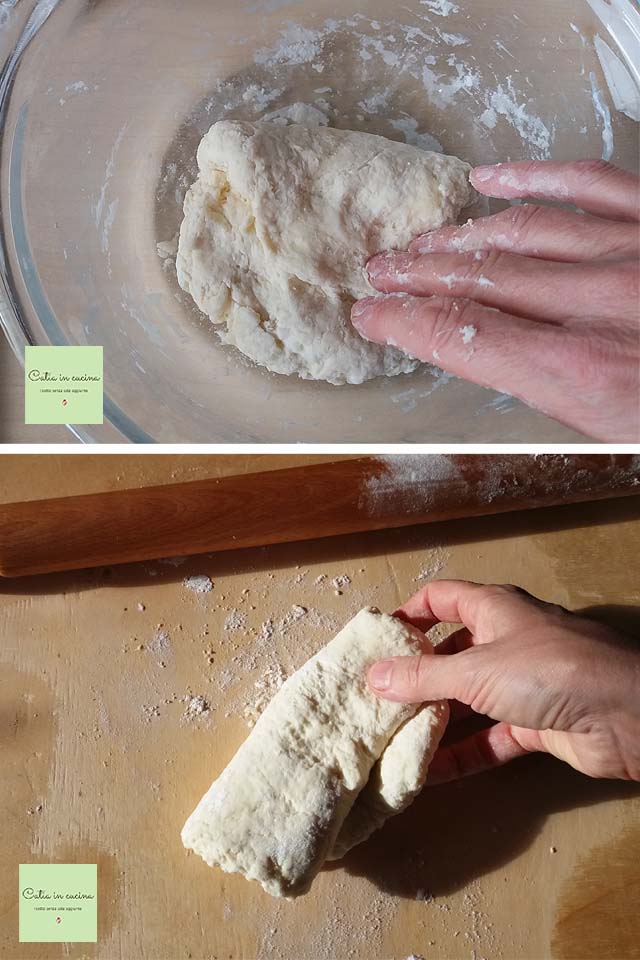
Roll it out with the rolling pin not too thinly, the ideal thickness is about 0.75 inches.
Before understanding the correct thickness, I made some evaluation errors, hence why some of the scones you see in the photos of this recipe are a bit too low. Everyone needs a bit of experience! 😀
Original scones are a bit taller than mine, but.. mine aren’t original. 😀
I also confess that perhaps doubling the doses could be useful, because rolling a small dough with a high thickness can tempt you to roll too much. But to get scones with different flavors without excessive production, it’s better to make small doughs varying the yogurt flavors. 😉
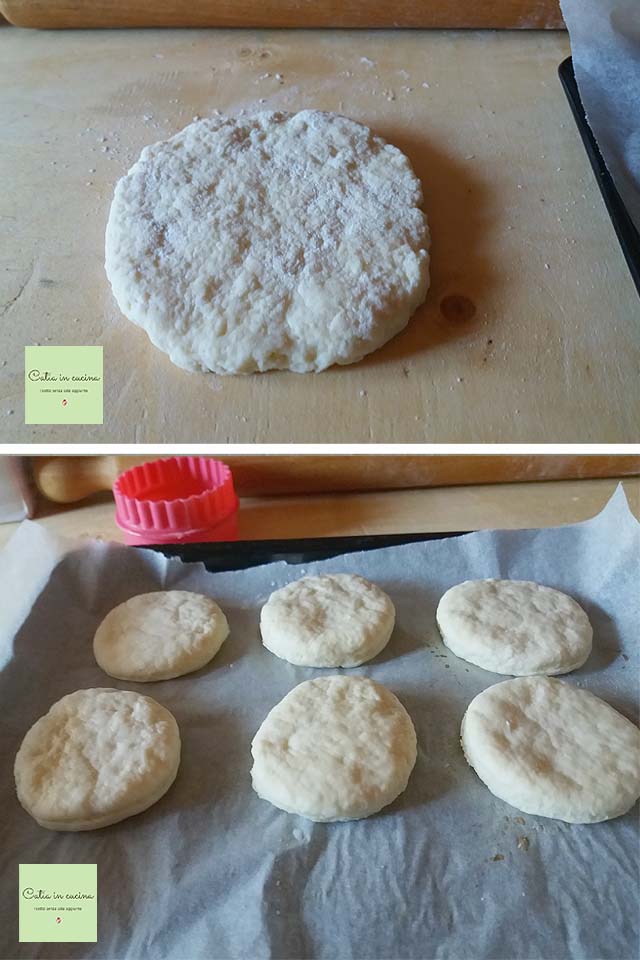
Cut the scones with a round cutter.
Recombine the dough scraps, joining them gently without overworking, and cut as many scones as possible.
With a 7 cm cutter like the one I used, you get 6-7 scones (depending on the dough thickness). Next time, I want to try with a smaller cutter; the idea of making mini-scones intrigues me!
Place them on a baking tray lined with parchment paper and brush them with a little milk (recommended but optional).
Bake and cook for 15 minutes, at 390°F for the first 5 minutes, then lower to 355°F for the remaining 10. In any case, adjust to your oven (I baked them in a small oven). Generally, when they are risen and nicely golden, they are surely cooked inside too. If in doubt, lower the temperature to 340°F and extend the cooking for a few more minutes.


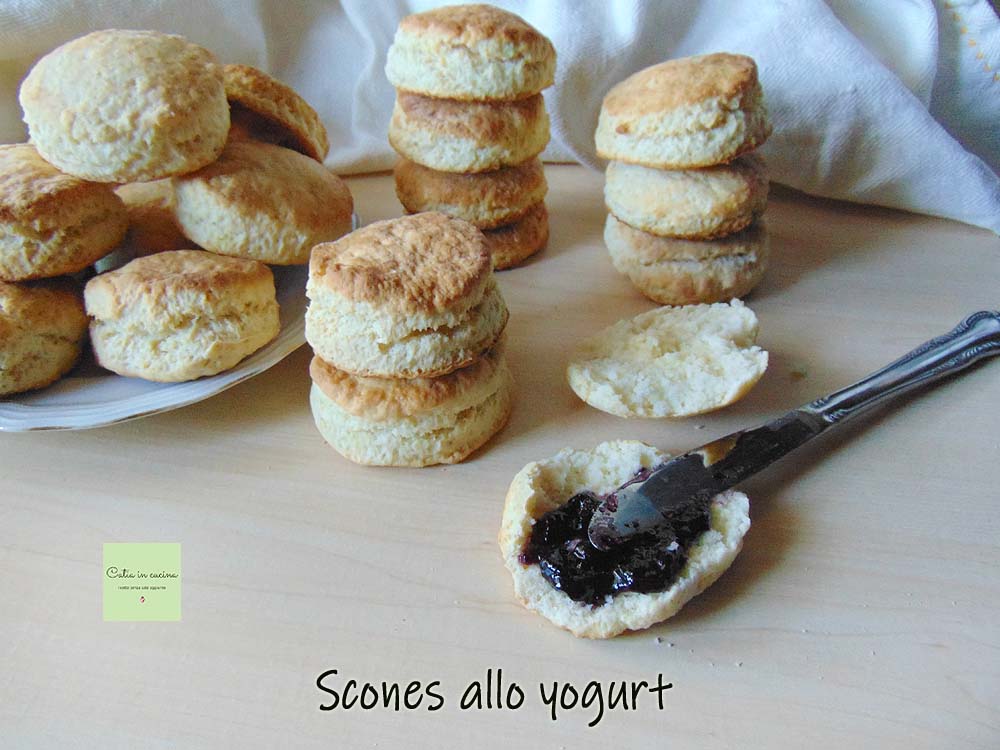
Scones are best consumed shortly after baking, warm and fresh from the oven, or on the day of production. But I can assure you from experience that these yogurt scones are excellent even the next morning. 😀 Certainly, when warm, they are at the peak of softness, but we liked them a lot even the next day; they had a slightly ‘set’ softness, let’s say, but they were really delicious, both filled and not. And we had a royal breakfast!
Original scones are served with rich fillings, with generous layers of jam and whipped cream (or better, clotted cream, a cream halfway between cream and butter).
We limited ourselves to the classic butter and jam, or just jam, or butter and honey.
And then… I also expressed myself with a more homemade English version, borrowed from the breakfasts of my dieting period: instead of cream, I used spreadable cheese (+ currant jam). A feast-level delight!!!

I’m done!!!! If you’ve read up to here… I’m sure you’ll want to try my yogurt scones! 😀 And I’m sure you’ll love them!
I’m looking forward to your photos!!
Our lovely Team today welcomes back Flavia (from the blog Le ricette di Anna e Flavia), after the birth of her little Beatrice 🙂 Welcome back! 😀
Daniela: Muffins with Yogurt and Cranberries
Elena: Homemade Yogurt
Flavia: Soy Yogurt Plumcake with Pears and Apples (Lactose-Free)
Franca: Heart of Yogurt
Follow me!
In my new WhatsApp channel and, hear ye! I’m also now on Instagram! 😀
As always, you can find me on my Facebook page, on my Pinterest boards, in my two groups: Catia’s group, in the kitchen and beyond and Just what I was looking for! and if you like… subscribe to my Newsletter.
