The first time we used water icing to decorate Christmas cookies, my daughter and I made quite an impression. 😊
We decided to gift homemade cookies, but my daughter was not satisfied with simple star, tree, or reindeer-shaped cookies; she wanted to try her hand at decorating.
Honestly, I had no experience in this kind of decoration, so I had to do some online research to figure it out. That’s how I discovered the existence of water icing.
For me, it was like discovering a hidden gem! Such simplicity for such a beautiful result… the best, for me!
Back when I discovered this fabulous icing, I didn’t have a blog yet, so our first batch of iced cookies was not “immortalized.” But this year, I fully intend to show them to you 😉 (it will be the next recipe!).
But first, we need to prepare the water icing! Are you ready? 😊
👇 other recipes you might be interested in: 👇
- Difficulty: Easy
- Cost: Economical
- Preparation time: 1 Minute
- Cooking methods: No Cooking
- Cuisine: Italian
- Seasonality: All Seasons
Ingredients
👉 The amount of sugar can be adjusted according to the desired consistency, so it’s advisable to adjust based on the type of decoration you want to make. For precise decorations, made with a mini piping bag, I recommend a thicker icing, so more sugar.
- 1 3/4 cups powdered sugar
- tbsp water (hot)
Tools
- Small Bowl
- Teaspoon
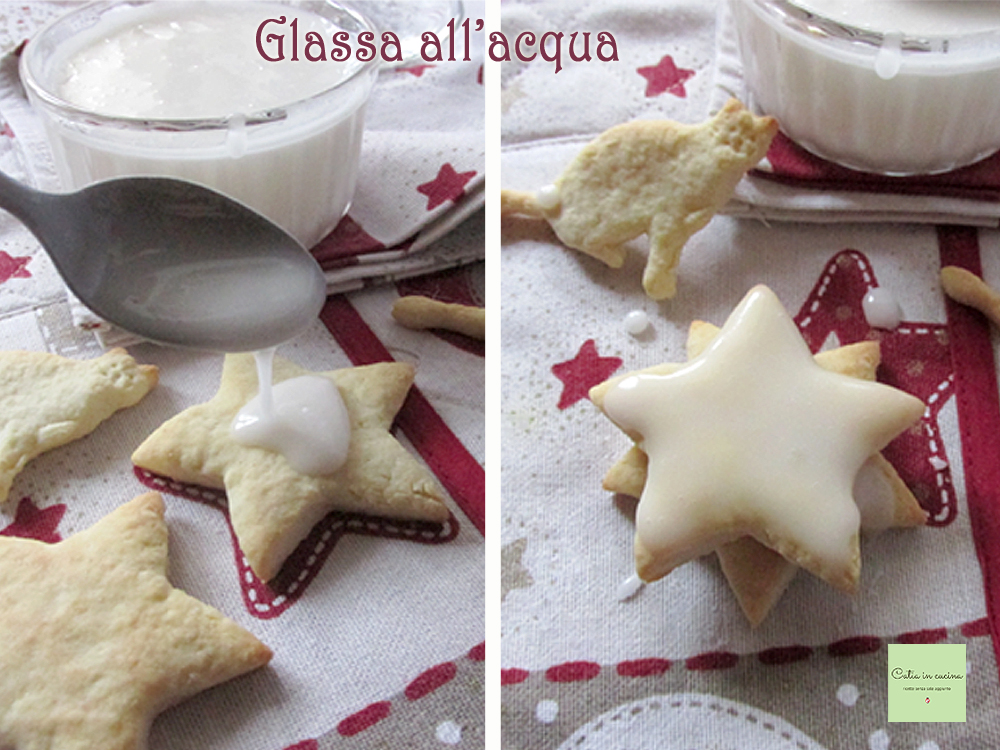
How to Prepare Water Icing
Heat the water without bringing it to a boil. I heat it for about twenty seconds in the microwave, but of course, it can be heated on the stove in the traditional way.
In a small bowl or bowl, sift the powdered sugar, then pour the hot water over the sugar, stirring with a spoon. Continue to mix until the sugar is completely dissolved.
I must admit that in haste, I sometimes don’t follow the procedure diligently, sometimes I pour the sugar into the water directly from the bag (🤭), some small lumps form, but I assure you that by mixing well, they all dissolve.
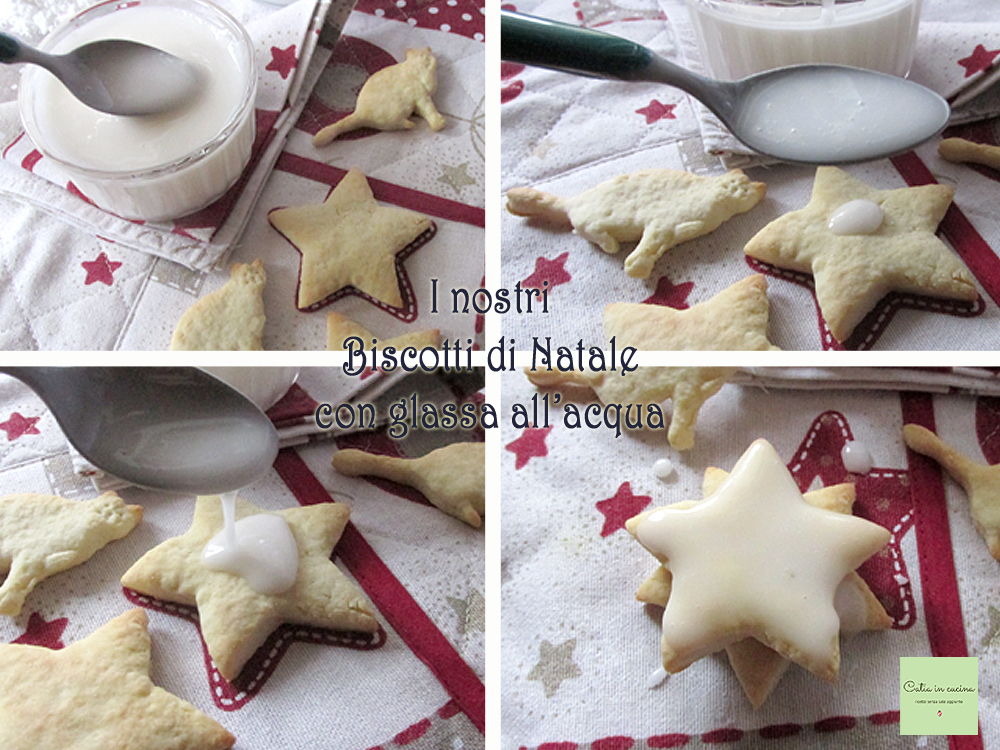
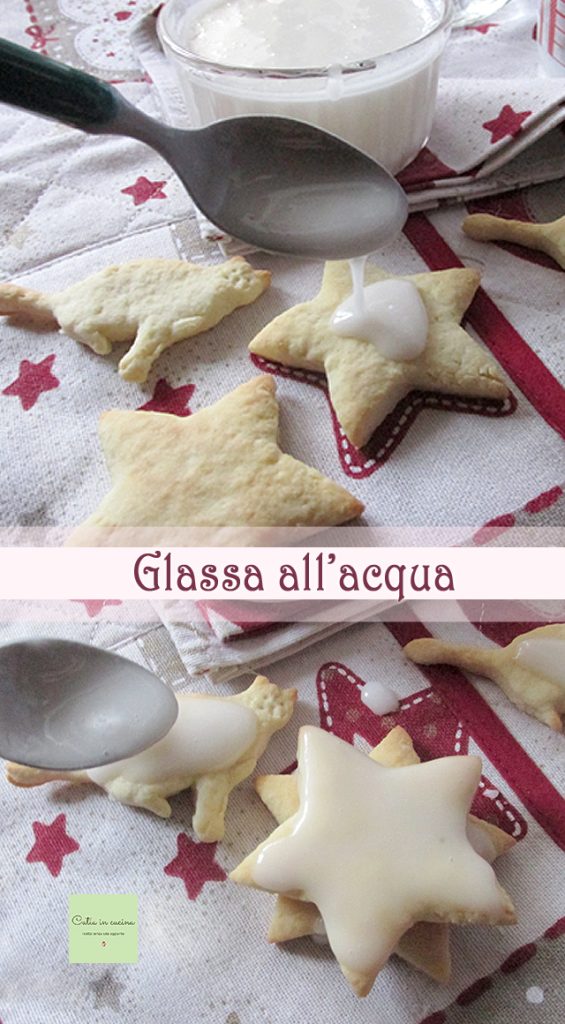
Pour the icing over the cake or cookies to be decorated; optionally place them on a wire rack (and not on the tablecloth as I did this time 🙄), so that excess icing can drip without dirtying or sticking to the bottom of the cake or cookie. Remember to place a plate or parchment paper under the rack to catch the drippings.
👉 Remember that the icing tends to thicken after a while, so it’s advisable to use it immediately after preparing it; if necessary, start with half a dose, as it’s so simple and quick to make more. However, if it should remain (and harden), don’t throw it away because it can still be “recovered” by simply heating it (as always in the microwave), possibly adding very little hot water (half a teaspoon) and mixing it well until it has softened again.
I thank Sonia Peronaci because I owe the success of our, mine and my daughter’s, Christmas cookies to her recipe (my initial source). But not just for Christmas, eh, this icing can be used all year round!
See you at the iced cookies recipe!
See you also:
In my new WhatsApp channel and on Instagram, on the Facebook page, on Pinterest and in my two groups: Catia’s group, in the kitchen and beyond and Just what I was looking for! and if you want… subscribe to my Newsletter
In my new WhatsApp channel and on Instagram, on the Facebook page, on Pinterest and in my two groups: Catia’s group, in the kitchen and beyond and Just what I was looking for! and if you want… subscribe to my Newsletter
FAQ (Frequently Asked Questions)
Can you make colored water icing?
Yes, water icing can be colored with food coloring. Gel colors are ideal, but liquid ones in small bottles can also be used. In this case, you need to reconsider the amount of water, taking into account how much coloring is used.
Can you make water icing using granulated sugar instead of powdered sugar?
Yes, you can. But the final result will be different, the icing will be coarser because granulated sugar dissolves with difficulty if the water is minimal. But children will like the decorated cookies just the same. 😊
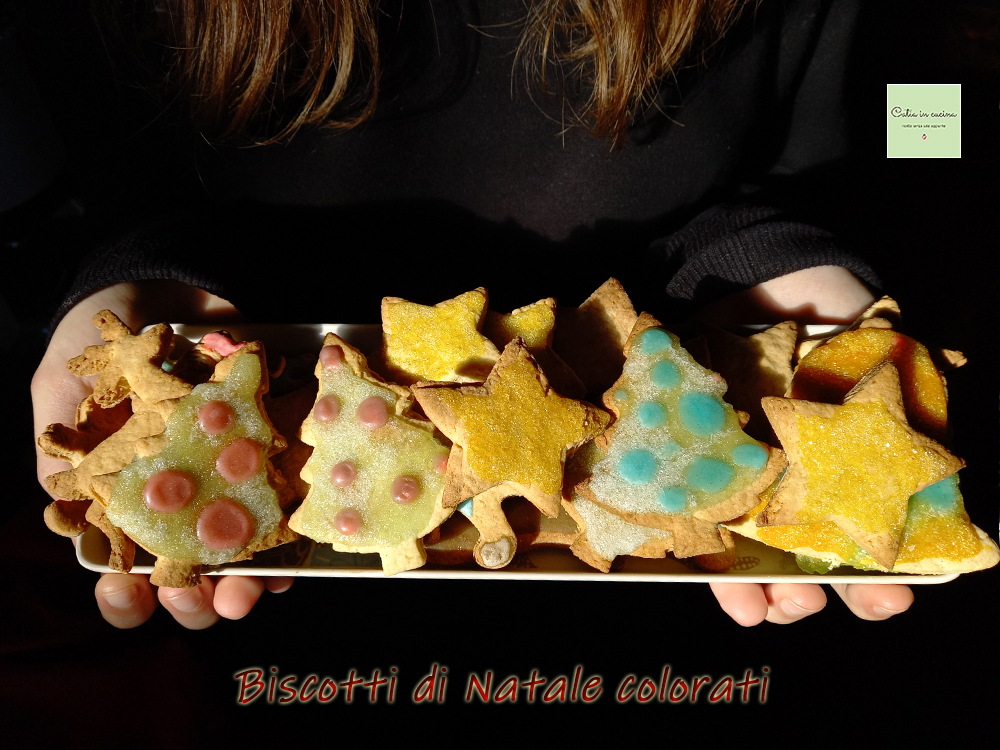
Here’s an example of icing with granulated sugar (and colored with food coloring):