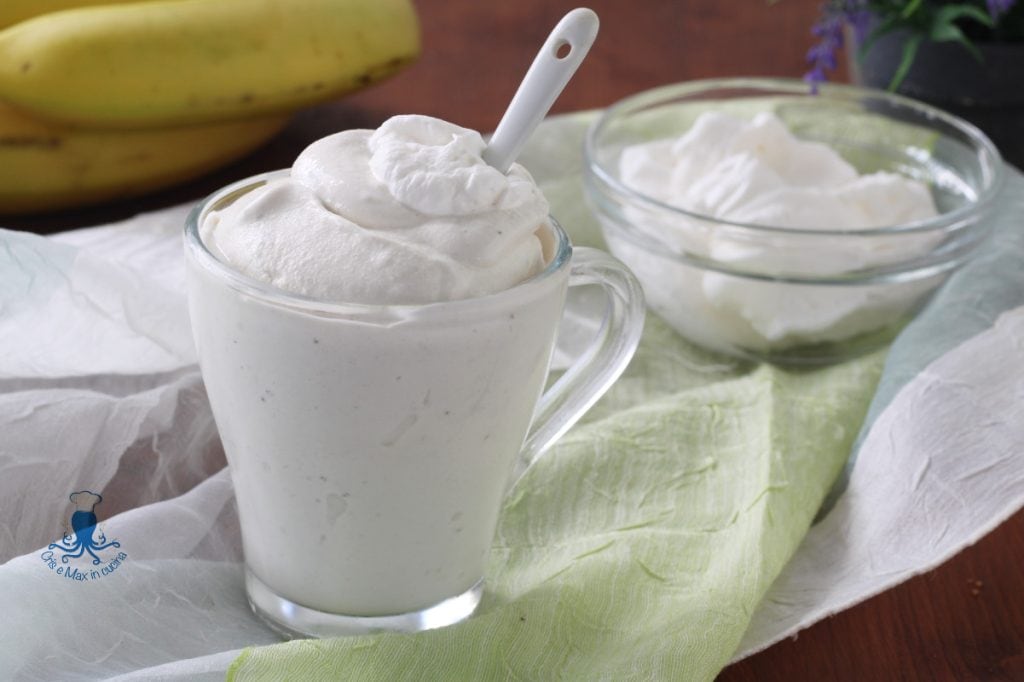
The perfect banana ice cream for children’s snacks, sweet and also natural, made with fruit, yogurt, and cream (we used a lighter plant-based one), very creamy.
If you don’t like cream, you can use the same amount of yogurt without affecting the result of this very sweet ice cream, just make sure the bananas are ripe, not green.
Dear moms, we recommend buying an ice cream maker. We have the model that needs to stay in the freezer for 10 hours; it costs about 50 euros and you can make many genuine ice creams with your preferred ingredients. Just consider that at a gelateria, a small cup costs about 2 euros.
- Difficulty: Very Easy
- Cost: Economical
- Rest time: 1 Hour
- Preparation time: 15 Minutes
- Portions: 4 people
- Cooking methods: No Cooking
- Cuisine: Italian
- Seasonality: All Seasons
Ingredients for Banana Ice Cream:
- 7 oz ripe bananas
- 3/4 cup granulated sugar
- 2/3 cup whole plain yogurt (cold)
- 1/2 cup plant-based whipping cream (cold)
- 1 tablespoon lemon juice
- as needed whipped cream (optional)
Tools for Banana Ice Cream:
- 1 Mixer
- 1 Bowl
- 1 Spoon
Steps for Making Banana Ice Cream:
Peel the bananas (make sure they are ripe, not green), slice them, and place them in the mixer with the granulated sugar and a splash of lemon juice. Blend the mixture well.
Add the cold whole yogurt to the mixture and continue blending well.
Transfer the mixture to a large bowl.
Separately, whip the cream and add it to the mixture. Use a spatula to gently fold it into the mixture in upward movements to avoid deflating it.
PROCEDURE WITH ICE CREAM MAKER:
Transfer the mixture to the ice cream maker, turn it on, and follow the instructions for your model to prepare the ice cream.
PROCEDURE WITHOUT ICE CREAM MAKER:
Follow the procedure described above, and instead of putting it in the ice cream maker, place it in a container with a lid. Stir the ice cream every 30 minutes and put it back in the freezer. Repeat this process 6 to 8 times until you achieve the desired density.
When the ice cream is ready, serve it in bowls or on cones, and decorate with whipped cream or chocolate sprinkles according to your preference.
If you don’t consume all the ice cream, store it in a container, preferably steel, cover it well, and keep it in the freezer. Ten minutes before serving, take it out, stir it well, and serve… it will taste like it’s just been made.